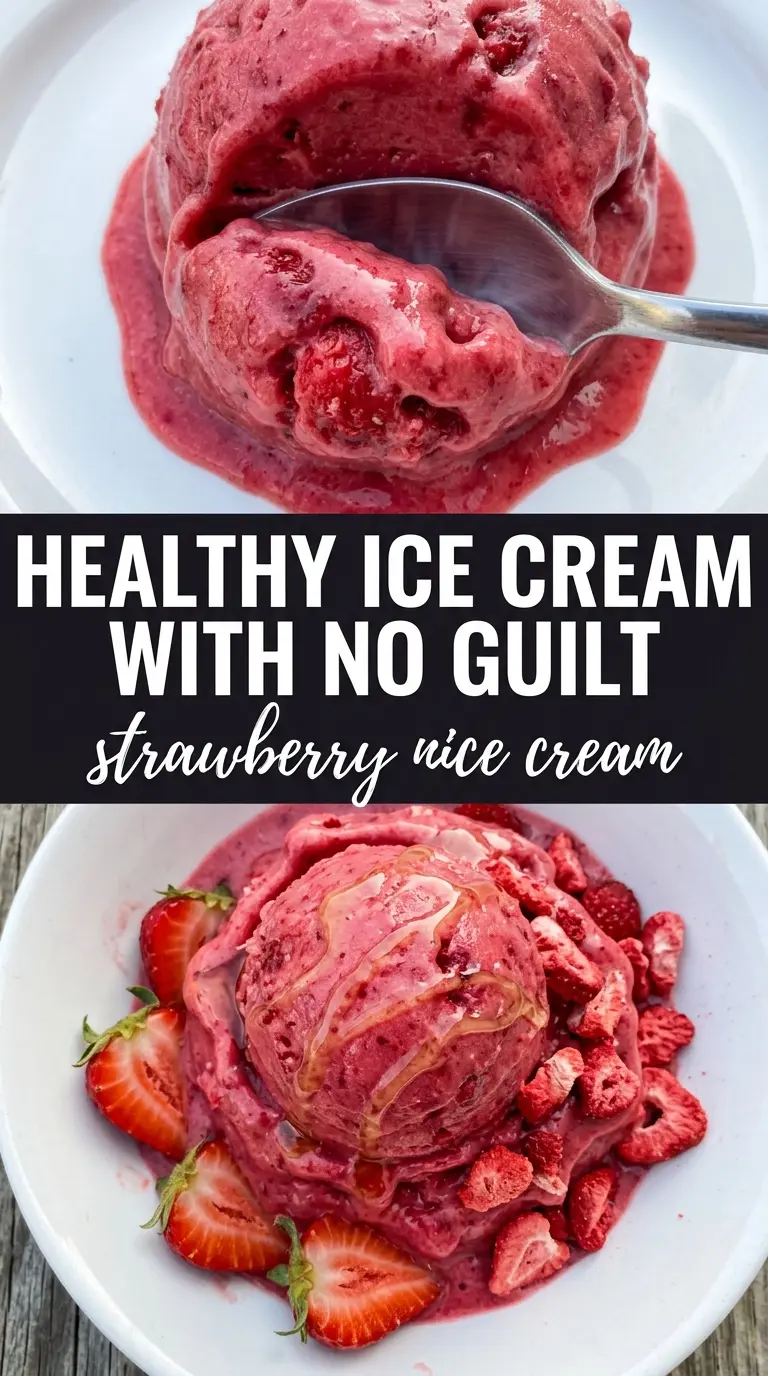
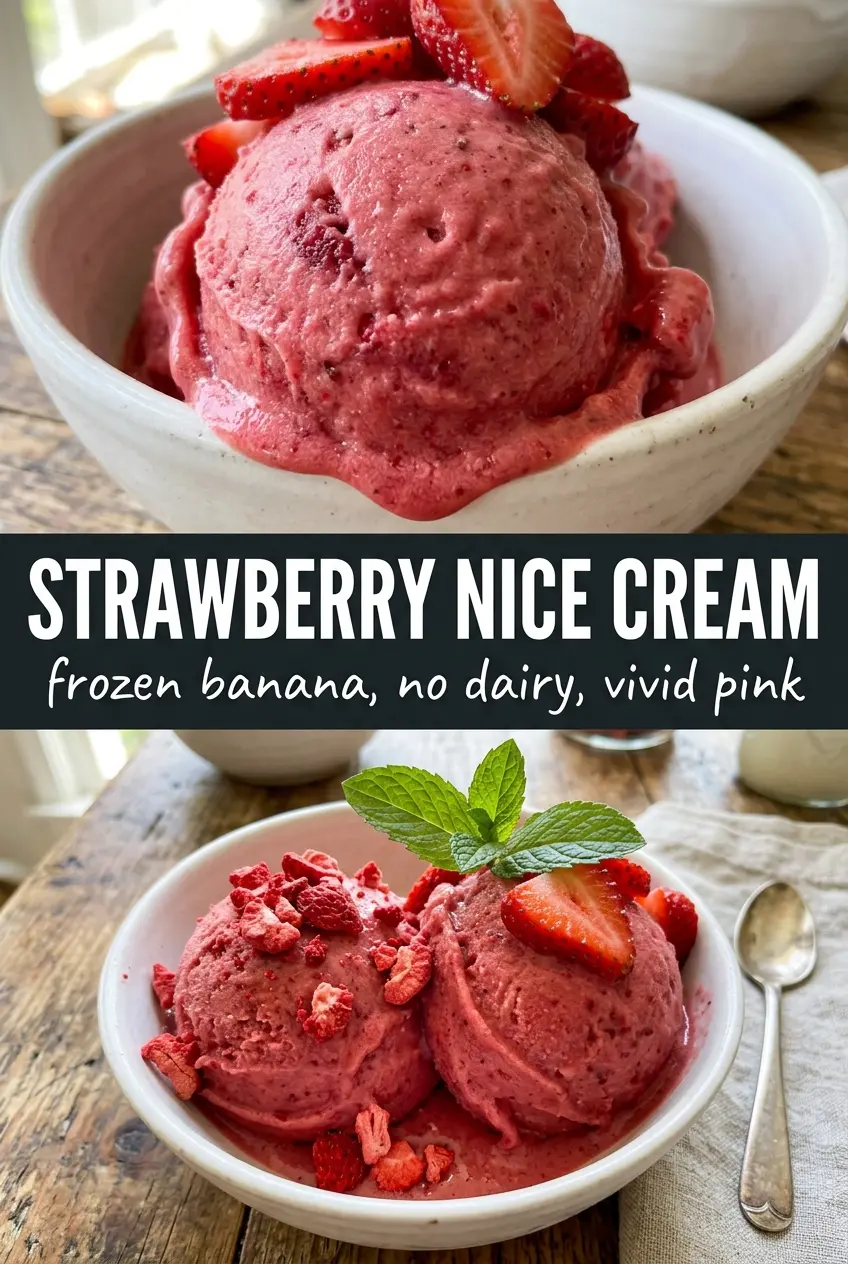
Strawberry nice cream lands with the same cold, creamy payoff as soft-serve ice cream, but the texture comes entirely from frozen fruit. The bananas give it body, the strawberries bring a bright tart edge, and the lemon keeps everything tasting fresh instead of flat. When it’s blended right, it turns into a thick pink swirl that scoops beautifully and never tastes icy or watered down.
The trick is to let the fruit sit just long enough to lose its rock-hard edge, then blend in a high-powered machine until the mixture goes from crumbly to glossy. That transition matters. If you stop too early, you get a chunky slush; if you keep going and scrape the sides, the mixture turns smooth enough to spoon or pipe like real ice cream. A little vanilla rounds out the fruit, and just a pinch of salt keeps the sweetness from tasting one-note.
Below, I’ll show you how to keep the texture creamy, what to change if your bananas are extra ripe, and how to turn the finished nice cream into a scoopable dessert instead of a frozen brick.
The texture turned out like soft-serve after about two minutes in my blender, and the lemon kept the strawberries tasting bright instead of overly sweet.
Like this strawberry nice cream? Save it for the days when you want a creamy frozen dessert made from fruit alone.
The Reason This Stays Creamy Instead of Turning Icy
Nice cream only works when the fruit is cold enough to stay thick, but soft enough for the blades to move through it. If everything goes into the blender frozen solid, the motor struggles and the mixture stays grainy. If the bananas are too warm, the dessert turns loose and loses that ice cream texture before you even get it into a bowl.
The other thing that matters here is balance. Bananas create the creamy base, strawberries add brightness and color, and lemon juice sharpens the fruit so the finished dessert tastes clean instead of heavy. A tiny pinch of salt keeps the sweetness in check and makes the strawberry flavor pop a little more.
- Frozen bananas — These are the backbone of the texture. Use bananas that are ripe with brown spots before freezing; underripe bananas taste starchy, and overripe ones can make the nice cream too sweet and a little muddy.
- Frozen strawberries — The berries give the color and the tart edge. Fresh strawberries won’t give you the same thick, frosty consistency unless you freeze them first.
- Lemon juice — This isn’t there to make it sour. It keeps the fruit flavor bright and stops the bananas from tasting flat.
- Vanilla extract — A small amount rounds out the fruit and makes the whole bowl taste more like dessert. Skip it only if you want a very pure strawberry-banana flavor.
What Each Ingredient Is Actually Doing in This Ice Cream
- Base ingredient (cream, milk, or custard) — This provides the foundation and richness. Quality matters.
- Sweetener (sugar, honey, or condensed milk) — This sweetens and prevents ice crystals. The ratio is critical.
- Flavor element (vanilla, fruit, chocolate, or other) — This defines the ice cream personality. Use quality ingredients.
- Egg yolks (if making custard base) — These create richness and silky texture. Optional but elevates ice cream.
- Churning (if using ice cream maker) — This incorporates air and prevents ice crystals. Critical for smooth texture.
- Freezing temperature and time — Proper freezing prevents rock-hard texture. Store at 0°F or below.
- Mix-ins (chocolate, cookies, fruit, or swirls) — These add texture and prevent one-dimensional flavor. Add near end of churning.
- Serving temperature (slightly soft, not rock hard) — This provides creamy mouthfeel. Remove from freezer 5 minutes before serving.
How to Blend Frozen Fruit Into Soft-Serve
Let the Fruit Take the Chill Off
Set the frozen bananas and strawberries out for about 5 minutes before blending. You want the outside of the fruit to soften just enough that the blender can grab it, but not long enough for the fruit to start melting. If the pieces still feel like little rocks, wait another minute or two. That short rest is the difference between a blender that works and one that just spins a frozen chunk around the jar.
Start Slow and Scrape Often
Add the fruit, lemon juice, vanilla, and salt to a high-powered blender. Pulse a few times first, then blend on low and stop to scrape down the sides as soon as the mixture starts packing around the blade. The first minute usually looks hopelessly dry and crumbly. Keep going and it will suddenly start pulling together into a thick puree.
Blend Until It Turns Glossy
Keep blending until the mixture looks smooth, creamy, and bright pink, which usually takes about 2 minutes total. The finished texture should mound on itself when you scoop it out. If it looks airy and icy, it needs more blending; if it’s turning into juice, the fruit thawed too much before it went in. Serve right away for soft-serve, or freeze for 1 to 2 hours if you want firm scoops.
Add a tablespoon of peanut butter
This makes the nice cream richer and slightly more substantial, with a peanut-butter-and-strawberry vibe that tastes almost like a frozen sandwich. It will mute the pink color a little and soften the pure fruit flavor, but it also helps the mixture feel even creamier.
Make it dairy-free and vegan as written
This recipe is already dairy-free and vegan, which is part of why it works so well. You don’t need any milk or cream to get a soft-serve texture because the frozen bananas do the heavy lifting.
Turn it into a scoopable freezer dessert
Freeze the blended nice cream for 1 to 2 hours if you want it closer to scoopable ice cream. Any longer than that, and it hardens fast because there’s no cream or added sugar to keep it soft, so let it sit at room temperature for a few minutes before serving.
Use mixed berries instead of all strawberries
A handful of raspberries or blueberries changes the flavor in a nice way, but the final color won’t stay that bright pink. Raspberries keep the tartness lively; blueberries make the flavor sweeter and deeper.
Storage and Reheating
- Refrigerator: This dessert doesn’t hold well in the fridge; it melts into a smoothie-like bowl within minutes.
- Freezer: Freeze leftovers in an airtight container for up to 1 month. The texture will harden, so let it sit out before scooping.
- Reheating: No reheating needed. To serve leftovers, thaw at room temperature for 10 to 15 minutes and stir once or twice to loosen the edges before eating.
Answers to the Questions Worth Asking
Strawberry Nice Cream
Ingredients
Equipment
Method
- Let the frozen bananas and frozen strawberries sit at room temperature for 5 minutes to slightly soften, so they blend without large icy bits.
- Add the softened bananas, strawberries, lemon juice, vanilla extract, and salt to a high-powered blender and blend, stopping to scrape down the sides as needed.
- Blend until completely smooth and creamy for about 2 minutes, until the mixture looks like vivid pink soft-serve.
- Serve immediately as soft-serve for the creamiest texture, or transfer to a container and freeze for 1–2 hours for a scoopable texture.
- Top the nice cream with fresh strawberries and serve at once.