Buttery oat crumble, tender apples, and bubbling edges make this apple crisp the kind of dessert people circle back to after dinner when the pan is still warm. The topping bakes up in thick, craggy clumps instead of a dusty layer, which means you get real crunch on top and a soft, syrupy fruit layer underneath. That contrast is what keeps this recipe in regular rotation.
The trick here is keeping the butter cold and working it into the dry ingredients just until you see big, uneven pieces. Those butter pockets melt in the oven and turn into the crisp, browned clusters everyone wants. Granny Smith apples hold their shape and bring enough tartness to keep the filling from tasting flat, especially once the brown sugar and cinnamon start bubbling together.
Below you’ll find the small details that matter most: how to avoid a soggy topping, why the apples should be sliced evenly, and what to change if you need to make it ahead.
The topping stayed crisp all the way through and the apples baked down into the perfect soft-but-not-mushy texture. I served it with vanilla ice cream and everyone went back for seconds.
Pioneer Woman apple crisp with that thick brown sugar-oat crumble is worth saving for the nights you want a bubbling skillet dessert with almost no fuss.
The Secret to a Crisp That Stays Craggy, Not Cakey
The biggest mistake with apple crisp is packing the topping down or overmixing it until it turns sandy. That gives you a flat, dense lid instead of those uneven buttery clumps that bake up golden and crisp. The cold butter is doing the work here, so leave it in distinct pieces until the last minute and stop as soon as the mixture looks clumpy.
Another common problem is underbaking. The topping can look done before the apples underneath have fully softened, which leaves you with a crunchy top and firm fruit. You want the filling bubbling around the edges for several minutes before you pull the pan from the oven; that bubbling is the sign the sugar has dissolved and the apples have released enough juices to turn into sauce.
What Each Ingredient Is Actually Doing in This Apple Crisp
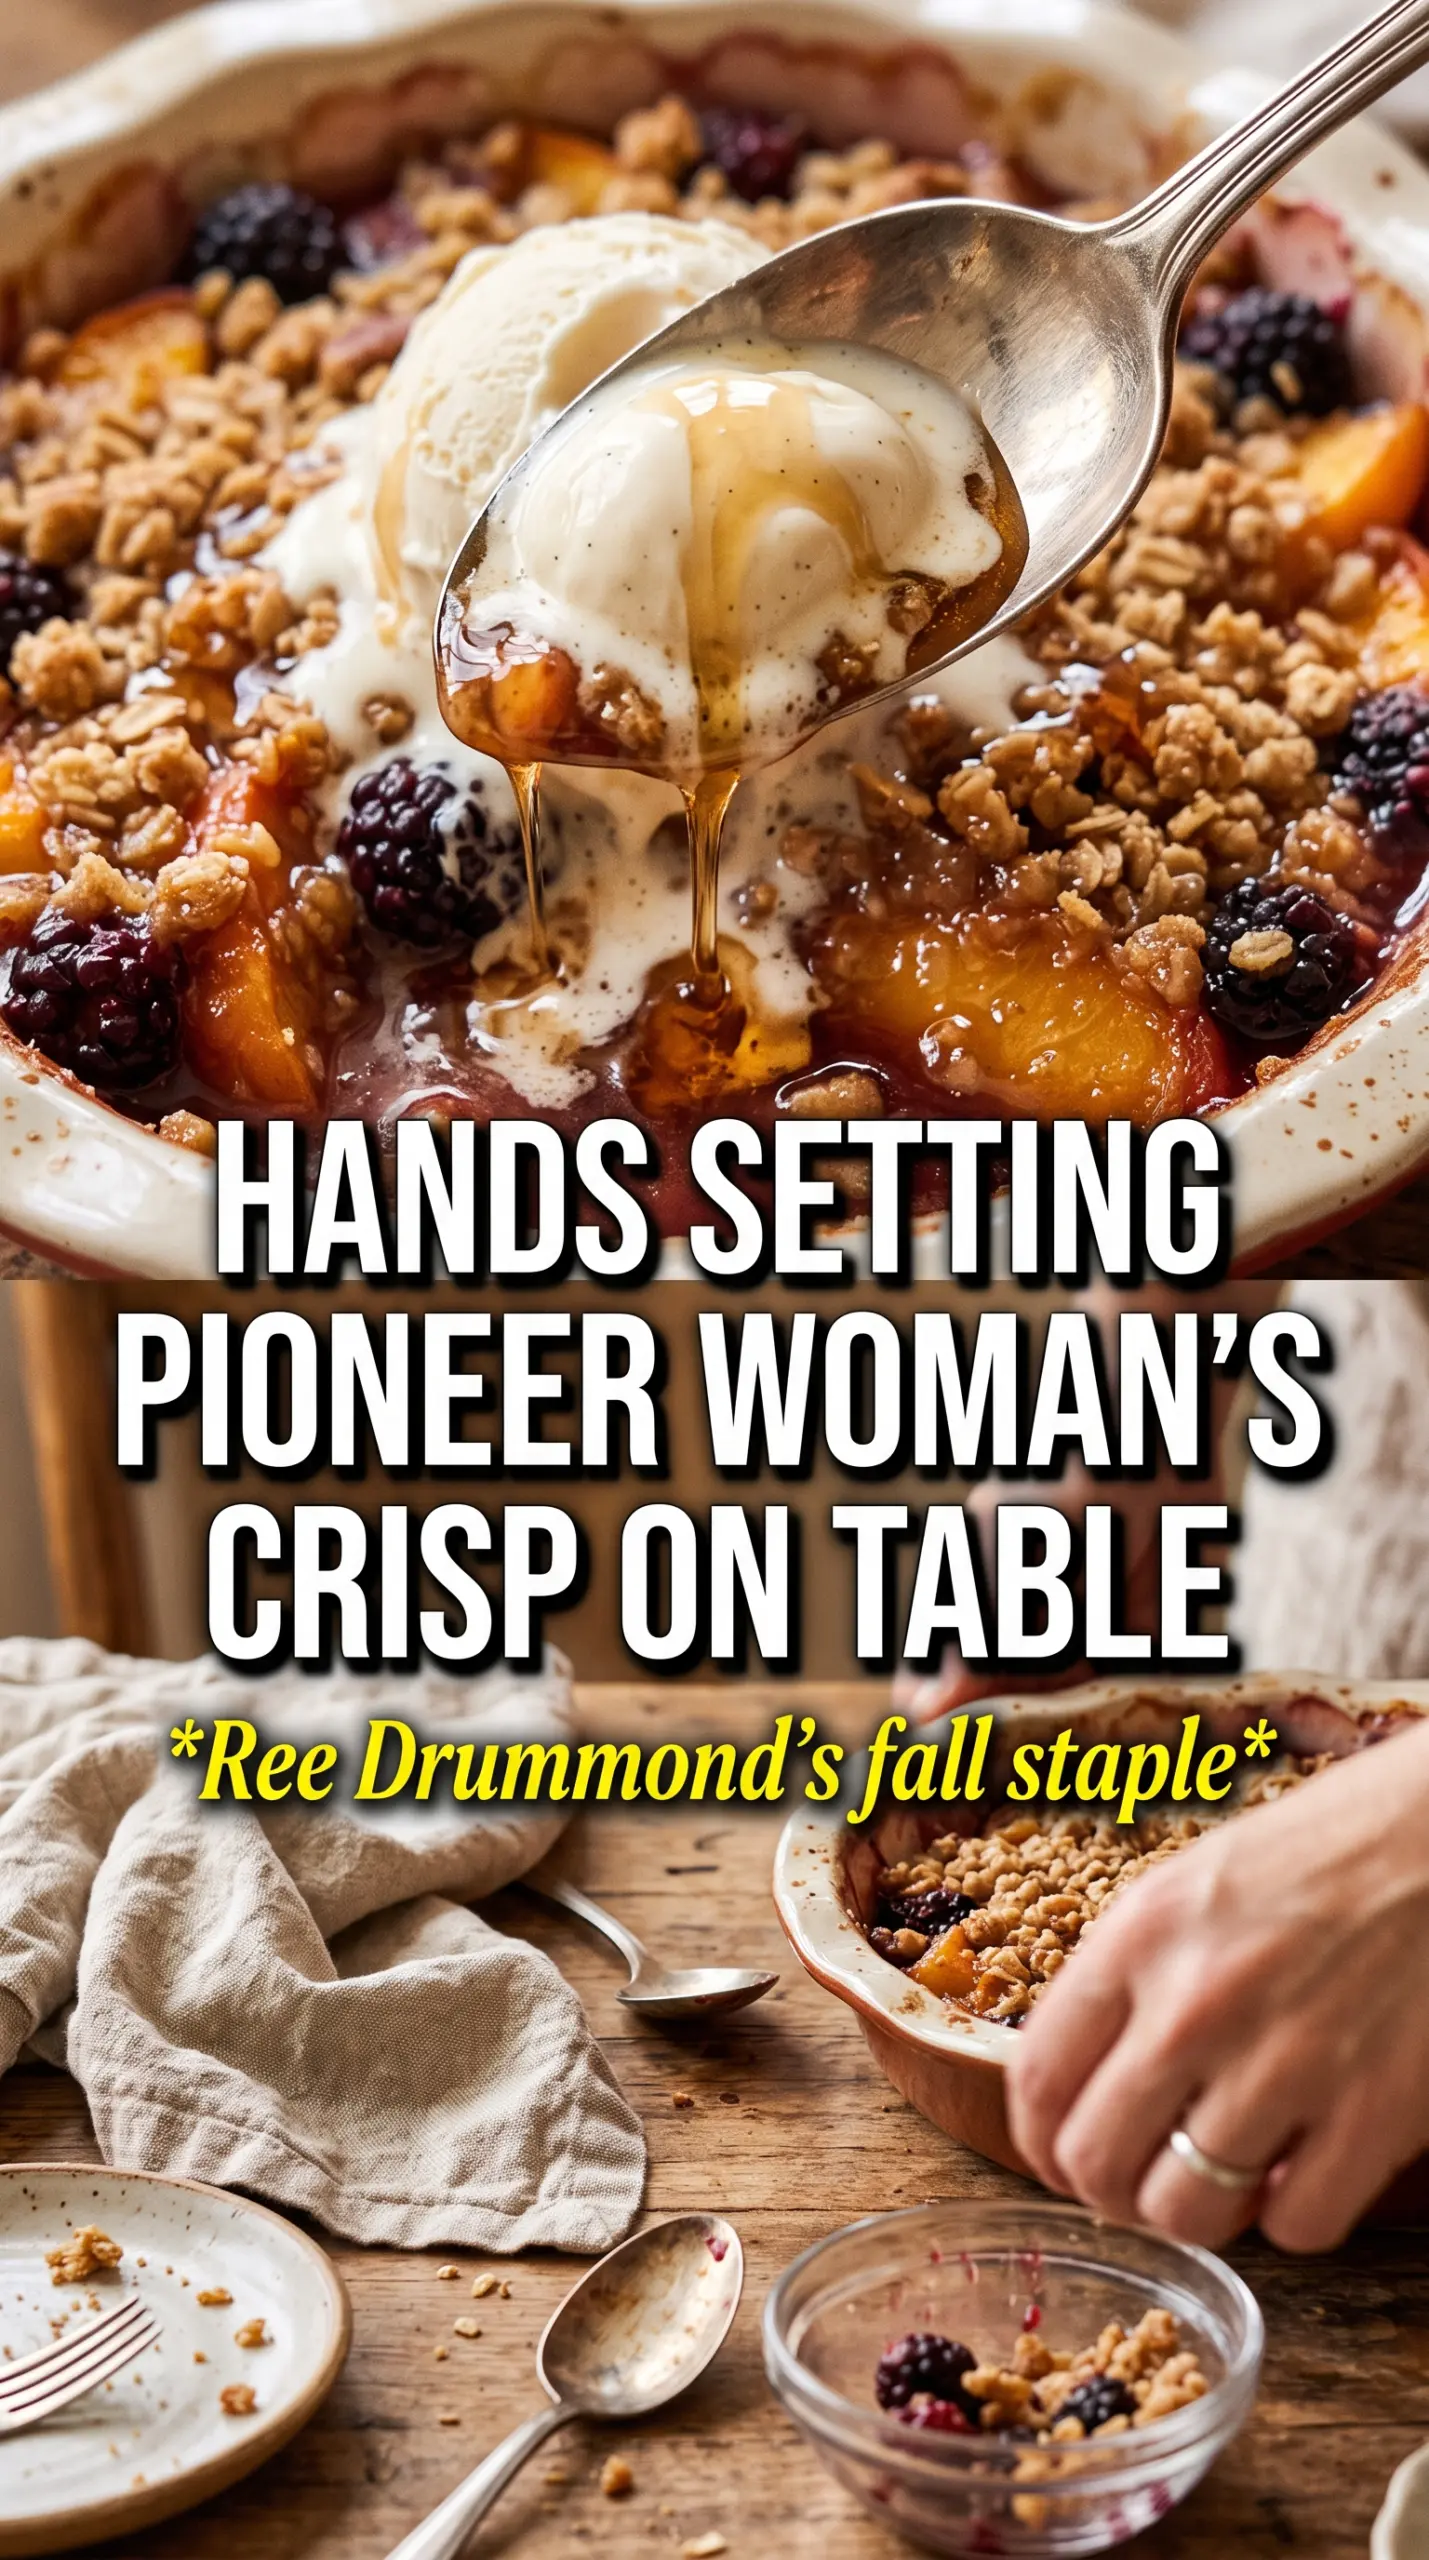
- Granny Smith apples — These hold their shape better than softer apples and bring the tart edge this dessert needs. If you swap in sweeter apples, the crisp can taste one-note unless you cut the sugar back a little.
- Brown sugar — This is what gives the topping its deeper caramel note and helps it bake into clumps. Light or dark brown sugar both work; dark brown sugar will give you a stronger molasses flavor.
- Rolled oats — Oats create the nubby, crisp texture that makes apple crisp different from a simple crumb dessert. Quick oats can work in a pinch, but the topping won’t be as substantial.
- Cold butter — The butter has to stay cold so it melts in the oven, not in the bowl. If it softens too much before baking, the topping turns pasty instead of crisp.
Building the Topping So It Bakes Into Clumps
Tossing the Apples First
Mix the sliced apples with sugar, flour, and cinnamon until every piece looks lightly coated, then spread them in an even layer in the baking dish. The flour helps catch the juices and keeps the filling from turning watery at the bottom. If the apples are piled unevenly, the center will overcook before the edges soften, so level them out before the topping goes on.
Working the Butter Into the Dry Ingredients
Combine the flour, oats, sugars, cinnamon, baking powder, and salt, then cut in the cold butter with your hands until you have big, shaggy clumps. Some dry spots are fine. In fact, they help. What you don’t want is a smooth paste, because that bakes into a dense sheet instead of a crisp crumble. The mix should hold together when squeezed but still look rough and uneven.
Baking Until the Filling Bubbles
Spread the topping all the way over the apples, then bake until the top is deep golden and the juices are actively bubbling at the edges. If the top browns too fast, lay a loose piece of foil over it for the last stretch so the fruit has time to finish cooking. Pulling it early is the fastest way to end up with firm apples under a pretty crust.
Make it gluten-free with a 1:1 baking blend
Use a cup-for-cup gluten-free flour blend in place of the all-purpose flour in both the filling and the topping. The oats still give you the same rustic crunch, but the texture may be a touch more delicate, so let the crisp cool for 10 to 15 minutes before serving.
Use mixed apples for a softer, sweeter filling
Swap part of the Granny Smiths for Honeycrisp, Fuji, or Gala if you want a softer, sweeter filling. The tradeoff is less tartness and a slightly softer bite, so I still keep at least half the apples tart to avoid a dessert that tastes flat.
Make it dairy-free with plant-based butter
Use a solid plant-based butter that comes in stick form and keep it cold just like regular butter. The flavor stays close, and the topping still browns well, but softer spreads can make the crumble greasy instead of crisp.
Storage and Reheating
- Refrigerator: Store covered for up to 4 days. The topping will soften a little, but the flavor holds up well.
- Freezer: It freezes best after baking. Cool completely, wrap tightly, and freeze for up to 2 months. Thaw overnight in the fridge before reheating.
- Reheating: Warm in a 300°F oven until heated through and the topping re-crisps, usually 15 to 20 minutes. The microwave softens the crumble, so use it only if you don’t mind losing the texture.
Answers to the Questions Worth Asking
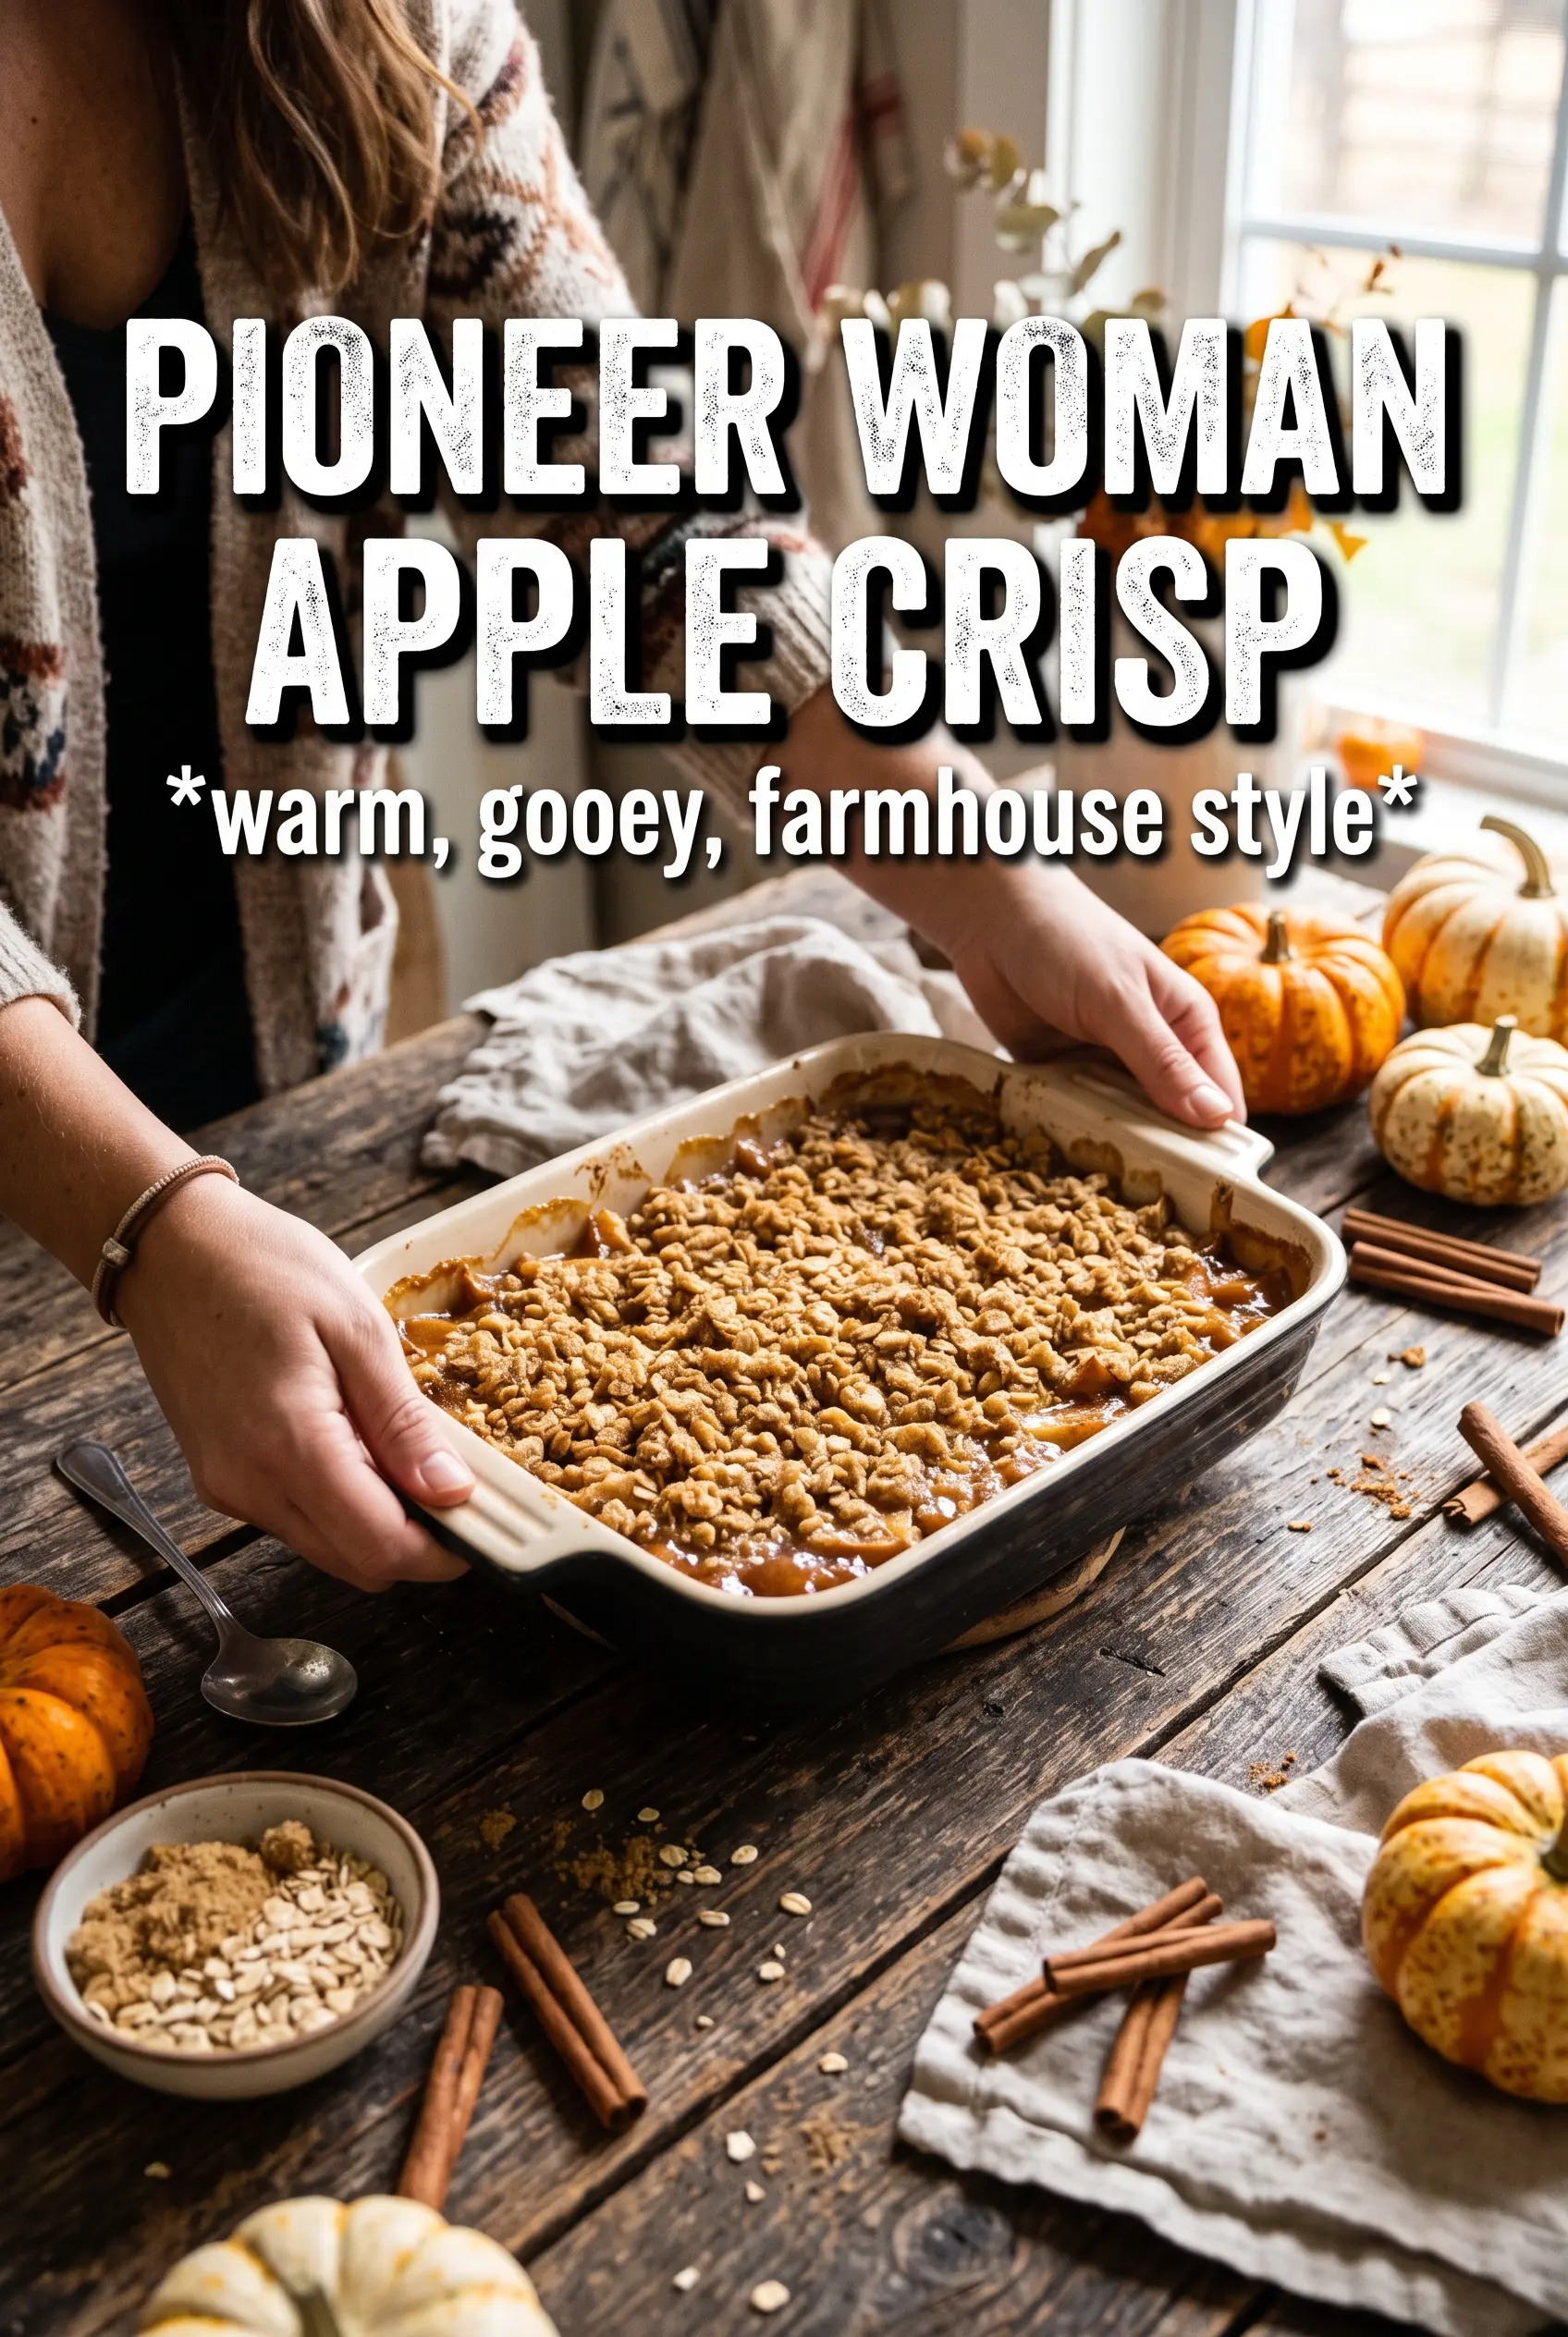
Pioneer Woman Apple Crisp
Ingredients
Equipment
Method
- Preheat the oven to 350F and generously butter a 9x13 baking dish.
- Toss the apple slices with granulated sugar, all-purpose flour, and cinnamon, then pour them into the baking dish.
- Combine flour, rolled oats, both sugars, cinnamon, baking powder, and salt for the crumble topping.
- Cut in the cold cubed butter with your hands until the mixture forms large, butter-streaked clumps.
- Pour and spread the topping evenly over the apples to fully cover the surface.
- Bake for 55-60 minutes until the topping is golden brown and the apple filling bubbles at the edges.
- Serve warm with whipped cream or ice cream on the side.