Oreo dessert earns its spot because every layer does a different job: the crust gives you that dark chocolate crunch, the cream cheese layer brings a light tang, and the pudding settles everything into a slice that holds its shape instead of collapsing on the plate. After a few hours in the fridge, the cookies soften just enough to turn chewy at the edges while the top stays fluffy and cold.
The trick is balance. The crust needs enough butter to press and set, but not so much that it turns greasy. The pudding has to thicken before it hits the pan, and the cream cheese needs to be smooth before the whipped topping goes in, or you’ll end up chasing lumps through the whole dessert. None of the steps are hard, but the order matters if you want clean layers and tidy squares.
Below you’ll find the little details that make this Oreo dessert slice cleanly and taste like more than a pile of sweet layers, including the one chilling step that keeps the pudding from bleeding into the cream cheese.
The layers set up beautifully after overnight chilling, and the Oreo crust stayed crisp enough to slice cleanly without crumbling into the pudding. My kids kept asking for “just one more square.”
Save this Oreo dessert for the next time you need a no-bake layered dessert with clean slices and plenty of cookies-and-cream crunch.
The Chilling Time Is What Gives You Clean Oreo Dessert Squares
This dessert looks simple, but the structure depends on patience. The layers need time in the refrigerator so the butter in the crust firms back up, the pudding fully sets, and the whipped topping melds into the cream cheese layer without sliding. If you cut early, the pudding will ooze and the crust will drag instead of giving you neat squares.
The other thing that matters is thickness. Instant pudding works here because it sets fast and stays stable, which is what you need under a soft whipped layer. Cook-and-serve pudding won’t give you the same fast, reliable structure. If the dessert feels a little soft after four hours, that’s a sign it needs more chill time, not more topping.
What Each Layer Is Doing in This Oreo Dessert
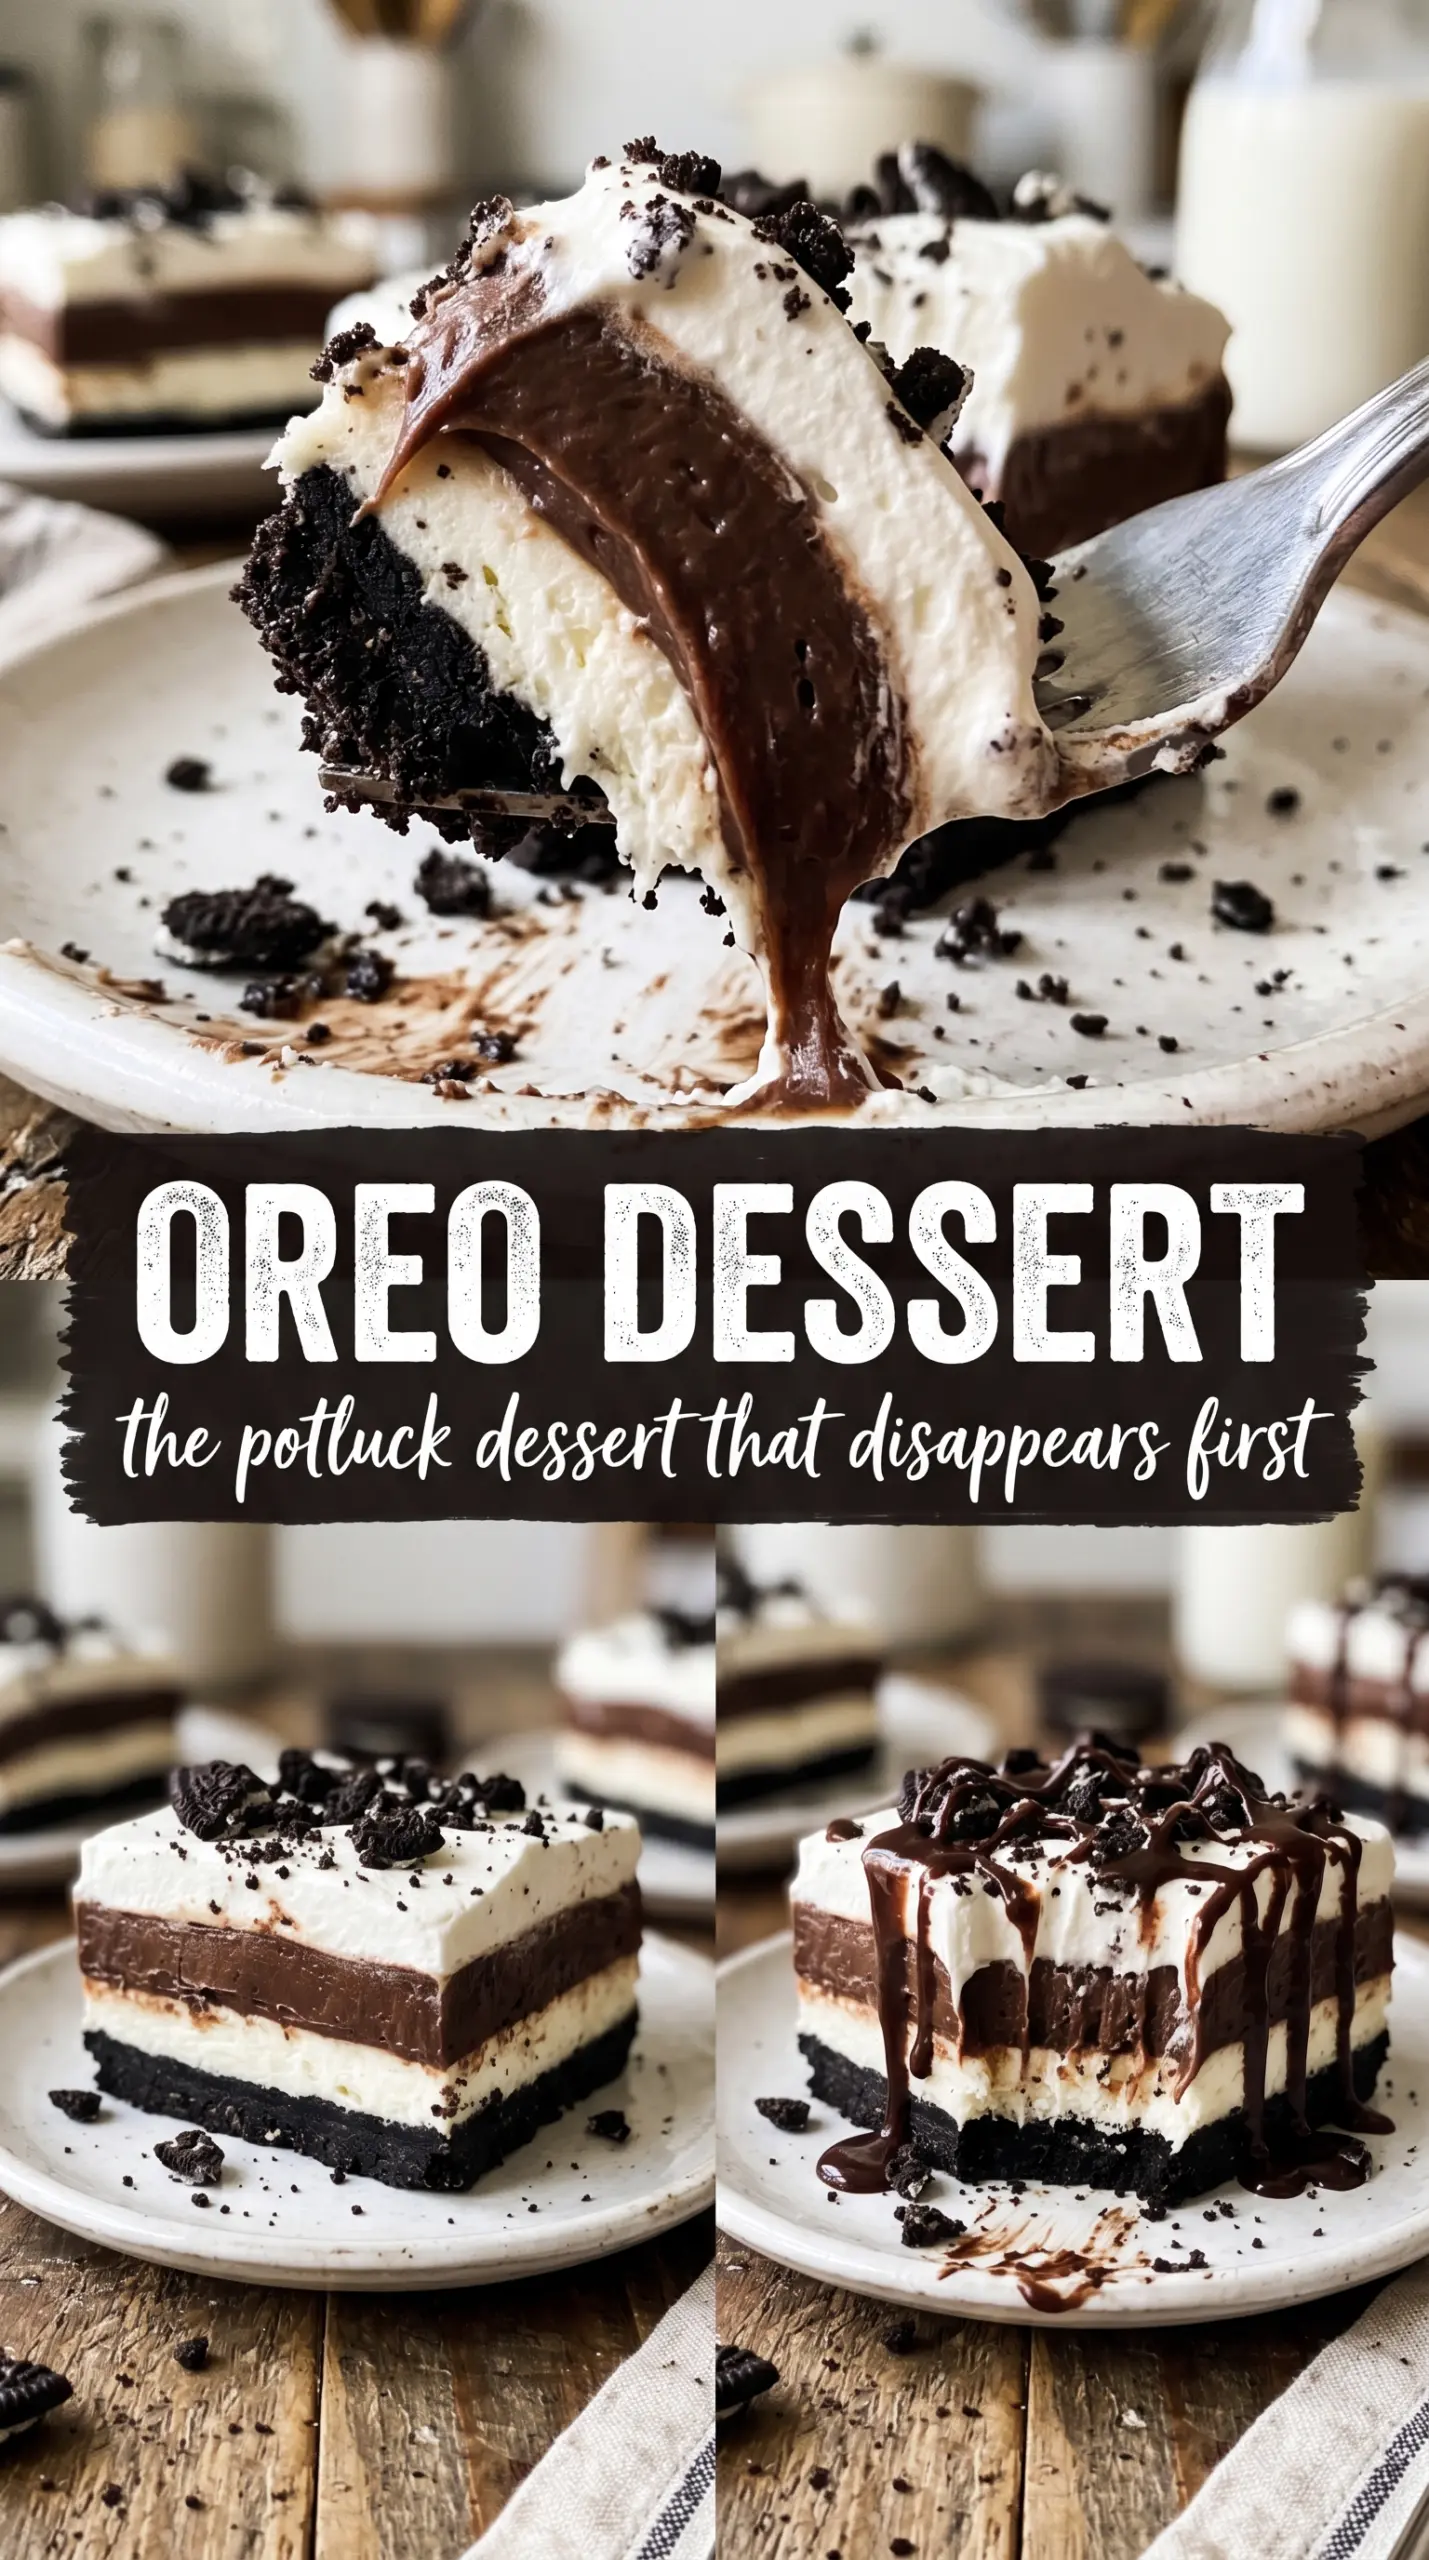
- Oreos — These do double duty as the crust and the garnish. You want them finely crushed for the base so they press together evenly, but keep the top a little more rustic so the garnish gives you texture on the last bite.
- Butter — Melted butter is what lets the crumbs hold together. Too little and the crust falls apart when sliced; too much and it turns dense and slick. The right amount gives you a firm base that still tastes like cookie, not grease.
- Cream cheese — This is what keeps the dessert from tasting flat and one-note sweet. Softened cream cheese beats smooth fastest; if it’s cold, you’ll get little lumps that show up in the finished layer. Full-fat cream cheese gives the best texture here.
- Whipped topping — Folded in, it lightens the cream cheese layer and helps it spread without tearing the crust. Homemade whipped cream works too, but it softens faster, so the dessert is best served within a day if you use it.
- Instant chocolate pudding — This is the layer that gives the dessert its pudding-shop richness and its sliceable center. You need instant, not cook-and-serve, because the quick-thickening texture is what keeps the layers distinct.
- Cold whole milk — Whole milk gives the pudding a fuller body and a smoother set. Low-fat milk works in a pinch, but the filling won’t taste quite as rich and can set a little looser.
Building the Layers Without Smearing the Edges
Pressing the Crust Firmly
Mix the crushed Oreos with melted butter until every crumb looks damp, then press the mixture hard into the bottom of a 9×13 dish. A flat-bottomed measuring cup helps you get an even layer without loose patches. Chill it for 15 minutes so the butter firms up before the fillings go on. If the crust seems sandy, it usually means the crumbs weren’t crushed fine enough or the butter didn’t get worked through all the way.
Making the Cream Cheese Layer Smooth
Beat the softened cream cheese and powdered sugar until the mixture turns completely smooth before you add the whipped topping. Scrape the bowl well, especially along the bottom edge where little lumps like to hide. Fold in the whipped topping gently so you keep the layer airy. If you stir too hard, the mixture gets loose and won’t sit neatly over the crust.
Setting the Pudding Quickly
Whisk the pudding mix with cold milk for the full 2 minutes, then stop and let it stand just long enough to thicken before spreading it on. It should look glossy and mound softly when you drag the whisk through it. If it still looks thin, wait another minute; pouring too soon is how the layers bleed together. Spread it over the cream cheese layer with a light hand so you don’t dig a trench into the middle.
Finishing With a Fluffy Top
Spread the remaining whipped topping over the pudding in an even layer, then scatter crushed Oreos generously over the top. Aim for full coverage so every square gets a little crunch, but don’t press the crumbs down into the topping or they’ll disappear. Cover the dish and chill it at least 4 hours, though overnight gives you the cleanest slices and the best texture.
How to Adapt This Oreo Dessert Without Losing the Structure
Make it gluten-free
Use gluten-free chocolate sandwich cookies in place of standard Oreos. The crust still presses and chills the same way, and the filling layers don’t need any other changes. You may notice the cookie crumbs are a touch softer, so give the dessert the full chilling time before slicing.
Swap the whipped topping for homemade whipped cream
You can replace the whipped topping with freshly whipped cream, but the dessert won’t hold quite as long. Whip it to medium peaks and fold it in gently so the cream cheese layer stays light. This version tastes a little fresher and less sweet, but it’s best served the same day or the next day at most.
Use vanilla pudding for a milder cookies-and-cream version
Vanilla pudding softens the chocolate intensity and lets the Oreo flavor stand out more. The dessert will taste lighter and sweeter, with a clearer cookies-and-cream note. This swap works best when you want the Oreo crust and topping to stay the main event.
Storage and Reheating
- Refrigerator: Keeps well for 3 to 4 days covered. The crust softens a bit over time, but the flavor holds.
- Freezer: Freezing isn’t ideal for the full dessert because the pudding and whipped topping can turn grainy after thawing. If you freeze it, expect a softer, less clean texture and thaw it slowly in the refrigerator.
- Reheating: No reheating needed. Serve it cold straight from the fridge, and use a sharp knife wiped clean between cuts for the neatest squares.
Answers to the Questions Worth Asking
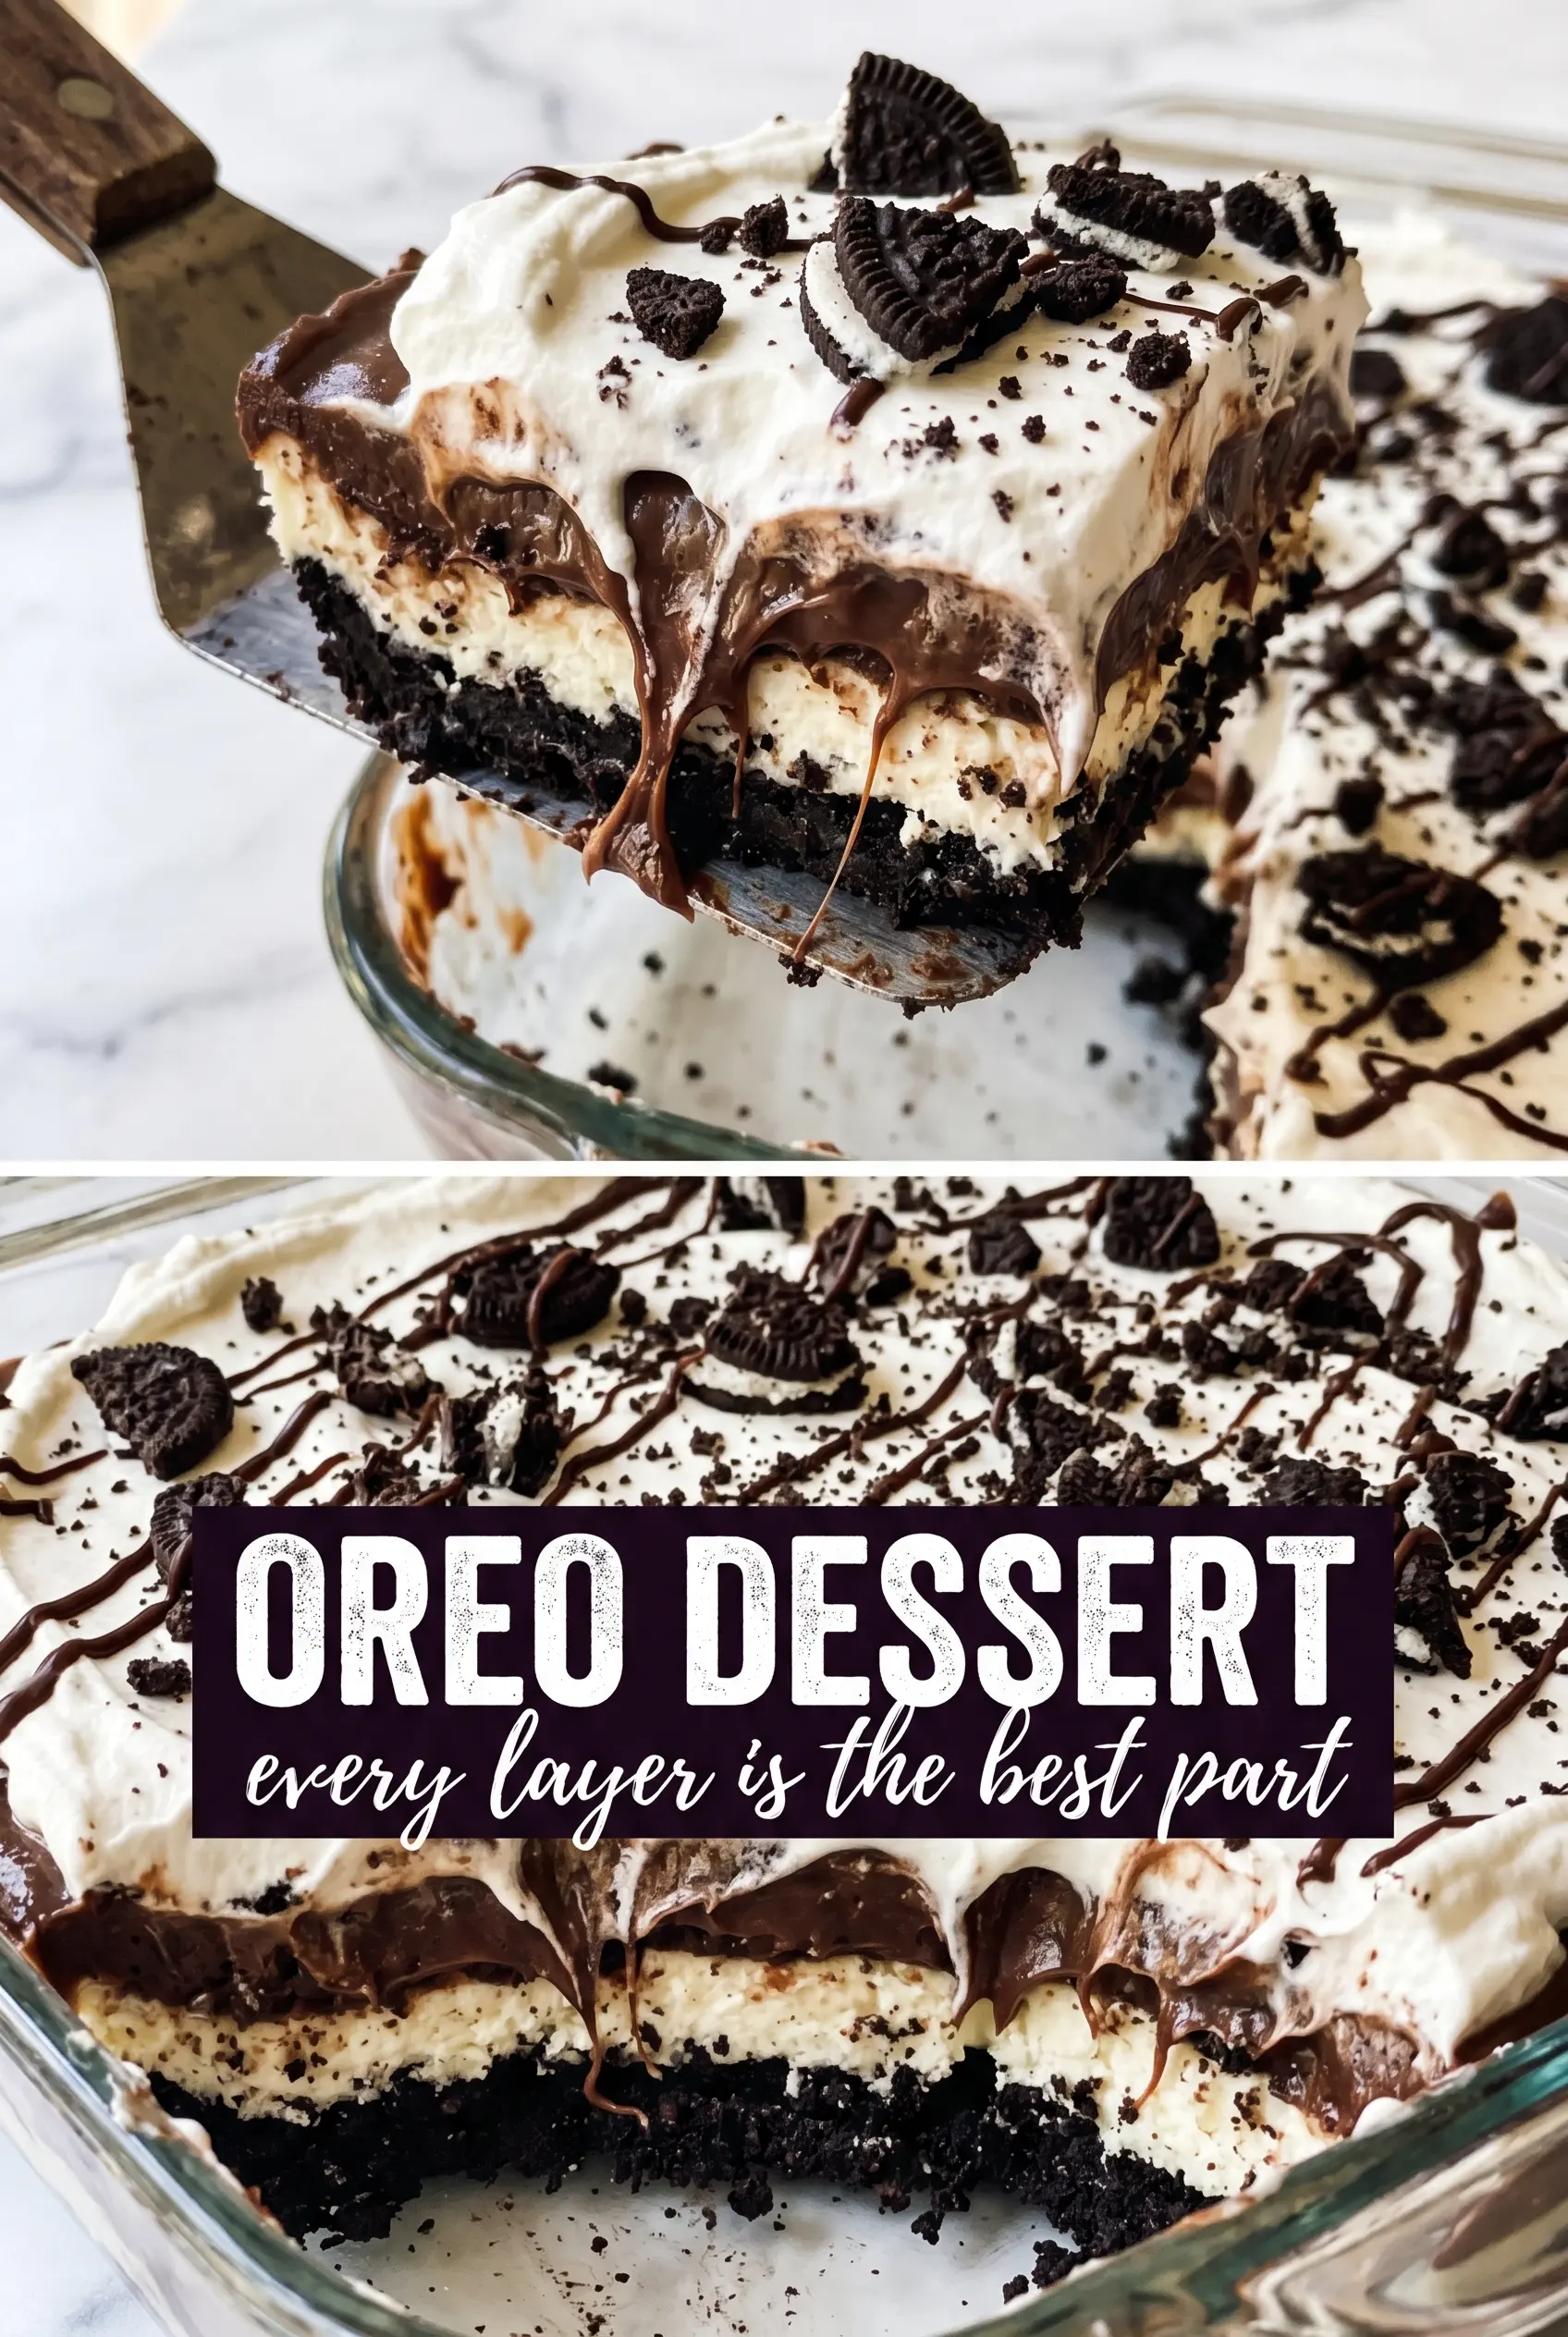
Oreo Dessert (No-Bake Oreo Icebox Cake)
Ingredients
Equipment
Method
- Mix the finely crushed Oreo cookies with the melted butter until the crumbs look evenly coated, then press firmly into the bottom of a 9x13 dish to form a tight layer. Refrigerate for 15 minutes so the crust firms up.
- Beat the softened cream cheese and powdered sugar until smooth, then fold in 1 cup of whipped topping until combined. Spread the mixture over the chilled Oreo crust in an even layer.
- Whisk the instant chocolate pudding mix with the cold whole milk for 2 minutes until thickened and glossy. Spread the pudding evenly over the cream cheese layer to the edges.
- Spread the remaining 2 cups of whipped topping over the pudding layer, covering the surface completely. Sprinkle crushed Oreos generously over the top for a crisp, crunchy finish.
- Refrigerate the dessert for at least 4 hours or overnight until fully set. Cut into squares and serve once the layers hold their shape.