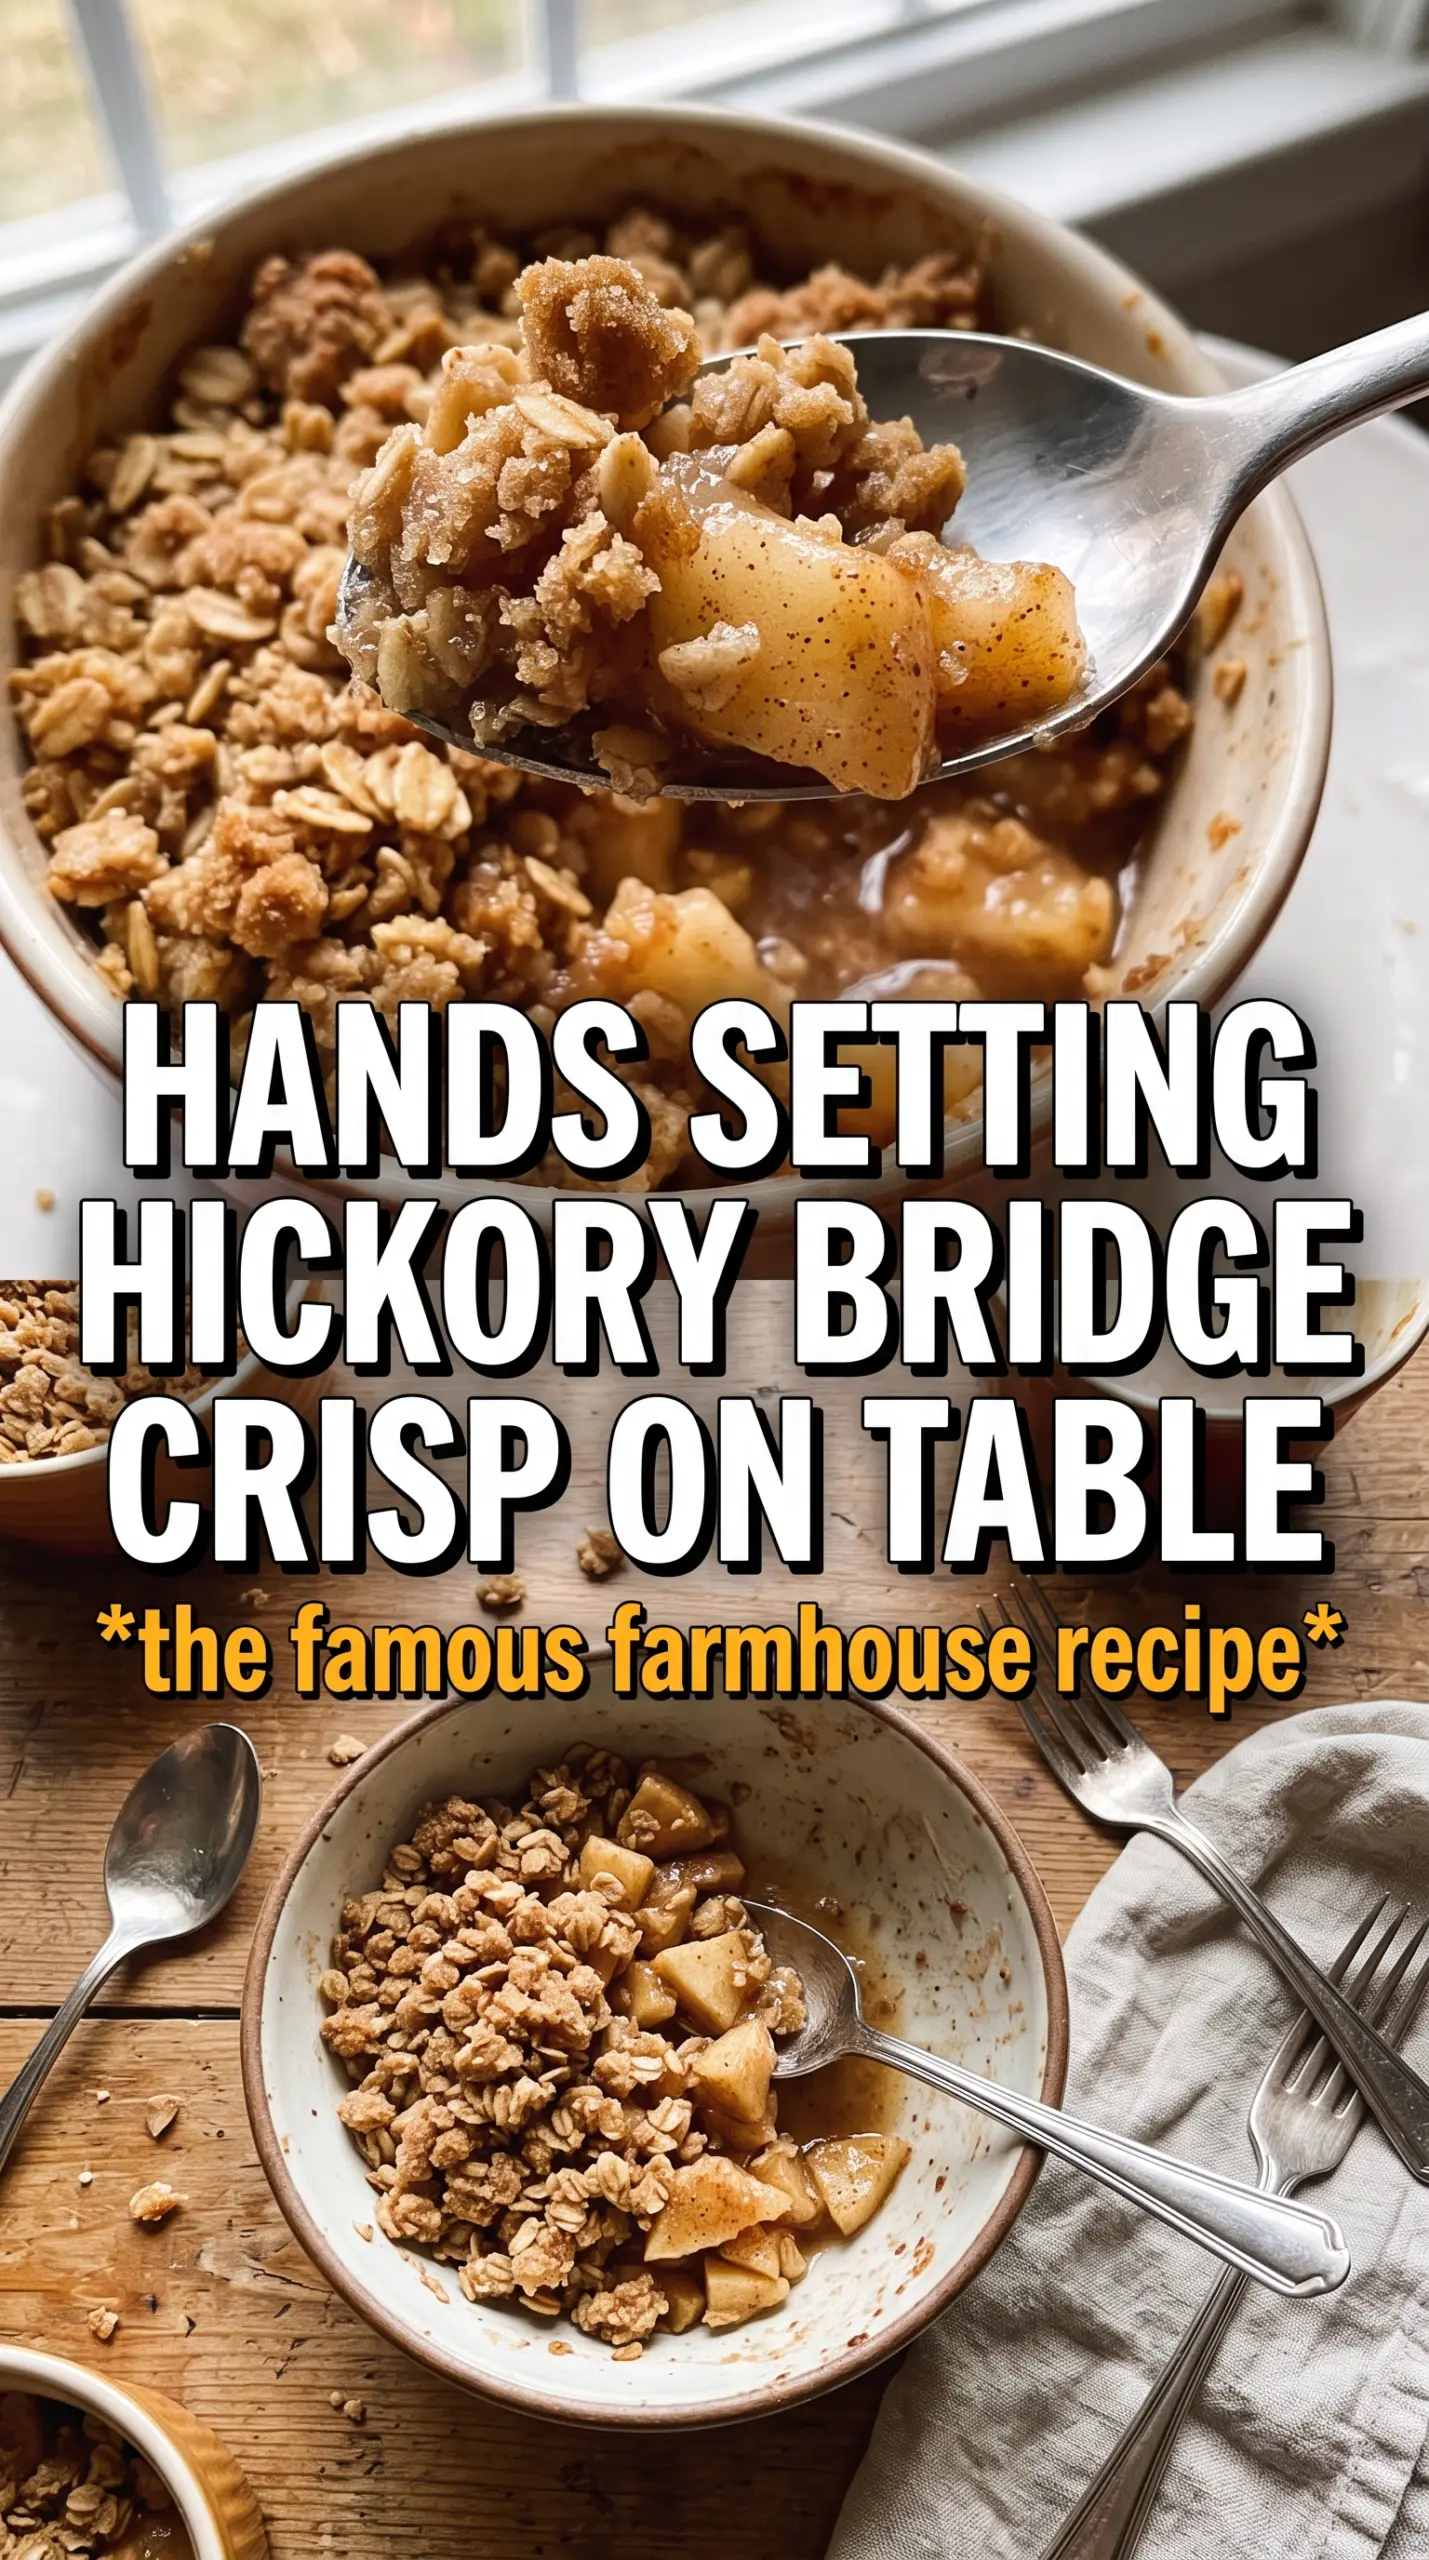
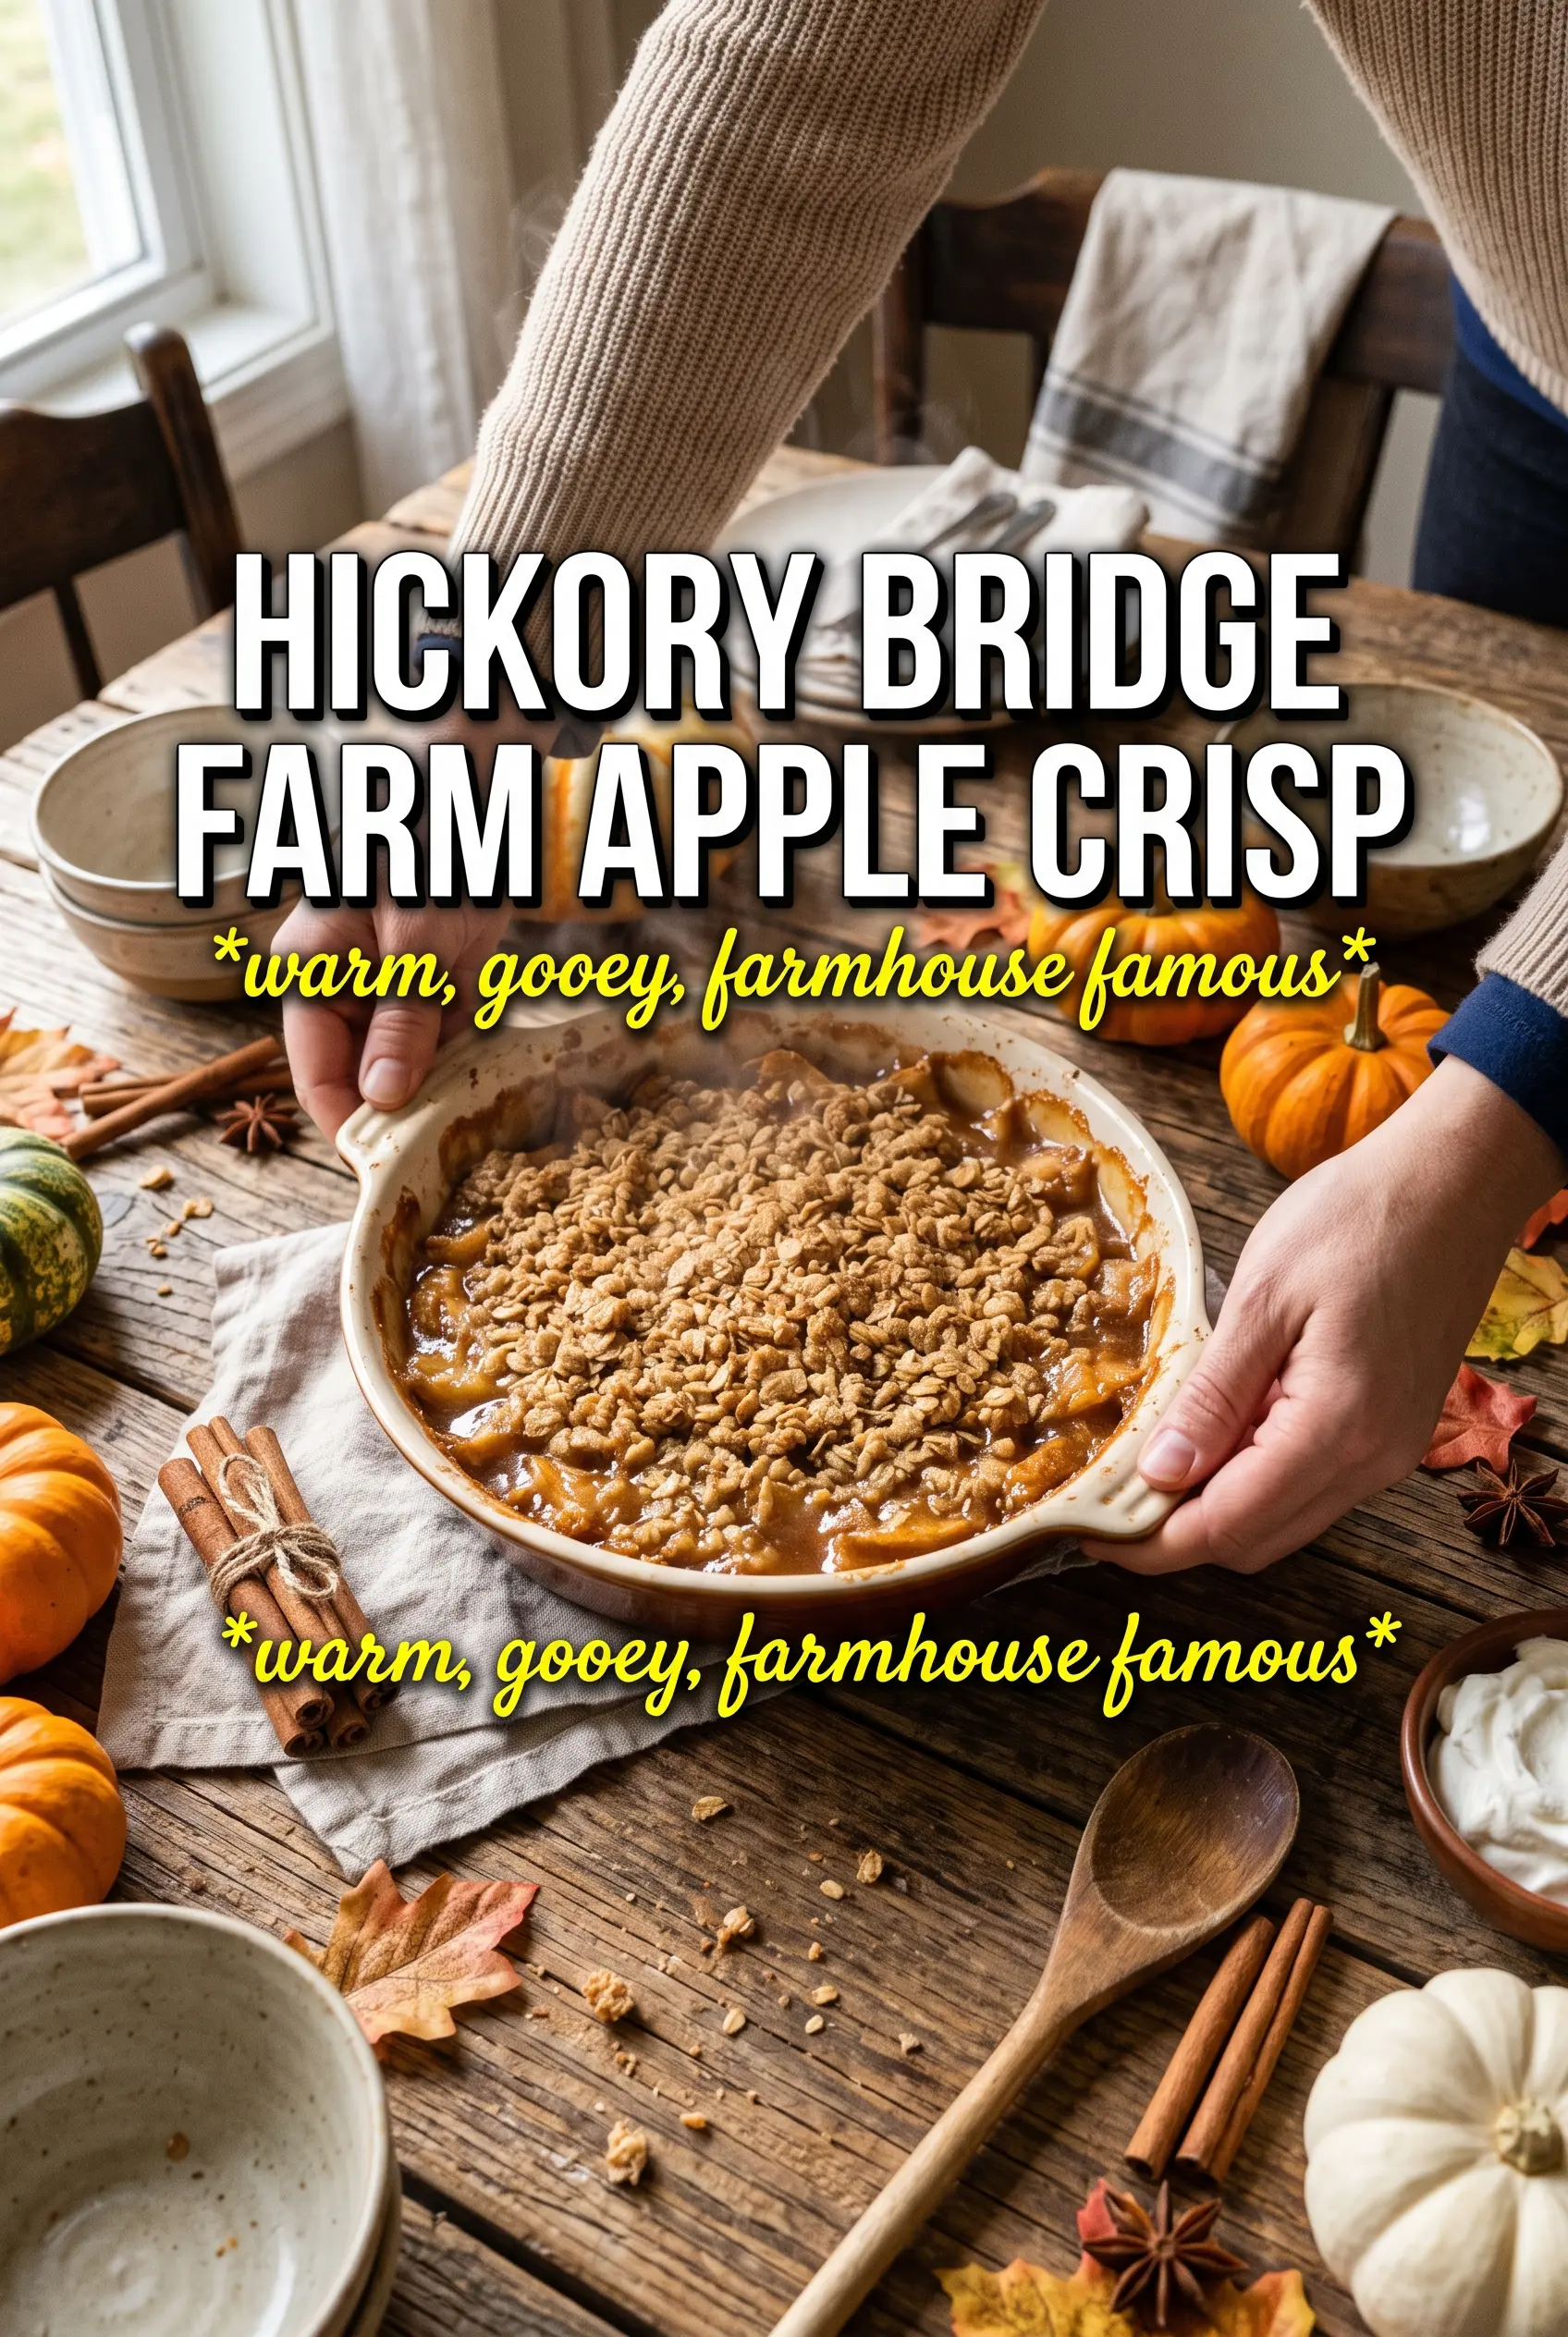
Hickory Bridge Farm Apple Crisp bakes up with a deep, buttery oat crumble and a soft apple filling that bubbles up around the edges just enough to coat the topping below it. The best part is the contrast: crisp, craggy streusel on top, tender spiced apples underneath, and those little caramelized pockets where the brown sugar and butter meet in the oven.
What makes this version work is the heavy-handed crumble. A lot of apple crisps skimp on topping, which leaves you with too much fruit and not enough texture. Here, the oat mixture is packed on thick, and the cold butter is worked in just enough to form big clumps instead of sandy crumbs. That gives you the farmhouse-style finish this dessert is known for.
Below, I’ve broken down the one timing detail that keeps the topping crisp, plus a few easy swaps if you need to work with what’s in the pantry. It’s the kind of dessert that feels unfussy on purpose, which is exactly why it earns a spot in the regular rotation.
The topping baked up thick and buttery with those big oat clumps I was hoping for, and the apples still held their shape instead of turning mushy. I served it after 15 minutes with vanilla ice cream and it disappeared fast.
Save this Hickory Bridge Farm Apple Crisp for the nights when you want thick, buttery crumble and spiced apples under a golden farmhouse topping.
The Trick to Keeping the Apple Filling Thick, Not Watery
The cornstarch has to coat the fruit before the apples hit the pan. If you dump it on top or stir it in halfway through baking, it won’t do its job fast enough and you’ll end up with juice pooling under the crumble instead of a glossy, spoonable filling. The lemon juice matters too; it brightens the apples and helps keep the sweetness from tasting flat.
Apple choice matters more than people think. Use a firm baking apple that can handle a long trip in the oven without collapsing into sauce. If your apples are very juicy, slice them a little thicker so they hold their shape and don’t disappear under the topping.
What the Crumble Ingredients Are Doing Here
- Rolled oats — These give the topping its hearty, farmhouse texture. Quick oats turn softer and more uniform, so they won’t give you the same chunky crumble.
- Cold unsalted butter — Cold butter is what creates those big, baked-together clumps. If the butter gets too warm before baking, the topping turns sandy instead of crisp and craggy.
- Brown sugar — This is the ingredient that brings the caramel note and helps the topping bake into a deep golden crust. Packed brown sugar gives you a richer, moister crumble than white sugar alone.
- Apples — You want fruit that stays a little firm after baking. If you only have softer apples, use a mix of varieties so the filling doesn’t go mushy before the topping finishes.
- Spices — Cinnamon does most of the work, but the nutmeg and allspice keep the filling from tasting one-note. That little bit of background spice is what makes the dessert taste fully baked, not just sweet apples with sugar on top.
Building the Layers So the Topping Stays Crisp
Coating the Apples First
Toss the apple slices with the sugars, spices, cornstarch, and lemon juice until every piece looks lightly glazed. That even coating keeps the filling from separating into sweet syrup and plain fruit. Spread the apples in a thick, level layer in the baking dish so they cook at the same rate.
Making Big Butter Clumps
Work the cold butter into the oat mixture with your fingertips until you have coarse crumbs mixed with chunks the size of peas and walnuts. Those clumps are what bake into the best crisp edges. If the mixture starts looking greasy or paste-like, the butter warmed up too much, and the topping won’t bake up as distinct and crunchy.
Baking Until It Bubbles at the Edges
Set the dish on a middle rack and bake until the top is deeply golden and the filling bubbles around the sides of the pan. That bubbling is the signal that the cornstarch has thickened the juices. If the top browns too quickly before the filling bubbles, lay a loose sheet of foil over it for the last stretch.
Letting It Rest Before Serving
Give the crisp at least 15 minutes to settle after it comes out of the oven. The filling tightens as it cools, which keeps the first scoop from running everywhere. If you cut in too soon, the juices will look looser than they really are.
How to Adjust Hickory Bridge Farm Apple Crisp for Different Kitchens
Gluten-Free Version
Swap the all-purpose flour for a good 1:1 gluten-free baking blend. The texture stays close to the original, though the topping may bake a little more delicately, so let it cool before scooping if you want cleaner servings.
Dairy-Free Crisp
Use a firm plant-based butter substitute that comes in sticks, not a soft tub spread. You need the fat to stay cold and clump with the oats; softer substitutes can melt too fast and leave the topping greasy.
Less Sweet Filling
Cut the granulated sugar back slightly if your apples are naturally sweet, but keep the brown sugar in the topping. That caramel note helps the whole dessert taste balanced, and removing too much of it leaves the crisp flat.
Storage and Reheating
- Refrigerator: Store covered for up to 4 days. The topping softens a little, but the flavor stays excellent.
- Freezer: It freezes well after baking. Cool completely, wrap tightly, and freeze for up to 2 months; thaw in the fridge before reheating.
- Reheating: Warm in a 325F oven until the filling is hot and the topping crisps back up. The microwave softens the crumble, so use it only if you don’t mind losing that baked texture.
Questions I Get Asked About This Recipe
Hickory Bridge Farm Apple Crisp
Ingredients
Equipment
Method
- Preheat oven to 350F and generously grease a 9x13 baking dish.
- Toss apple slices with granulated sugar, brown sugar, cinnamon, nutmeg, allspice, cornstarch, and lemon juice, then spread in the prepared dish in a thick layer.
- Combine rolled oats, all-purpose flour, brown sugar, cinnamon, and salt, then work in cold butter with your hands until large, butter-streaked clumps form (keep the mixture cold as you mix).
- Pour and spread the crumble topping generously over the apples, piling it thick.
- Bake for 50-55 minutes, until the topping is deeply golden and the apple filling bubbles all around.
- Rest for 15 minutes before scooping, then serve with vanilla ice cream or whipped cream.