Golden, bubbling apple crisp with a crackly oat topping is the kind of dessert that disappears fast and never needs a second chance. The apples turn soft and jammy underneath while the crumble stays rustic and crisp on top, with just enough cinnamon and maple to make the whole dish smell like it’s been cooking all afternoon. When it comes out right, you get spoonfuls of tender fruit, sandy crumbs, and those caramelized edges everyone fights over.
The trick with this version is keeping the topping dry enough to bake into clumps, not a paste. Cold coconut oil does the same job butter would normally do here, but it needs to stay solid until it hits the oven. The apples also get a little cornstarch tossed in so the juices thicken instead of pooling at the bottom of the pan.
Below, I’ll walk you through the small details that matter most: which apples hold their shape best, how to tell when the crumble is ready, and how to make this ahead without losing that crisp topping.
The topping baked up crisp instead of soggy, and the apple layer thickened beautifully around the edges. I used coconut cream on top and it tasted like a bakery dessert.
Save this gluten-free vegan apple crisp for the nights when you want a bubbling fruit filling and a crunchy oat crumble without dairy or eggs.
The Secret to a Crisp Topping That Stays Crisp
Apple crisp goes wrong when the topping turns into a wet blanket before it even reaches the oven. That usually happens when the fat is too warm, the topping gets packed down, or the fruit releases more juice than the starch can handle. This version avoids all three problems by keeping the coconut oil cold, using enough oats and almond flour to absorb moisture, and giving the apples a light starch coating before they bake.
Brown sugar or coconut sugar both work here, but coconut sugar gives a slightly deeper, less molasses-heavy sweetness if you want the apples to stay front and center. Certified gluten-free oats matter, not regular oats with a label slapped on top. If oats are cross-contaminated, the recipe isn’t truly gluten-free, and the texture is the same either way, so it’s worth buying the right bag.
- Cold coconut oil — This is what gives the topping those little crisp pockets. If it’s soft or melted, the crumble bakes up dense and greasy instead of sandy and crisp.
- Almond flour — It softens the oat topping just enough to keep it tender. A swap to all-purpose flour won’t keep this recipe gluten-free, and coconut flour is too thirsty for a 1:1 replacement.
- Cornstarch — This thickens the apple juices as they bake so the filling turns glossy instead of soupy. Arrowroot can work if that’s what you have, but use a little less because it thickens faster.
- Certified GF rolled oats — Rolled oats give the topping structure and chew. Quick oats get mushier, and steel-cut oats stay too firm for this kind of crisp.
What Each Ingredient Is Actually Doing in This Apple Crisp
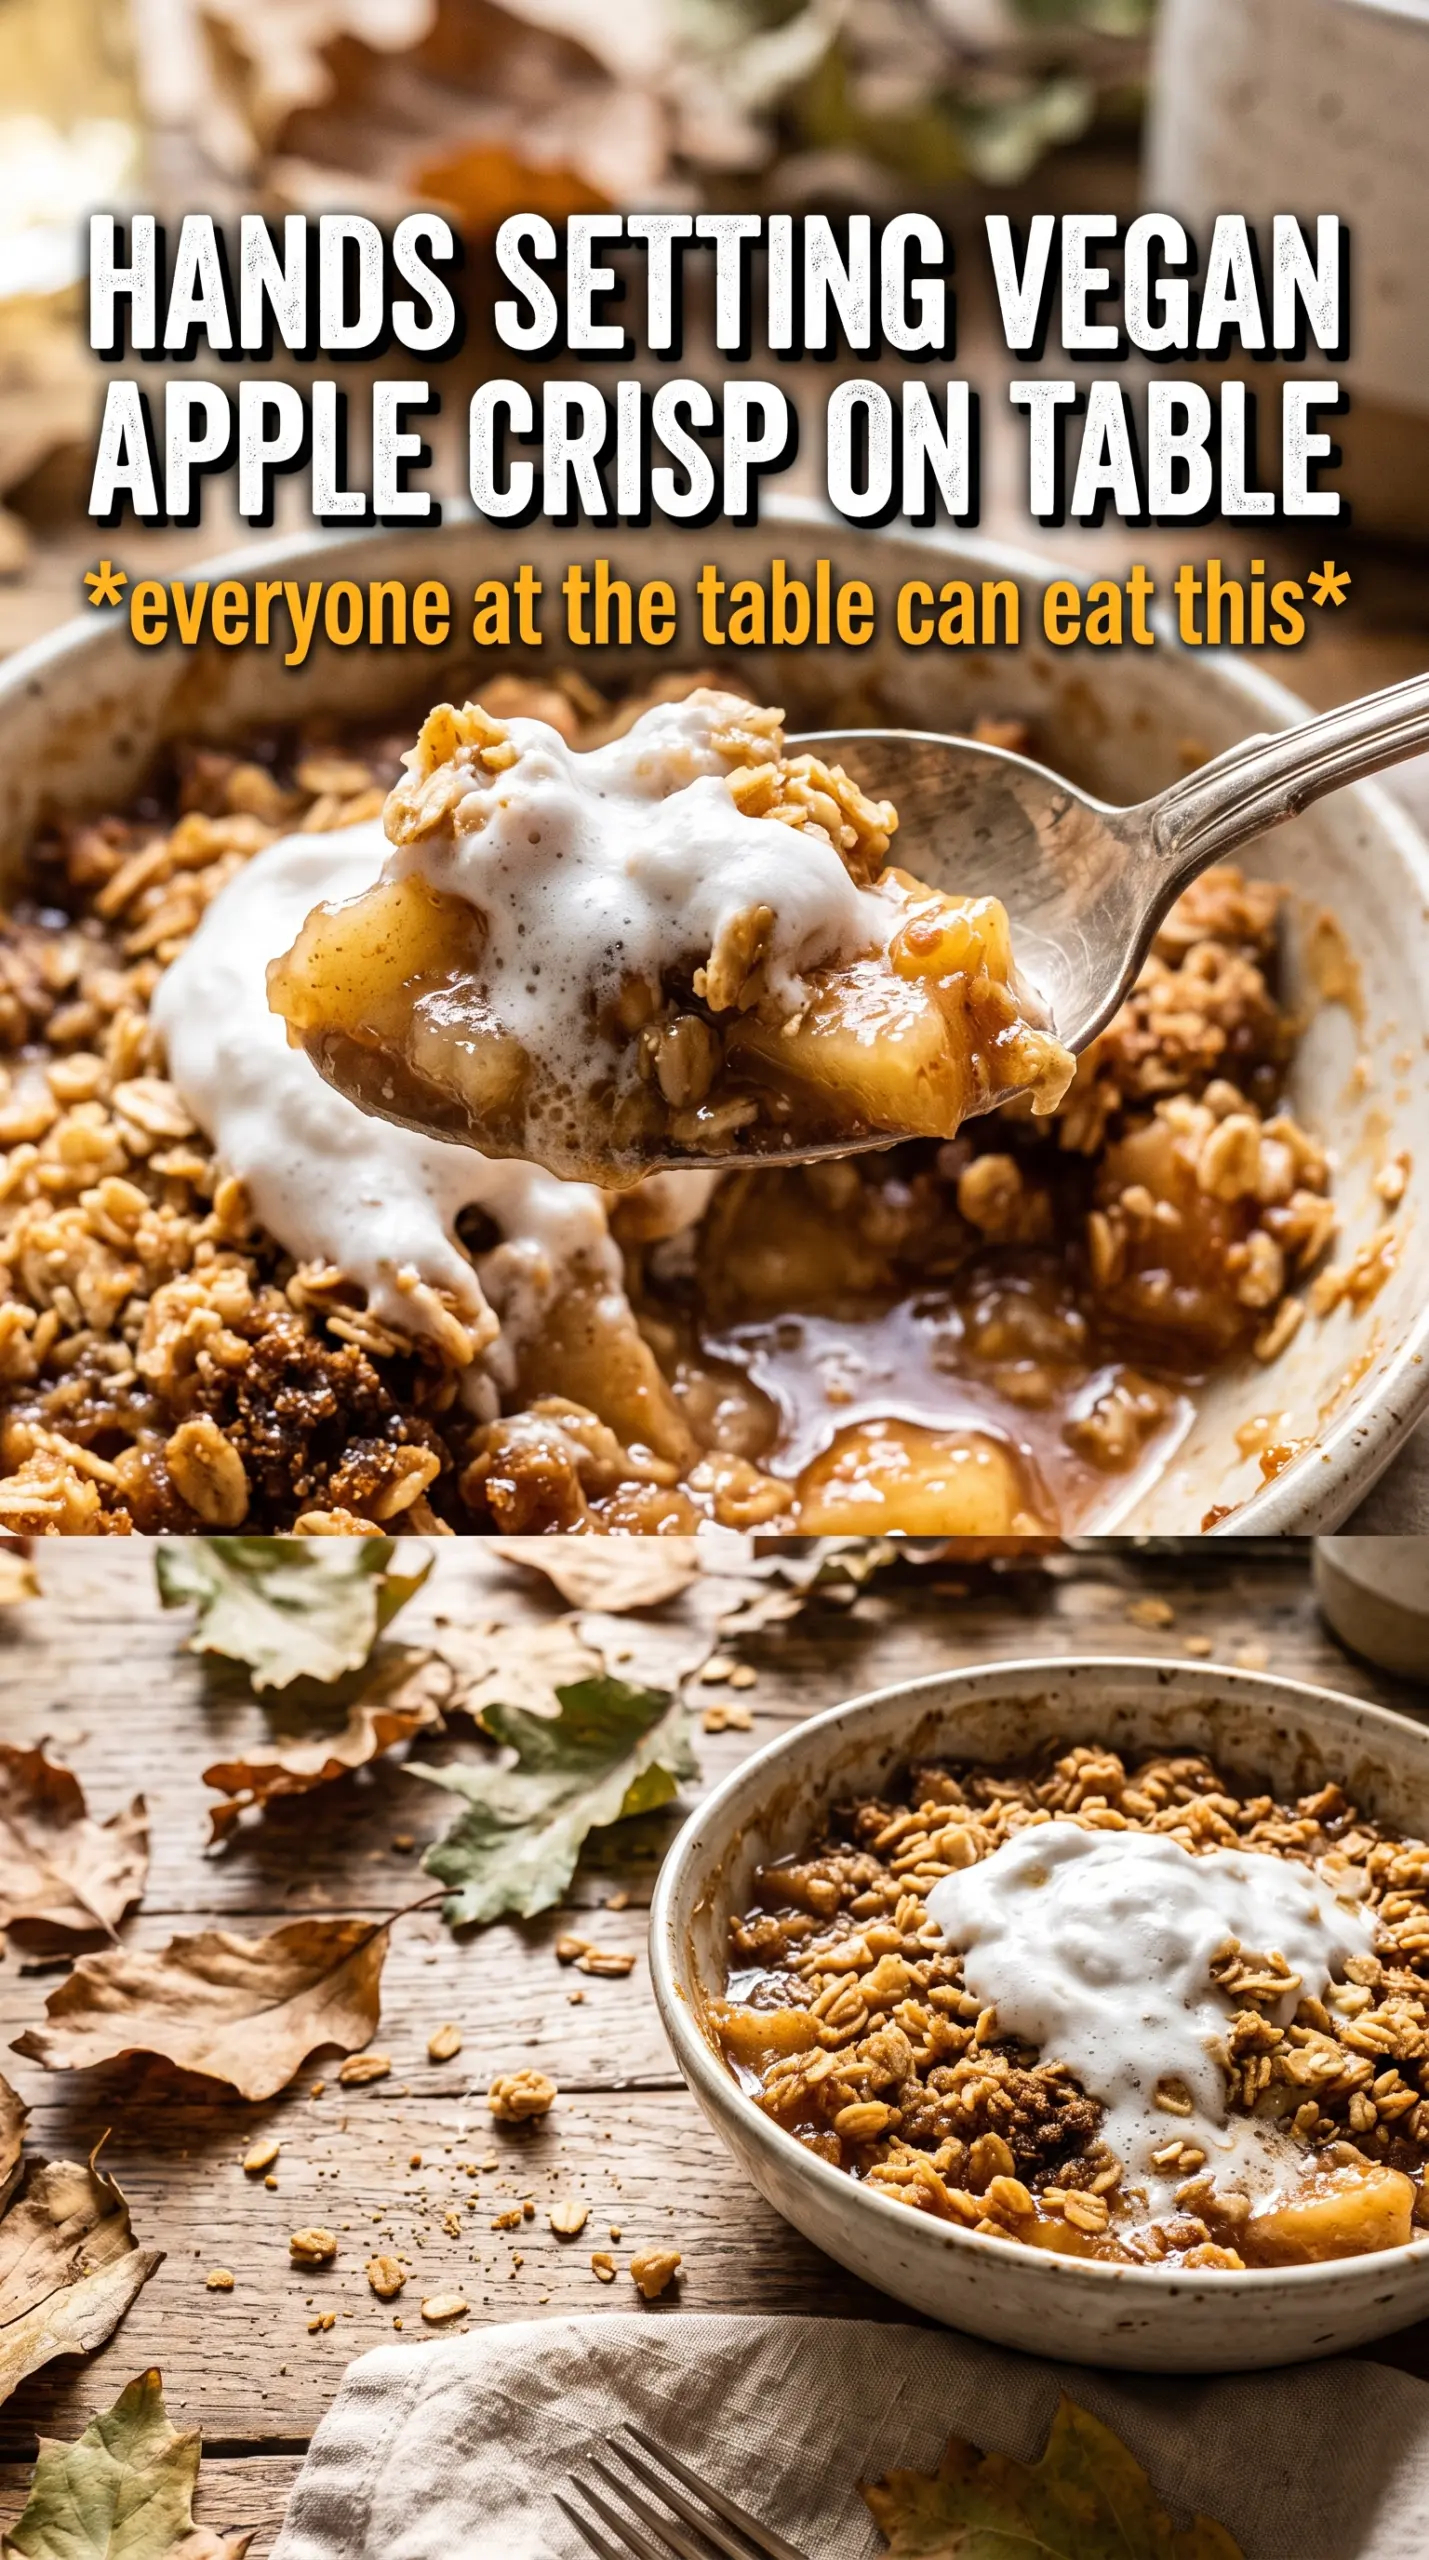
- Apples — Use a firm baking apple, or a mix of tart and sweet apples, so the filling softens without turning to applesauce. If all you have are very sweet apples, the maple syrup still works, but the finished crisp will taste flatter.
- Maple syrup — This adds a rounded sweetness that fits the apples better than plain white sugar. In the filling, it also helps the spices cling to every slice.
- Lemon juice — This keeps the apples bright and balances the sugar. It also helps slow browning while you assemble the dish.
- Almond flour and oats — Together they make the crumble hearty without needing butter. The oats give the crunch, and the almond flour fills in the gaps so the topping doesn’t taste dry.
- Brown sugar or coconut sugar — Brown sugar gives a deeper caramel note; coconut sugar stays a little lighter and less sticky. Either one works, but don’t cut it too far or the topping loses its crisp edges.
Building the Layers So the Filling Bubbles and the Topping Browns
Coating the Apples First
Toss the sliced apples with maple syrup, cinnamon, nutmeg, cornstarch, and lemon juice until every piece looks evenly coated. The cornstarch needs to touch the juices now, not later, or you’ll end up with a thin syrup at the bottom of the pan. Spread the fruit in an even layer in the baking dish so it cooks at the same rate. If the apple pile is mounded in the center, the middle stays too firm while the edges collapse.
Cutting the Coconut Oil Into the Crumble
Mix the oats, almond flour, sugar, cinnamon, and salt, then work the cold coconut oil in with a fork until you have pebble-sized pieces and sandy bits throughout. You want the mixture to look clumpy, not uniform. Drizzle in the maple syrup and toss just until the crumbs start to hold together. If you overmix, the topping turns pasty and bakes into one solid sheet instead of a crumb.
Baking Until the Edges Bubble
Scatter the crumble over the apples without pressing it down. Bake until the top is deep golden and the fruit is bubbling at the edges, which usually takes 40 to 45 minutes. If the top browns before the filling bubbles, your apples are still undercooked underneath. A loose sheet of foil over the top for the last 10 minutes can slow the browning without softening the crumble too much.
Letting It Set Before Serving
Give the crisp a short rest after it comes out of the oven. The filling thickens as it cools, and straight from the oven it can look looser than it will a few minutes later. That pause also keeps the serving spoon from dragging all the topping off in one heavy scoop. A spoonful with coconut ice cream on top is the move here.
How to Change It Without Losing the Crunch
Make It Nut-Free
Swap the almond flour for sunflower seed flour or finely ground pumpkin seeds. The topping will taste a little earthier, and the color may deepen more in the oven, but it still bakes up crisp and sturdy.
Use Coconut Sugar for a Less Sweet Finish
Use coconut sugar in both the filling and topping if you want a more subtle sweetness with a deeper caramel note. It won’t taste as bright as maple, but it lets the apples and cinnamon come through more clearly.
Make It Ahead for a Dinner Party
Assemble the apple layer and crumble separately, then keep them chilled until you’re ready to bake. If you build the whole dish too far ahead, the topping starts absorbing moisture and loses its crisp edge.
Storage and Reheating
- Refrigerator: Store covered for up to 4 days. The topping softens a little, but the flavor stays excellent.
- Freezer: It freezes well after baking. Cool completely, wrap tightly, and freeze in portions or as a whole dish for up to 2 months.
- Reheating: Warm in a 350°F oven until the center is hot and the topping firms back up, about 15 to 20 minutes for a small portion. The microwave makes the crumble soggy, so use it only if you don’t mind losing the crunch.
Answers to the Questions Worth Asking
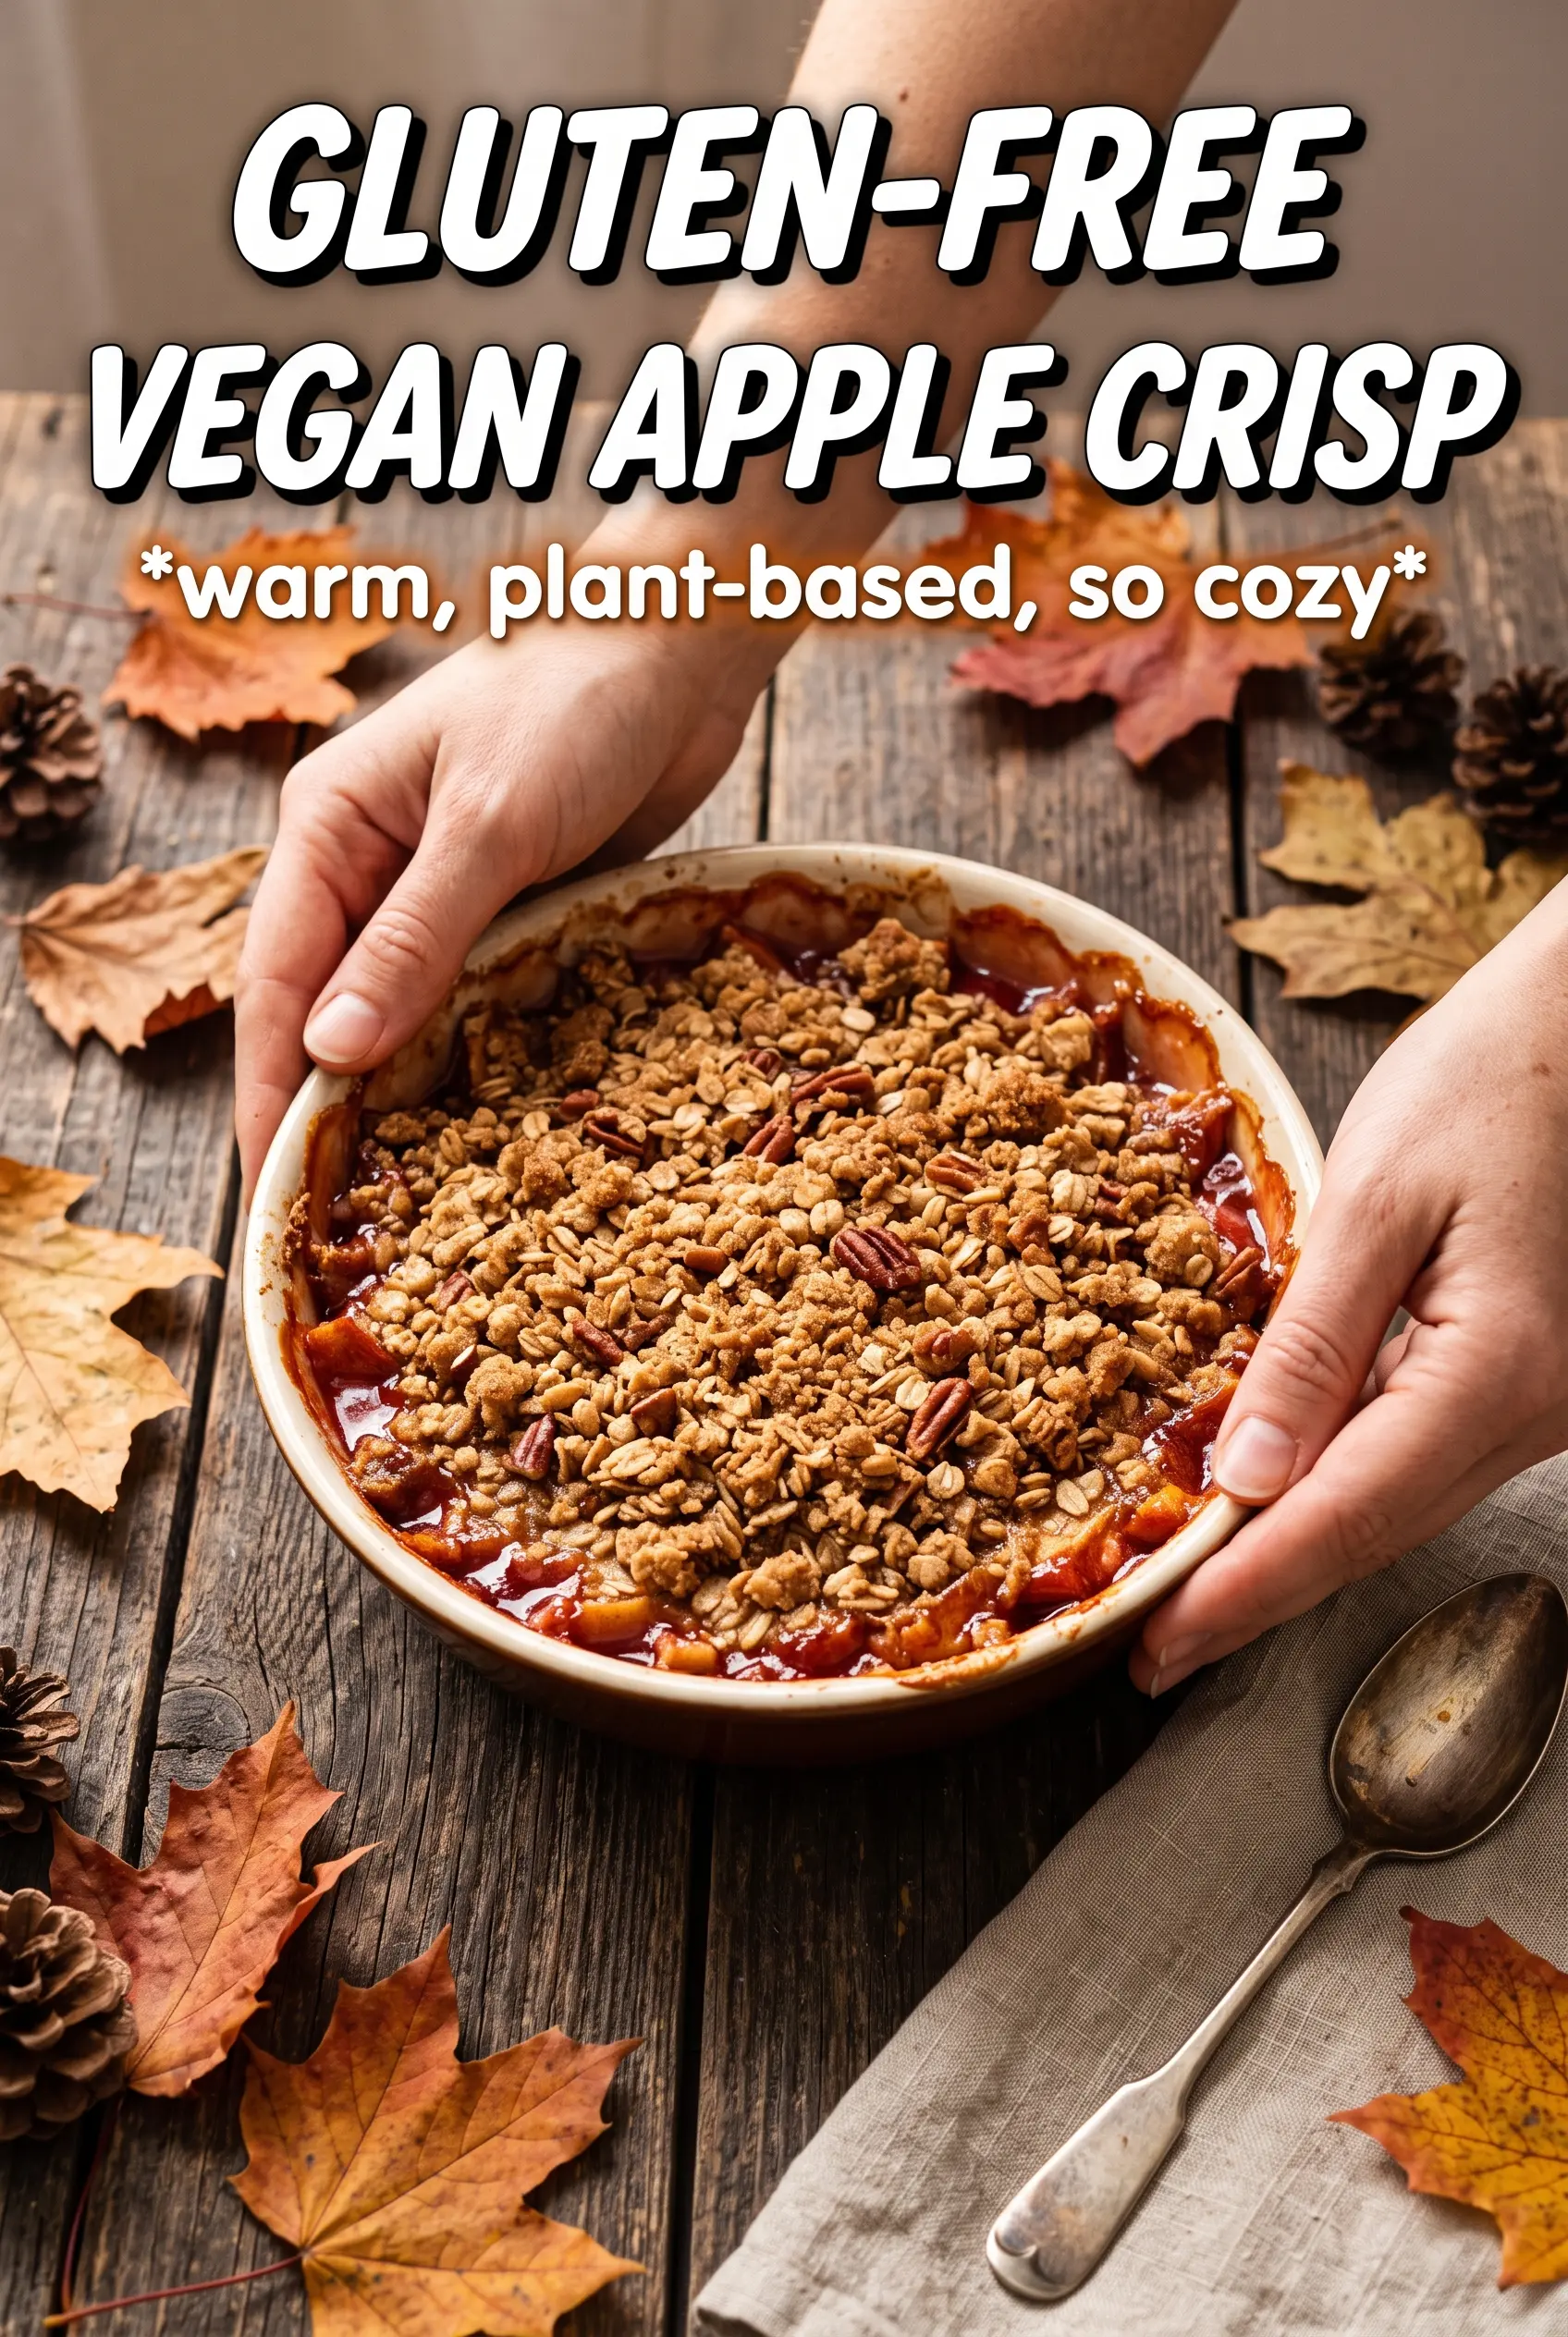
Gluten-Free Vegan Apple Crisp
Ingredients
Equipment
Method
- Preheat the oven to 375F and grease a 9x13 baking dish.
- Toss the apple slices with maple syrup, cinnamon, nutmeg, cornstarch, and lemon juice, then spread them evenly in the dish.
- Combine the certified GF rolled oats, almond flour, brown sugar, cinnamon, and salt, then cut in the cold solid coconut oil with a fork until crumbly.
- Drizzle maple syrup over the crumble mixture and toss until clumps form.
- Scatter the crumble over the apples, then bake for 40-45 minutes at 375F until golden and bubbling.
- Serve the apple crisp warm with coconut ice cream.