Golden, crumbly fruit crisp topping is what turns a pan of fruit into dessert people go back for seconds of before the fruit has even cooled. The best version isn’t sandy or dry; it bakes into chunky oat-studded clumps with a deep brown sugar flavor, crisp edges, and just enough butter to melt into the fruit below without going greasy. That contrast is what makes a crisp worth making in the first place.
This topping works because the dry ingredients are balanced for both structure and crumble, and the butter stays cold long enough to create those rough, jagged pieces that hold their shape in the oven. Rolled oats bring chew, flour gives the crumbs something to bind around, and brown sugar keeps the flavor rich instead of blandly sweet. A pinch of cinnamon and nutmeg is enough to read as warm and spiced without taking over the fruit.
Below, I’ve added the little details that matter most: how to get chunky clumps instead of dusty crumbs, when nuts or coconut help, and how far ahead you can mix it. If you’ve had crisp toppings melt into a paste or bake up dry and flat, this is the version that fixes that.
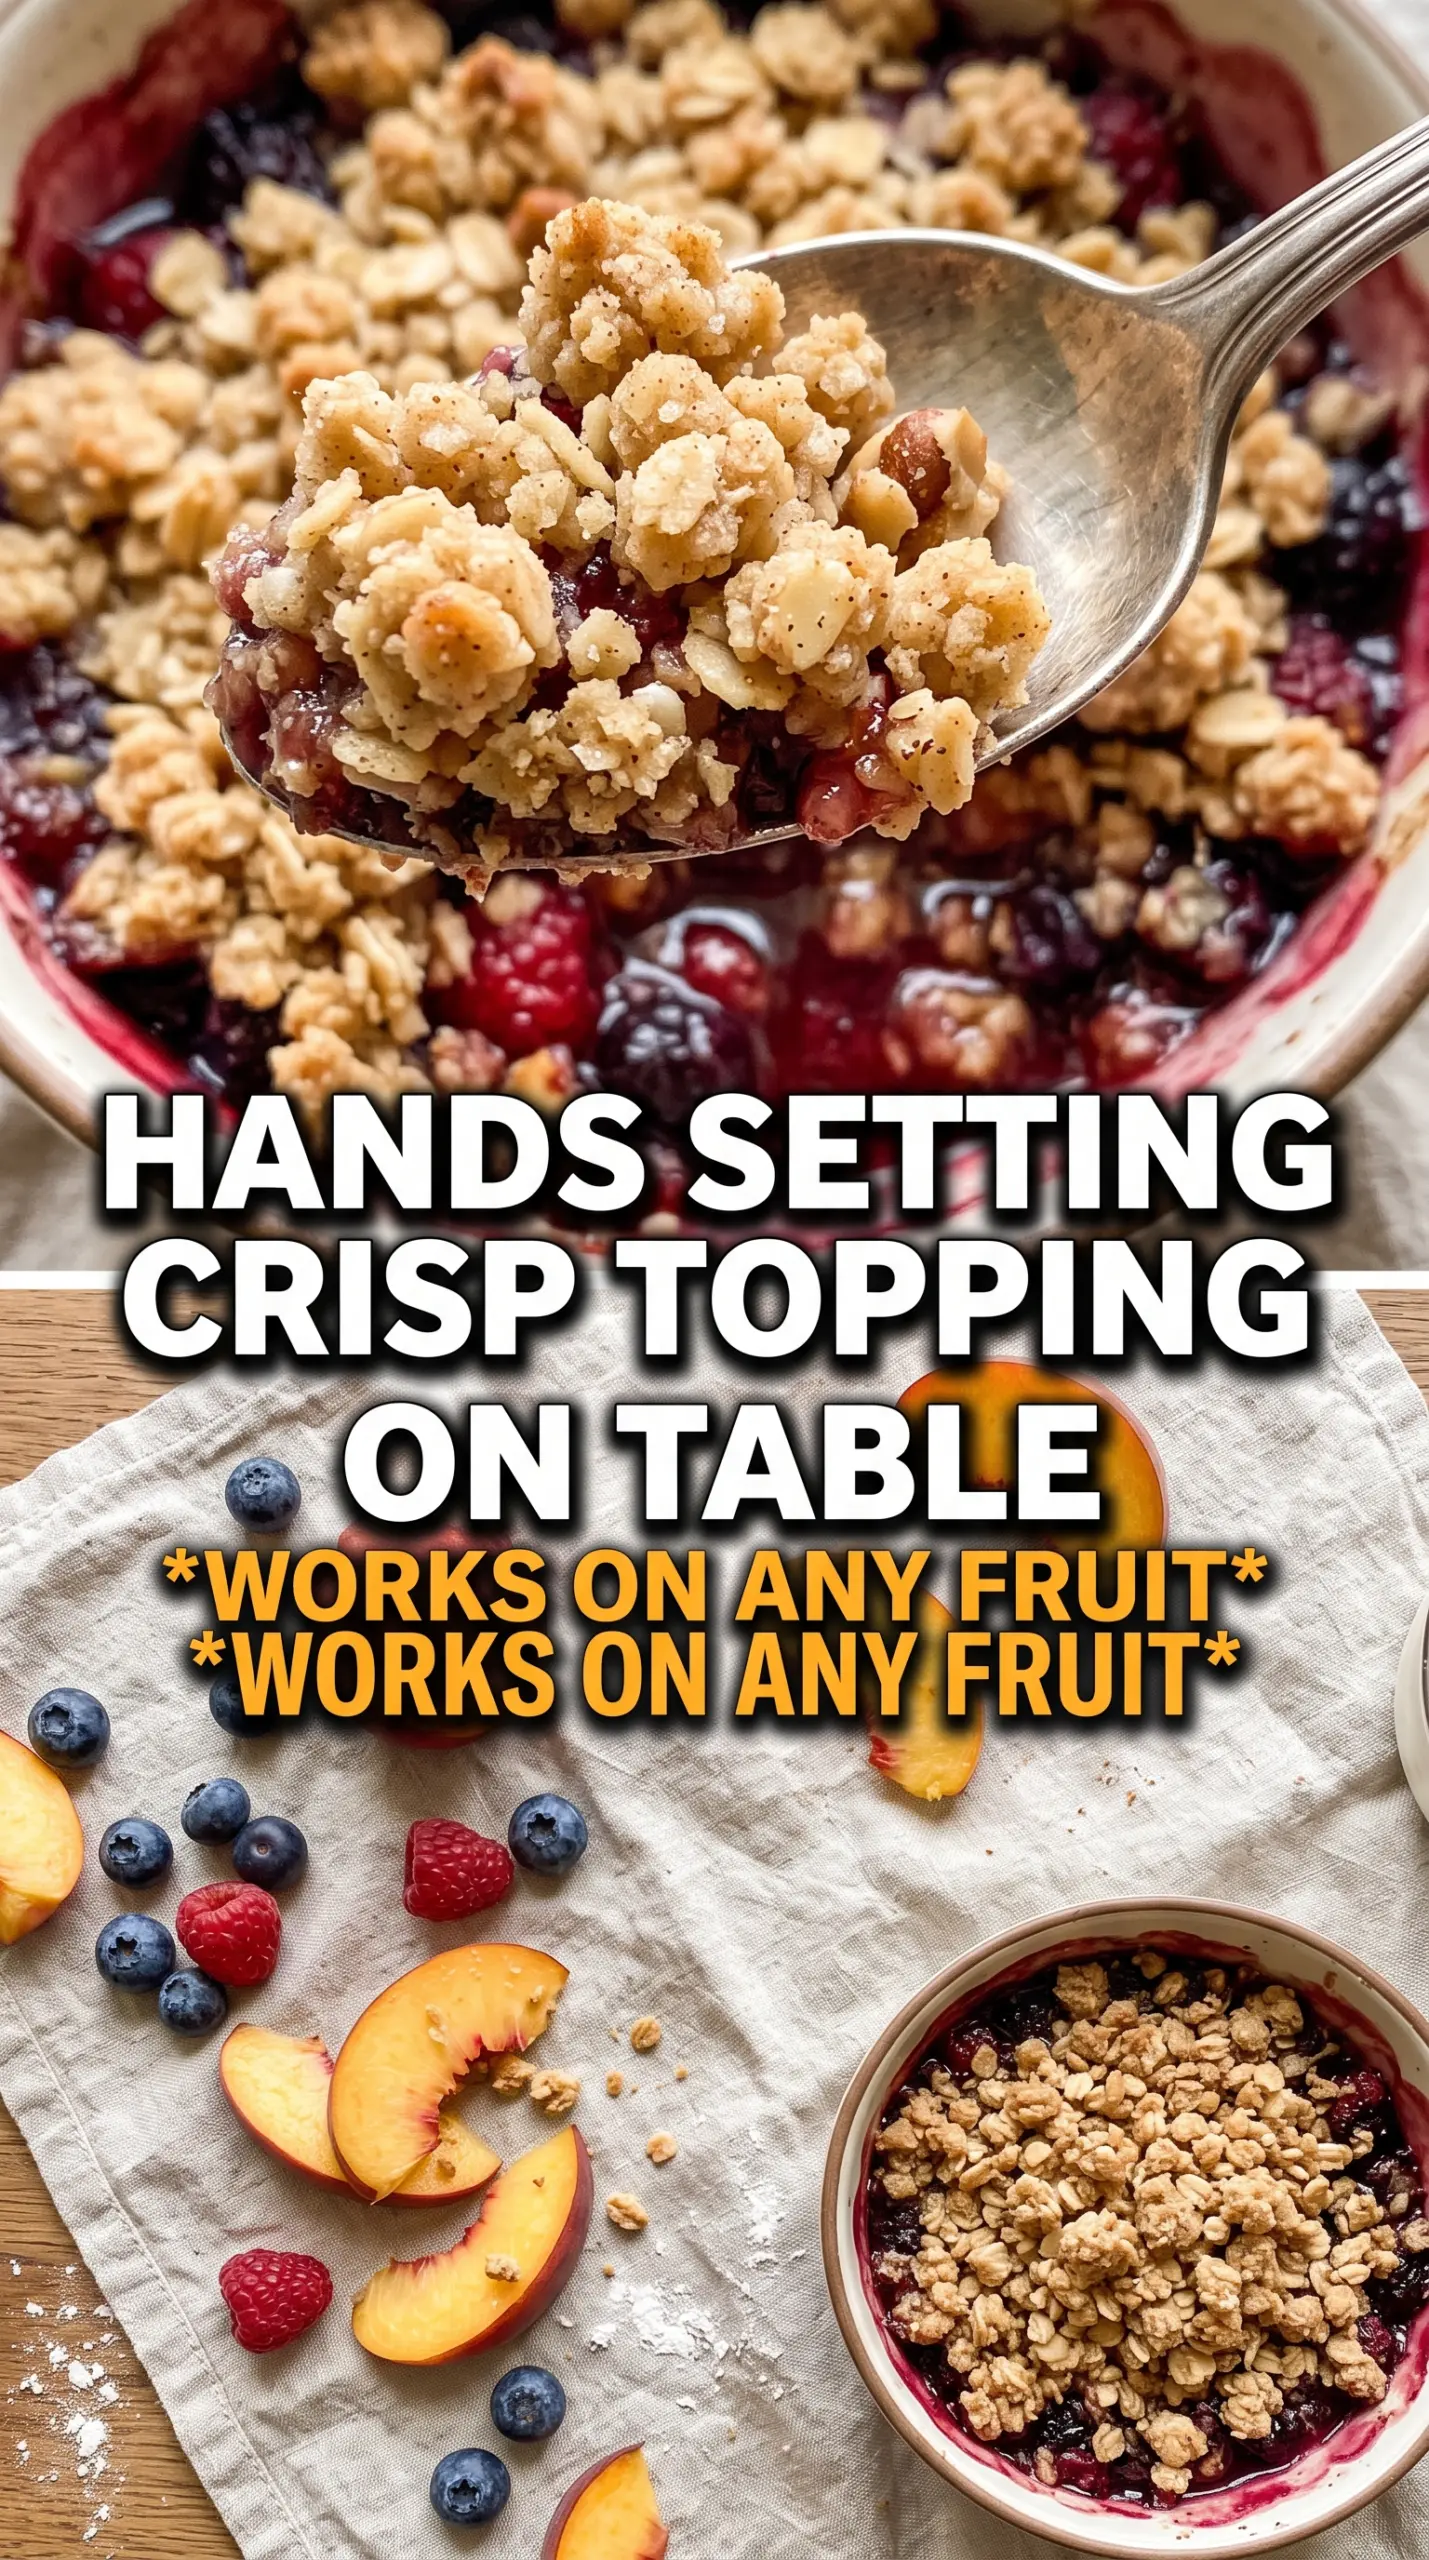
The topping baked up in big golden clumps instead of turning sandy, and the little bit of cinnamon made the peaches taste like they’d been simmering all day.
Like this chunky oat brown sugar crumble? Save it for apple crisps, peach cobblers, and any dessert that needs a crisp golden topping.
The Part That Keeps Crisp Topping Chunky Instead of Sandy
The biggest mistake with fruit crisp topping is warming the butter too much before it hits the oven. Once the butter starts melting into the flour and oats in the bowl, you lose the uneven little pockets that turn into crisp, nubbly clusters later. Cold butter is what gives you structure. Warm butter gives you paste.
Work the butter in until the mixture looks like shaggy rubble with a few pea-sized pieces still visible. Those bigger bits are not a problem; they’re the payoff. When they bake, they create the thick, irregular crumbles that hold up over juicy fruit instead of disappearing into it. If the mixture feels dusty and won’t clump, it usually needs a few more firm squeezes, not more flour.
- Rolled oats — These add chew and keep the topping from tasting like sweet pastry crumbs. Quick oats can work in a pinch, but the texture gets finer and less substantial.
- Brown sugar — This brings molasses depth and helps the topping bake into amber, crisp-edged clusters. Light or dark brown sugar both work; dark brown sugar gives a deeper caramel note.
- Cold unsalted butter — Unsalted lets you control the salt level, and cold butter is non-negotiable for the right crumb. If your butter softens while you’re mixing, chill the bowl for 10 minutes before continuing.
- Flour — Flour binds the crumbs just enough to hold together in the oven. If you need a gluten-free version, use a 1:1 gluten-free baking blend with a texture close to all-purpose flour.
- Optional nuts or coconut — Nuts add crunch and coconut adds a toasted edge. Add them with the dry ingredients so they distribute evenly instead of clumping in one spot.
What Each Ingredient Is Actually Doing in This Recipe
- Primary ingredient (the star) — Quality matters most. Choose the best you can find.
- Cooking medium (oil, butter, or broth) — This carries flavors and prevents dryness.
- Seasonings (salt, pepper, spices, herbs) — Layer flavors so nothing overpowers. Build depth gradually.
- Aromatics (garlic, onion, herbs) — Cook with fat to bloom flavors. Become the foundation.
- Supporting ingredients — Complement the main ingredient without overpowering it.
- Sauce or liquid (if applicable) — Brings flavors together. Balance richness with acid.
- Acid (lemon, vinegar, wine, or other) — Brightens and prevents flat-tasting results.
- Final finish (garnish, glaze, or sauce) — Prevents one-dimensional taste and adds visual appeal.
How to Mix It So the Oats Bake Into Clumps, Not Dust
Stir the dry ingredients first
Start by mixing the oats, flour, sugars, cinnamon, nutmeg, and salt until the color looks even. That step matters because cinnamon and salt tend to sink into one corner if you rush it. If you’re adding nuts or coconut, toss them in now so they get coated and won’t burn in a concentrated patch.
Cut in the butter without melting it
Add the cold butter cubes and work them in with your fingertips, two forks, or a pastry cutter until the mixture looks like coarse pebbles with a few larger clumps. Stop before it turns uniform. If you keep going until it looks like wet sand, the topping will bake up dense instead of crisp and craggy.
Look for hold-together crumbs
Grab a handful and squeeze gently. It should hold shape, then break apart with pressure. If it falls apart completely, the butter hasn’t been worked in enough; if it feels greasy or pasty, the butter got too warm. Use it right away over fruit, or chill it briefly so the butter firms back up before baking.
Make it nutty and extra crisp
Add 1/2 cup chopped pecans, walnuts, or almonds with the dry ingredients. Nuts bring more crunch and a toasted edge, but they also make the topping a little more rustic and less uniform, which is a good trade if you want bigger texture over fruit.
Add coconut for a toasted, bakery-style finish
Stir in 1/4 cup shredded coconut for a little extra chew and sweetness. It browns fast, so keep an eye on the oven during the last 10 minutes if your fruit filling already bakes hot and bubbly.
Make it gluten-free
Use a good 1:1 gluten-free flour blend in place of the all-purpose flour and check that your oats are certified gluten-free. The texture stays close to the original, though the crumbs may be a little more tender and less structured.
Storage and Reheating
- Refrigerator: Store the unbaked topping in an airtight container up to 5 days. It may clump a little more in the fridge, which is fine.
- Freezer: Freeze up to 3 months in a freezer bag or container. I like to flatten it slightly so it thaws faster and stays easy to sprinkle.
- Reheating: There’s no reheating needed for the topping itself; bake it straight from the fridge or freezer over fruit. If it goes onto fruit cold, add a few extra minutes to the bake time so the butter has time to melt and the crumbs can brown.
Questions I Get Asked About This Recipe
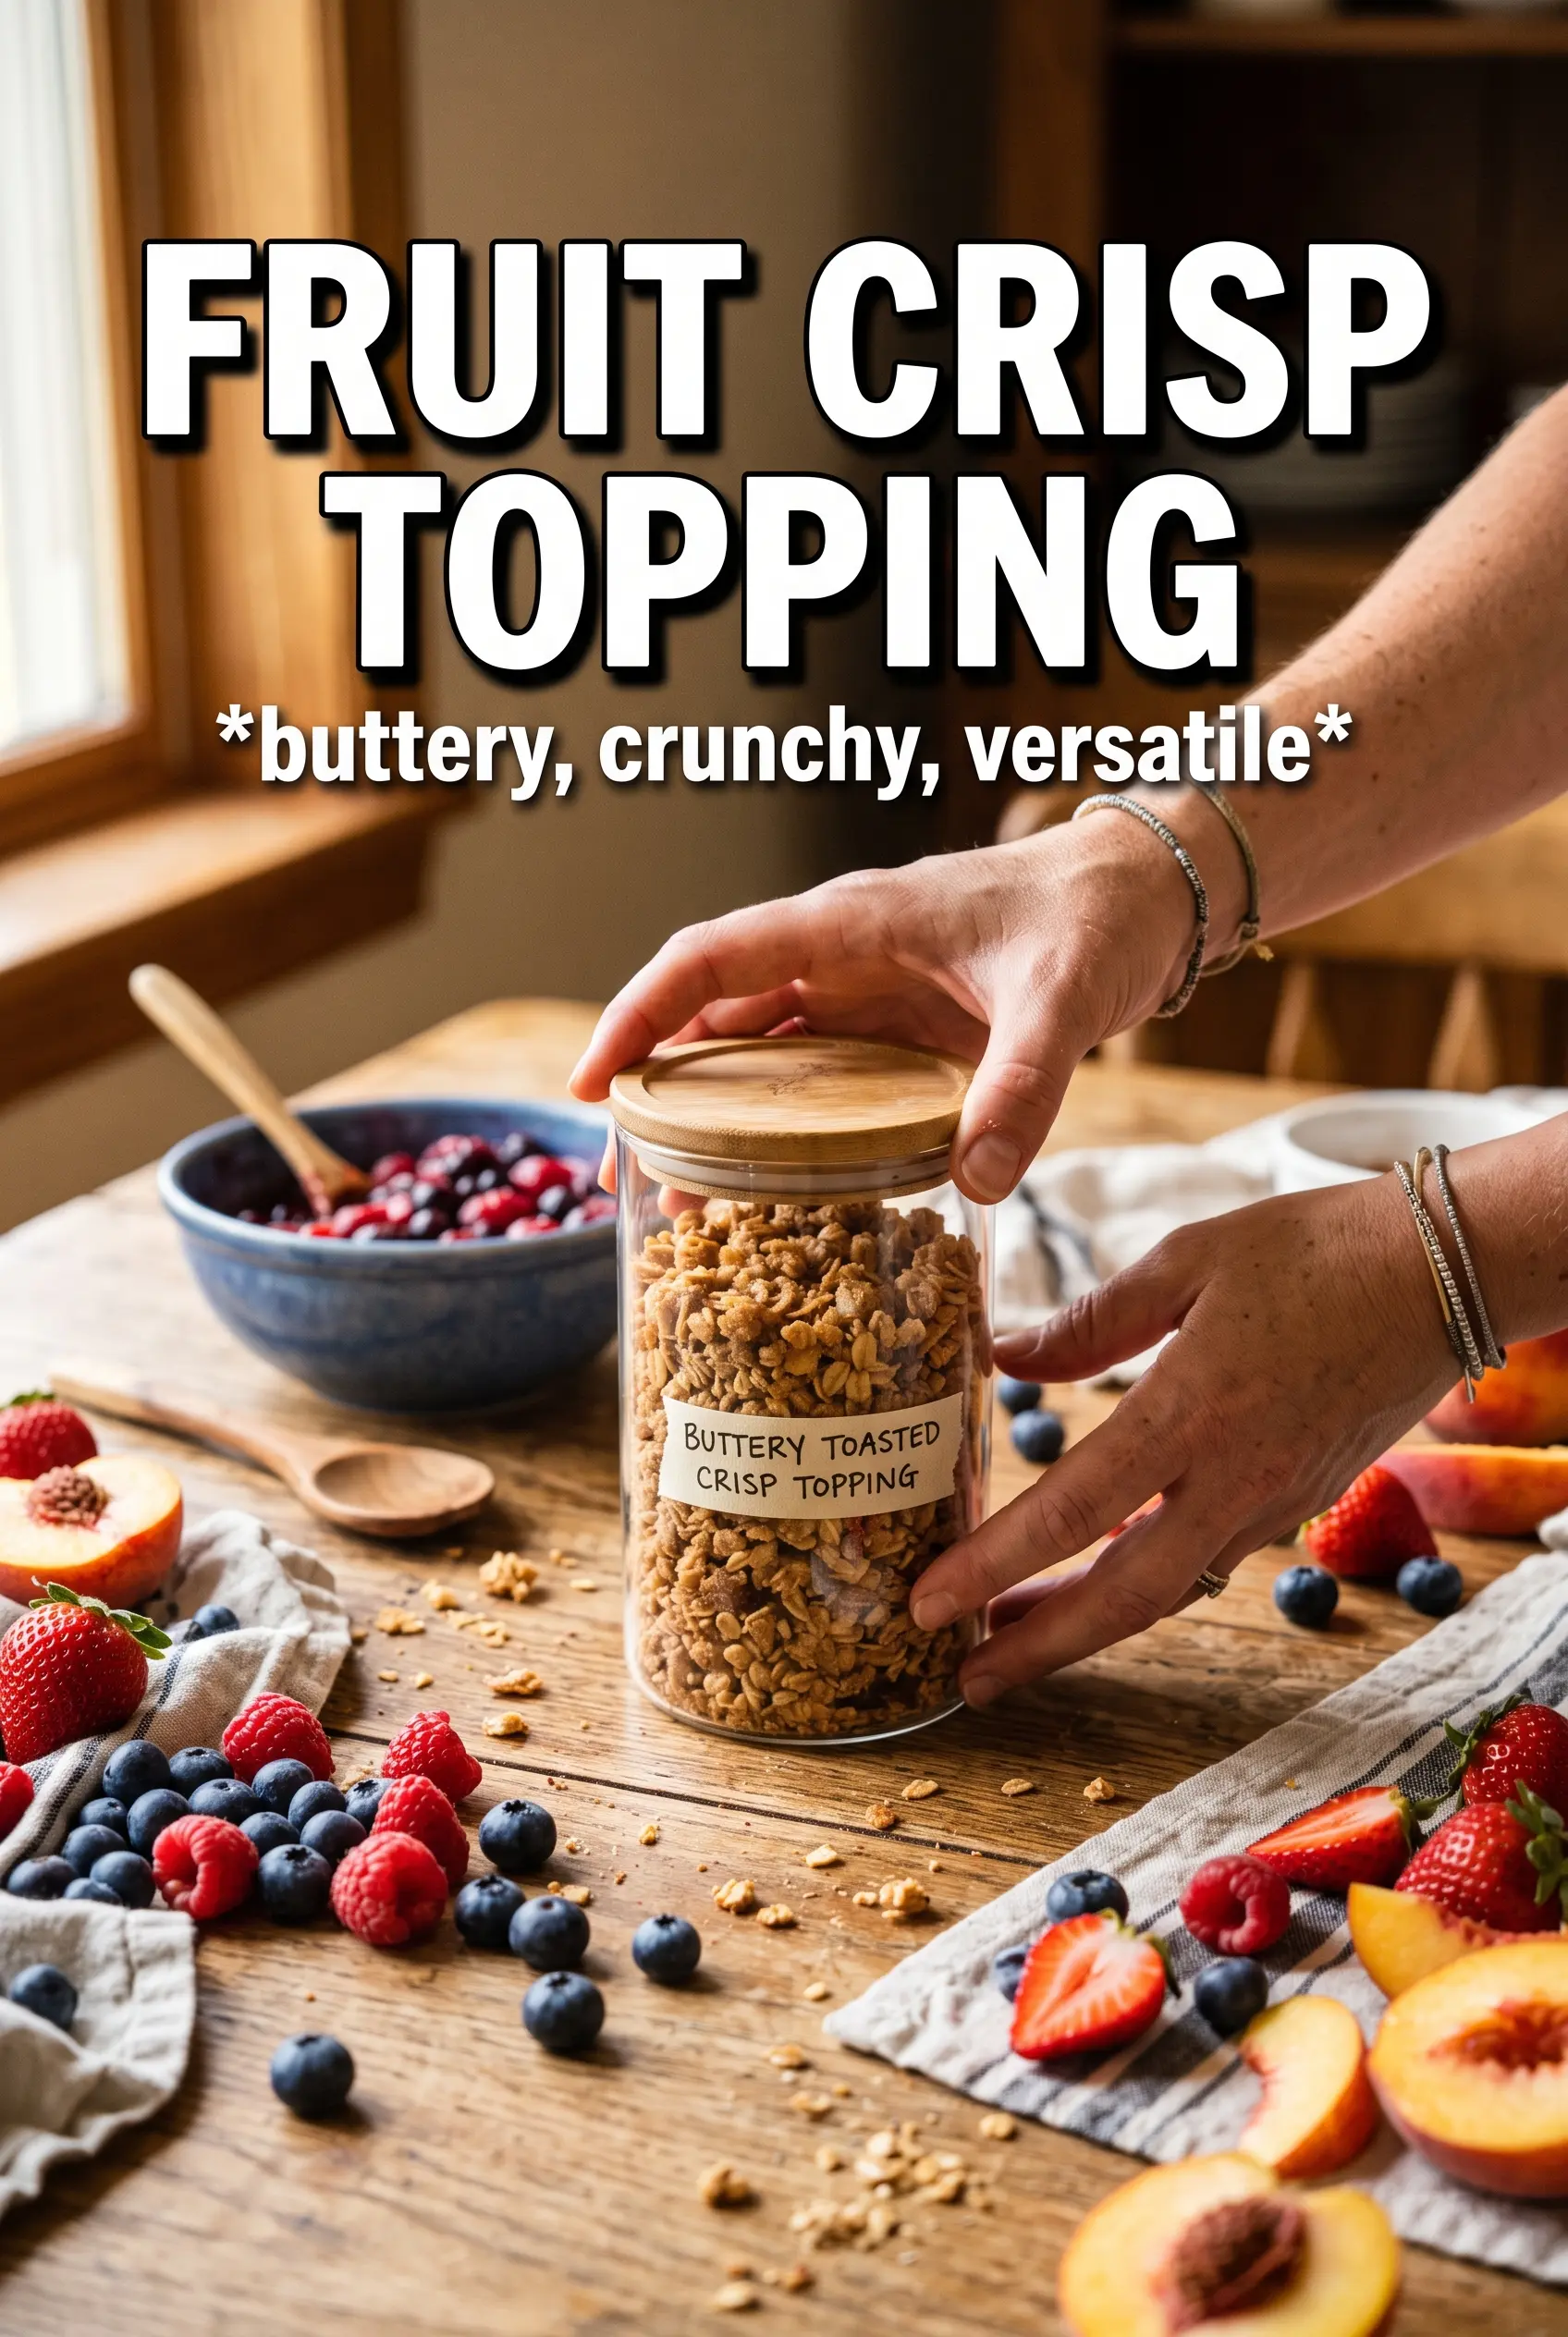
Fruit Crisp Topping
Ingredients
Equipment
Method
- Combine rolled oats, all-purpose flour, brown sugar, granulated sugar, cinnamon, nutmeg, and salt in a large bowl.
- Add the optional chopped nuts and shredded coconut, then toss to combine evenly.
- Add the cold cubed butter and work it into the mixture with your fingertips, two forks, or a pastry cutter until large chunky clumps form.
- Stop when some pea-sized butter pieces remain, because they help create a tender, crunchy crumble after baking.
- Use the topping immediately over your prepared fruit filling, or refrigerate in an airtight container up to 5 days or freeze up to 3 months.
- Bake over any fruit filling at 375°F for 35-45 minutes until deeply golden.