Cookies and cream ice cream hits that sweet spot between nostalgic and genuinely satisfying: a vanilla custard base that freezes smooth, studded with big chunks of chocolate sandwich cookies that soften just enough at the edges to give every bite contrast. The best version isn’t overloaded with cookie crumbs. It has a clean cream flavor first, then those dark, crunchy pockets that break up the richness.
This one starts with a cooked custard, which gives you a silkier, denser scoop than a straight no-churn base. Tempering the yolks slowly matters here because rushing them turns the mixture grainy before it ever reaches the freezer. Churning the custard after it’s fully chilled keeps the texture fine and helps the cookies stay distinct instead of sinking or turning sandy.
Below you’ll find the exact point where the custard should thicken, why the cookies go in at the very end, and a few smart swaps if you want to make the base lighter or dairy-free.
The custard came out smooth and the cookies stayed in big pieces instead of disappearing. I let it chill overnight, and the texture was scoopable right away with those perfect crunchy bits throughout.
Love those big cookie chunks and creamy vanilla custard? Save this cookies and cream ice cream for the next time you want a homemade Oreo dessert that scoops like a dream.
The Custard Needs Gentle Heat, Not a Fast Boil
The biggest mistake with homemade ice cream is heating the custard too aggressively. Once the yolks go in, the mixture needs steady, medium-low heat and constant stirring so the eggs thicken without scrambling. You’re looking for a texture that coats the back of a spoon and reaches 175°F, not a rolling simmer. If you see curds, the heat was too high and the custard moved past the point where it can stay smooth.
Straining matters here even if the custard looks fine in the pot. Tiny bits of cooked egg or any chalice from the yolks disappear through the sieve and leave you with a cleaner freeze. That extra minute pays off later, because a strained base churns more evenly and gives you a softer scoop straight from the freezer.
What the Yolks, Cream, and Cookies Each Bring to the Bowl
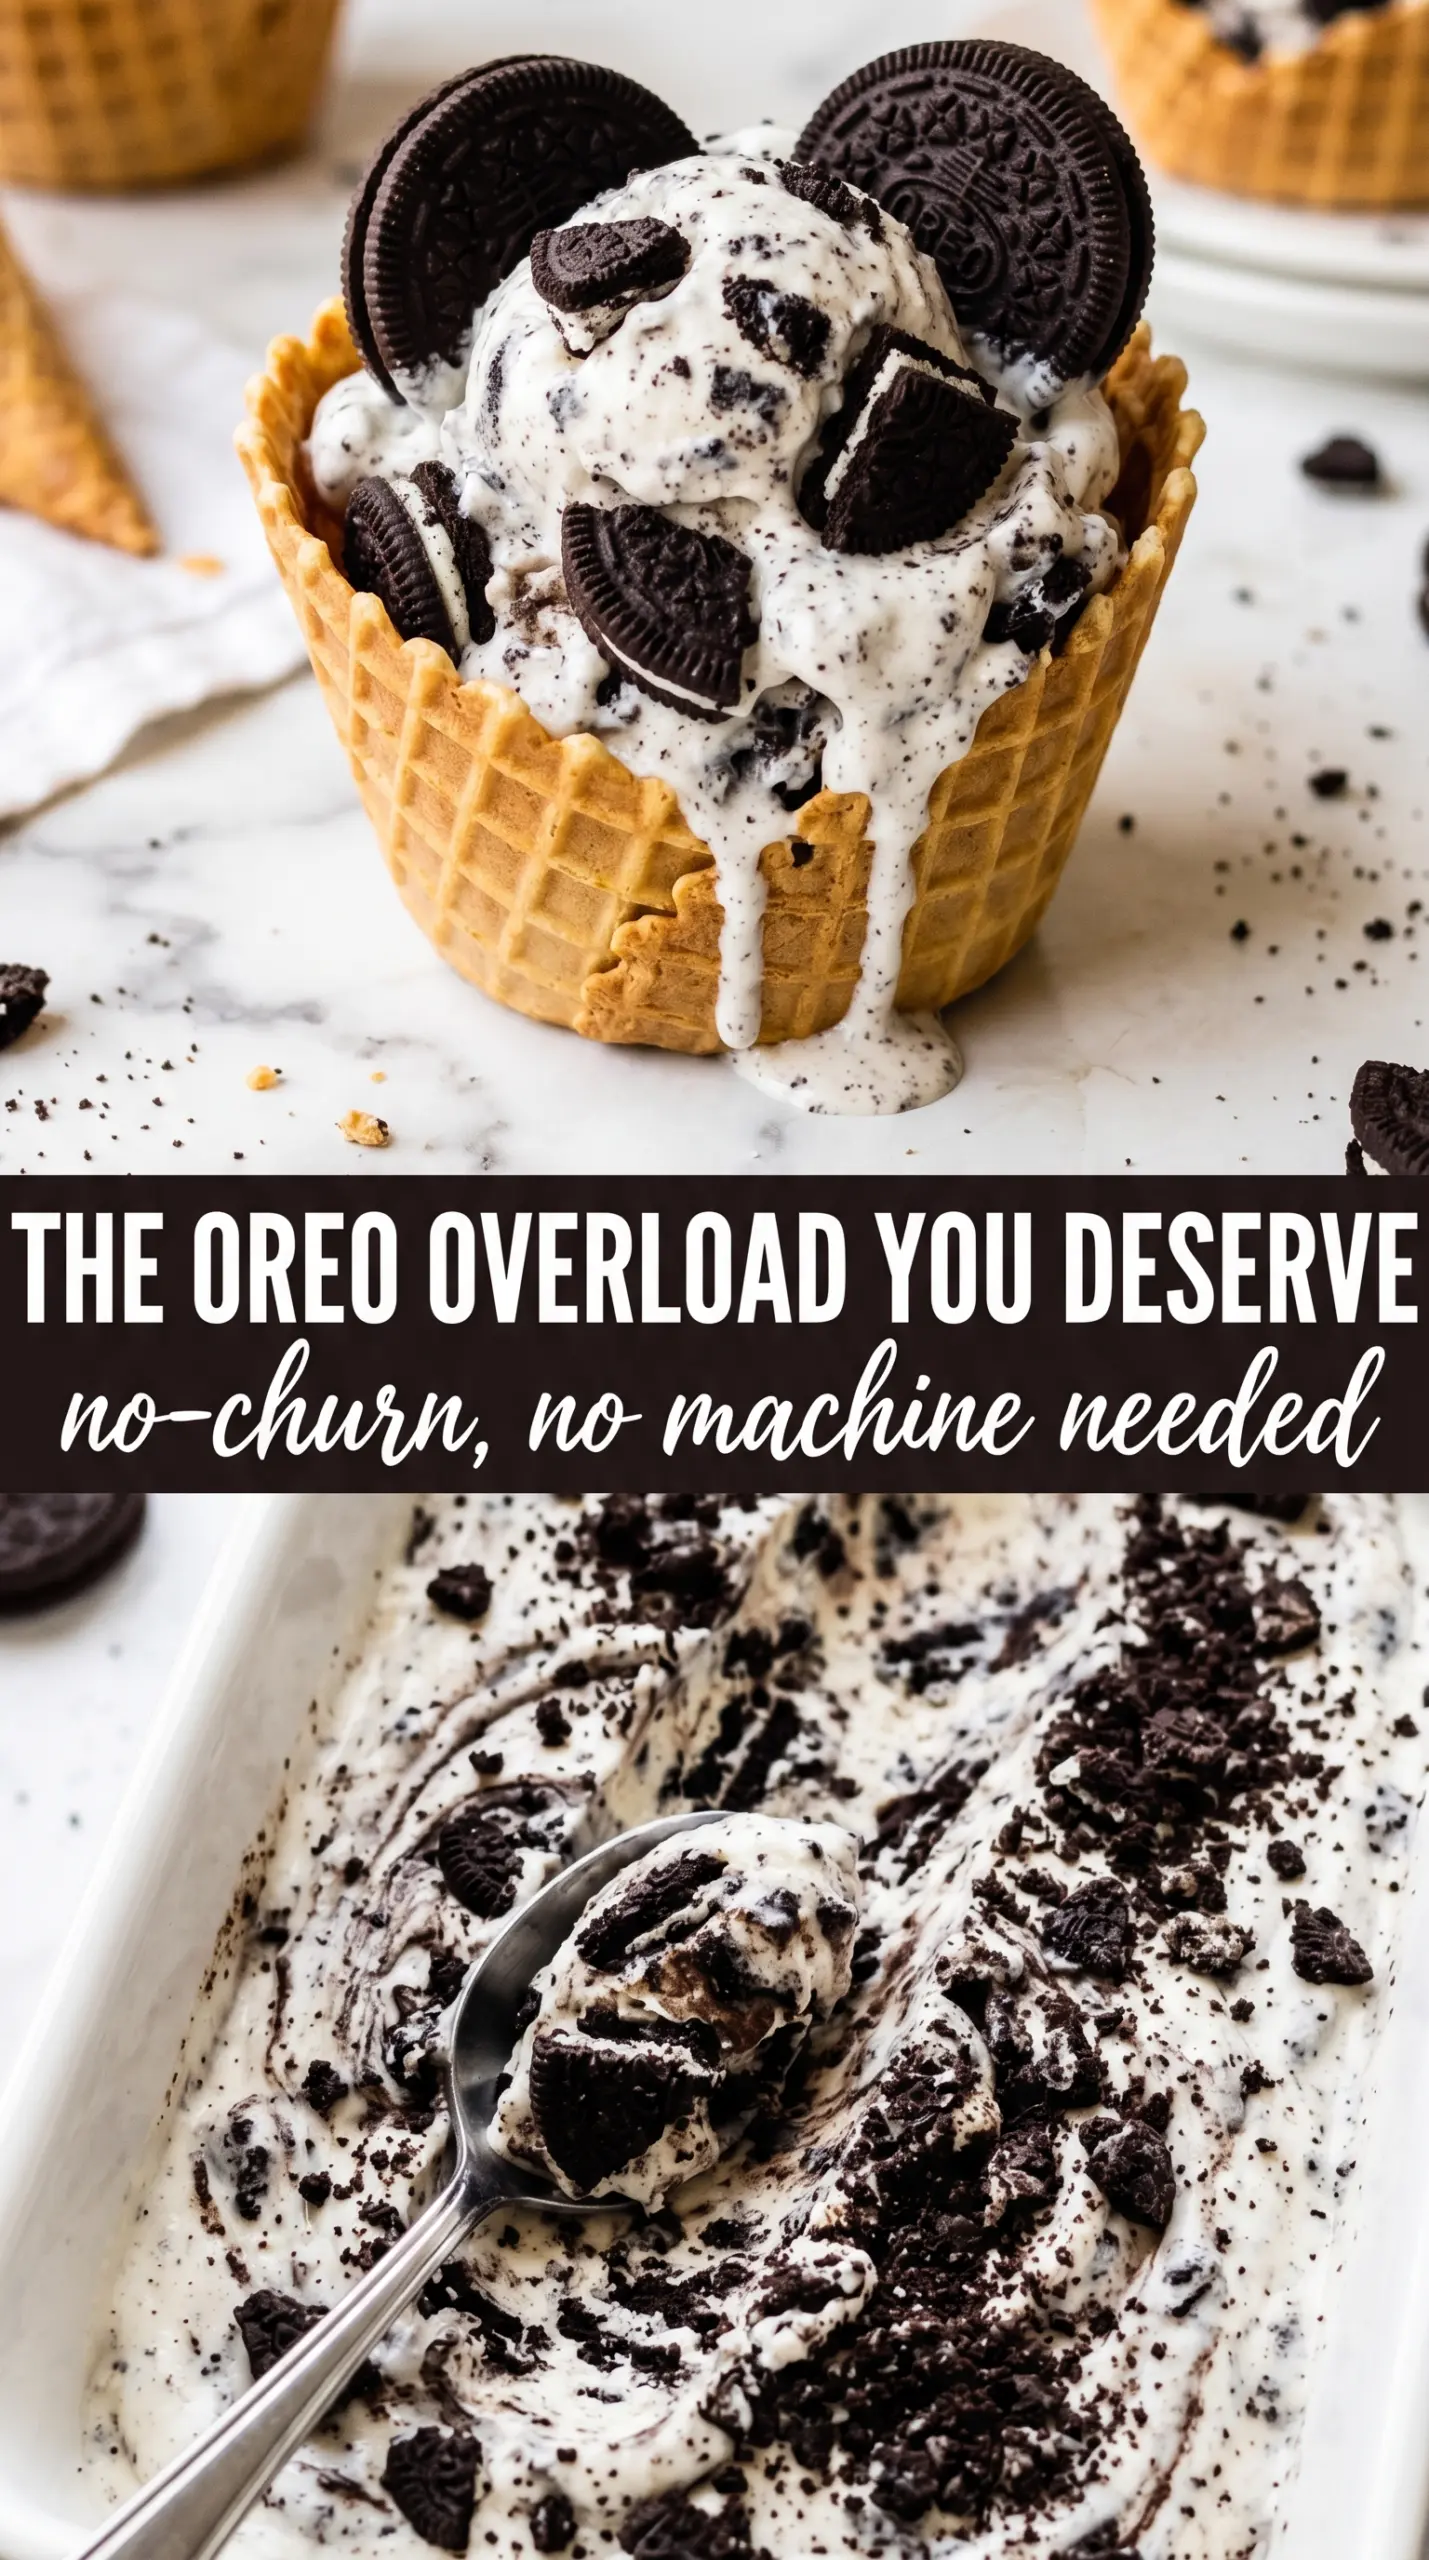
- Heavy cream — This is what gives the ice cream its plush body. Lower-fat cream won’t freeze with the same rich, scoopable texture, and the final batch will feel icier.
- Whole milk — Milk loosens the base just enough so it churns cleanly. If you swap in half-and-half, the result gets richer but also heavier and a little less balanced.
- Egg yolks — Yolks are the reason this ice cream tastes custardy instead of flat. They help emulsify the base, which makes the texture smoother and less likely to freeze hard and brittle.
- Vanilla extract — Vanilla is the background note that makes the cookie flavor pop. Use a good one here; it doesn’t need to be expensive, but it should taste warm and clean rather than sharp.
- Chocolate sandwich cookies — Roughly crushing them gives you both chunks and crumbs, which is what makes each bite interesting. If you crush them too finely, they disappear into the base and you lose the contrast.
Churn the Base, Then Fold in the Cookies at the Very End
Tempering the Yolks
Whisk the sugar into the yolks first until the mixture lightens a bit, then drizzle in the hot cream mixture slowly while whisking constantly. That slow addition keeps the yolks from turning into scrambled egg ribbons. If the stream goes in too fast, the outside of the yolk mass cooks before the center can warm up, and the custard gets grainy before it ever returns to the stove.
Cooking to the Right Thickness
Return everything to the saucepan and stir with a spatula or wooden spoon, scraping the bottom and corners the whole time. The custard should thicken enough to leave a clear trail on the spoon, and it should reach 175°F without bubbling hard. If the mixture starts steaming heavily and trying to simmer, pull the pan slightly off the heat for a few seconds while you keep stirring.
Cooling and Churning
Strain the custard, stir in the vanilla and salt, then chill it completely before it goes into the ice cream maker. Warm base in the machine means slower freezing and a looser final texture. Once it’s cold, churn until it looks like soft serve with a smooth, aerated body.
Adding the Cookies
Drop in the crushed cookies during the last two minutes of churning, not earlier. That timing keeps some pieces intact while letting a little chocolate dust streak through the base. If they go in too soon, the mix-ins absorb too much liquid and the cookies lose their crunch by the time the ice cream firms up.
How to Adapt This Cookies and Cream Ice Cream for Different Freezers and Diets
Dairy-Free Version
Use full-fat coconut milk in place of the cream and whole milk, and expect a faint coconut note in the finished ice cream. The texture will still be creamy, but it won’t taste as neutral as the original custard base. Use dairy-free chocolate sandwich cookies so the whole batch stays consistent.
No Churn? Use a Sweetened Whipped Base
If you don’t have an ice cream maker, whip 2 cups cold heavy cream to soft peaks and fold it into about 1 can of sweetened condensed milk plus the vanilla and crushed cookies. You’ll get a lighter, sweeter ice cream with less custard depth, but it still freezes into a creamy scoop. The cookie pieces stay prominent, which is the part most people care about.
Extra-Crunchy Cookie Texture
Hold back a handful of crushed cookies and fold them in after churning, right before packing the ice cream into the container. That gives you a few sharper cookie bites instead of letting every piece soften in the churn. It’s the best move if you want the cookies to stay bold against the vanilla base.
Storage and Reheating
- Refrigerator: Not recommended. Ice cream base should be churned and frozen, not held in the fridge once it’s finished.
- Freezer: Store in a shallow airtight container for up to 2 weeks for the best texture. After that, the cookies can soften and the base can pick up freezer flavor.
- Reheating: Let the container sit at room temperature for 5 to 10 minutes before scooping. If it’s frozen rock hard, don’t microwave the whole batch; that melts the edges and leaves the center icy.
Answers to the Questions Worth Asking
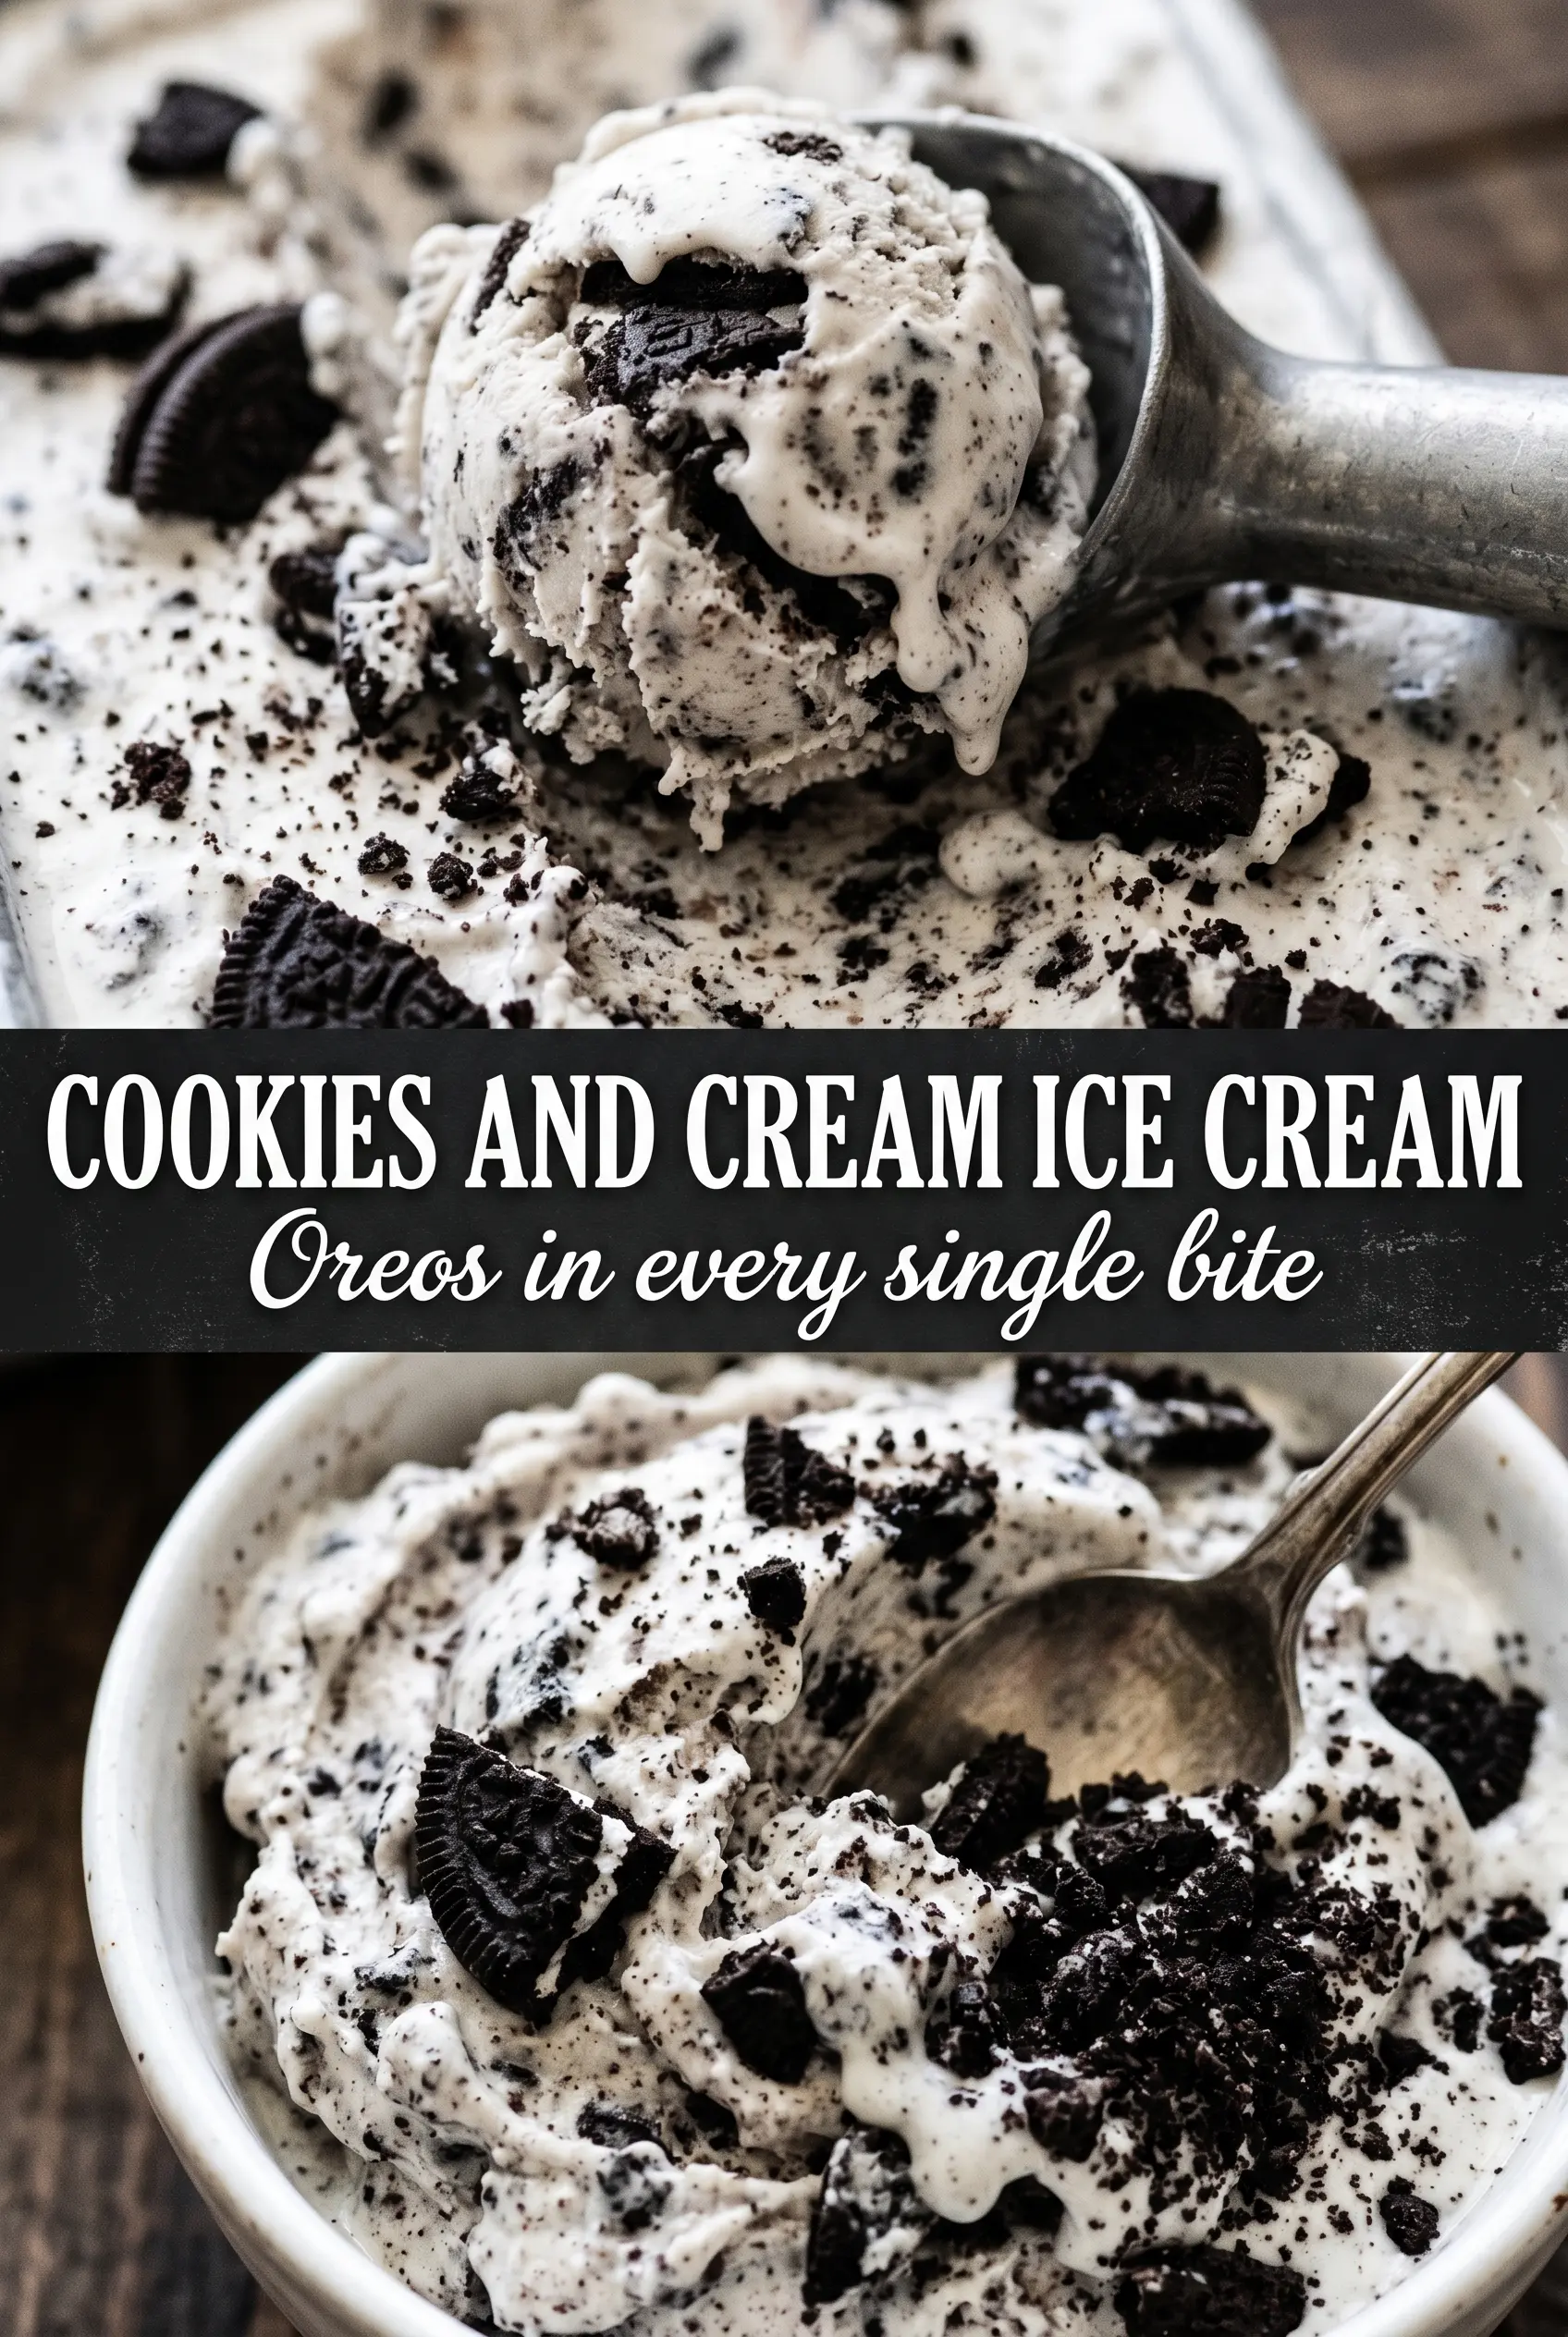
Cookies and Cream Ice Cream
Ingredients
Equipment
Method
- In a saucepan, heat the heavy cream and whole milk until steaming, not boiling, then remove from heat. Visual cue: tiny steam wisps should rise from the surface.
- In a bowl, whisk the egg yolks with the granulated sugar until smooth and slightly thickened. Visual cue: the mixture should look glossy and pale.
- Slowly whisk the steaming cream mixture into the egg yolks to temper, pouring in a thin stream while whisking. Visual cue: keep whisking until no streaks remain.
- Return the mixture to the saucepan and cook over medium-low heat, stirring constantly, until the custard reaches 175F. Visual cue: it will coat the back of a spoon and look lightly thickened.
- Strain the custard through a fine mesh sieve into a clean container. Visual cue: you should remove any cooked egg bits for a smooth texture.
- Stir in the vanilla extract and salt, then cool completely at room temperature for about 30 minutes. Visual cue: the surface should look smooth and uniform.
- Cover and refrigerate at least 4 hours until fully chilled. Visual cue: the custard should be cold throughout with a thicker, pudding-like feel.
- Churn the chilled custard in an ice cream maker according to the manufacturer’s instructions. Visual cue: it should thicken to the consistency of soft-serve as it churns.
- In the last 2 minutes of churning, add the roughly crushed chocolate sandwich cookies. Visual cue: you’ll see some chunks remain dark and intact while some soften into a lighter cookies-and-cream swirl.
- Transfer to a container and freeze until firm. Visual cue: the ice cream should scoop cleanly with minimal melting at the edges.