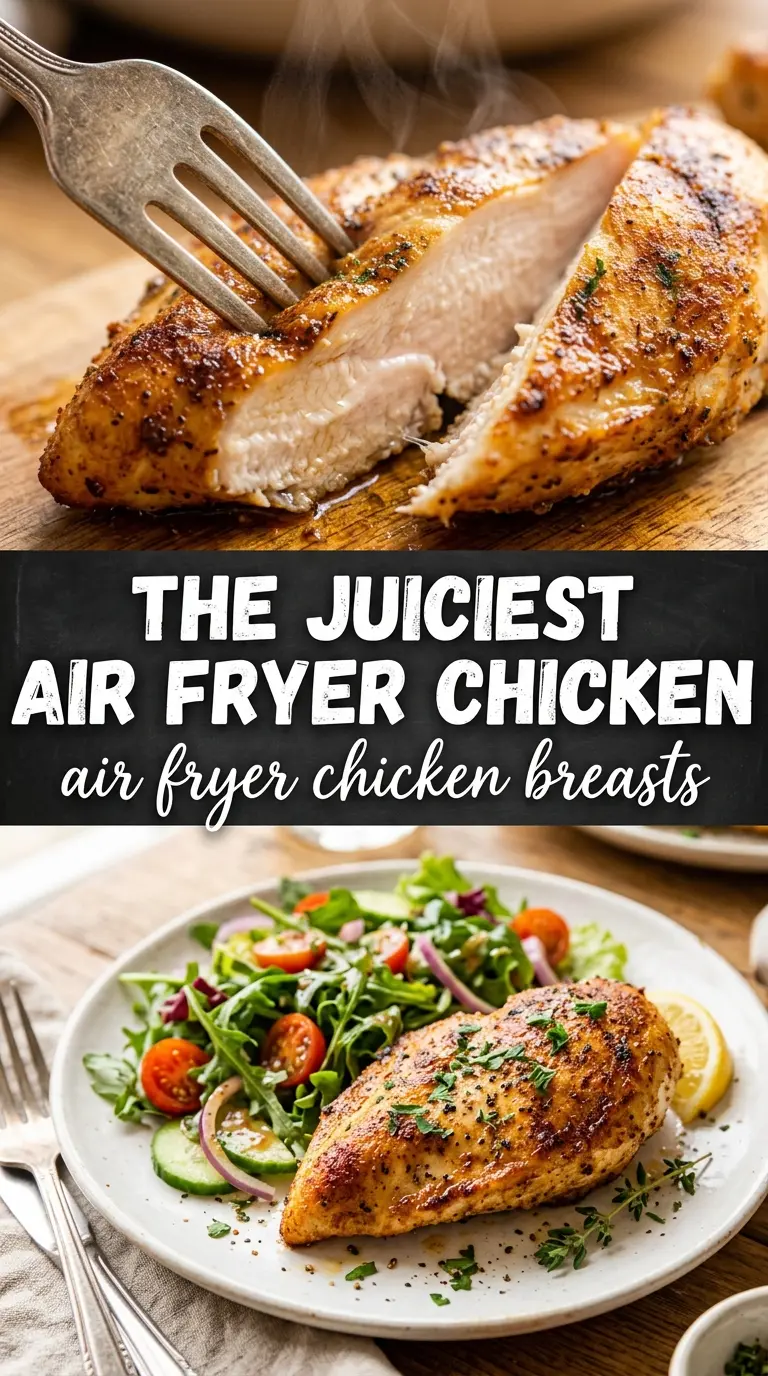
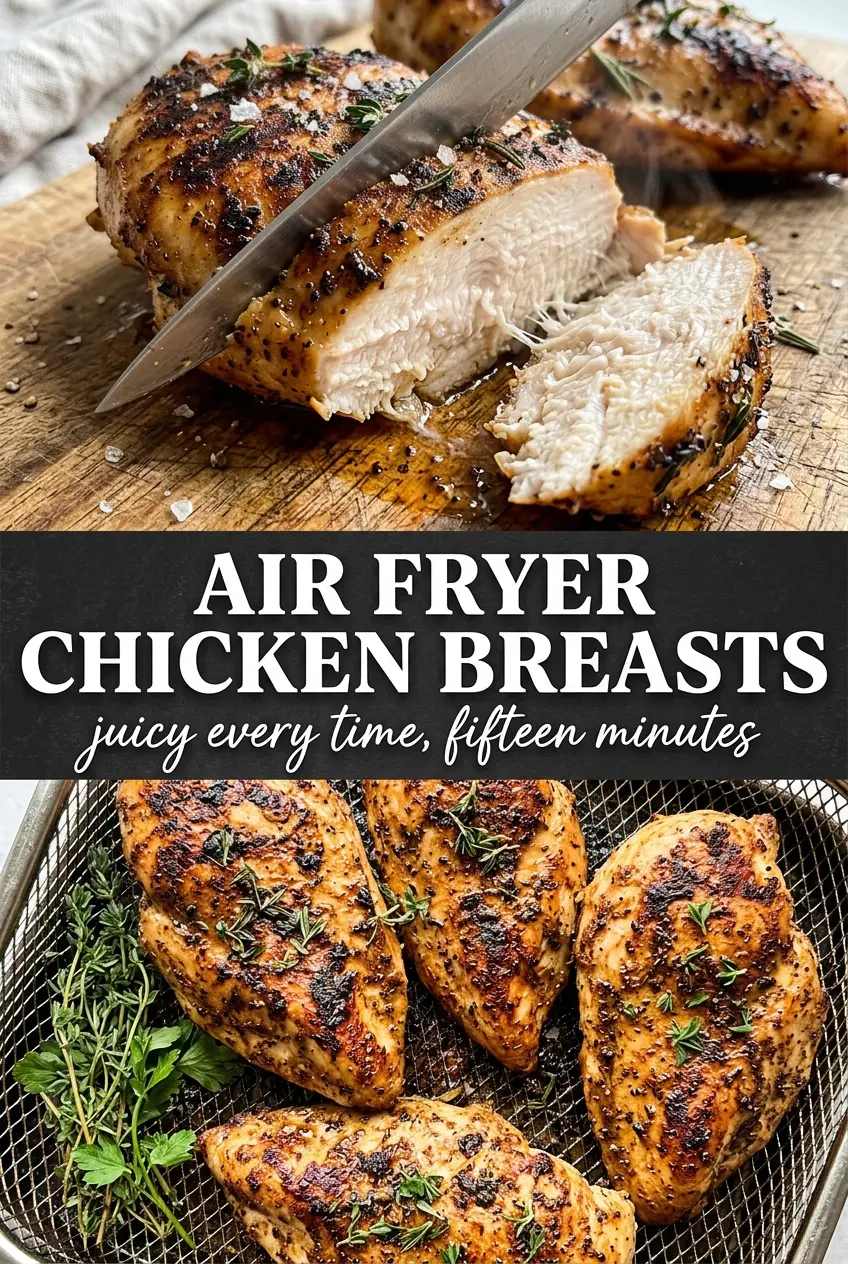
Golden, juicy air fryer chicken breasts are one of those dinners that earns a permanent place in the rotation because they solve the two biggest chicken problems at once: dry meat and bland seasoning. The outside gets deeply seasoned and lightly crisped, while the inside stays tender enough to slice cleanly without shedding every drop of juice onto the cutting board.
The trick is simple, but it matters. Pounding the chicken to an even thickness keeps the thinner end from overcooking before the thickest part reaches temperature, and a short spice rub with oil helps the seasoning cling and brown instead of dusting off into the basket. The air fryer does the rest in under 20 minutes, which is about as close as weeknight cooking gets to effortless.
Below, I’m walking through the small details that keep this recipe reliable: the thickness that cooks evenly, the temperature that gives you a golden crust, and the resting time that keeps the juices where they belong. Once you’ve made it once, you’ll probably stop thinking of chicken breasts as boring.
The outside got that beautiful seasoned crust, and the center stayed juicy even after I sliced it for salads the next day. I loved that the thicker breasts finally cooked evenly instead of drying out at the edges.
Air fryer chicken breasts with that golden crust and juicy center are worth keeping on hand for fast dinners, salads, wraps, and meal prep.
The Step Most People Skip That Keeps Chicken Breasts Juicy
Air fryer chicken breasts dry out when the outside finishes cooking long before the center catches up. That usually happens because the chicken is uneven, not because the air fryer is too hot. One thick end and one thin end need different amounts of time, and if you cook for the thickest part without adjusting for the thin side, the result is stringy meat at the edges and a decent center that still tastes overdone.
Pounding the breasts to an even 3/4-inch thickness solves that problem fast. It also gives the seasoning a more even surface to cling to, so the crust tastes deliberate instead of patchy. The other thing that matters here is temperature: 390°F is hot enough to brown the spices without blasting the chicken so hard that the outside dries before the inside reaches 165°F.
- Chicken breasts — Uniform thickness matters more than size. If one breast is much larger, pound it to match the others so they finish together.
- Olive oil — This helps the seasoning stick and encourages browning. A light coating is enough; too much oil can make the spice rub slide off.
- Smoked paprika — This gives the chicken its warm color and a deeper savory note. Regular paprika works, but you’ll lose some of that subtle smoky edge.
- Italian seasoning — This rounds out the garlic and onion with herbs that taste complete, not flat. If yours is old and dusty, replace it; dried herbs lose their punch faster than most people think.
What Each Spice Is Doing in the Crust
- Garlic powder — Garlic powder blends into the oil and browns evenly. Fresh garlic is the wrong choice here because it can burn before the chicken is done.
- Onion powder — This adds sweetness and depth without any chopping. It also helps the seasoning taste more layered than a simple salt-and-pepper mix.
- Smoked paprika — This gives the crust a dark, appetizing color and a subtle barbecue-style warmth. If you want a cleaner, brighter flavor, use sweet paprika instead.
- Italian seasoning — This keeps the crust from tasting one-note. If you don’t have it, use a mix of dried oregano, basil, and thyme.
- Salt and black pepper — Salt does the heavy lifting for flavor, and cracked pepper gives the surface a little bite. If you’re using table salt instead of kosher salt, use a little less because it packs tighter.
The 18 Minutes That Actually Matter
Preheating the Basket
Preheat the air fryer to 390°F before the chicken goes in. A hot basket starts the browning immediately, which is what gives you that seasoned crust instead of pale, steamed chicken skin-without-skin. If you skip preheating, the first few minutes are spent heating the appliance instead of cooking the chicken, and the texture turns softer than it should.
Seasoning the Chicken Evenly
Brush both sides with olive oil, then rub the spice mix over every surface. The coating should look even and dry in the sense that it clings, not pools. If the seasoning is patchy, the chicken will taste patchy too, because the air fryer doesn’t hide uneven coverage.
Air Frying to Temperature
Cook for 16 to 18 minutes, flipping halfway through. The chicken should look deeply golden on the outside and feel firm but not hard when pressed in the thickest part. The only number that really matters at the end is 165°F in the center; if your breasts are larger, give them the extra minute or two instead of cutting in early and losing the juices.
Resting Before Slicing
Let the chicken rest for 5 minutes before slicing. That pause keeps the juices inside the meat instead of spilling out the second the knife hits it. If the chicken seems perfect when it comes out but turns dry on the plate, it was probably sliced too soon.
How to Adjust Air Fryer Chicken Breasts for Different Needs
Dairy-Free and Naturally Gluten-Free
This recipe already fits both of those needs as written, which is one reason it’s so useful for mixed-diet households. Just check your spice blend if you’re using a pre-mixed Italian seasoning, since some blends include anti-caking additives or hidden gluten in rare cases.
Cajun-Style Chicken
Swap the Italian seasoning for Cajun seasoning and keep the paprika. You’ll get a hotter, saltier crust with a little more backbone, but watch the salt level if your blend is already heavily seasoned.
Lemon-Herb Version
Add finely grated lemon zest to the spice mix and finish with an extra squeeze of lemon after cooking. The zest adds brightness without making the surface wet, which matters because too much moisture will soften the crust.
For Meal Prep
Cook the chicken just to temperature and let it rest fully before slicing. Stored whole, it stays juicier than pre-sliced pieces, and you can portion it later for salads, bowls, sandwiches, or pasta.
Storage and Reheating
- Refrigerator: Store in an airtight container for up to 4 days. It stays juicy best if you keep the pieces whole until serving.
- Freezer: Freeze cooked chicken breasts for up to 2 months, wrapped tightly and then sealed in a freezer bag. Thaw overnight in the refrigerator for the best texture.
- Reheating: Rewarm gently in the air fryer at 325°F for a few minutes or in a covered skillet with a splash of water. High heat is what dries chicken out the second time around.
Answers to the Questions Worth Asking
Air Fryer Chicken Breasts
Ingredients
Equipment
Method
- Preheat the air fryer to 390°F so it reaches temperature before the chicken goes in.
- Pound the chicken breasts to an even 3/4-inch thickness if needed for uniform cooking.
- Brush both sides of the chicken with olive oil.
- Mix the garlic powder, onion powder, smoked paprika, Italian seasoning, salt, and cracked black pepper, then rub evenly over both sides of the chicken.
- Air fry the chicken for 16-18 minutes, flipping halfway through, until the internal temperature reaches 165°F and the outside is golden.
- Rest for 5 minutes before slicing to keep the interior juicy.
- Garnish with fresh parsley and serve with lemon wedges.