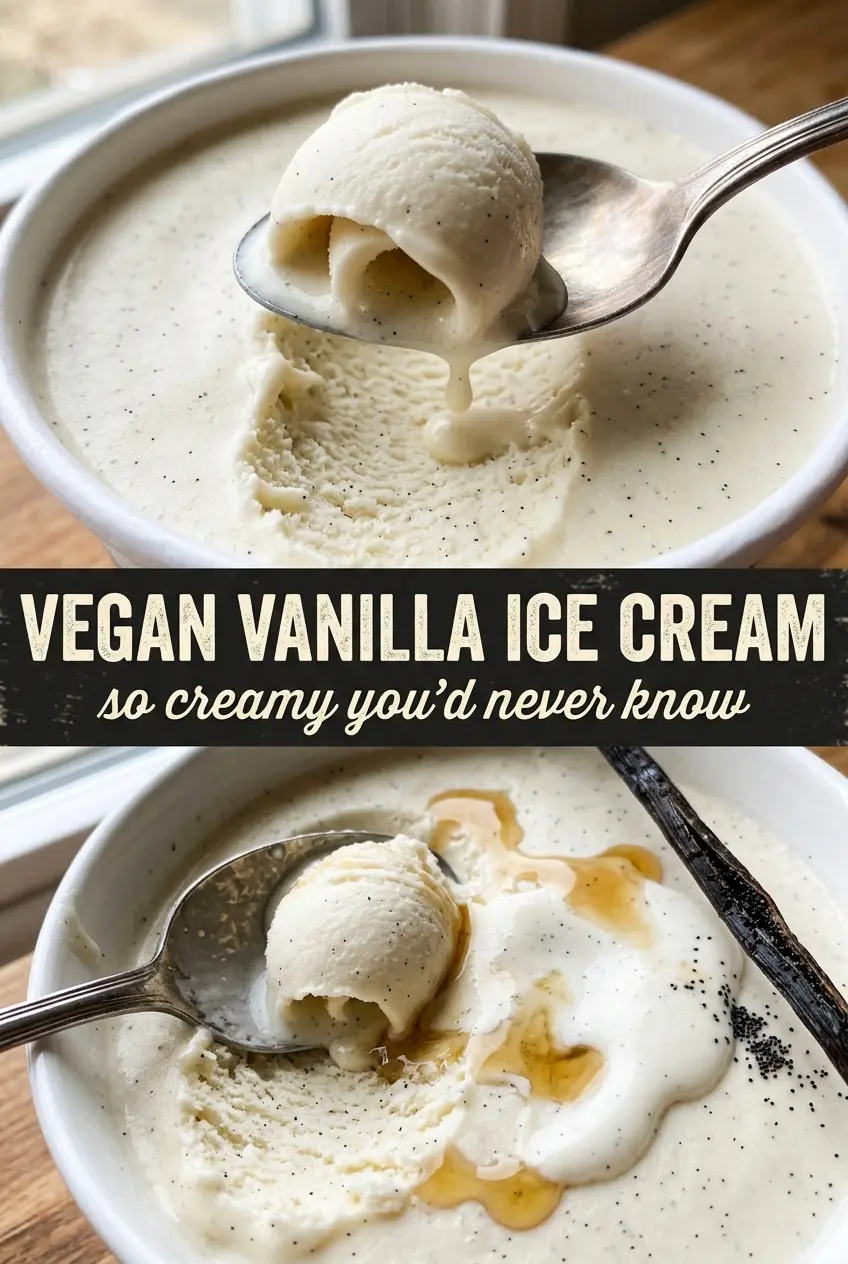
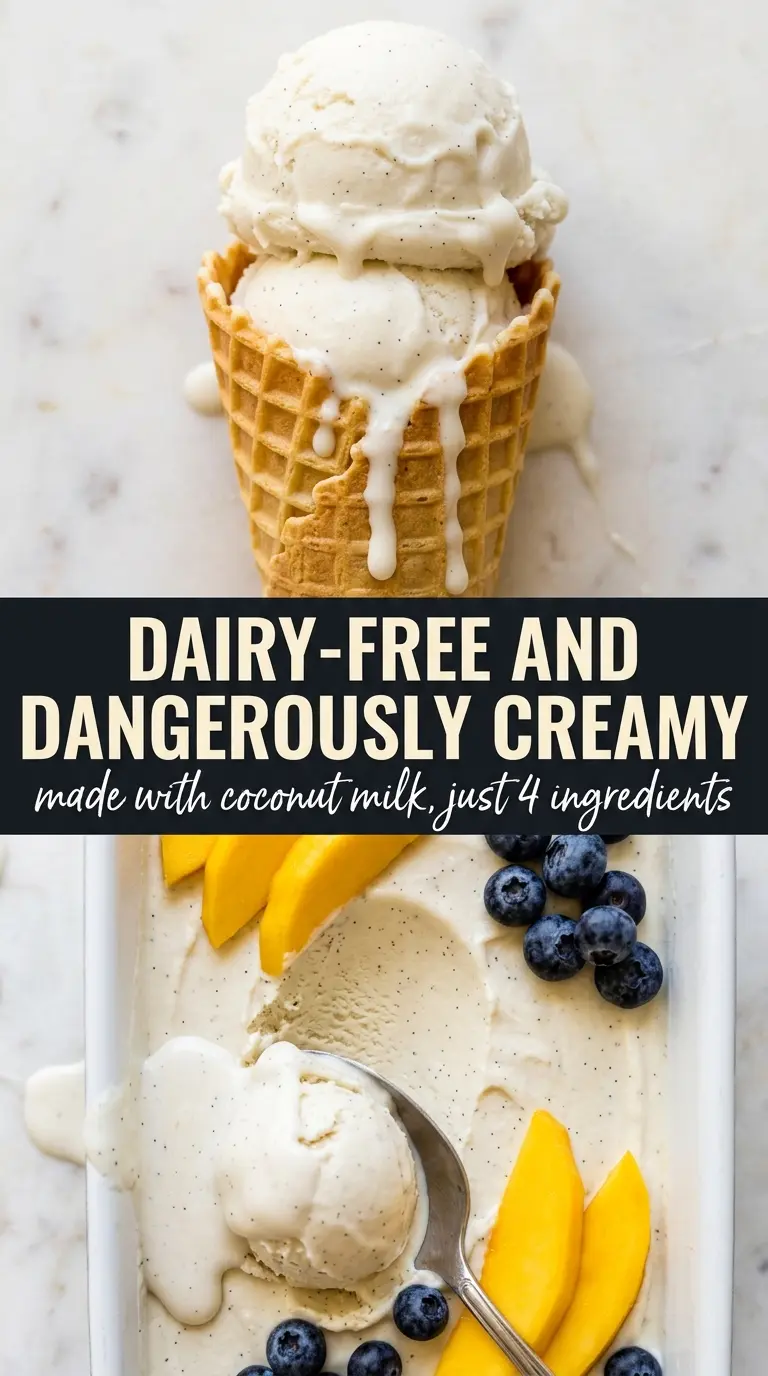
Silky vegan vanilla ice cream has to earn its place with texture first, and this one does it without any of the icy or chalky edges that can show up in dairy-free frozen desserts. The base churns into a pale, creamy scoop with a clean vanilla finish and just enough richness to feel like the real thing, not a substitute pretending to be dessert.
The trick is using the solid coconut cream from refrigerated cans instead of the full liquid. That gives the base enough fat to freeze smoothly, while a small amount of arrowroot or cornstarch helps it thicken just enough on the stove so it churns into a custard-like mixture. The coconut flavor stays quiet if you use a good vanilla extract and let the base chill completely before it hits the machine.
The ice cream came out smooth and scoopable, not icy at all, and the vanilla flavor stayed front and center even after a few days in the freezer.
Creamy coconut milk vanilla ice cream with a smooth custard-style base and no icy finish.
The Part That Keeps Vegan Ice Cream Creamy Instead of Icy
The biggest mistake in dairy-free ice cream is treating the base like a regular custard and expecting it to freeze the same way. Coconut milk behaves differently. You need enough fat to keep the texture soft, and you need a little starch to help the base hold together once it’s frozen. Skip either one and the ice cream turns hard, brittle, or icy after a few hours in the freezer.
Refrigerating the cans overnight matters because it separates the thick coconut cream from the watery part. That concentrated cream is what gives this recipe body. If you shake the cans or use the whole contents without chilling them first, the base gets thinner and the finished ice cream loses that plush, scoopable texture.
What Each Ingredient Is Actually Doing in This Ice Cream Base
- Full-fat coconut milk — This is the backbone of the recipe. The fat is what keeps the ice cream soft enough to scoop after freezing, and full-fat cans work much better than light coconut milk. Chill the cans overnight so you can lift off the thick cream from the top.
- Maple syrup or agave — Both sweeten the base and help it stay a little softer in the freezer. Maple adds a faint warm note, while agave tastes cleaner and lets the vanilla stand out more. Use whichever matches your taste, but don’t swap in granulated sugar without changing the method, because it won’t dissolve the same way.
- Pure vanilla extract — This is the flavor you’ll taste from the first spoonful to the last. Good vanilla matters here because there’s nowhere for a weak or flat extract to hide. If you have vanilla bean paste, you can use it for a more intense speckled look and a deeper vanilla note.
- Arrowroot or cornstarch — This is the insurance policy against icy texture. It thickens the base just enough on the stove so it churns up smoother and freezes with a softer bite. Arrowroot gives a slightly silkier finish, but cornstarch works well and is usually what most people already have.
- Coconut oil — A small amount adds richness and helps the mixture freeze with a more supple texture. It also softens the coconut cream just enough to make the base feel rounder on the tongue. Don’t skip it unless you have to, because the result will be a little leaner.
How to Build the Base So It Freezes Smoothly
Separating the Coconut Cream
Open the chilled cans without shaking them. Scoop only the thick cream from the top into your saucepan and leave the watery coconut liquid behind. If the cream looks a little grainy or separated, that’s fine; it will smooth out once heated and whisked. The mistake here is trying to use every drop from the can, which thins the base and works against the creamy texture you want.
Heating Until It Lightly Thickens
Whisk the coconut cream, sweetener, vanilla, starch, salt, and coconut oil over medium heat until the mixture looks glossy and just slightly thicker, about 5 minutes. You’re not cooking a heavy custard here; you’re waking up the starch and dissolving everything evenly. If it starts bubbling hard, pull the heat down. A hard boil can make the starch taste dull and can split the fat, especially if the pan runs hot.
Cooling Before Churning
Let the base cool completely, then refrigerate it for at least 4 hours. Cold base churns faster, freezes smoother, and picks up less ice in the machine. If you churn it while it’s still warm, the mixture can stay loose too long and freeze with a coarse texture. It should go into the ice cream maker cold from edge to center.
Churning and Final Freezing
Churn until the texture looks like soft-serve and holds gentle ridges from the dasher. Transfer it to a freezer container and freeze until scoopable. The ice cream will firm up a lot more after churning, so don’t judge it by the softness coming out of the machine. If it freezes too hard, let it sit on the counter for 5 to 10 minutes before serving rather than microwaving it and melting the edges.
Three Ways to Adjust This Vegan Ice Cream Without Losing the Creamy Texture
Use vanilla bean paste for a more intense vanilla finish
Swap the extract for vanilla bean paste if you want a deeper vanilla flavor and those tiny specks throughout the ice cream. The texture stays the same, but the flavor reads a little richer and more bakery-style. This is the best upgrade when vanilla is the main event.
Make it refined-sugar-free with agave
Use agave instead of maple syrup if you want a milder sweetener that doesn’t bring extra flavor. Agave helps keep the ice cream soft, so the texture stays nice and scoopable. The flavor ends up cleaner, which works well if you plan to serve it with fruit or dark chocolate.
Keep it gluten-free without changing a thing
This recipe is naturally gluten-free as written, as long as your vanilla extract and starch are certified safe if cross-contact matters to you. Cornstarch and arrowroot both work here, so there’s no need for a special flour blend. That makes this a good dessert to serve when you need something simple and inclusive.
Add mix-ins after churning, not before
If you want chocolate chunks, crushed cookies, or toasted nuts, stir them in at the very end once the ice cream reaches soft-serve texture. Adding them too early can interfere with churning and make the base freeze unevenly. Keep mix-ins small and dry so they stay scattered instead of sinking.
Storage and Reheating
- Refrigerator: Not applicable once frozen, but the churned base can be held in the fridge for up to 24 hours before freezing if needed.
- Freezer: Store in a tightly sealed container for up to 2 weeks for the best texture. After that, it can start to pick up freezer ice and lose some creaminess.
- Reheating: Not needed. For the best scoop, let the container sit at room temperature for 5 to 10 minutes before serving. Don’t try to soften it with heat, or the edges will melt before the center loosens.