Sticky, glossy teriyaki chicken is all about contrast: caramelized edges on the outside, tender thighs underneath, and a sauce that clings to every bite instead of running off the plate. The homemade version has a deeper, cleaner sweetness than bottled sauce, and it takes on that dark amber shine in the skillet without turning greasy or thin.
The trick is splitting the sauce before the chicken hits the pan. Half becomes the marinade, which seasons the meat from the start, and the other half stays untouched so it can be boiled down safely into a thick glaze. A quick cornstarch slurry gives the sauce that lacquered finish, while the chicken thighs stay juicy enough to stand up to the heat.
Below, I’ve laid out the small details that matter here — when to stop marinating, how to keep the sauce from going cloudy, and the one swap I’d use if you need to skip the sake.
The sauce thickened into that glossy coating you see in restaurants, and the thighs stayed juicy even after the second pass in the pan. My husband asked if I could put this on the weekly menu.
Love that thick, shiny teriyaki glaze? Save this chicken thighs recipe for the nights when you want takeout-style dinner without the takeout box.
The Part Most Teriyaki Chicken Gets Wrong: The Sauce Starts Before the Pan Does
The biggest mistake with teriyaki chicken is letting the sauce do one job and the chicken do another. If you pour everything together from the start, the sugars scorch before the meat is cooked through, and the glaze never gets that deep, sticky finish. Splitting the sauce solves both problems: the marinade seasons the chicken, and the reserved half becomes the coating at the end.
Chicken thighs are the right cut here because they stay tender even after a hard sear and a second trip back into the sauce. Breast meat can work, but it dries out faster and gives you less margin for error. The skillet should be hot enough to brown the thighs quickly, not so hot that the marinade burns before the center reaches 165°F.
What Each Ingredient Is Doing in This Teriyaki Chicken
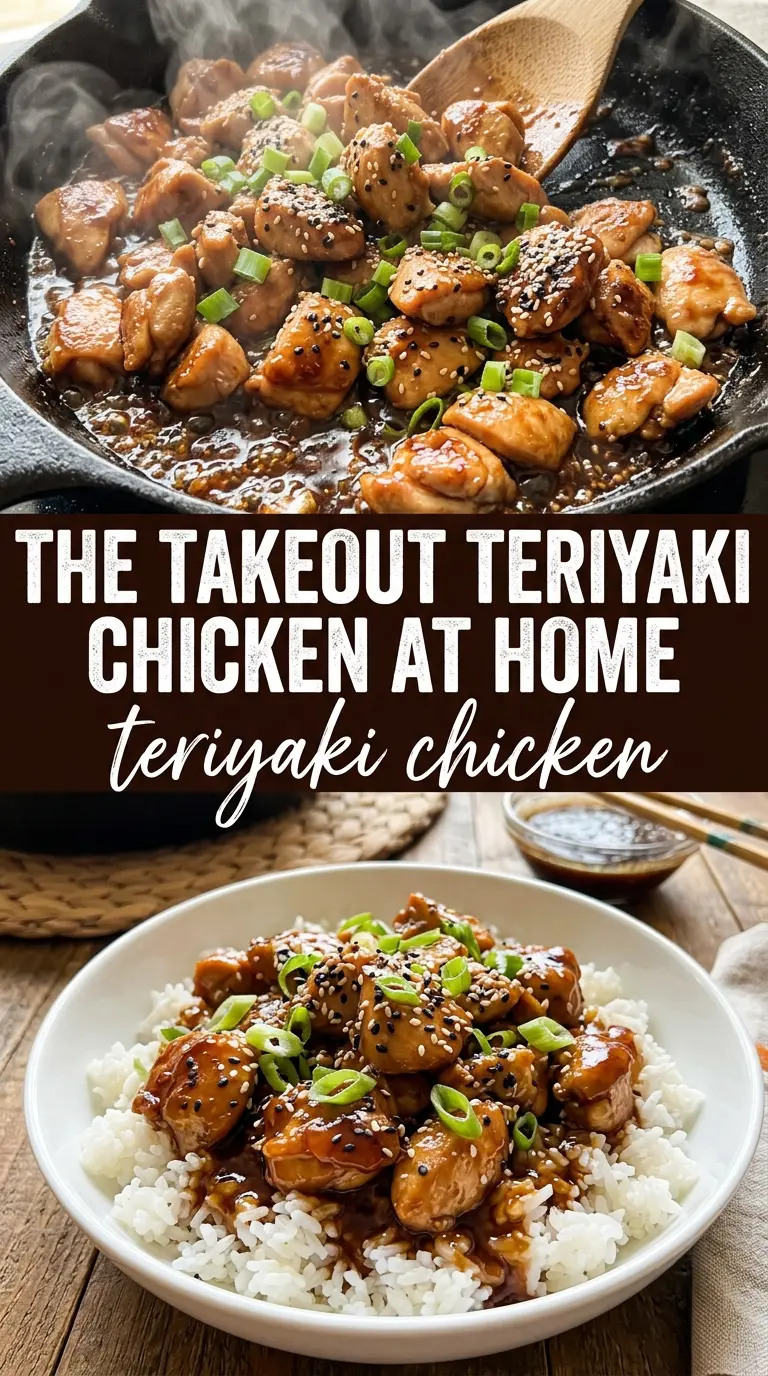
- Boneless skinless chicken thighs — These stay juicy through searing and simmering, which matters because the chicken goes into the pan twice. If you use breasts, cut them into even pieces and shorten the cook time so they don’t dry out.
- Soy sauce — This is the salty backbone of the glaze. Use regular soy sauce for balanced flavor; low-sodium soy sauce works if you want more control, but the final sauce may need a touch more salt.
- Brown sugar and honey — These build the sticky, lacquered finish and help the sauce caramelize on the chicken. Brown sugar gives depth, while honey adds shine and a softer sweetness that keeps the glaze from tasting flat.
- Mirin — This adds the gentle sweet-tangy note that makes teriyaki taste rounded instead of just salty-sweet. If you don’t have it, rice vinegar is the best swap, though the sauce will be a little sharper and less mellow.
- Sake or dry sherry — Optional, but it adds a subtle cooked complexity that makes the sauce taste more layered. If you skip it, the recipe still works; the sauce just leans a little more straightforward.
- Garlic and ginger — Fresh is best here because both flavors show up clearly in a short-cooked sauce. Powdered versions won’t give the same bright, clean edge.
- Cornstarch slurry — This is what turns the reserved sauce into a glossy glaze instead of a thin pan sauce. Stir it in after the liquid is simmering; if you add it to a cold pan, it can clump before it thickens.
How to Build the Glaze Without Burning the Sugar
Mix the Marinade, Then Split It
Whisk the soy sauce, brown sugar, honey, mirin, sake, garlic, and ginger until the sugar starts dissolving, then divide the mixture in half before the chicken goes in. That split matters because the marinade touches raw chicken and can’t be reused until it’s boiled. Reserve the clean half now, and you won’t have to guess later whether the sauce is safe or seasoned enough.
Marinate Just Long Enough
Twenty minutes is enough to season the surface of the chicken without turning it mushy or overly salty. Longer marinating won’t hurt this recipe much, but it isn’t necessary for thighs, which cook up flavorful on their own. Pat the chicken lightly before it hits the pan if the surface looks drenched; too much liquid slows browning.
Sear for Color, Not Patience
Heat the oil in a large skillet over medium-high until it shimmers, then lay the chicken in without crowding the pan. You want a steady sizzle and deep brown patches, not a pale steam bath. Cook until the first side releases easily and the edges are taking on dark caramelization, then turn and cook the second side until the chicken reaches 165°F.
Thicken the Reserved Sauce Separately
Pour the reserved marinade into the pan after the chicken comes out and bring it to a full simmer before adding the cornstarch slurry. Stir constantly for 2 to 3 minutes until the sauce turns glossy and coats the spoon. If it stays thin, it probably never got hot enough for the cornstarch to activate; if it goes lumpy, the slurry was added too fast or into liquid that wasn’t moving.
Coat the Chicken at the End
Return the chicken to the pan and turn it through the glaze until every piece is lacquered. This last toss gives you the sticky finish without overcooking the thighs. Serve it immediately over steamed rice while the sauce is still fluid enough to pool around the grains.
How to Adapt This for a Different Pantry or a Bigger Bowl of Rice
Gluten-Free Teriyaki Chicken
Use a gluten-free soy sauce or tamari in the same amount. The flavor stays close, but tamari usually tastes a little rounder and less sharp, so the sauce may come across slightly smoother.
No-Mirin Backup
Use rice vinegar in place of mirin if that’s what you have. The sauce will be brighter and less sweet, so the honey becomes more important for balancing the sharpness.
Chicken Breast Version
Chicken breast works, but cut it into even cutlets or chunks so it cooks quickly and evenly. Pull it from the pan as soon as it hits 165°F; breast meat goes from juicy to dry fast once the sugars in the sauce start concentrating.
Lower-Sugar Teriyaki
Cut the brown sugar slightly and leave the honey in place, because honey helps the glaze shine and cling. The sauce will still thicken, but it won’t caramelize quite as dark, so watch the skillet closely and don’t chase color that isn’t there.
Storage and Reheating
- Refrigerator: Store leftovers in an airtight container for up to 4 days. The sauce will thicken as it chills.
- Freezer: It freezes well for up to 2 months. Freeze the chicken and sauce together, then thaw overnight in the refrigerator.
- Reheating: Reheat gently in a skillet over low heat with a splash of water to loosen the glaze. High heat will make the sauce seize and can dry out the chicken before the center is hot.
Answers to the Questions Worth Asking
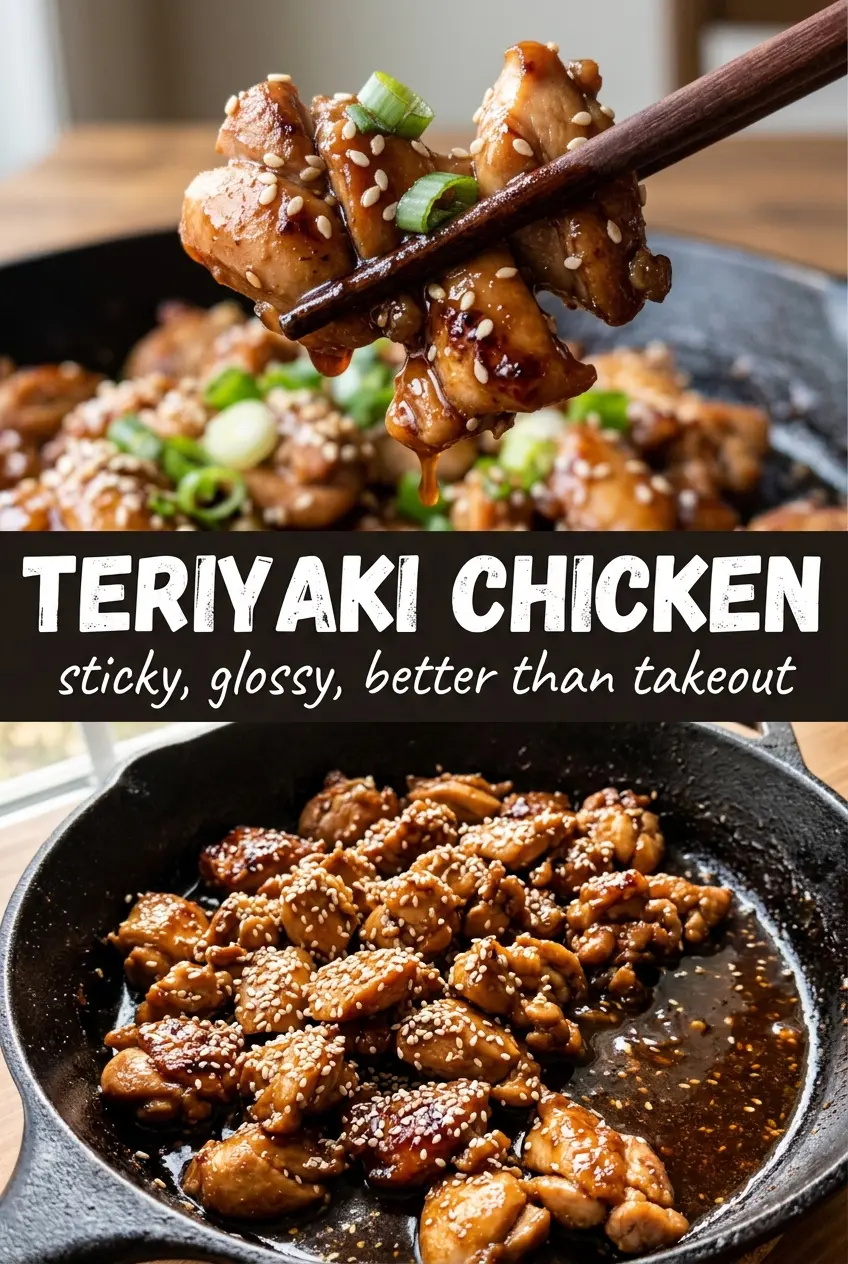
Teriyaki Chicken
Ingredients
Equipment
Method
- Whisk together soy sauce, brown sugar, honey, mirin, sake, garlic, and ginger until the sugar dissolves and the mixture looks smooth; reserve half for the sauce.
- Add the chicken thighs to the remaining half and marinate for 20 minutes, turning once so the surface looks evenly coated.
- Heat the vegetable oil in a large skillet over medium-high heat until shimmering.
- Add the marinated chicken and cook 5-6 minutes per side until caramelized with dark amber blistered edges, and the internal temperature reaches 165°F; remove chicken to a plate.
- Pour the reserved marinade into the pan and bring it to a simmer so it bubbles actively across the surface.
- Stir in the cornstarch slurry and cook 2-3 minutes, stirring, until the sauce turns thick and glossy and clings to the spoon.
- Return the chicken to the pan and turn to coat so every piece is glazed with the sticky teriyaki sauce.
- Serve the glazed teriyaki chicken over steamed rice, drizzle with any extra sauce, and garnish with sesame seeds and sliced green onions.