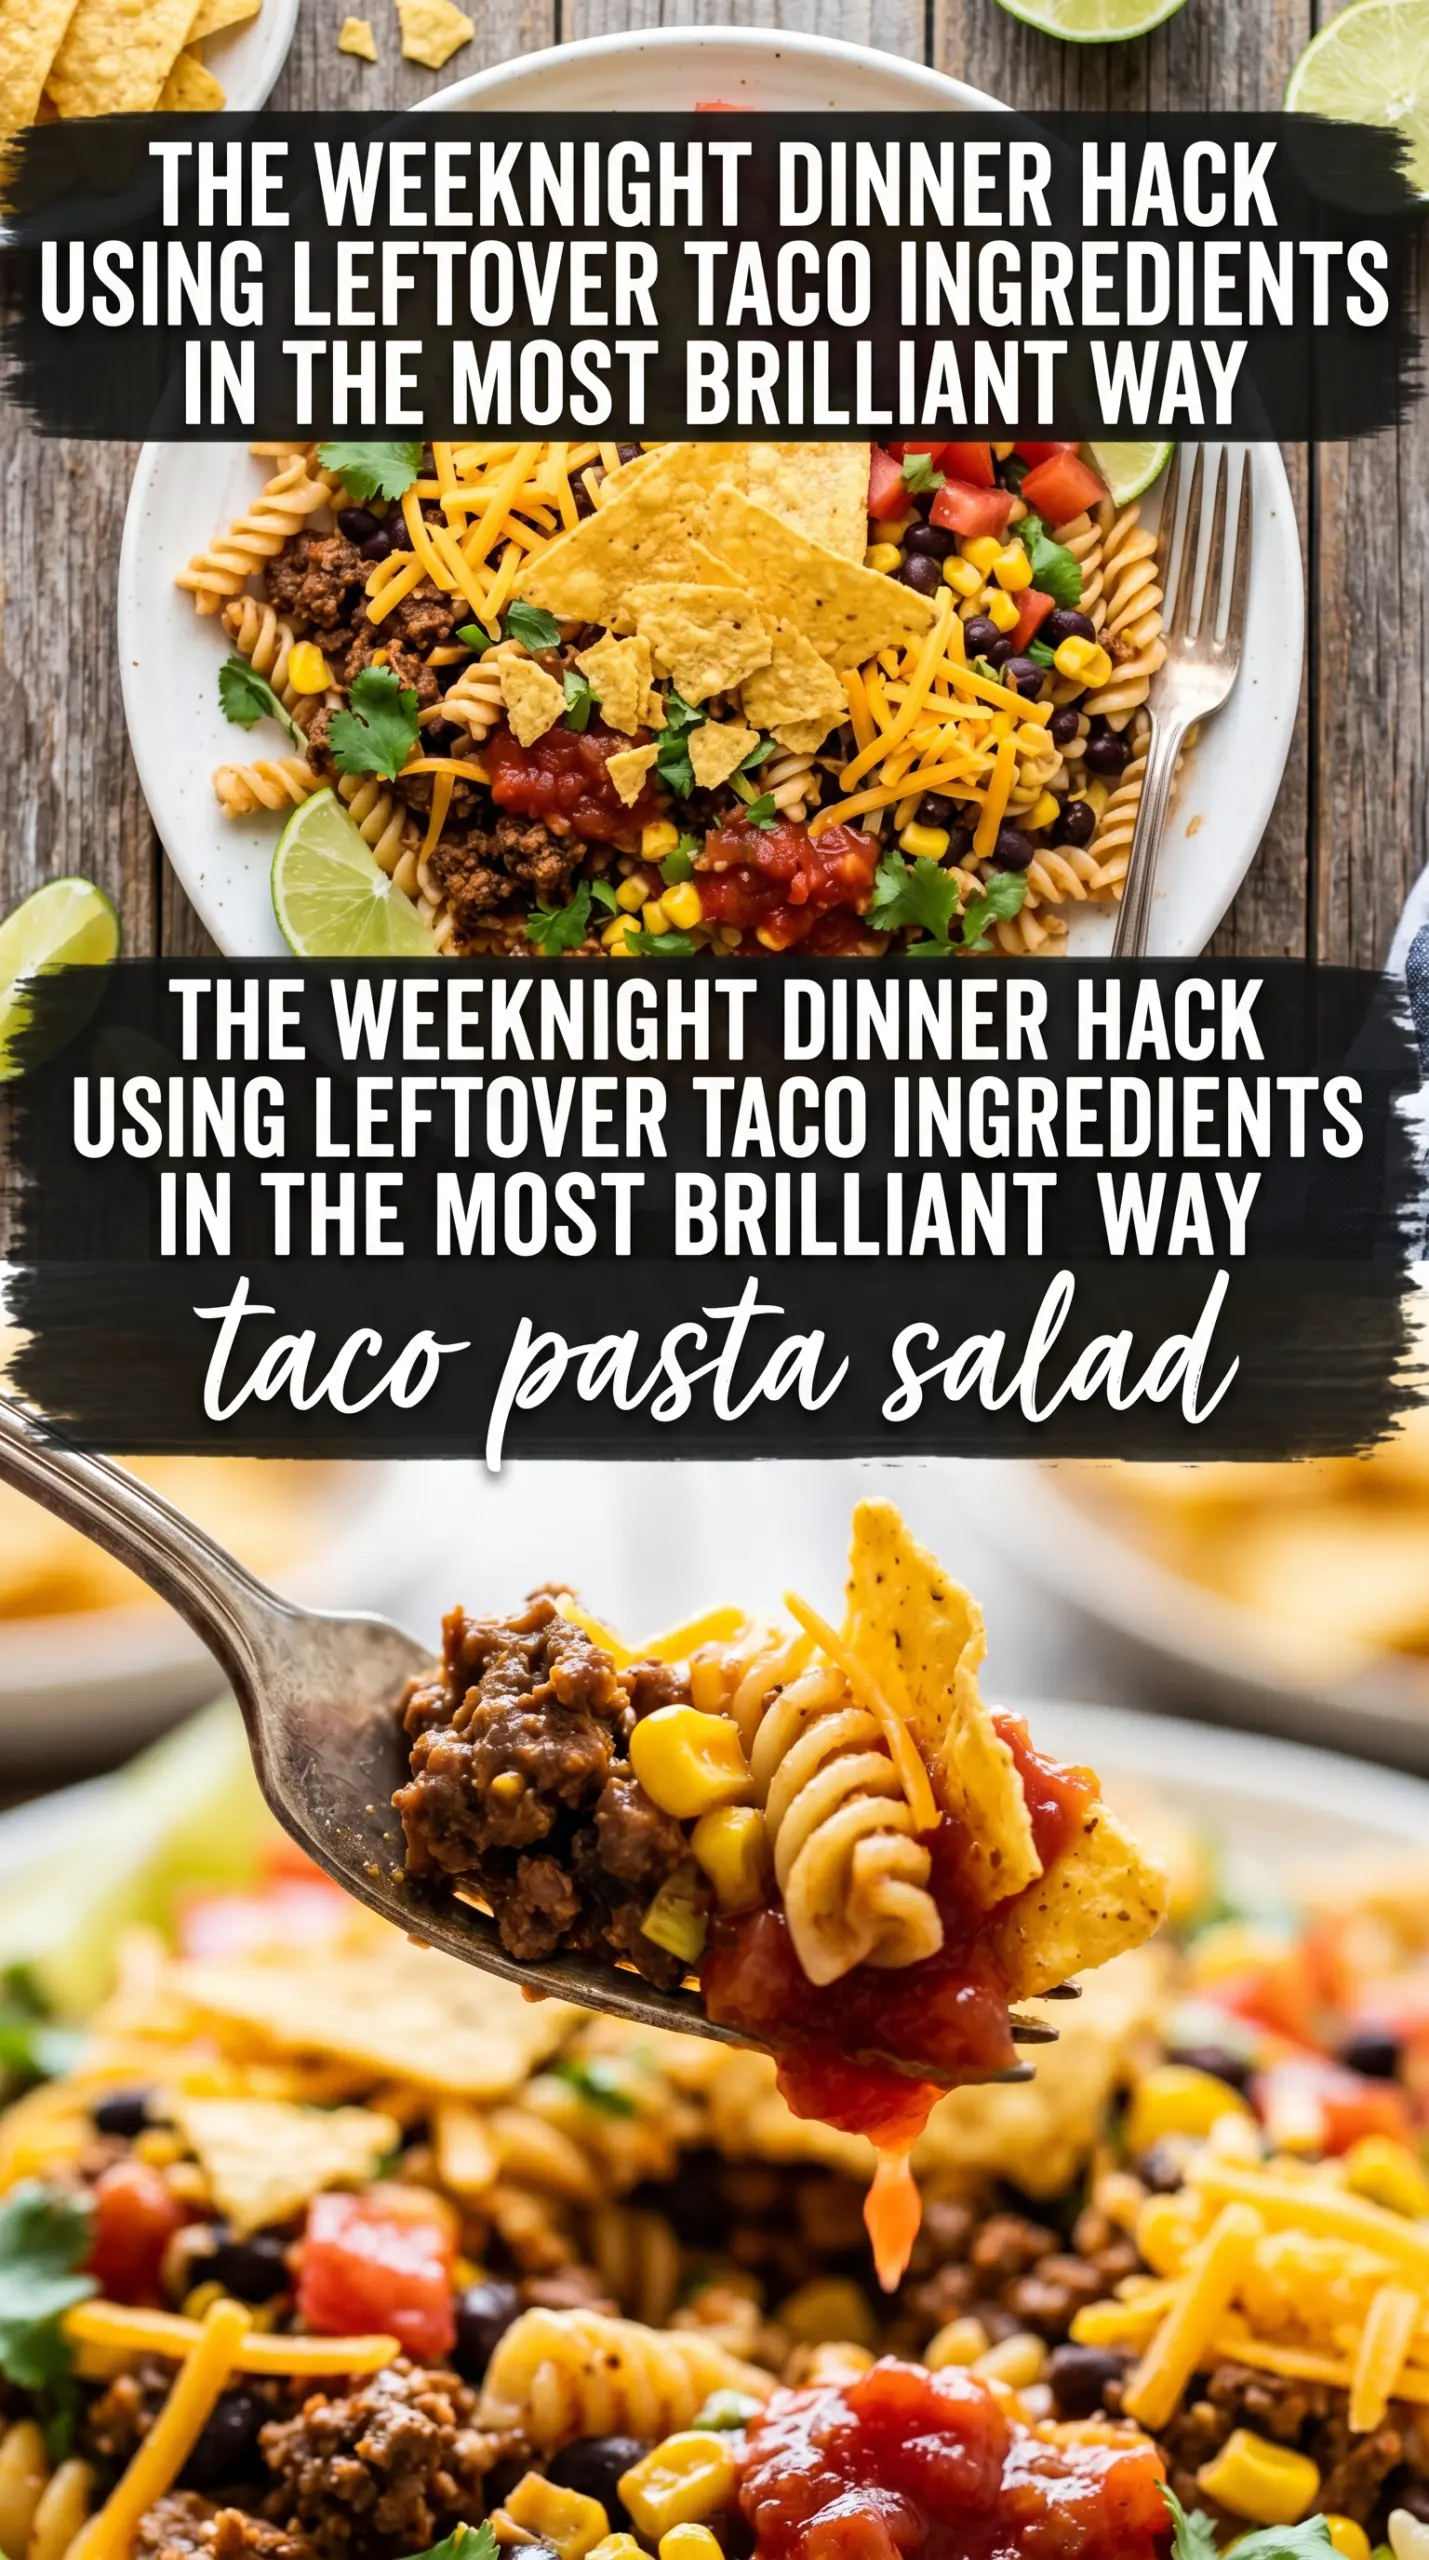
Pasta salad gets a lot more interesting when it stops trying to be a side dish and starts eating like a meal. This taco pasta salad brings together seasoned ground beef, cool crisp vegetables, and a creamy salsa-ranch dressing that clings to every shell and rotini twist. The crushed tortilla chips on top finish it with the kind of crunch that makes people keep going back for one more forkful.
What makes this version work is balance. The pasta gets rinsed cold so it stays firm and doesn’t soak up the dressing too fast. The beef cools before it goes in, which keeps the cheese from melting into greasy streaks and keeps the lettuce, if you add it, from wilting the second it hits the bowl. The ranch and salsa mix gives you that taco-salad flavor without turning the whole dish watery.
Below you’ll find the small details that matter most here: how long to chill it, when to add the chips so they stay crisp, and a few smart swaps if you want to make it lighter, spicier, or more make-ahead friendly.
The ranch and salsa dressing coated everything without making it soggy, and after a couple hours in the fridge the flavors were even better. My husband kept sneaking forkfuls straight from the bowl.
Save this taco pasta salad for the days when you want taco night flavor in a chilled, make-ahead bowl with real crunch.
The Trick to Keeping Taco Pasta Salad Creamy Instead of Heavy
The biggest mistake with pasta salads like this is letting the dressing do all the work while the other ingredients sit wet and warm. That’s how you end up with a bowl that tastes flat on day one and muddy by day two. Here, the pasta gets cooled completely, the beef gets cooled too, and the dressing gets added after the mix is assembled so it coats instead of sinking.
Rinsing the pasta matters because this is one of the few times you want to stop the starch from clinging. You’re not building a sauce that needs that starch to help it thicken. You want clean, separate pieces of pasta that hold onto the dressing and keep their shape after chilling.
- Shells or rotini — Both shapes trap dressing and little bits of beef better than long pasta. Shells give you pockets; rotini gives you ridges. Use what you have, but avoid spaghetti or linguine here because they don’t hold the toppings as well.
- Ranch dressing — Use a thick ranch, not a thin pourable one. Thin dressing slides to the bottom of the bowl after chilling. If yours is very thick, loosen it with a spoonful or two of salsa instead of milk so the flavor stays bold.
- Salsa — This is where the taco flavor gets carried through the whole salad. A chunky salsa adds more texture, while a smoother one blends more cleanly into the dressing. Mild, medium, or hot all work, but a very watery salsa will make the salad loose.
- Cheddar cheese — Shred it yourself if you can. Pre-shredded cheese has a coating that keeps it from melting together in the bowl, which is useful in some recipes, but here freshly shredded cheddar blends more naturally into the salad and tastes fuller.
What Each Ingredient Is Actually Doing in Taco Pasta Salad
- Fresh vegetables (vibrant, crisp, quality) — Start with fresh, brightly colored vegetables. Wilted vegetables make everything taste tired.
- Acid (vinegar, lemon juice, or lime) — The acid prevents oxidation and prevents flat taste. It’s essential for brightness.
- Oil (quality matters for flavor) — Good olive oil adds freshness. Cheap oil makes the salad taste flat.
- Salt (enhances all other flavors) — Proper seasoning makes vegetables taste more like themselves. Don’t undersalt.
- Fresh herbs (tender ones added last) — Fresh herbs add complexity and brightness. Add them right before serving.
- Protein or hearty elements (if using) — These should complement without overwhelming the vegetables. Keep the salad light.
- Dressing applied just before serving — Don’t dress early or the vegetables release liquid and wilt. Timing is everything.
- Taste and adjust (check for balance) — The salad should taste bright and assertive. Add more acid or salt if needed.
Building the Bowl So the Crunch Survives the Chill
Cooking and Cooling the Pasta
Cook the pasta until just tender, then drain it and rinse under cold water until it feels completely cool. If it stays warm, it will absorb the dressing too aggressively and turn soft after chilling. Let it drain well too, because extra water at the bottom of the bowl is the fastest way to thin out the dressing.
Seasoning the Beef the Right Way
Brown the beef first, then add the taco seasoning according to the packet directions and let it coat every bit of meat. If there’s a lot of grease in the pan, drain it off before the seasoning goes in, or the finished salad can taste oily and heavy. Cool the beef before mixing it with the pasta so the cheese stays distinct instead of softening into the dressing.
Mixing Without Crushing the Texture
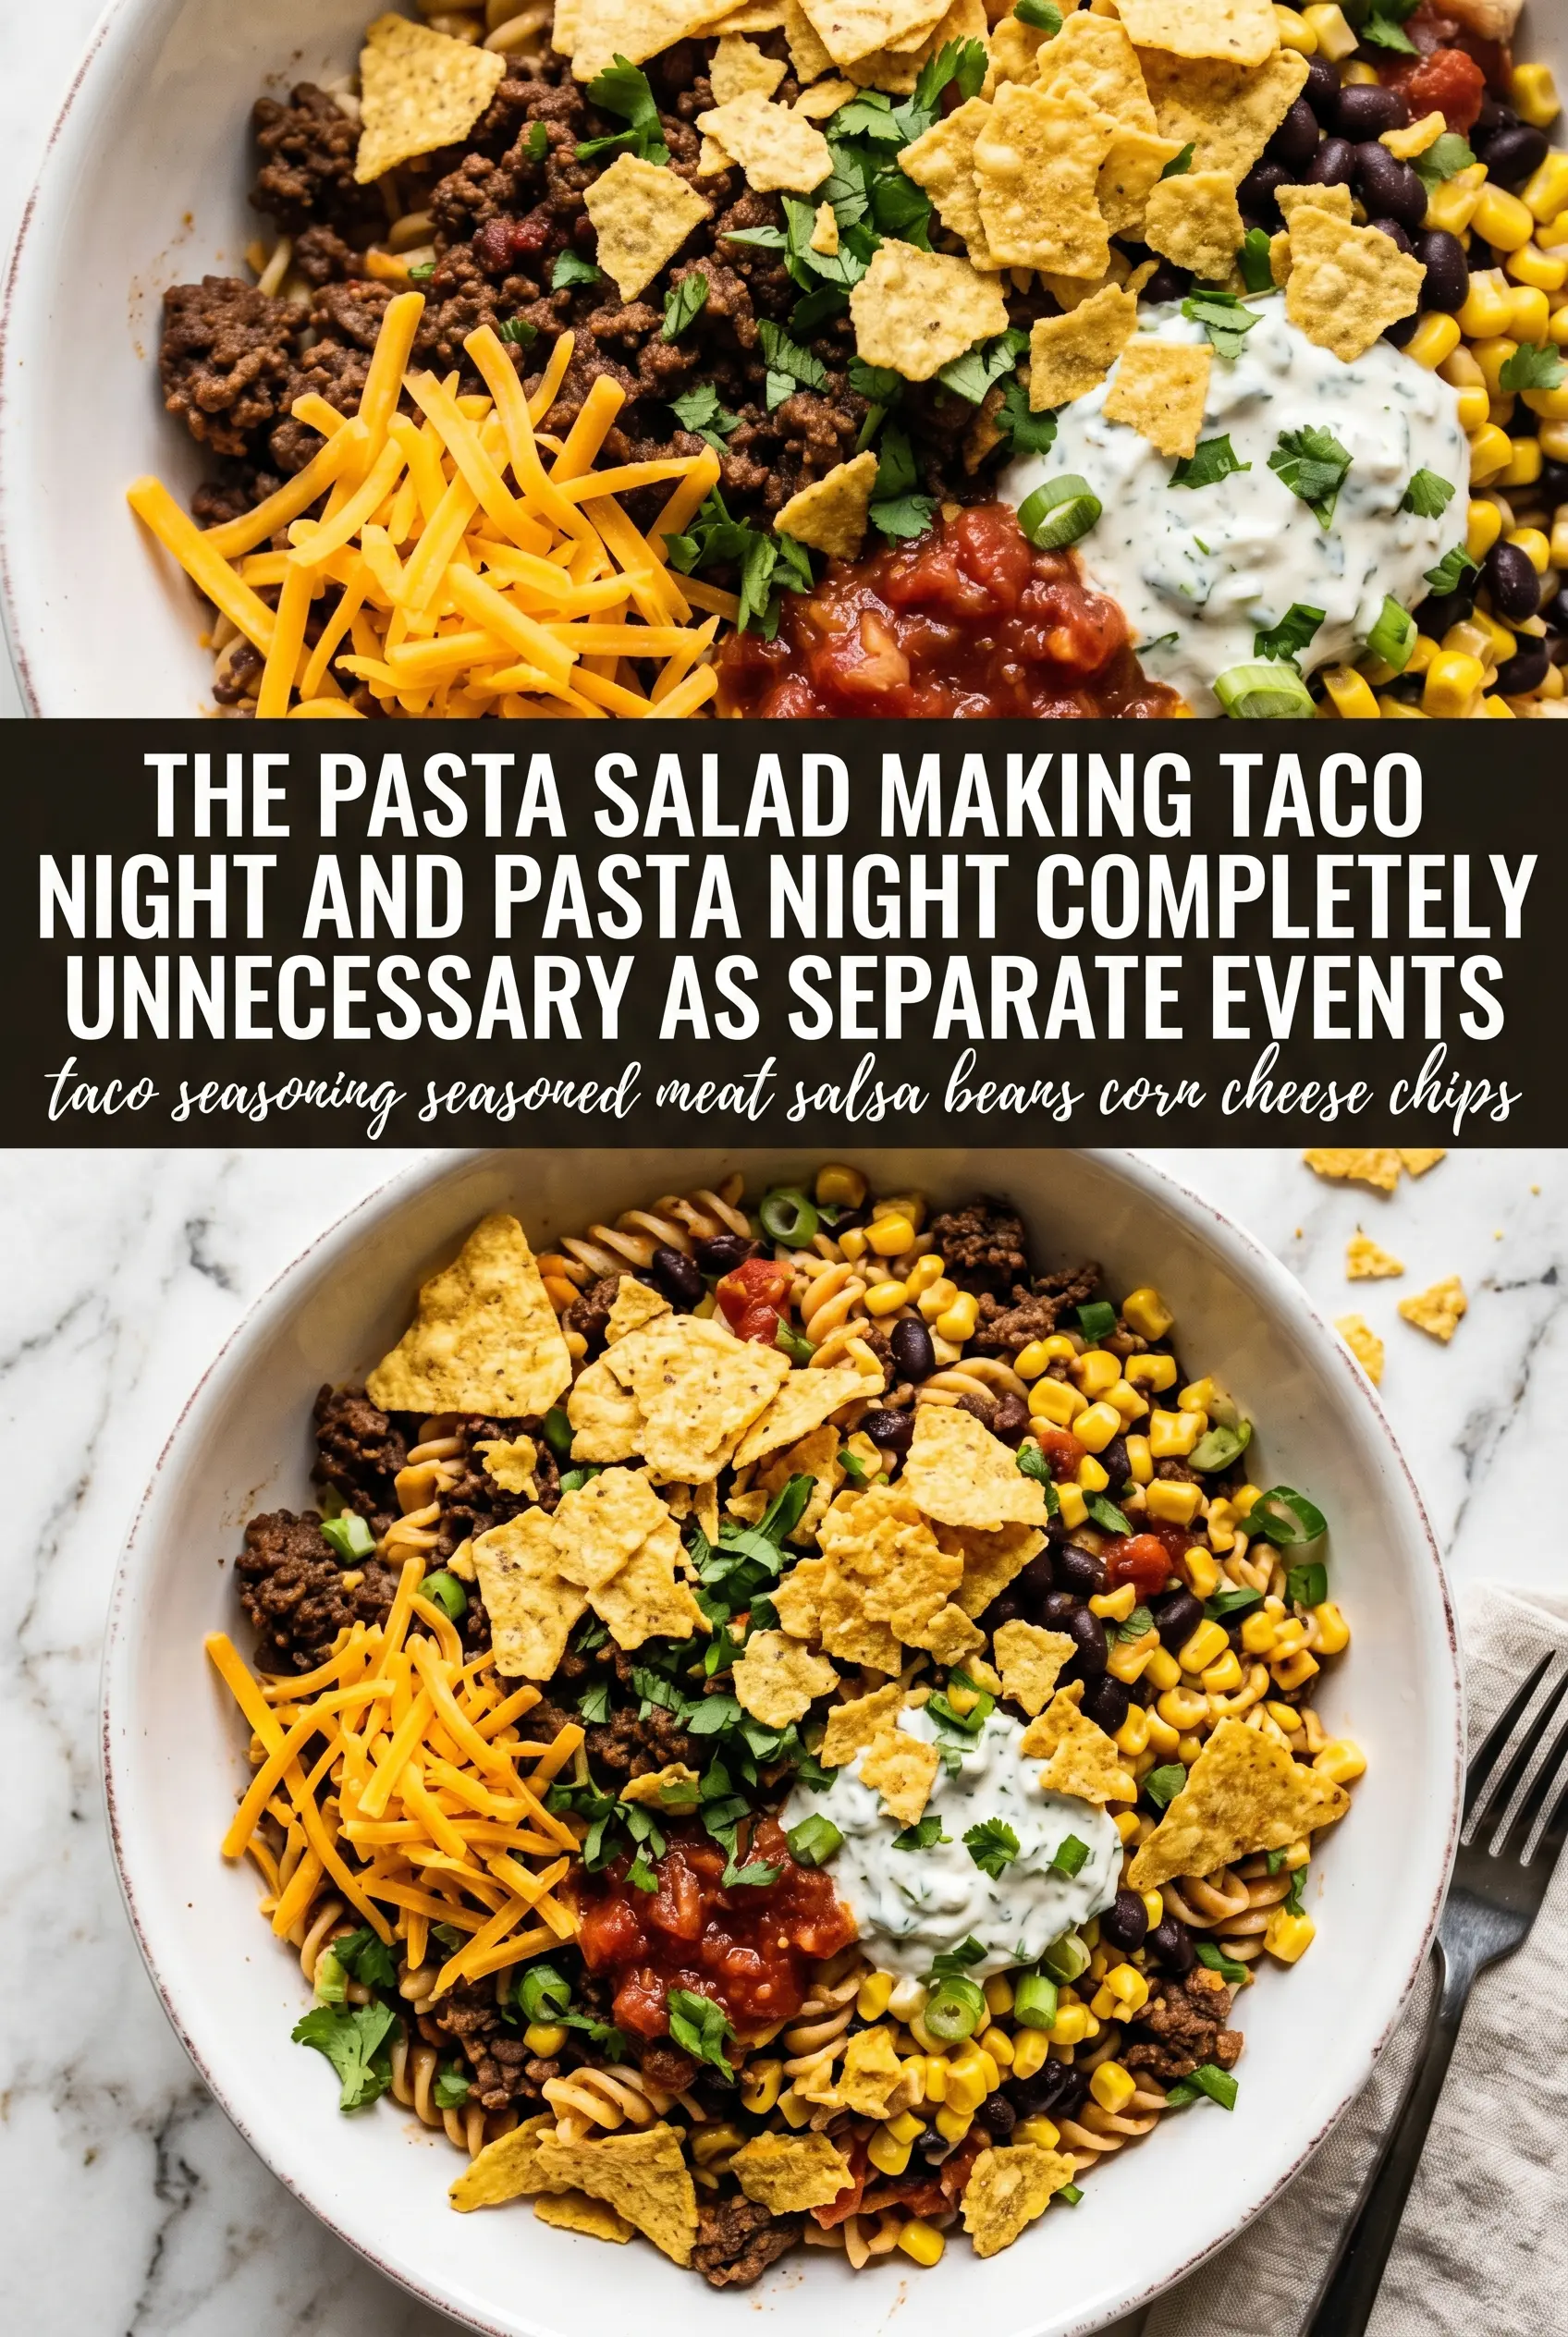
Combine the pasta, beef, cheese, tomatoes, corn, and onion in a large bowl before adding the dressing. Stir gently so the tomatoes stay intact and the pasta doesn’t break up. Add the ranch-salsa mixture and toss just until everything is coated; overmixing can turn the bowl into a soft mash instead of a crisp, cold pasta salad.
When to Add the Chips and Greens
Chilling the salad for at least two hours helps the flavors settle and gives the dressing time to cling to the pasta. Hold back the crushed tortilla chips, lettuce, sour cream, and cilantro until right before serving. If they go in early, the chips soften and the lettuce loses its snap.
How to Adapt This for a Lighter Bowl, More Heat, or No Beef
Ground turkey instead of beef
Ground turkey works well if you want a lighter version, but it needs a little help because it doesn’t bring the same richness as beef. Cook it with the taco seasoning and add a teaspoon of oil if the pan looks dry so the spices bloom instead of tasting dusty.
Vegetarian taco pasta salad
Skip the beef and add black beans for a vegetarian version with more body and fiber. Drain and rinse the beans well so they don’t muddy the dressing, and use a slightly extra handful of cheese to keep the salad feeling complete.
Gluten-free pasta swap
Use a sturdy gluten-free pasta that holds its shape after chilling, since some brands get fragile once cold. Cook it just to tender and rinse it well, because overcooked gluten-free pasta tends to split when you toss it with the heavier mix-ins.
Storage and Reheating
- Refrigerator: Store covered for up to 3 days. The pasta softens a little as it sits, but the flavor deepens.
- Freezer: I don’t recommend freezing this salad. The dressing separates, the tomatoes turn mushy, and the pasta loses its texture.
- Reheating: This dish is meant to be served cold, so don’t reheat the full salad. If you want to refresh leftovers, stir in a spoonful of ranch or salsa before serving and add fresh chips on top for crunch.
Questions I Get Asked About This Recipe
Taco Pasta Salad
Ingredients
Equipment
Method
- Cook pasta shells or rotini according to package directions, then drain and rinse with cold water to stop the cooking.
- Spread the rinsed pasta onto a sheet pan in an even layer, then cool at room temperature while you cook the beef.
- Heat a cast iron skillet over medium-high heat, add ground beef, and cook until browned, breaking it up as it cooks.
- Stir in taco seasoning and cook according to the package directions, then transfer the beef to cool completely.
- Mix ranch dressing with salsa until smooth and evenly colored.
- In a large bowl, combine pasta, ground beef, cheddar cheese, cherry tomatoes, corn kernels, and red onion.
- Pour the dressing over the salad and toss to coat everything evenly.
- Refrigerate for at least 2 hours so the pasta absorbs the dressing.
- Top with crushed tortilla chips, lettuce, sour cream, and cilantro right before serving for the best crunch and freshness.