Swirled pumpkin cheesecake bars land somewhere between a classic cheesecake and a fall dessert tray, but the best part is the texture: a crisp, buttery crust under a thick vanilla layer, topped with ribbons of spiced pumpkin cheesecake that bake into a marbled top instead of blending into one flat filling. Every bite gets both creamy tang and warm spice, and the bars slice cleanly once they’ve had time to chill.
The trick is keeping both fillings smooth and distinct before they hit the pan. The vanilla layer gives you that rich cheesecake base, while the pumpkin mixture stays a little looser from the puree and spices, which makes it perfect for dolloping and swirling. I also like baking the crust briefly first so it stays firm under the filling instead of turning soft at the edges.
Below, I’ll show you how to get those dramatic swirls without overworking the batter, plus the small chilling step that makes the bars cut into neat squares instead of a soft mess.
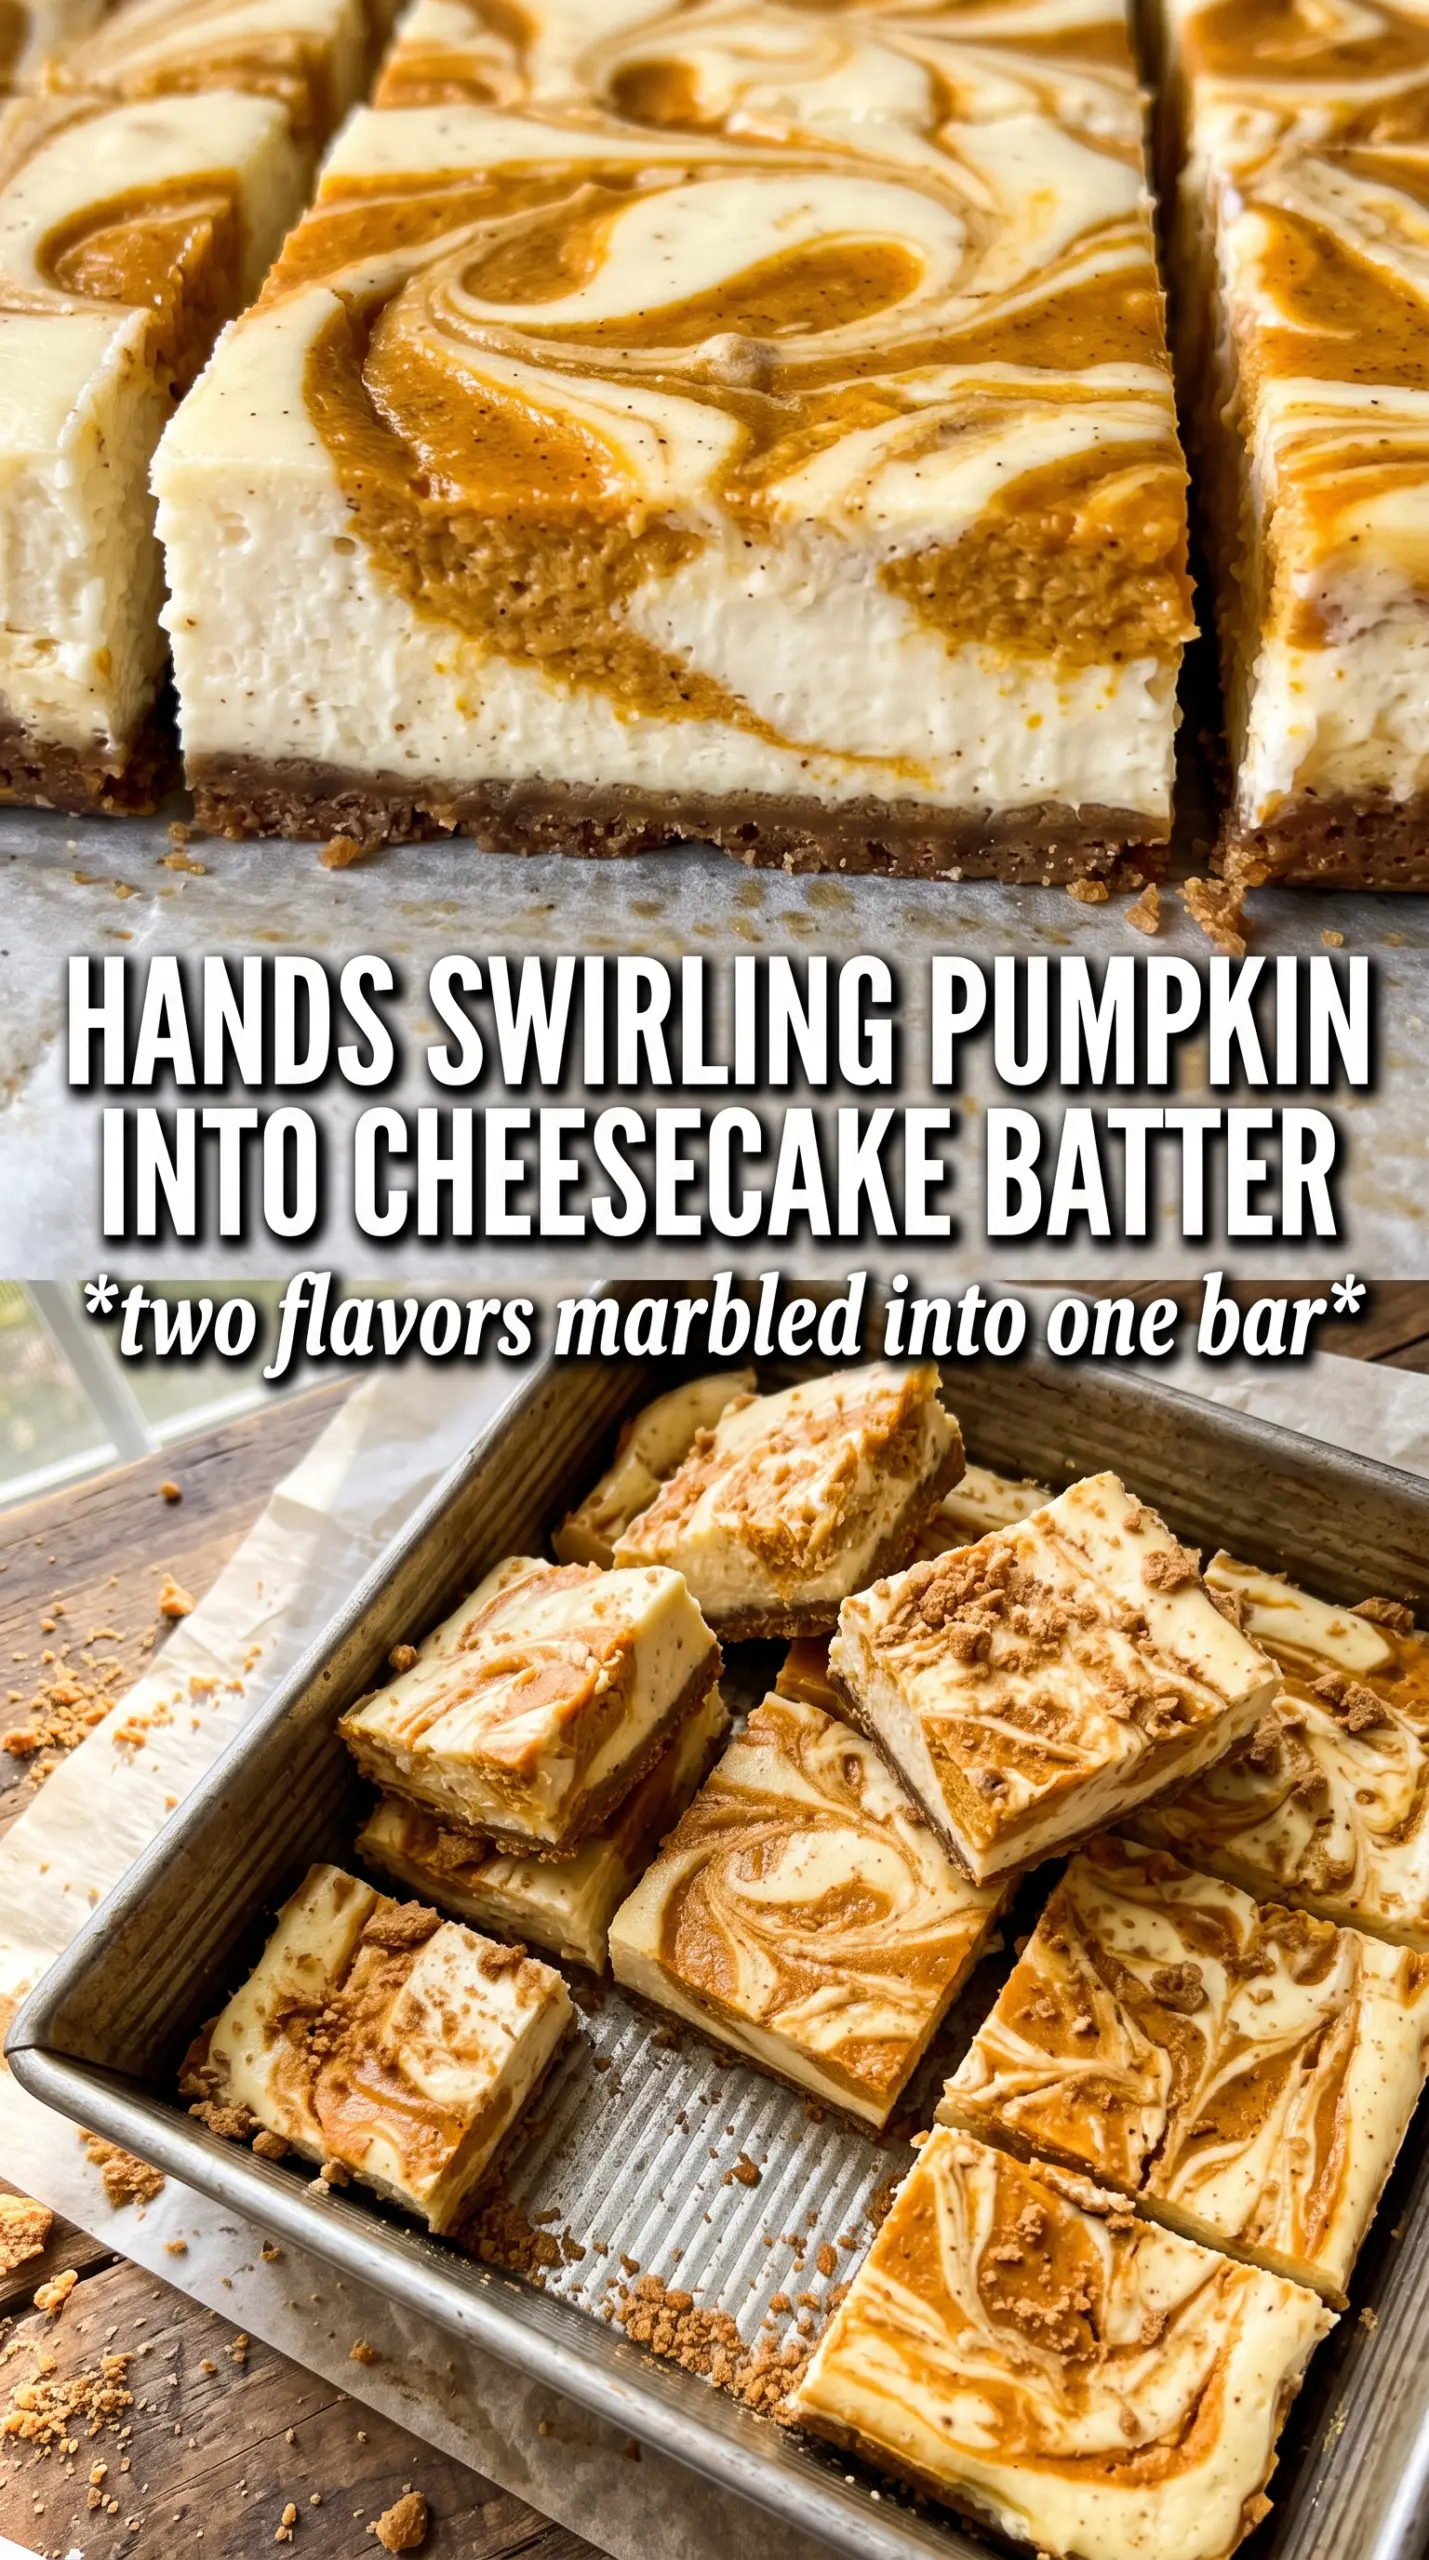
The swirl stayed really pretty after baking, and the bars held their shape once chilled. The gingersnap crust gave it just enough spice without overpowering the cheesecake.
Swirled pumpkin cheesecake bars with a crisp crust and dramatic marbled top are worth keeping on hand for dessert trays and make-ahead entertaining.
The Swirl That Keeps the Cheesecake Layers From Blending Together
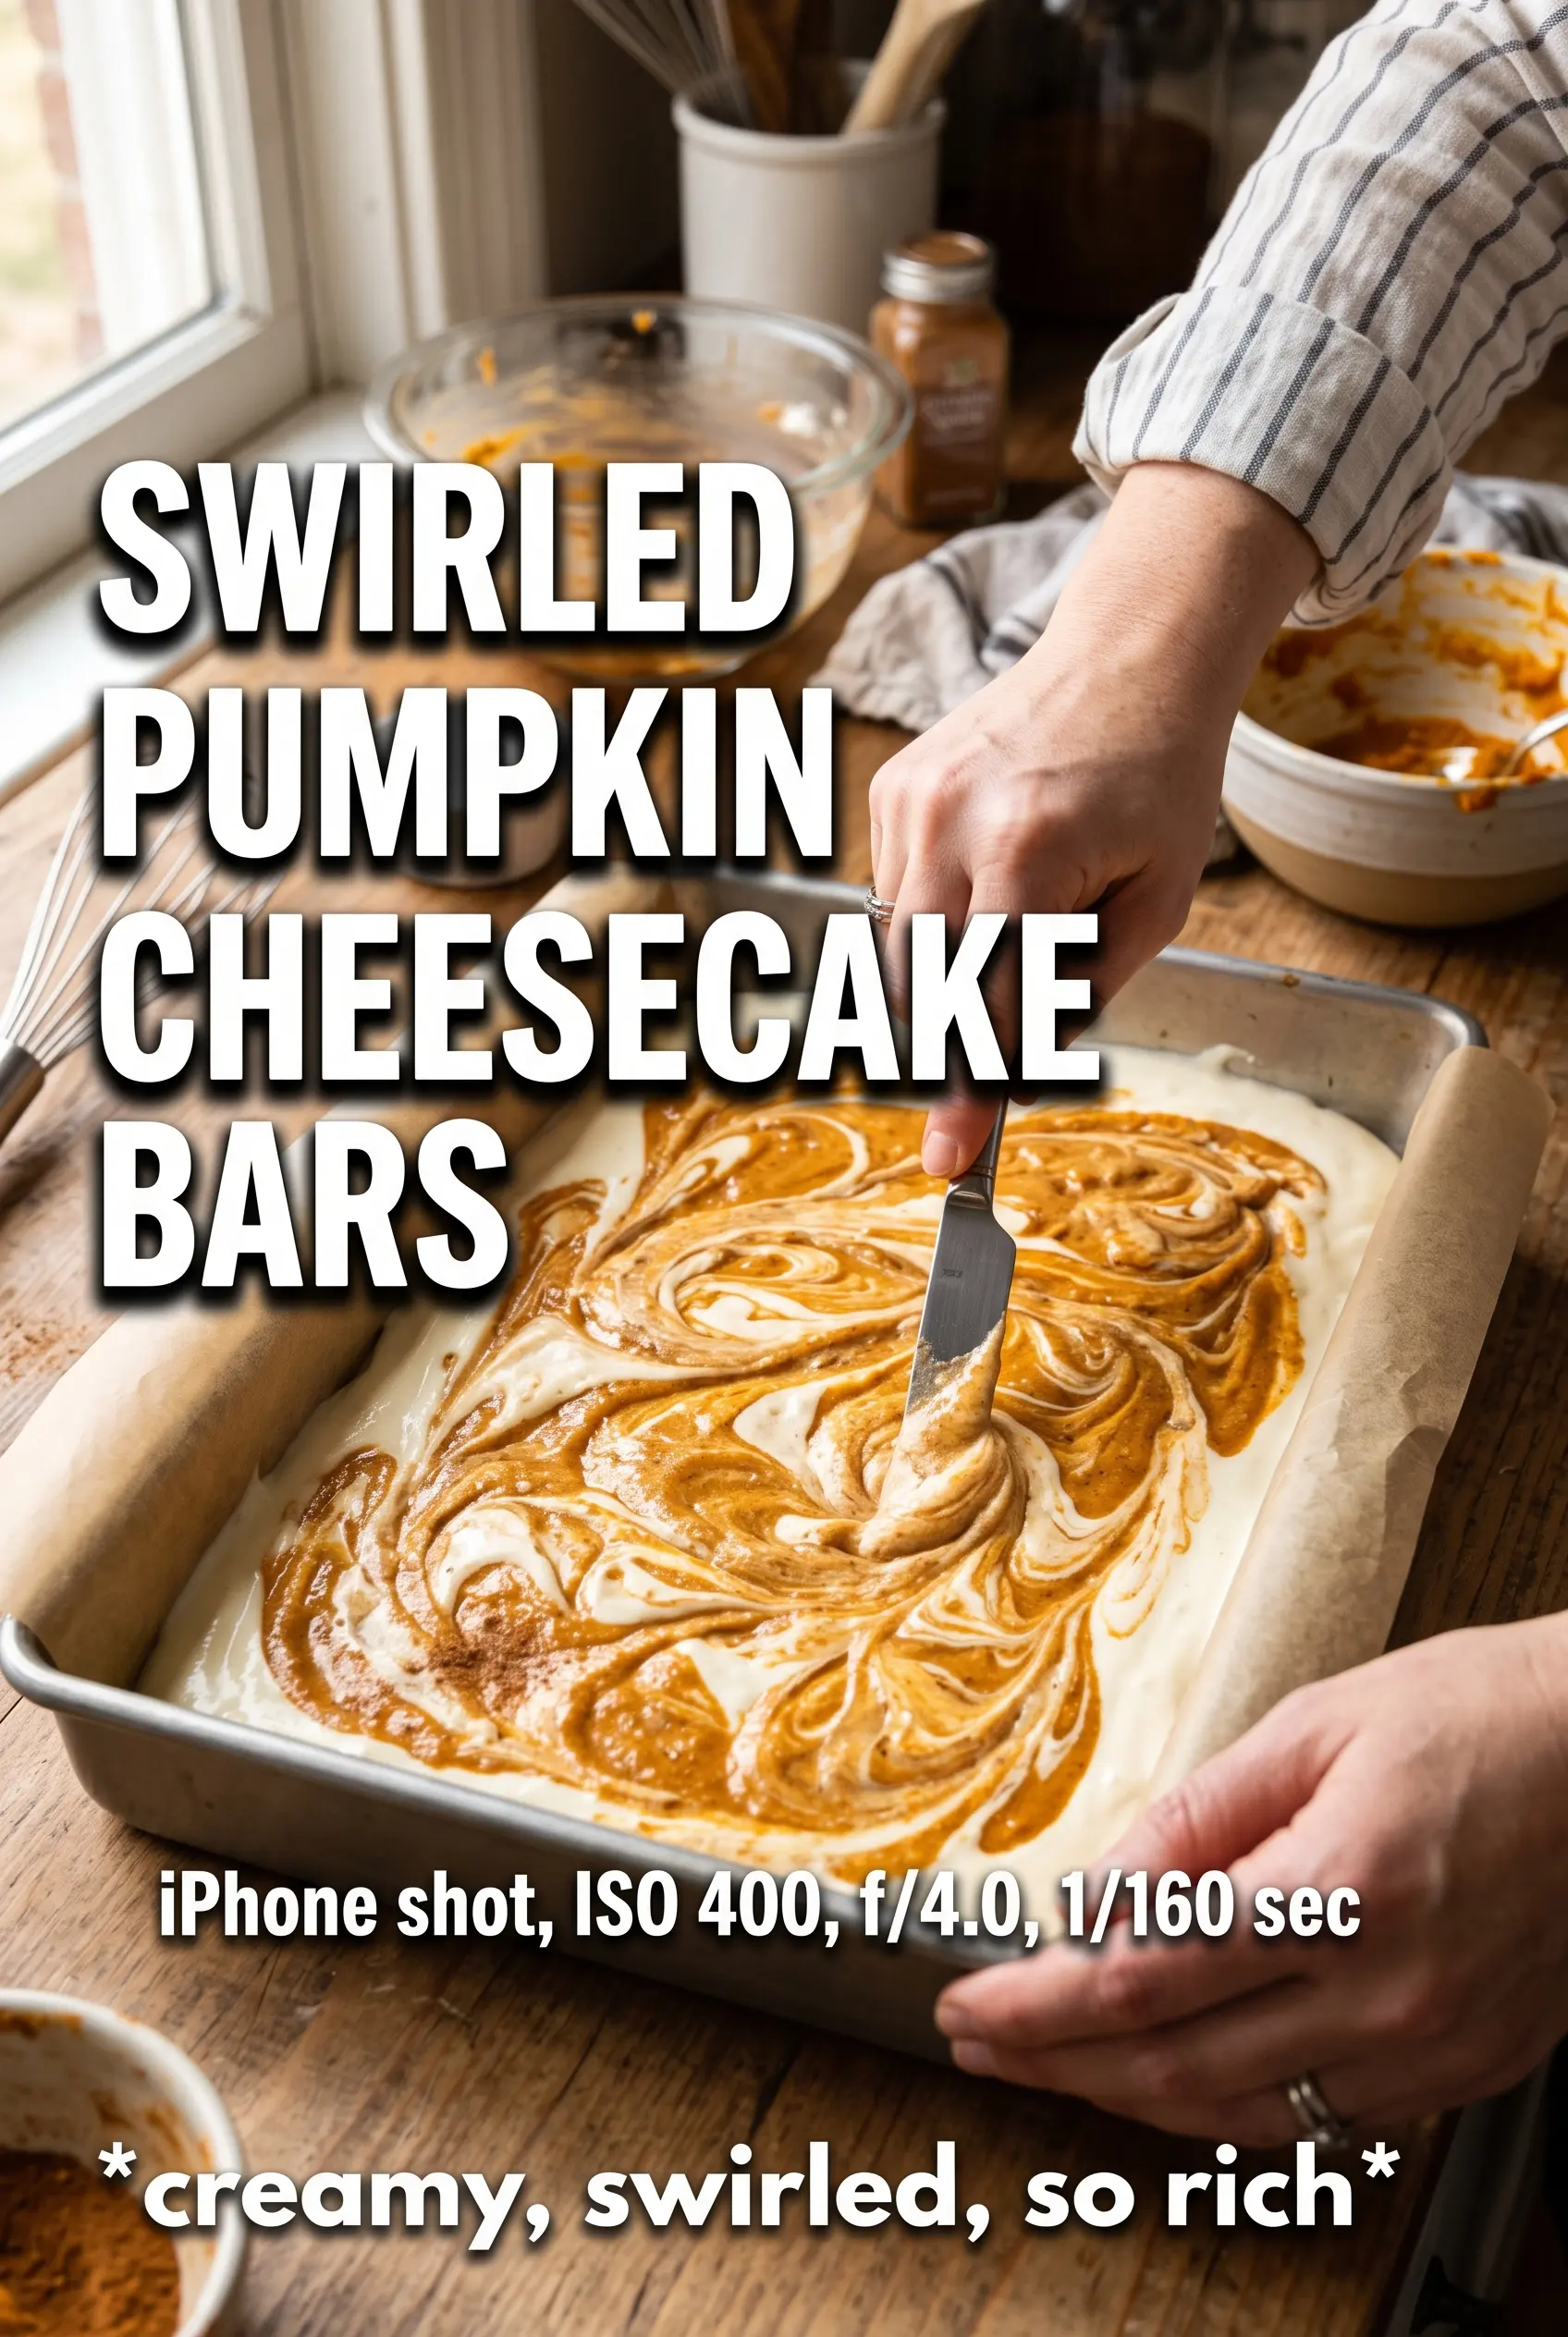
The biggest mistake with marbled cheesecake bars is over-swirling. Once the pumpkin mixture is on top, use a knife or skewer just a few times through the surface so the two batters stay separate in ribbons instead of turning the whole pan a dull tan. You want streaks, not full integration.
The other thing that matters is thickness. Both fillings should be smooth and spreadable, but not runny. If your cream cheese is still cold, you’ll end up with lumps that bake into the bars; if the pumpkin layer is too loose, it sinks right through the vanilla layer and you lose the pattern you were aiming for.
- Beat the cream cheese fully. Softened cream cheese is what gives you a silky cheesecake layer without lumps.
- Keep the pumpkin mixture slightly thicker. The puree plus brown sugar should be smooth, but not thin enough to pour like batter.
- Swirl lightly at the end. A few sweeping passes are enough to create contrast across the top.
- Chill before slicing. Warm cheesecake bars are soft and the layers smear; cold bars cut cleanly.
What Each Ingredient Is Actually Doing in These Bars
- Graham or gingersnap crumbs. Graham crackers give you a classic buttery base, while gingersnaps add spice and a firmer crunch. If you want the pumpkin flavor to stand out more, gingersnaps are the better pick.
- Cream cheese. This is the backbone of both layers, so quality and full softening matter. Use full-fat blocks, not whipped tubs, or the filling won’t set with the same body.
- Sour cream. It loosens the vanilla cheesecake just enough and adds a little tang that keeps the bars from tasting heavy. Plain full-fat Greek yogurt works in a pinch, but the texture will be a touch less rich.
- Pumpkin puree. Use pure pumpkin, not pumpkin pie filling. Pie filling already has sugar and spices added, which throws off both the flavor and the texture.
- Pumpkin pie spice and cinnamon. These give the top layer its warm edge and help it read as pumpkin instead of just tinted cheesecake.
Building the Layers So the Bars Bake Up Clean
Pressing and Pre-Baking the Crust
Mix the crumbs, sugar, and melted butter until everything looks like damp sand, then press it firmly into the lined pan. A flat-bottomed measuring cup helps you pack it evenly into the corners. Bake it for the full 8 minutes so the crust sets before the filling goes on; if you skip that step, the bottom can taste soft instead of crisp and buttery.
Whipping the Two Cheesecake Batters
Beat each filling just until smooth. You’re looking for a creamy mixture with no lumps, not extra air, because too much air can cause the bars to puff and crack as they cool. Scrape the bowl well, especially around the bottom edge, where sneaky bits of unmixed cream cheese like to hide.
Swirling and Baking to the Right Set
Spread the vanilla layer over the crust first, then drop the pumpkin mixture in large spoonfuls over the top. Don’t try to smooth it into place; the dollops are what create the marbling. Bake until the edges look set and the center still has the tiniest wobble when you nudge the pan. If the center is fully firm in the oven, the bars usually end up overbaked and dry once chilled.
Cooling Before You Cut
Let the pan cool completely at room temperature, then refrigerate for the full 3 hours. That chill time isn’t optional if you want neat squares. Cheesecake bars need time to firm up, and cutting them too early usually gives you ragged edges and a layer that slides apart.
Three Ways to Make These Bars Fit Your Pantry or Table
Use gingersnaps for a deeper spice note
Swap the graham crumbs for gingersnap crumbs when you want the crust to echo the pumpkin layer. The bars come out a little darker, a little spicier, and the crust stands up better against the creamy filling.
Make them gluten-free with GF cookies or crumbs
Use a gluten-free graham-style crumb or a gluten-free gingersnap in the crust. The filling is naturally gluten-free, so this swap only changes the base, and the bars still set and slice the same way.
Turn them into a dairy-free-style dessert
Use dairy-free cream cheese and a plant-based butter substitute in the crust. The texture will be a little softer and the tang less pronounced, but the bars will still give you that swirled pumpkin look and a clean chill-to-slice finish.
Add a pecan topping for a more dessert-bar feel
Sprinkle chopped toasted pecans over the top before baking if you want a little crunch against the creamy filling. It won’t change the structure, but it does make the bars feel more finished and adds a toasty note that works well with pumpkin spice.
Storage and Reheating
- Refrigerator: Store covered for up to 5 days. The bars actually slice even cleaner on day 2.
- Freezer: They freeze well. Wrap individual bars tightly and freeze for up to 2 months, then thaw in the refrigerator overnight.
- Reheating: No reheating needed. Serve chilled or let them sit at room temperature for 10 to 15 minutes if you want a softer texture; warming them will make the cheesecake layer lose its clean set.
Answers to the Questions Worth Asking
Swirled Pumpkin Cheesecake Bars
Ingredients
Equipment
Method
- Preheat the oven to 325F. Press the gingersnap crumbs into a lined 9x13 baking pan in an even layer.
- Bake the crust for 8 minutes. The edges should look set and slightly toasted when you remove the pan.
- Beat the vanilla cheesecake layer ingredients until smooth and creamy. Stop when no lumps remain and the mixture looks glossy.
- Beat the pumpkin swirl layer ingredients until smooth and uniform. The mixture should be thick enough to dollop and swirl without running.
- Pour the vanilla cheesecake over the baked crust. Spread gently so it covers the crust completely.
- Dollop the pumpkin swirl mixture in large spoonfuls over the vanilla layer. Distribute so there are visible mounds across the surface.
- Use a knife to swirl dramatically through the dollops. Draw swirls from one side to the other for a clear marbled pattern.
- Bake for 32-35 minutes at 325F until the center is just set. The middle should jiggle slightly but not look liquid.
- Cool the bars at room temperature until they stop steaming. The surface should look firm and matte before refrigerating.
- Refrigerate for 3 hours. Chill until fully firm, then cut into bars for clean slices.