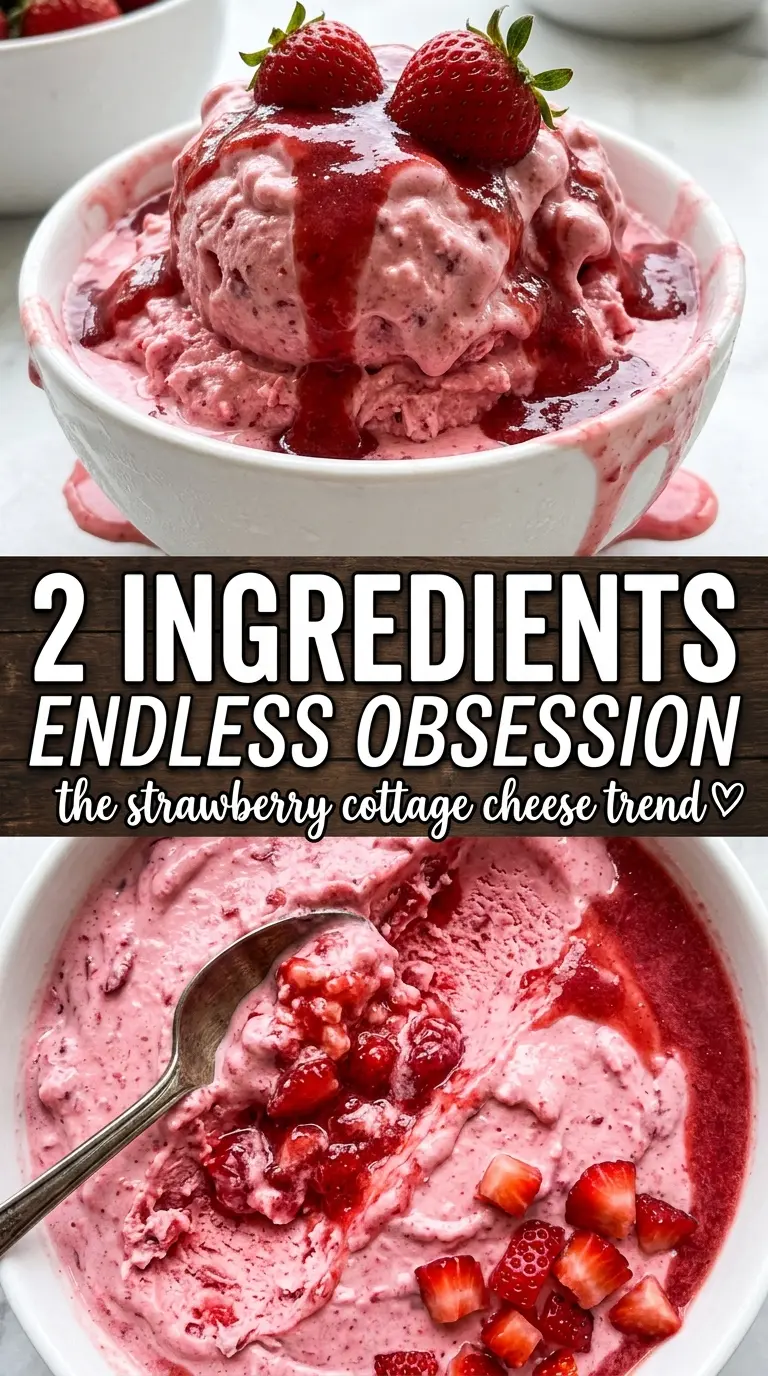
Bright pink, creamy, and packed with real strawberry flavor, this strawberry cottage cheese ice cream is the kind of dessert that disappears fast once it hits the table. The texture lands somewhere between soft-serve and frozen mousse: smooth enough to scoop, but with enough body to feel like an actual treat, not a health-food compromise.
The trick is blending the cottage cheese until it’s fully smooth before anything goes into the freezer. If the curds aren’t completely broken down, the finished ice cream turns grainy instead of silky. Strawberries bring both color and fruit flavor, while honey or maple syrup keeps the sweetness soft and prevents the mixture from freezing into a hard brick.
Below, I’ll walk through the small details that matter here, including how to keep the texture creamy, which strawberry swap works best, and what to do if you want a dairy-free version that still feels rich.
The texture came out surprisingly creamy, and blending the cottage cheese until totally smooth made all the difference. I used frozen strawberries and it still froze up with a bright, fresh flavor.
Love the creamy strawberry color and protein-packed texture? Save this strawberry cottage cheese ice cream for the next time you want a frozen dessert with almost no effort.
The Secret to a Creamy Freeze Instead of an Icy One
The biggest mistake with cottage cheese ice cream is treating it like a normal churned ice cream base. It doesn’t have eggs or cream to protect it from ice crystals, so texture depends on how smooth the base is before freezing and how much sugar is in the mix. Blend long enough that the cottage cheese loses every trace of curdiness, because any little lump gets more noticeable once it’s frozen.
Strawberries help here too, but they need a little support. Fruit alone can freeze hard and sharp, while honey or maple syrup keeps the mixture softer and more scoopable. A small hit of lemon juice wakes up the berry flavor and keeps the sweetness from tasting flat after freezing.
- Full-fat cottage cheese — This gives the creamiest result. Low-fat works, but the finished ice cream will freeze firmer and taste a little leaner.
- Strawberries — Fresh berries give a brighter flavor, while frozen berries are fine if you thaw them slightly first so the blender can move them around easily.
- Honey or maple syrup — Either one helps soften the freeze. Honey gives a rounder flavor; maple adds a deeper note. Granulated sugar works in a pinch, but it won’t blend in as smoothly.
- Lemon juice — This doesn’t make the ice cream tart. It sharpens the strawberry flavor and keeps the sweetness from turning dull after freezing.
What Each Ingredient Is Actually Doing in This Ice Cream
- Base ingredient (cream, milk, or custard) — This provides the foundation and richness. Quality matters.
- Sweetener (sugar, honey, or condensed milk) — This sweetens and prevents ice crystals. The ratio is critical.
- Flavor element (vanilla, fruit, chocolate, or other) — This defines the ice cream personality. Use quality ingredients.
- Egg yolks (if making custard base) — These create richness and silky texture. Optional but elevates ice cream.
- Churning (if using ice cream maker) — This incorporates air and prevents ice crystals. Critical for smooth texture.
- Freezing temperature and time — Proper freezing prevents rock-hard texture. Store at 0°F or below.
- Mix-ins (chocolate, cookies, fruit, or swirls) — These add texture and prevent one-dimensional flavor. Add near end of churning.
- Serving temperature (slightly soft, not rock hard) — This provides creamy mouthfeel. Remove from freezer 5 minutes before serving.
Getting the Base Smooth Enough for the Freezer
Blending Until the Curds Disappear
Start with the cottage cheese and blend it first if your blender struggles, then add the strawberries, honey, vanilla, lemon juice, and salt. Keep going until the mixture looks fully smooth and bright pink, with no visible white flecks or grainy texture on the sides of the blender. If the base still looks speckled or coarse, it will stay that way after freezing. Scrape down the blender once or twice so the last bits at the top don’t stay chunky.
Tasting Before the Freeze
Give the mixture a taste before it goes into the container. Frozen desserts always taste less sweet than they do at room temperature, so this is the moment to adjust. If the strawberries are especially tart, add a little more honey or maple syrup. If the flavor tastes flat, a few more drops of lemon juice usually wake it up.
Freezing Without Rock-Hard Edges
Pour the base into a freezer-safe container and press a piece of parchment or plastic wrap directly on the surface if you want the top layer to stay smoother. Freeze for about 4 hours, then let it sit at room temperature for 5 minutes before scooping. If you leave it out too long, the texture gets sloppy; if you scoop it straight from the freezer, it can feel harder than it should.
How to Adapt It When You Want a Different Finish
Dairy-Free Version
Use a thick dairy-free yogurt or a coconut-based yogurt with a similar spoonable texture. The result won’t taste like cottage cheese ice cream anymore, but it will still freeze creamy if you keep the sweetener in place. Coconut yogurt adds richness; oat-based versions tend to freeze a little icier.
Lower-Sugar Version
You can reduce the honey or maple syrup a bit, but don’t cut it too hard or the ice cream freezes too firm. The sweetener isn’t just for taste here; it also helps with the texture. If you want it less sweet, lean on ripe berries and a little extra vanilla instead of removing the syrup completely.
Strawberry-Banana Spin
Add half a frozen banana for a thicker, softer scoop and a slightly sweeter finish. It makes the ice cream taste more like a smoothie bowl in frozen form, and it helps offset any tang from the cottage cheese. Use less honey if you go this route, because banana adds a lot of sweetness on its own.
Storage and Reheating
- Refrigerator: Not a good fit. This is meant to be frozen, and it turns loose and soft if held in the fridge.
- Freezer: Store in an airtight container for up to 2 weeks. The texture is best in the first few days, before ice crystals have time to build.
- Reheating: No reheating needed. For the best scoop, let it sit at room temperature for 5 to 10 minutes. If it gets too hard, don’t microwave it or the edges will melt before the center softens.
Questions I Get Asked About This Recipe
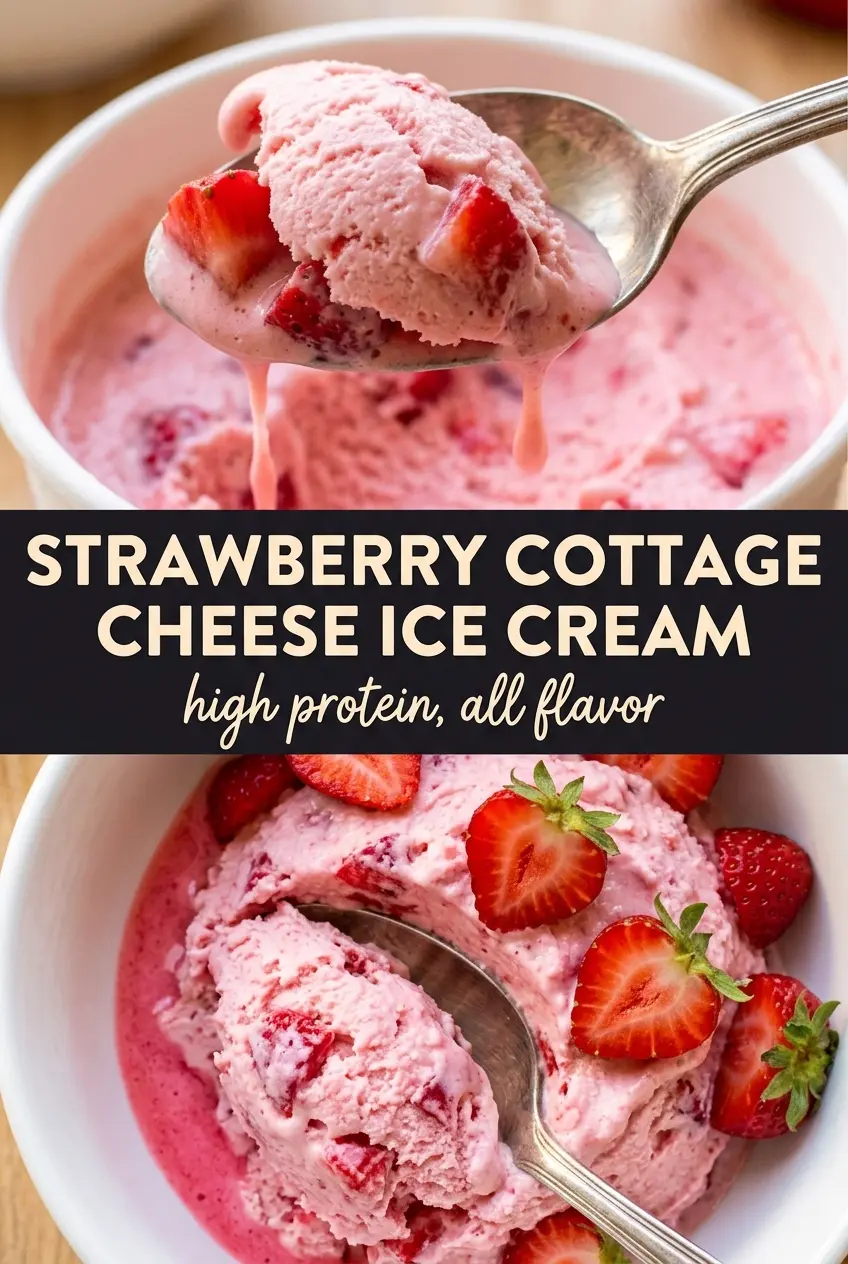
Strawberry Cottage Cheese Ice Cream
Ingredients
Equipment
Method
- If using frozen strawberries, thaw slightly until pliable, about 10 to 15 minutes, so they blend smoothly and evenly.
- If using fresh strawberries, hull and halve the berries so they can blend into a completely smooth pink base.
- Add full-fat cottage cheese and strawberries to a blender, then blend until smooth.
- Add honey or maple syrup, vanilla extract, lemon juice, and salt, then blend again until completely smooth and vibrant pink with no lumps.
- Taste the mixture and adjust sweetness by adding more honey or maple syrup if needed, then blend briefly to combine.
- Pour the blended mixture into a freezer-safe container and cover if possible, then freeze for 4 hours until scoopable.
- Let the ice cream sit at room temperature for 5 minutes before scooping to soften the texture for easier serving.
- Top with fresh strawberries and serve immediately for a bright, fruity finish.