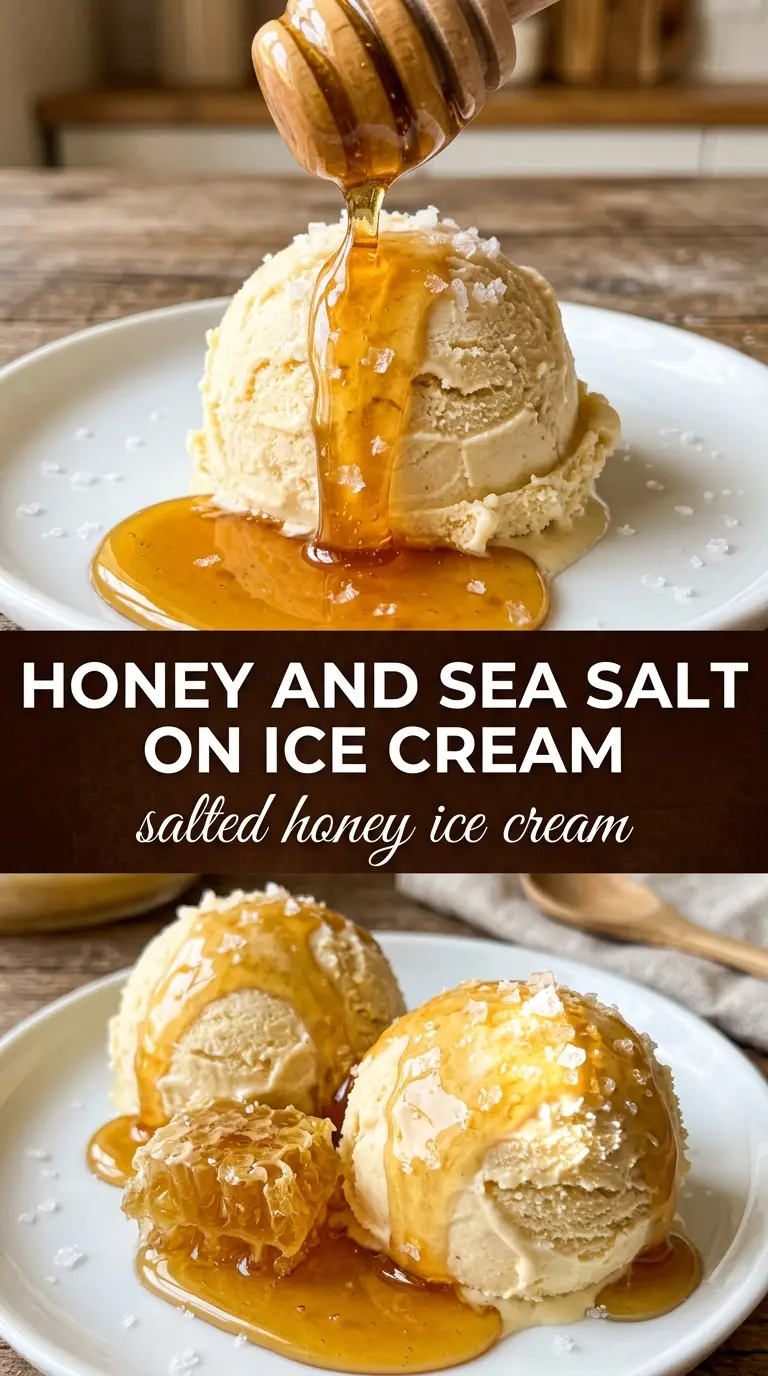
Golden, floral salted honey ice cream tastes like the best part of a fancy scoop shop dessert, but with a quieter, more grown-up edge. The honey comes through first: warm, fragrant, and layered instead of bluntly sweet. Then the salt lands at the end and makes every bite taste fuller, creamier, and a little more interesting than plain vanilla ever could.
The trick here is treating honey like the main flavor, not just the sweetener. Warming it with the cream and milk helps it dissolve completely, then the custard base gives the finished ice cream that dense, silky body people love in a custard-style scoop. A pinch of sea salt in the base keeps the honey from flattening out, and the flaky salt on top gives each serving a clean little spark.
Below, I’ll walk you through the one temperature that matters most for a smooth custard, the honey choices that change the final flavor, and the small finishing step that makes this ice cream taste polished instead of plain.
The custard came out silky and the honey flavor stayed bold after freezing. That little pinch of flaky salt on top made each bite taste richer, not saltier.
Love the floral honey flavor and salty finish? Save this salted honey ice cream for the next time you want a custard-style dessert that feels special.
The Part That Keeps Honey Ice Cream from Tasting Flat
Honey ice cream can go one of two ways: beautifully floral, or oddly one-note and icy. The difference usually comes down to balance and temperature. Honey is sweet, but it also brings aroma and body, and that means it needs enough dairy and egg yolk to stay plush after freezing.
This version cooks the custard to 175F, which is hot enough to thicken the yolks without pushing them into scrambled territory. If you rush that step or let the heat climb too high, the base can turn grainy and the final churn will taste less smooth. The other detail that matters is the salt. It’s not there to make the ice cream salty in the obvious sense. It sharpens the honey and keeps the finish from fading on the tongue.
- Honey — Use a good-quality wildflower or clover honey here. Cheap honey often tastes thin once frozen, while a more aromatic honey still reads clearly after churning.
- Egg yolks — These give the ice cream its custard body and help it freeze with a creamier scoop. There isn’t a shortcut ingredient that gives the same texture, though a higher-fat custard base will come closest.
- Sea salt — Fine sea salt belongs in the base so the flavor is woven through the custard. Flaky salt is for finishing only; it gives a bright little crunch on top.
- Vanilla extract — This doesn’t replace the honey. It rounds out the edges and makes the honey taste deeper, not muddled.
What Each Ingredient Is Actually Doing in This Ice Cream
- Base ingredient (cream, milk, or custard) — This provides the foundation and richness. Quality matters.
- Sweetener (sugar, honey, or condensed milk) — This sweetens and prevents ice crystals. The ratio is critical.
- Flavor element (vanilla, fruit, chocolate, or other) — This defines the ice cream personality. Use quality ingredients.
- Egg yolks (if making custard base) — These create richness and silky texture. Optional but elevates ice cream.
- Churning (if using ice cream maker) — This incorporates air and prevents ice crystals. Critical for smooth texture.
- Freezing temperature and time — Proper freezing prevents rock-hard texture. Store at 0°F or below.
- Mix-ins (chocolate, cookies, fruit, or swirls) — These add texture and prevent one-dimensional flavor. Add near end of churning.
- Serving temperature (slightly soft, not rock hard) — This provides creamy mouthfeel. Remove from freezer 5 minutes before serving.
Getting the Custard to the Right Point Without Scrambling It
Warming the Dairy and Honey
Combine the cream, milk, and honey in a heavy saucepan and heat over medium until the mixture is steaming and the honey has disappeared into the dairy. You want it hot, not boiling. If you see vigorous bubbling around the edges, pull the pan back. Boiling can scorch the honey and make the base taste dull.
Tempering the Yolks
Whisk the hot dairy into the egg yolks slowly, just a little at a time, until the yolks are warmed through. This keeps them from seizing into bits when they go back into the pan. If you dump the whole pot in at once, you’ll end up with eggy flecks instead of a smooth custard.
Cooking to 175F
Return everything to the saucepan and cook over medium-low, stirring constantly and scraping the bottom and corners. The custard is ready at 175F and should coat the back of a spoon in a thin, even layer. If it gets much hotter, the yolks can curdle and the texture turns sandy. Slow heat is what gives you that polished, spoonable base.
Straining, Chilling, and Churning
Strain the custard into a clean bowl, then stir in the vanilla and sea salt. Set the bowl over an ice bath and cool it down fast before refrigerating, because warm custard in the fridge just lingers in the danger zone and takes forever to chill. Churn only when the base is completely cold. If you start it warm, the ice cream maker works harder and the texture suffers.
Orange Blossom Honey Version
Swap in orange blossom honey for a lighter, more perfumed finish. It tastes a little more floral and delicate than clover honey, so the salt becomes even more important because it keeps the flavor from fading after freezing.
Dairy-Free Adaptation
Use full-fat canned coconut milk in place of the cream and whole milk, then cook the custard the same way. The result is a little less clean and milky, with a coconut note that sits behind the honey, but it still churns into a rich frozen dessert if you chill the base thoroughly.
Extra Salty Finish
If you like the sweet-salty contrast to lean a little sharper, keep the base salt as written and add a tiny extra pinch of flaky salt right before serving. Don’t stir it into the churned ice cream or it dissolves and loses the little crunch that makes the finish pop.
Make-Ahead Storage
- Refrigerator: The custard base can sit covered for up to 2 days before churning. It actually benefits from a full chill because the flavor settles and the churn freezes faster.
- Freezer: The finished ice cream keeps well for about 2 weeks. Press parchment or wax paper directly on the surface before sealing the container to limit ice crystals.
- Reheating: Not applicable, but let the container sit at room temperature for 5 to 10 minutes before scooping. If it’s rock hard, the issue is usually long freezer time, not the recipe.
Answers to the Questions Worth Asking
Salted Honey Ice Cream
Ingredients
Equipment
Method
- In a Dutch oven, heat heavy cream, whole milk, and good-quality honey over medium heat until steaming and the honey dissolves completely. Visual cue: you should see lots of steam rising and no honey streaks remaining.
- Slowly whisk the hot cream mixture into the egg yolks in a steady stream, then return everything to the saucepan. Visual cue: the mixture will look thickening and slightly glossy after combining.
- Cook over medium-low heat, stirring constantly, until the custard reaches 175°F. Visual cue: the custard should coat a spoon and hold a line when you draw a finger through it.
- Strain the custard and stir in vanilla extract and sea salt. Visual cue: the finished custard should look smooth with no specks.
- Cool the custard completely over an ice bath until it is no longer warm to the touch. Visual cue: the surface will stop steaming and the custard will cool quickly.
- Refrigerate at least 4 hours (chilling + freezing). Visual cue: the custard should feel cold throughout and thick enough to hold its shape.
- Churn the chilled custard in an ice cream maker until it becomes soft-serve consistency. Visual cue: it will triple slightly in volume and look airy and creamy.
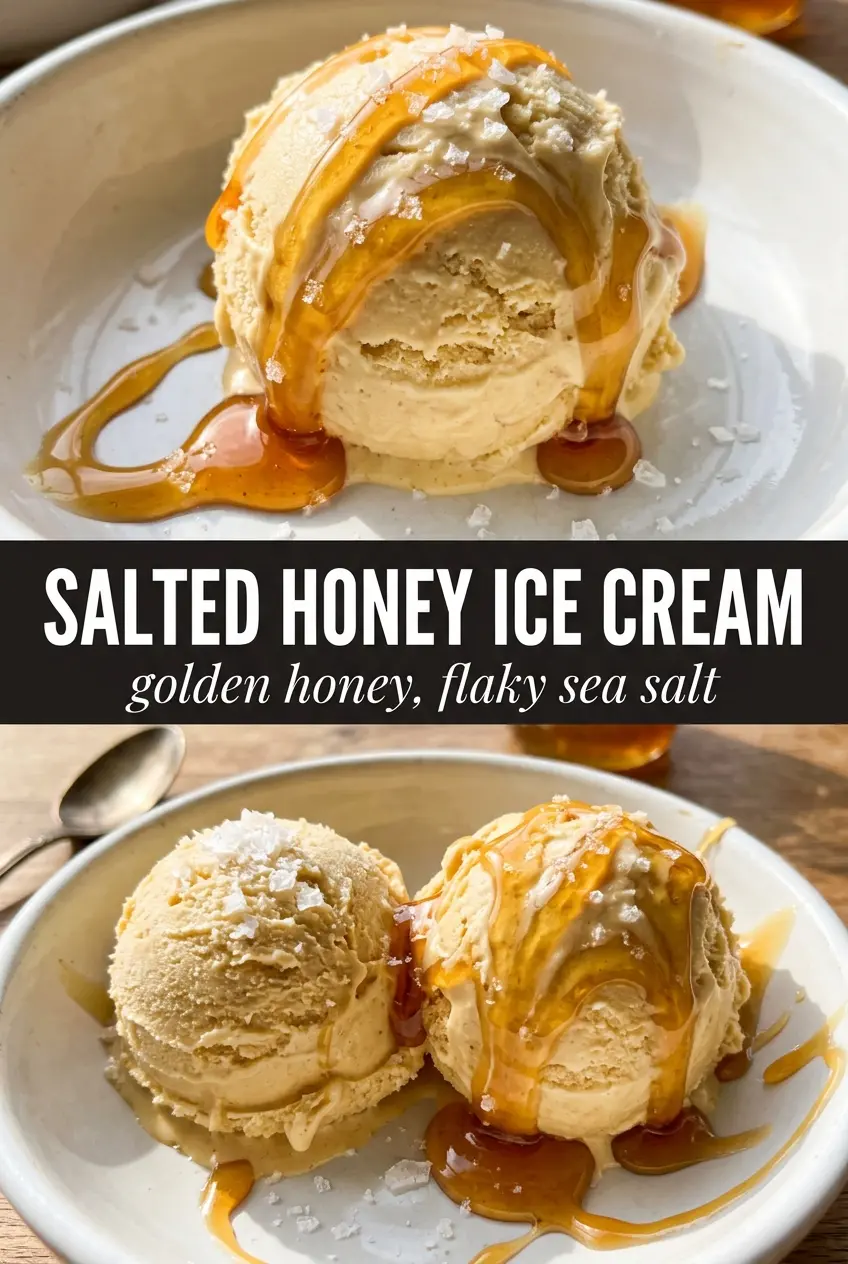
- Freeze until firm, then serve and finish each serving with a pinch of flaky sea salt. Visual cue: each scoop should show a golden tone with a visible sprinkle on top.