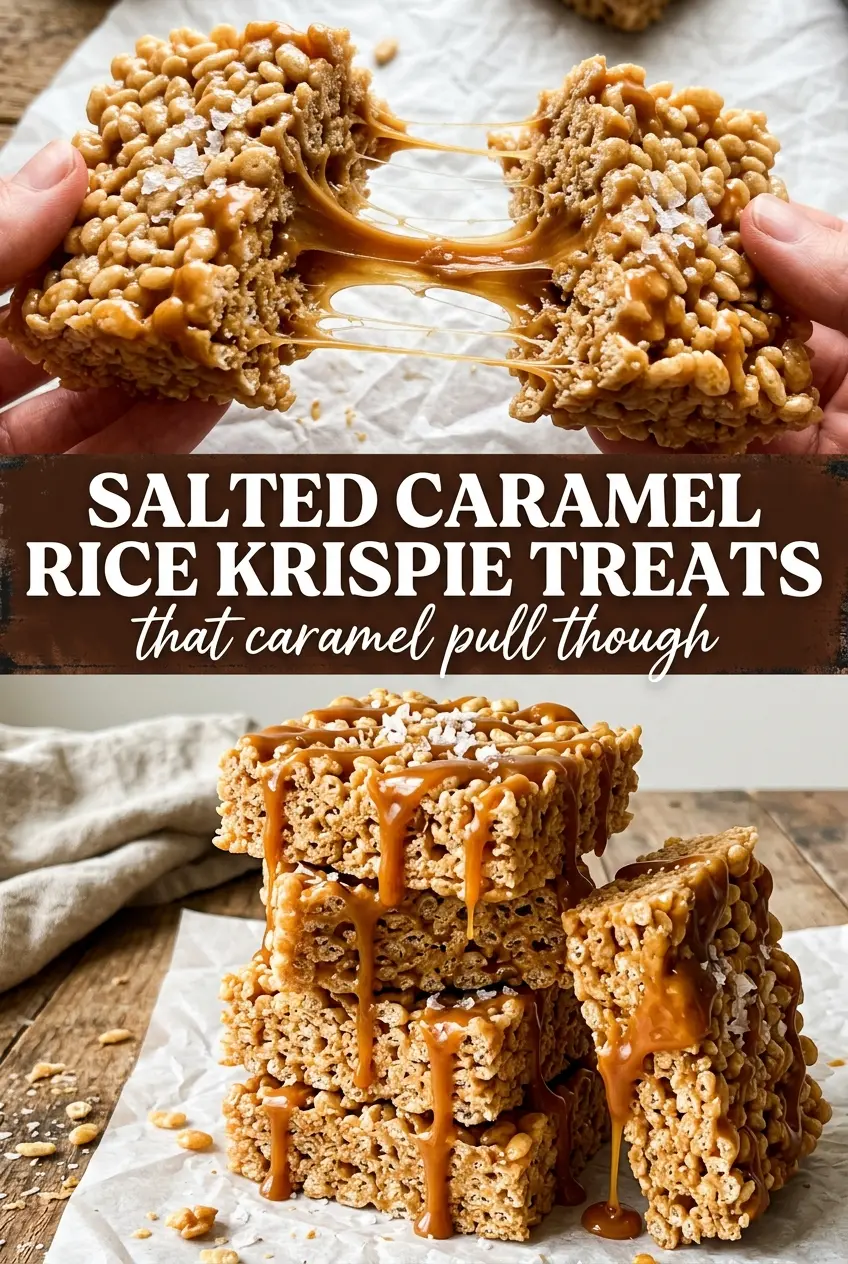
Salted caramel Rice Krispie treats have the kind of pull-apart chew that makes people reach for a second square before they finish the first. The marshmallow base stays soft, the caramel runs through each bite, and the flaky salt on top keeps the sweetness from flattening out. These bars taste nostalgic, but the extra caramel and the handful of marshmallows folded in at the end give them a richer, gooier finish than the standard pan of treats.
The part that matters most is timing. Once the marshmallows are melted, the caramel goes in off the heat so it blends smoothly without turning grainy or sticky. The extra marshmallows are stirred in last and only partially melted, which leaves little pockets that stretch when you pull a bar apart. That mix of smooth and gooey is what makes these worth making.
Below you’ll find the small details that keep the bars chewy instead of dense, plus a few swaps that work when you need to use what’s already in the pantry.
The caramel stayed silky instead of making the treats hard, and those little marshmallow pockets were the best part. I cut them after 30 minutes and they held together without getting dense.
Save these salted caramel Rice Krispie treats for the days when you want a fast dessert with gooey marshmallow centers and a caramel drizzle.
The Step That Keeps These Treats Chewy Instead of Hard
The biggest mistake with Rice Krispie treats is cooking the marshmallow base too aggressively. Once butter and marshmallows are fully melted, the mixture should look smooth and glossy, not bubbled and cooked down. High heat pushes off moisture, and that’s how you end up with bars that set up stiff instead of tender.
The other trap is overpacking the pan. Press the mixture in evenly, but don’t mash it flat like a brick. A light, even press gives you bars that hold their shape while still pulling apart in soft, stretchy layers.
What Each Ingredient Is Actually Doing Here

- Butter — This coats the marshmallows and gives the finished bars a richer flavor. Use real butter here; margarine won’t give the same clean melt or flavor. If you only have salted butter, keep the added salt light.
- Mini marshmallows — Mini marshmallows melt faster and more evenly than large ones, which matters because you want a smooth base before the cereal goes in. The extra cup stirred in at the end stays partially intact and creates those soft gooey pockets.
- Store-bought caramel sauce — This is what gives the bars their salted caramel backbone without making you cook sugar from scratch. Use a thick caramel sauce, not a thin ice cream topping, or it can make the mixture loose. If yours is very thick, warm it for a few seconds so it stirs in smoothly.
- Vanilla extract — It rounds out the caramel and marshmallow flavor. It doesn’t need to be fancy, but it should taste clean, because there’s nowhere for a harsh vanilla to hide.
- Rice Krispies cereal — Fresh cereal stays crisp and gives the bars their light snap. Stale cereal dulls the texture fast, so open a new box if the one in the pantry has been sitting around a while.
- Flaky sea salt — This is the finishing touch that makes the caramel taste deeper and less one-note. Don’t swap in fine table salt on top; it disappears instead of giving you that little salty crunch.
Melting, Mixing, and Pressing Without Losing the Gooey Center
Build the Marshmallow Base Slowly
Melt the butter over medium-low heat, then add the mini marshmallows and stir until they turn completely smooth. The mixture should look glossy and thick, but it should never simmer hard. If you see bubbling, the heat is too high and the bars will set up firmer than you want.
Stir in the Caramel Off the Heat
Pull the pot off the burner before you add the caramel sauce, vanilla, and salt. That keeps the caramel silky and keeps the marshmallow mixture from tightening up too fast. Stir until the caramel disappears into the base and the color looks even throughout.
Fold the Cereal Fast, Then Add the Extra Marshmallows
Pour in the Rice Krispies and fold quickly so every piece gets coated before the mixture starts setting. Add the extra cup of marshmallows after the cereal is mostly coated, not before, so they stay in soft clumps instead of melting completely. If you wait too long, the mixture stiffens and the cereal starts breaking as you stir.
Press and Finish for the Best Texture
Scrape the mixture into the prepared pan and press it down with buttered hands. Use enough pressure to level it, but stop before it gets compacted. Drizzle with more caramel while the surface is still warm, then finish with flaky sea salt right away so it sticks.
How to Adapt These Bars for Different Pantry Situations
Dairy-Free Version
Use a plant-based butter that melts cleanly and a dairy-free caramel sauce. The texture stays close, though the flavor will be a little less rich and buttery. Watch the caramel closely, since some dairy-free versions are thinner and can soften the bars more.
Extra-Gooey Bars
Add an extra half cup of mini marshmallows with the cereal instead of saving them all for the end. You’ll lose a little of the distinct marshmallow pocket effect, but the whole pan turns softer and stretchier. This is the version to make if you want bars that bend before they break.
Less-Sweet Balance
Cut the drizzle on top in half and use a slightly bigger pinch of flaky salt. That keeps the caramel flavor front and center without making the bars feel candy-sweet. You still get the salted caramel contrast, just in a cleaner, less sticky finish.
Storage and Reheating
- Refrigerator: Store in an airtight container for up to 4 days. The bars firm up in the fridge, so let them sit at room temperature for 15 to 20 minutes before serving.
- Freezer: They freeze well. Wrap individual bars tightly and freeze for up to 2 months, then thaw uncovered at room temperature so condensation doesn’t make the tops sticky.
- Reheating: These don’t need reheating, but if you want the caramel softer, warm a bar for 5 to 8 seconds in the microwave. Any longer and the marshmallow base starts to turn tough instead of gooey.
Answers to the Questions Worth Asking
Salted Caramel Rice Krispie Treats
Ingredients
Equipment
Method
- Line a 9x13 pan with parchment paper and spray lightly with cooking spray so the bars release cleanly.
- Melt butter in a large pot over medium-low heat.
- Add mini marshmallows and stir constantly until fully melted and smooth, keeping the mixture glossy.
- Remove from heat, then stir in caramel sauce, vanilla extract, and salt until evenly combined and thick.
- Fold in Rice Krispies cereal quickly until evenly coated.
- Fold in the extra 1 cup mini marshmallows for gooey pockets that stay stretchy.
- Press the mixture into the prepared pan using buttered hands, pressing firmly but not too hard to keep the bars chewy.
- Drizzle generously with additional caramel sauce, letting some pool slightly on top.
- Immediately sprinkle with flaky sea salt while the top is still glossy.
- Let set at room temperature for 30 minutes before cutting into 16 bars.