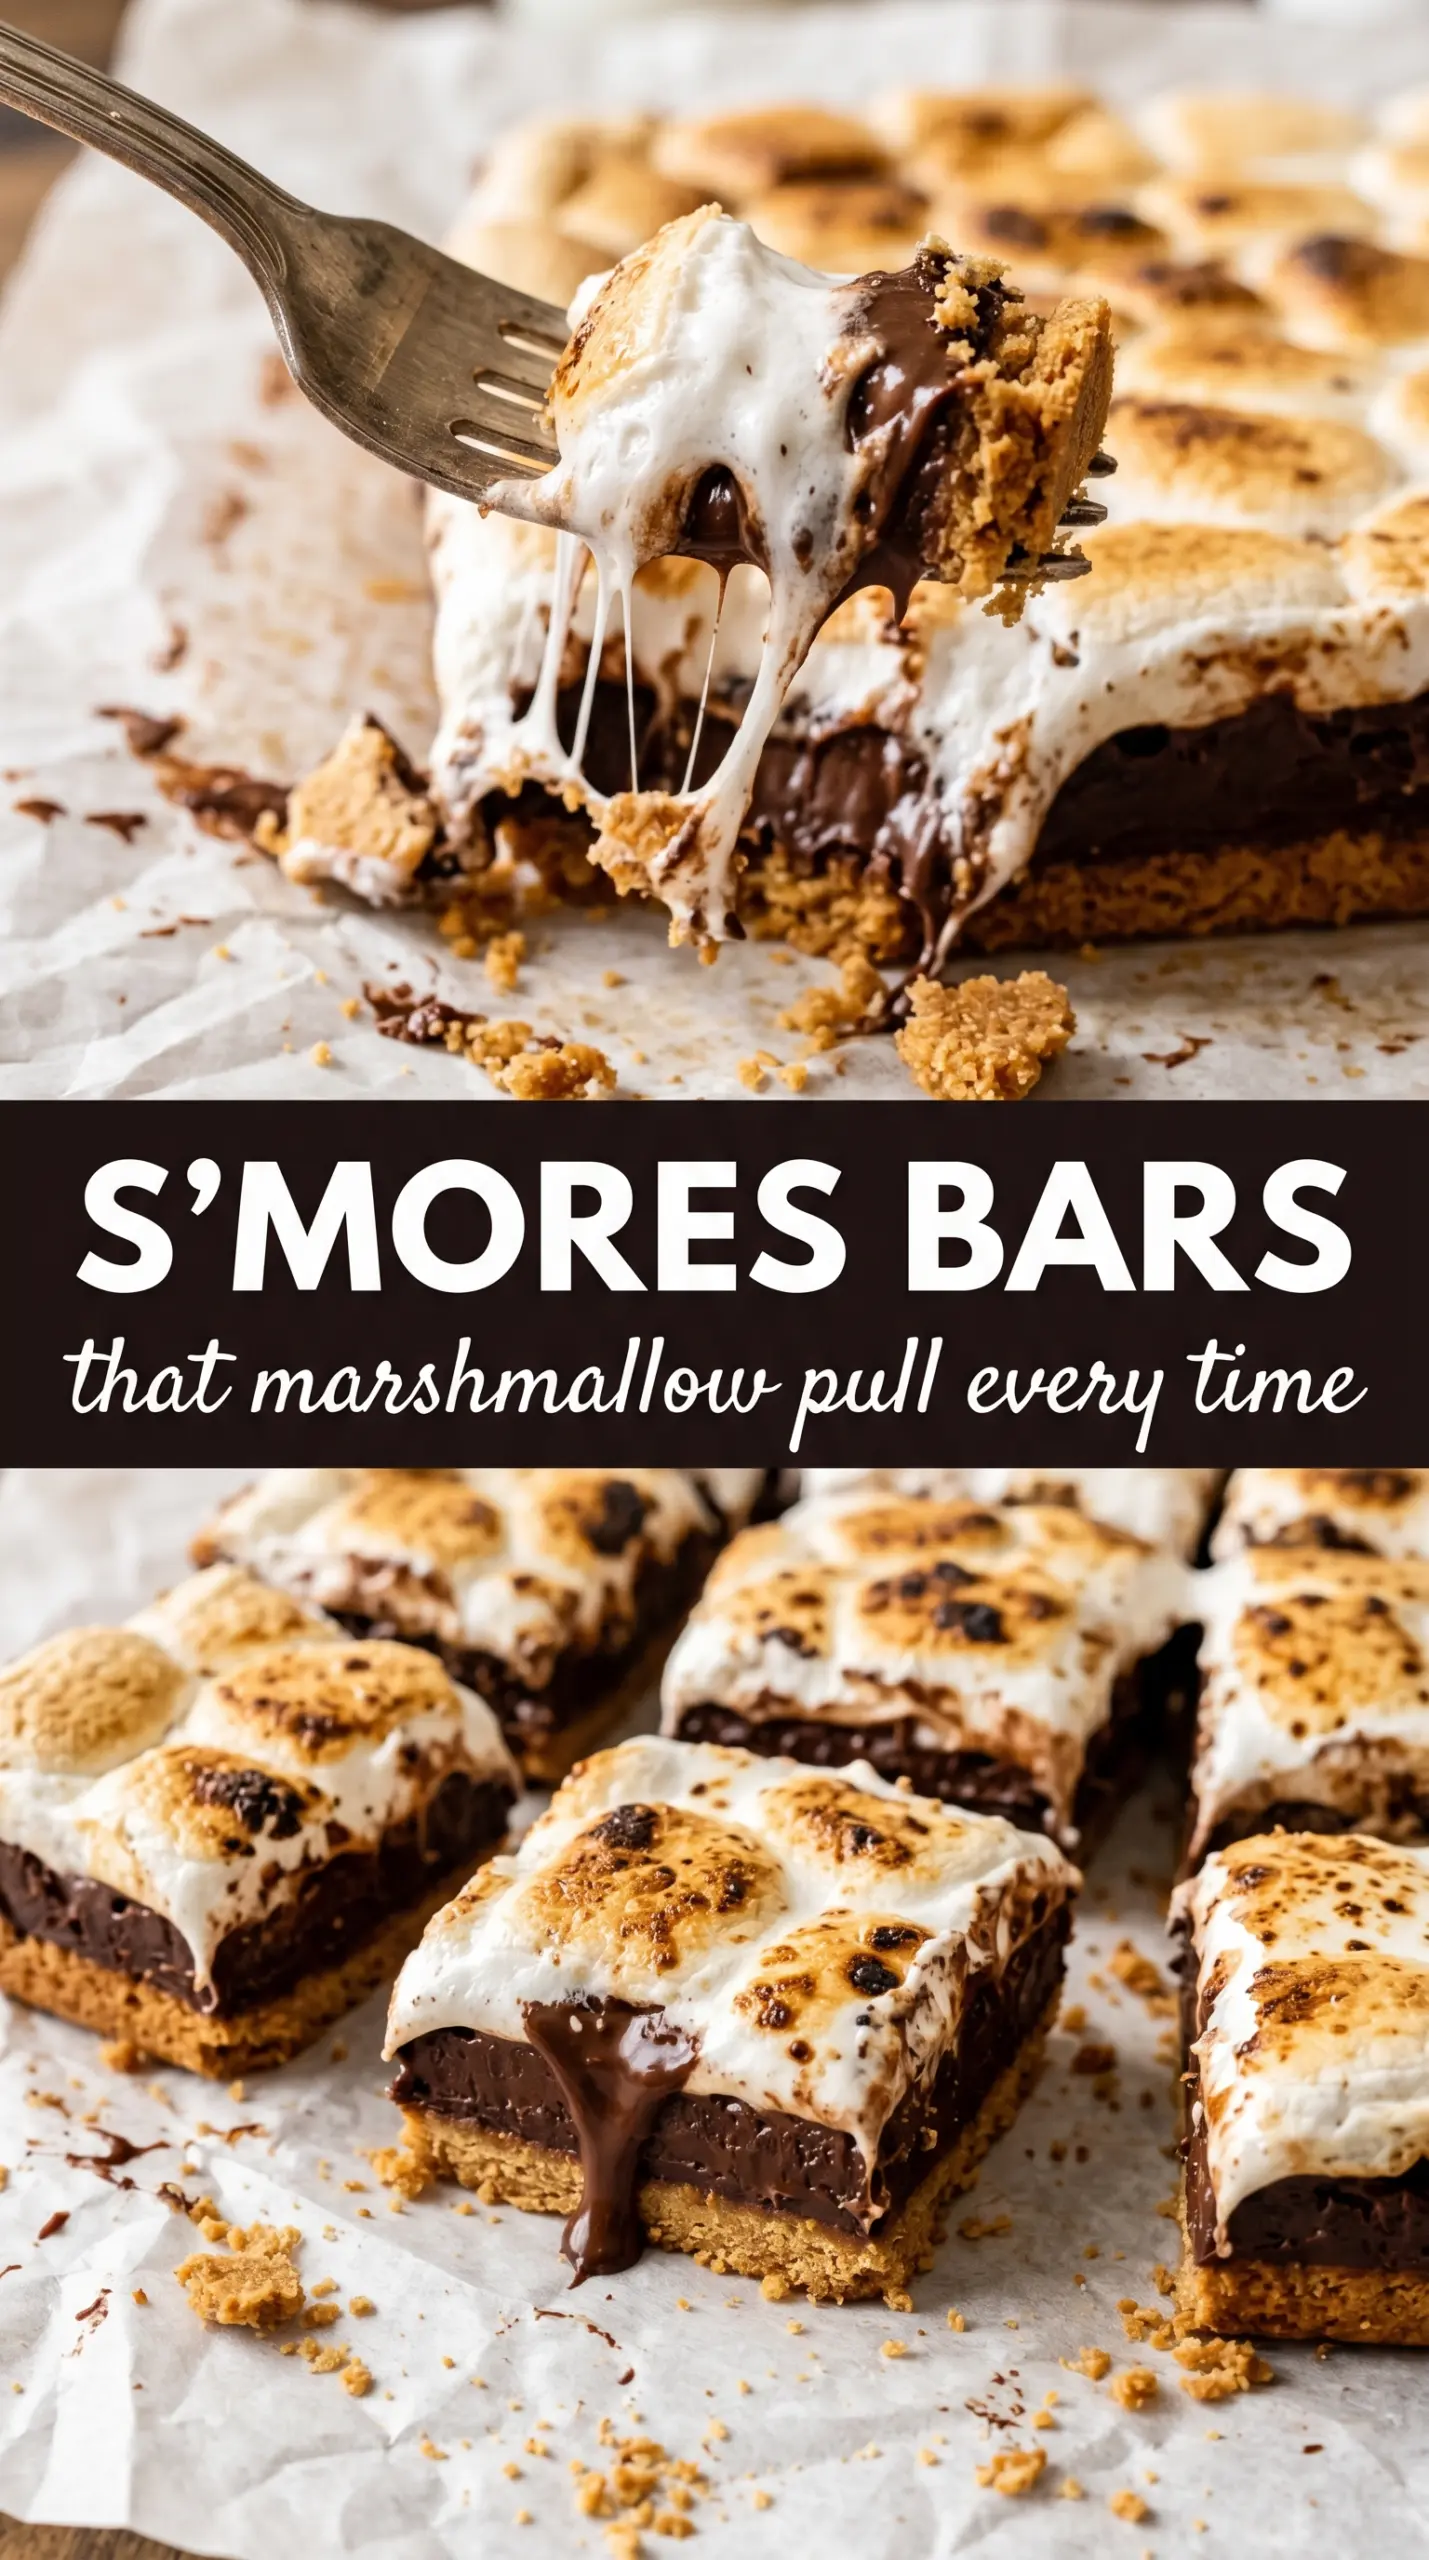
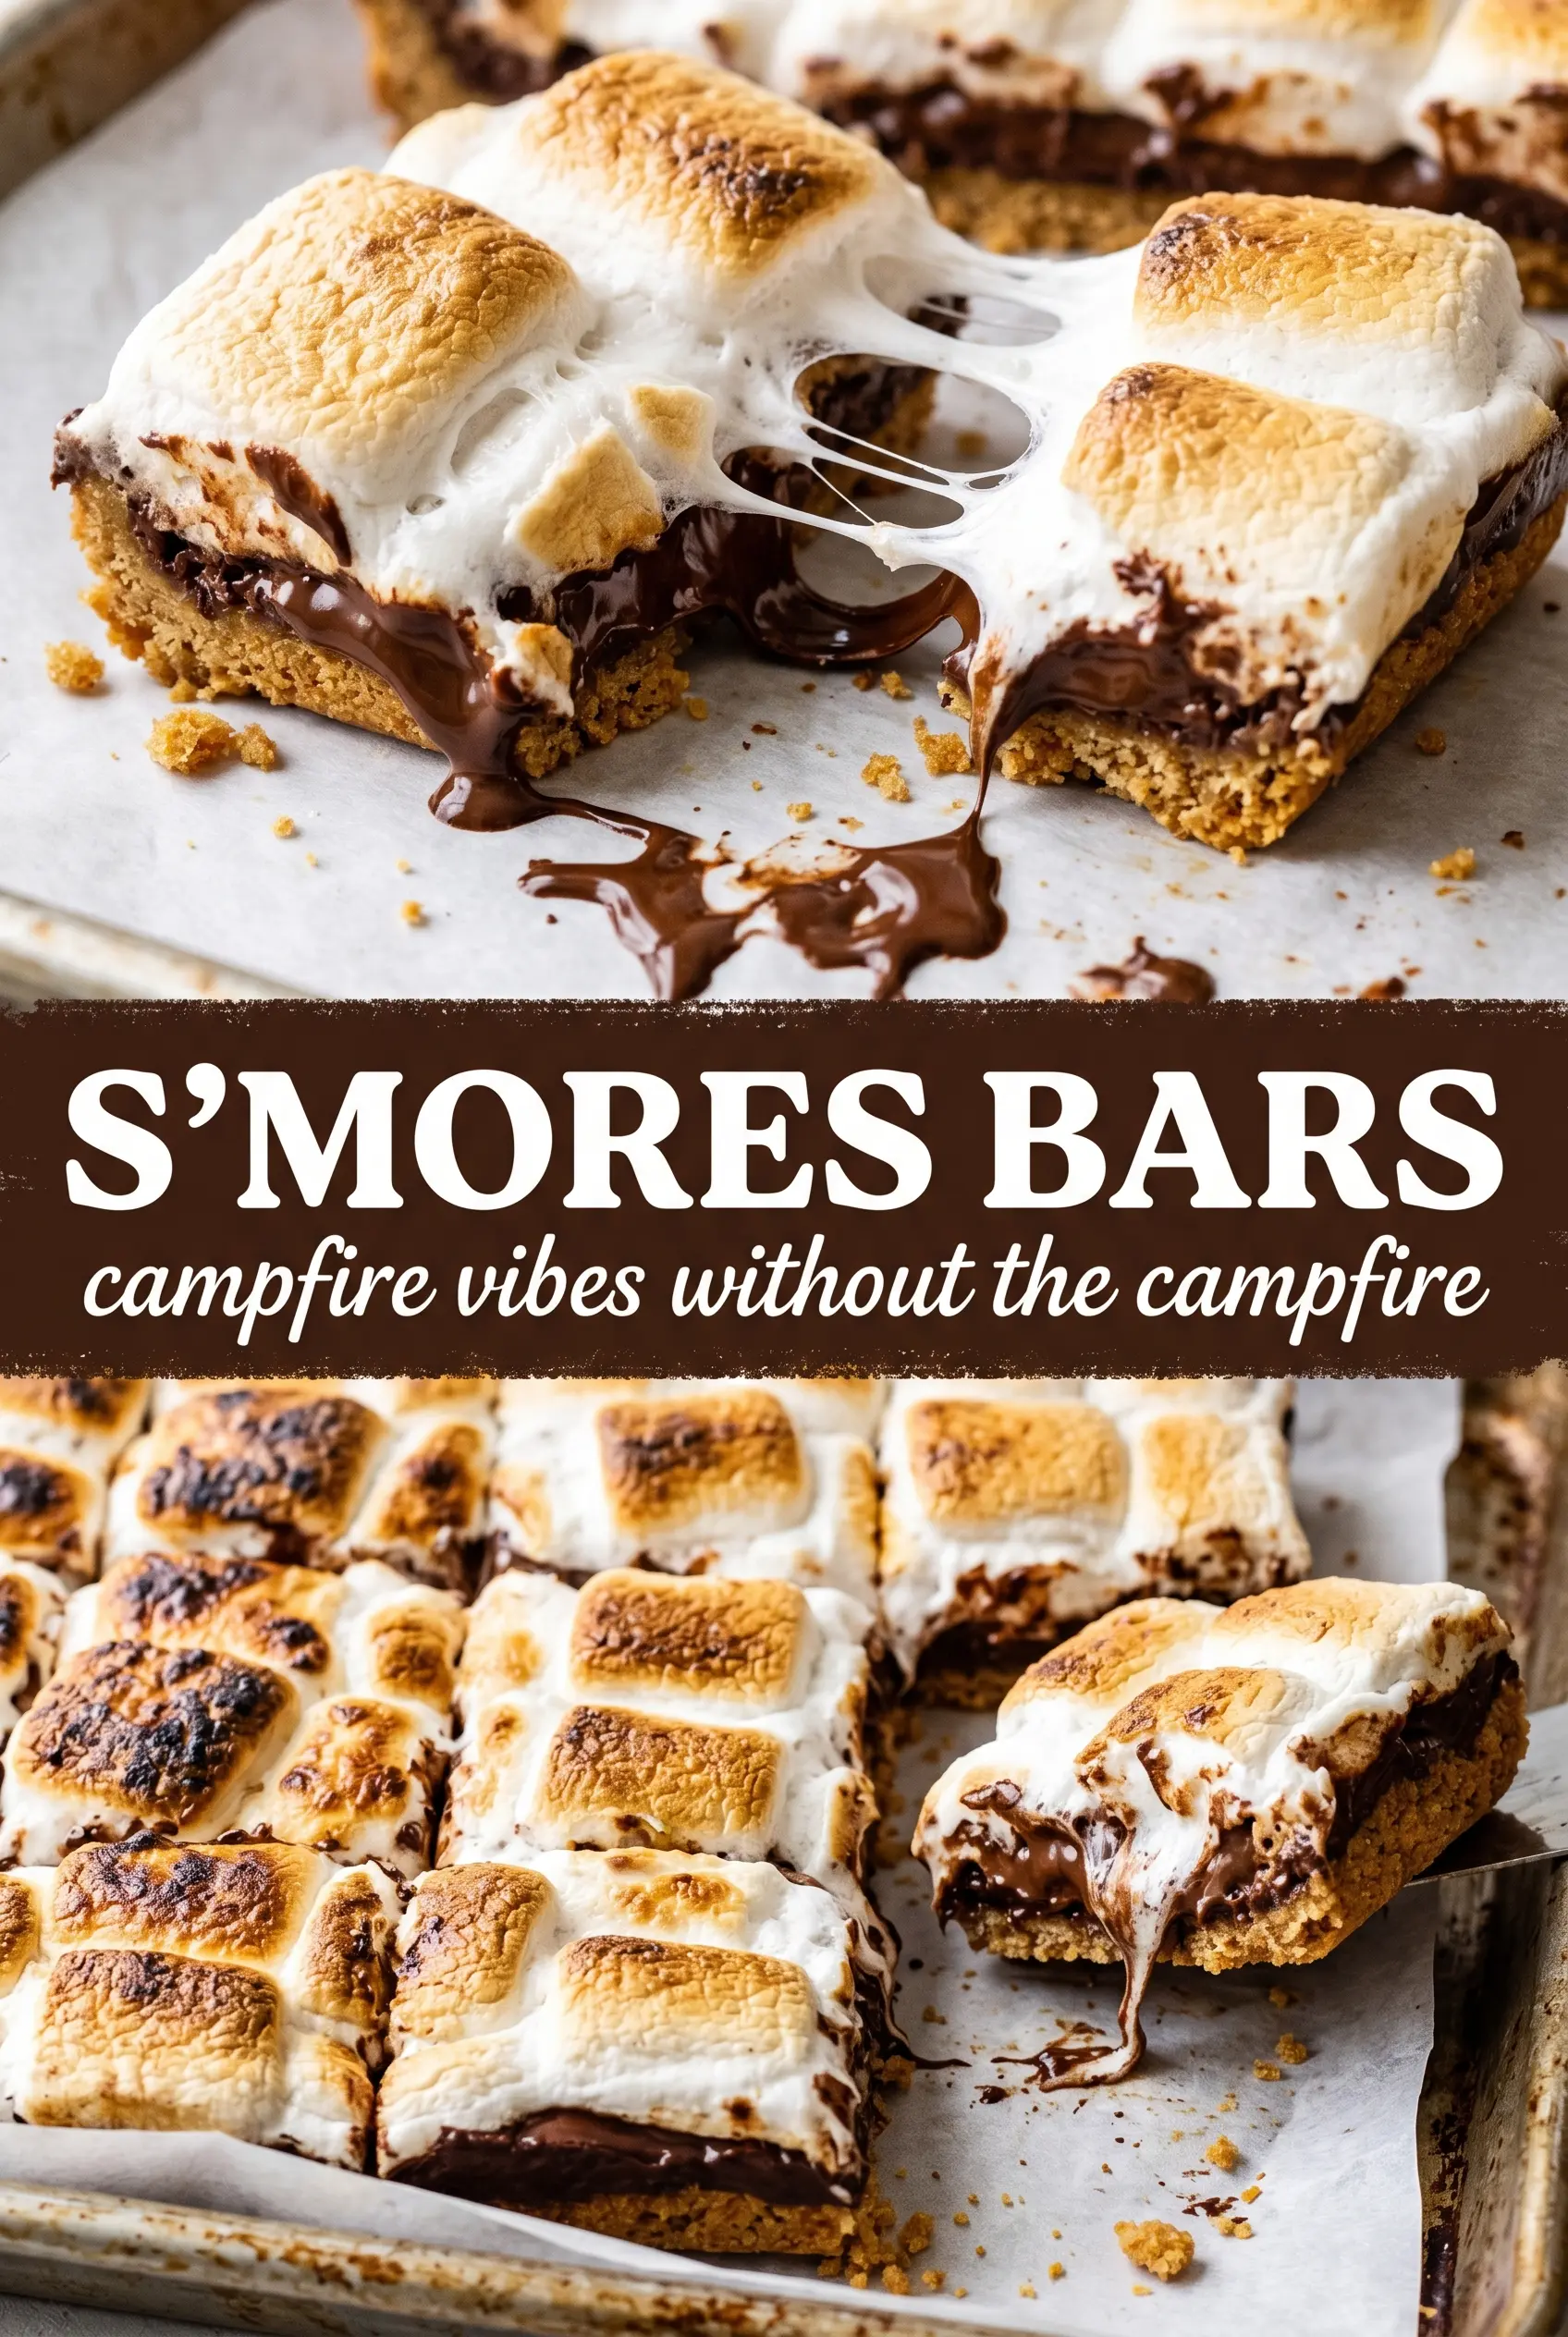
Thick s’mores bars hit every part of the craving at once: a crisp graham cracker base, a dense fudgy chocolate center, and a marshmallow top that turns golden and sticky under the broiler. Cut them while they’re still a little warm and you get those dramatic layers that hold together just enough for a clean slice, with a soft pull from the marshmallow on top.
What makes these work is the order. The crust gets a quick bake so it stays sturdy under the brownie layer instead of turning soggy, and the chocolate filling is mixed just enough to come together without beating too much air into it. That keeps the center rich and dense instead of cakey. The marshmallows go on at the very end so they brown before they collapse into the batter.
Below you’ll find the one place people usually go wrong with bars like these, plus the trick for getting neat cuts without tearing the marshmallow top. The broiler step is short, but it’s the difference between pale and flat versus toasted, glossy, and worth every minute.
The graham cracker base stayed crisp under the chocolate, and the marshmallows browned in minutes without burning. I chilled mine a little longer before cutting and got clean layers with that perfect gooey top.
Save these s’mores bars for the nights when you want a fudgy brownie center and a toasted marshmallow top in one pan.
The Step That Keeps the Crust Crisp Under the Fudge
The crust needs that first bake. Graham cracker crumbs and butter alone can look set when they’re still soft underneath, and once the chocolate layer goes on, any underbaked base turns pasty fast. Baking it for eight minutes gives the crumbs time to toast and the butter time to bind them into something sturdy enough to hold the bars when you slice them.
The other trap is overbaking the chocolate layer while waiting for it to look fully done. These bars should come out when the center is just set and still a little soft in the middle. They finish as they cool, and if you bake until the middle looks firm in the oven, the finished bars turn dry instead of dense and fudgy.
What Each Layer Is Doing in the Pan
- Graham cracker crumbs — These give you the classic s’mores base and create the sturdy bottom layer. Fine crumbs pack best; if yours are coarse, pulse them a little more so the crust holds together instead of crumbling.
- Butter — In both layers, butter brings richness and structure. For the crust, melted butter binds the crumbs; for the chocolate layer, it gives that dense brownie texture. There isn’t a substitute that gives the same result, but if you must use margarine, expect a softer, greasier crust.
- Unsweetened cocoa powder — This is where the chocolate layer gets its deep brownie flavor. Use a good cocoa if you have it, because the bars don’t have melted chocolate to hide behind.
- Mini marshmallows or halved large marshmallows — Mini marshmallows melt and brown quickly and evenly. If you use large marshmallows, cut them in half so they cover the whole surface without tall domes that burn before the edges color.
Building the Layers So the Top Toasts Before the Center Overbakes
Pressing and Prebaking the Base
Mix the crust until every crumb looks damp, then press it firmly into the parchment-lined pan. Use the bottom of a measuring cup to pack it down; loose crumbs make a weak base that falls apart under the brownie layer. Bake it just until it smells toasty and feels set at the edges, then let it cool slightly so the chocolate layer doesn’t start melting into it.
Making the Fudgy Middle
Melt the butter in a saucepan, then stir in the sugar, eggs, and vanilla until the mixture looks glossy. Add the cocoa, flour, baking powder, and salt and mix only until the batter turns smooth and thick. If you keep stirring after the flour disappears, the bars lean cakey instead of fudgy.
Watching for the Right Bake
Spread the batter over the crust and bake just until the center no longer looks wet. The surface should look set, but a slight wobble in the middle is fine because the pan will keep cooking as it cools. If you wait for a dry top all the way across, the final bars come out stiff and lose that dense brownie bite.
Adding the Marshmallows at the End
Cover the top with marshmallows as soon as the bars come out of the oven. Go all the way to the edges so every slice gets that toasted cap. Return the pan to the oven briefly, then switch to broil for just long enough to get golden tops; stay close, because marshmallows go from pale to scorched in a handful of seconds.
Gluten-Free Version
Swap the all-purpose flour for a good 1:1 gluten-free baking blend. The texture stays close to the original if the blend includes xanthan gum, though the center may bake up a touch more delicate. Keep the crust ingredients the same as long as your graham crackers are certified gluten-free.
Dairy-Free Bars
Use plant-based butter in both the crust and chocolate layer, then top with dairy-free marshmallows if you can find them. The bars will still slice well, but the chocolate layer may taste a little less rich, so lean on a cocoa you like.
More Chocolate, Less Sweet
Add 1/2 cup chocolate chips to the batter or scatter them over the crust before the chocolate layer goes on. This deepens the chocolate flavor and softens some of the sweetness from the marshmallows, but it also makes the bars richer and heavier.
Storage and Reheating
- Refrigerator: Store in an airtight container for up to 4 days. The marshmallow top will soften, but the bars stay chewy and slice neatly.
- Freezer: Freeze without the marshmallow top if you want the best texture, then add and toast marshmallows after thawing. Fully finished bars can be frozen, but the topping gets sticky and uneven when thawed.
- Reheating: Warm a bar for 10 to 15 seconds in the microwave if you want the chocolate layer soft again. Don’t overheat it or the marshmallow turns gummy and the crust softens too much.
Questions I Get Asked About This Recipe
S'mores Bars
Ingredients
Equipment
Method
- Preheat your oven to 350°F and line a 9x13 pan with parchment paper.
- Press the parchment so it covers the bottom and two sides for easy lifting after baking.
- Mix graham cracker crumbs, granulated sugar, and melted butter until evenly moistened.
- Press the crust mixture firmly into the bottom of the pan.
- Bake the crust at 350°F for 8 minutes, then cool slightly.
- Melt butter in a saucepan over low heat.
- Stir in granulated sugar, then mix in eggs and vanilla extract until smooth.
- Add cocoa powder, all-purpose flour, baking powder, and salt, and mix until the batter is smooth.
- Spread the chocolate batter over the baked graham cracker crust.
- Bake at 350°F for 18-20 minutes until the center is just set.
- Remove from the oven and immediately cover the entire top with marshmallows.
- Return to the oven for 3-4 minutes until the marshmallows puff and start to turn golden.
- Switch to broil for 1-2 minutes until marshmallows are golden brown.
- Cool the bars for 30 minutes before cutting.
- Cut into bars using a buttered knife so the toasted marshmallow layer pulls cleanly.