Reese’s Peanut Butter Ice Cream lands somewhere between a peanut butter cup and a scoop of old-school ice cream parlor flavor, and that’s exactly why it disappears fast. The base freezes up creamy instead of icy, with a soft peanut butter richness that holds just enough sweetness to keep every bite balanced. Then the chopped Reese’s cups bring in those little pockets of chocolate and peanut butter that make the texture pop.
What makes this version work is the no-churn method. Whipped cream gives the ice cream its body, while sweetened condensed milk keeps it smooth without an ice cream machine. The peanut butter gets whisked into the condensed milk first so it melts in evenly, which keeps you from ending up with stubborn streaks of peanut butter in the finished batch.
Below, I’ll show you how to fold everything together without knocking out the air, how to keep the candy pieces from sinking, and a few smart variations if you want to change the mix-ins or make it a little easier to serve straight from the freezer.
The ice cream froze up creamy, not icy, and the Reese’s stayed in little chunky bites instead of turning soggy. My kids kept sneaking spoonfuls straight from the loaf pan.
Save this Reese’s Peanut Butter Ice Cream for a creamy no-churn dessert packed with chocolate peanut butter chunks.
The Trick That Keeps No-Churn Ice Cream Creamy Instead of Dense
No-churn ice cream can go wrong in two places: overmixing the whipped cream and folding too hard at the end. If you beat the cream past stiff peaks, it starts to look grainy and loses the smooth structure that makes the finished ice cream light. If you stir the peanut butter base in aggressively, you knock out the air and end up with a frozen block instead of a scoopable dessert.
The other detail that matters here is the peanut butter itself. Creamy peanut butter blends into the condensed milk cleanly, which gives you an even base and keeps the final texture smooth. Natural peanut butter can work, but if it’s oily or separated, it can make the mixture looser and less stable.
What Each Ingredient Is Actually Doing in This Dessert
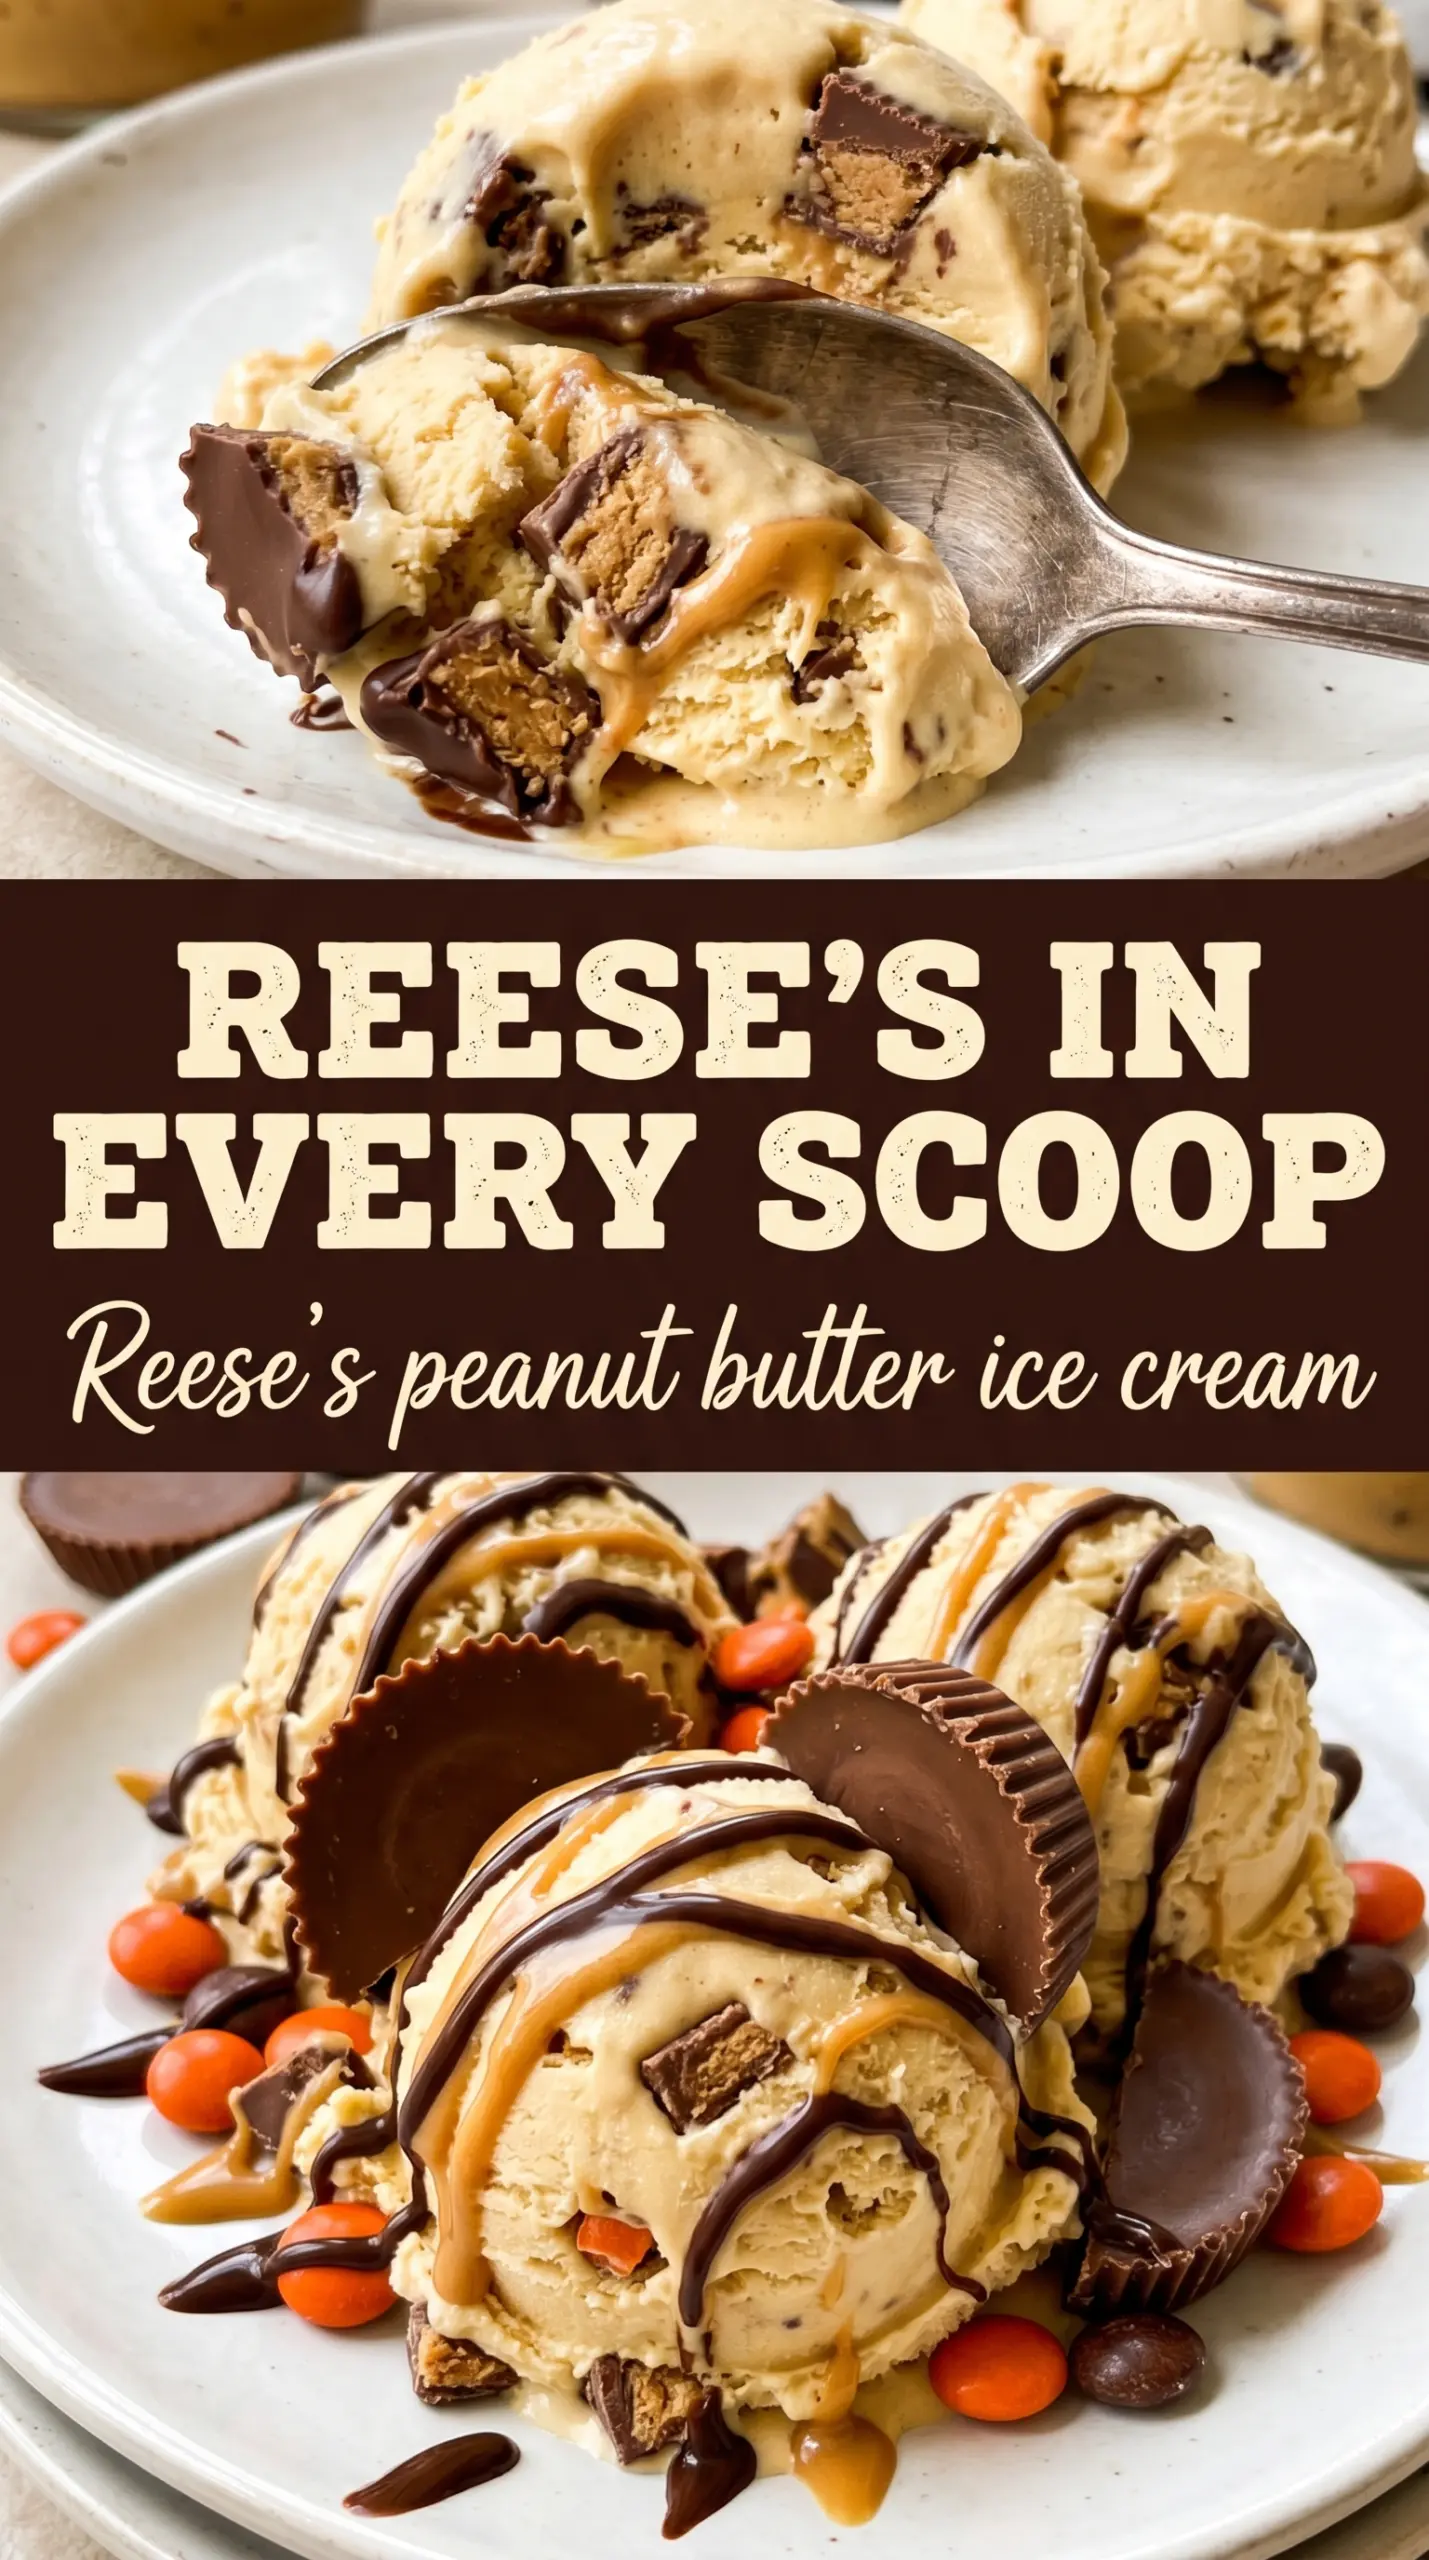
- Heavy cream — This is what gives the ice cream its body and that soft, scoopable texture. Whip it to stiff peaks, but stop as soon as the peaks hold their shape. If you go too far, it turns stiff and buttery instead of airy.
- Sweetened condensed milk — This does the sweetening and helps keep the ice cream from freezing hard. There isn’t a perfect substitute here; evaporated milk won’t give the same creamy result because it doesn’t have the same sugar content or thickness.
- Creamy peanut butter — This is the flavor backbone of the whole dessert. Creamy styles blend in best, and the smoother the peanut butter, the more even the final texture will be. If your jar is a little stiff, stir it well before measuring so it mixes without clumps.
- Reese’s peanut butter cups — These bring the chocolate-peanut butter contrast that makes each bite interesting. Chop them into bite-size pieces, not tiny crumbs, so you still get distinct chunks after freezing. If the pieces are too small, they disappear into the base.
- Chocolate sauce — This is optional, but it sharpens the peanut butter flavor and makes the dessert taste more like a full peanut butter cup. A thick sauce works best because it sits on top instead of disappearing into the ice cream.
Folding the Base Without Knocking Out the Air
Whipping the Cream to the Right Point
Start with cold heavy cream and whip it until you get stiff peaks that stand straight when you lift the beater. The cream should look smooth and billowy, not dry or curdled. If it looks grainy, you’ve gone a little too far and the ice cream will freeze heavier than it should. Stop the mixer the second the peaks hold.
Building the Peanut Butter Mixture
Whisk the condensed milk, peanut butter, vanilla, and salt until the mixture looks completely smooth and glossy. This is where stubborn peanut butter lumps can ruin the texture, so take an extra minute here if the mixture looks streaky. The salt matters because it keeps the sweetness from flattening out the peanut butter flavor.
Folding and Freezing Without Deflating It
Use a wide spatula and fold the peanut butter mixture into the whipped cream in a few additions. Cut down through the center, sweep across the bottom, and turn the bowl as you go. When a few streaks remain, stop and add the chopped Reese’s cups. Transfer the mixture to a loaf pan, smooth the top, and freeze it uncovered or lightly covered until firm, at least 6 hours. If you freeze it before it’s fully mixed, you’ll get pockets of condensed milk or peanut butter instead of a unified scoop.
Use crunchy peanut butter for more texture
Crunchy peanut butter adds little peanut pieces throughout the base, which makes the ice cream feel even more like a candy bar in frozen form. The tradeoff is a less smooth scoop, so this works best if you want extra texture and don’t mind a slightly rustic finish.
Make it dairy-free
Use a thick coconut cream in place of the heavy cream and a dairy-free sweetened condensed milk if you can find one. The texture will be a little softer and the coconut flavor will peek through, but the ice cream still freezes creamy enough to scoop. Swap the Reese’s cups for a peanut butter cup candy that’s dairy-free, since the standard version contains milk.
Turn it into a banana peanut butter version
Fold in a handful of finely chopped frozen banana or swirl in a thin layer of banana puree before freezing. Banana softens the peanut butter flavor and adds a fruity note that works well with the chocolate pieces, though it does make the dessert a little less candy-like and a little more creamy-smooth.
Storage and Reheating
- Refrigerator: This dessert isn’t meant to sit in the fridge; it melts quickly and loses its structure.
- Freezer: Store it tightly covered for up to 2 weeks. After that, the texture starts to pick up ice crystals and the candy pieces lose some of their clean bite.
- Reheating: Let it sit at room temperature for 5 to 10 minutes before scooping. If it’s rock hard, don’t microwave the whole pan, or the edges will melt before the center softens.
Questions I Get Asked About This Recipe
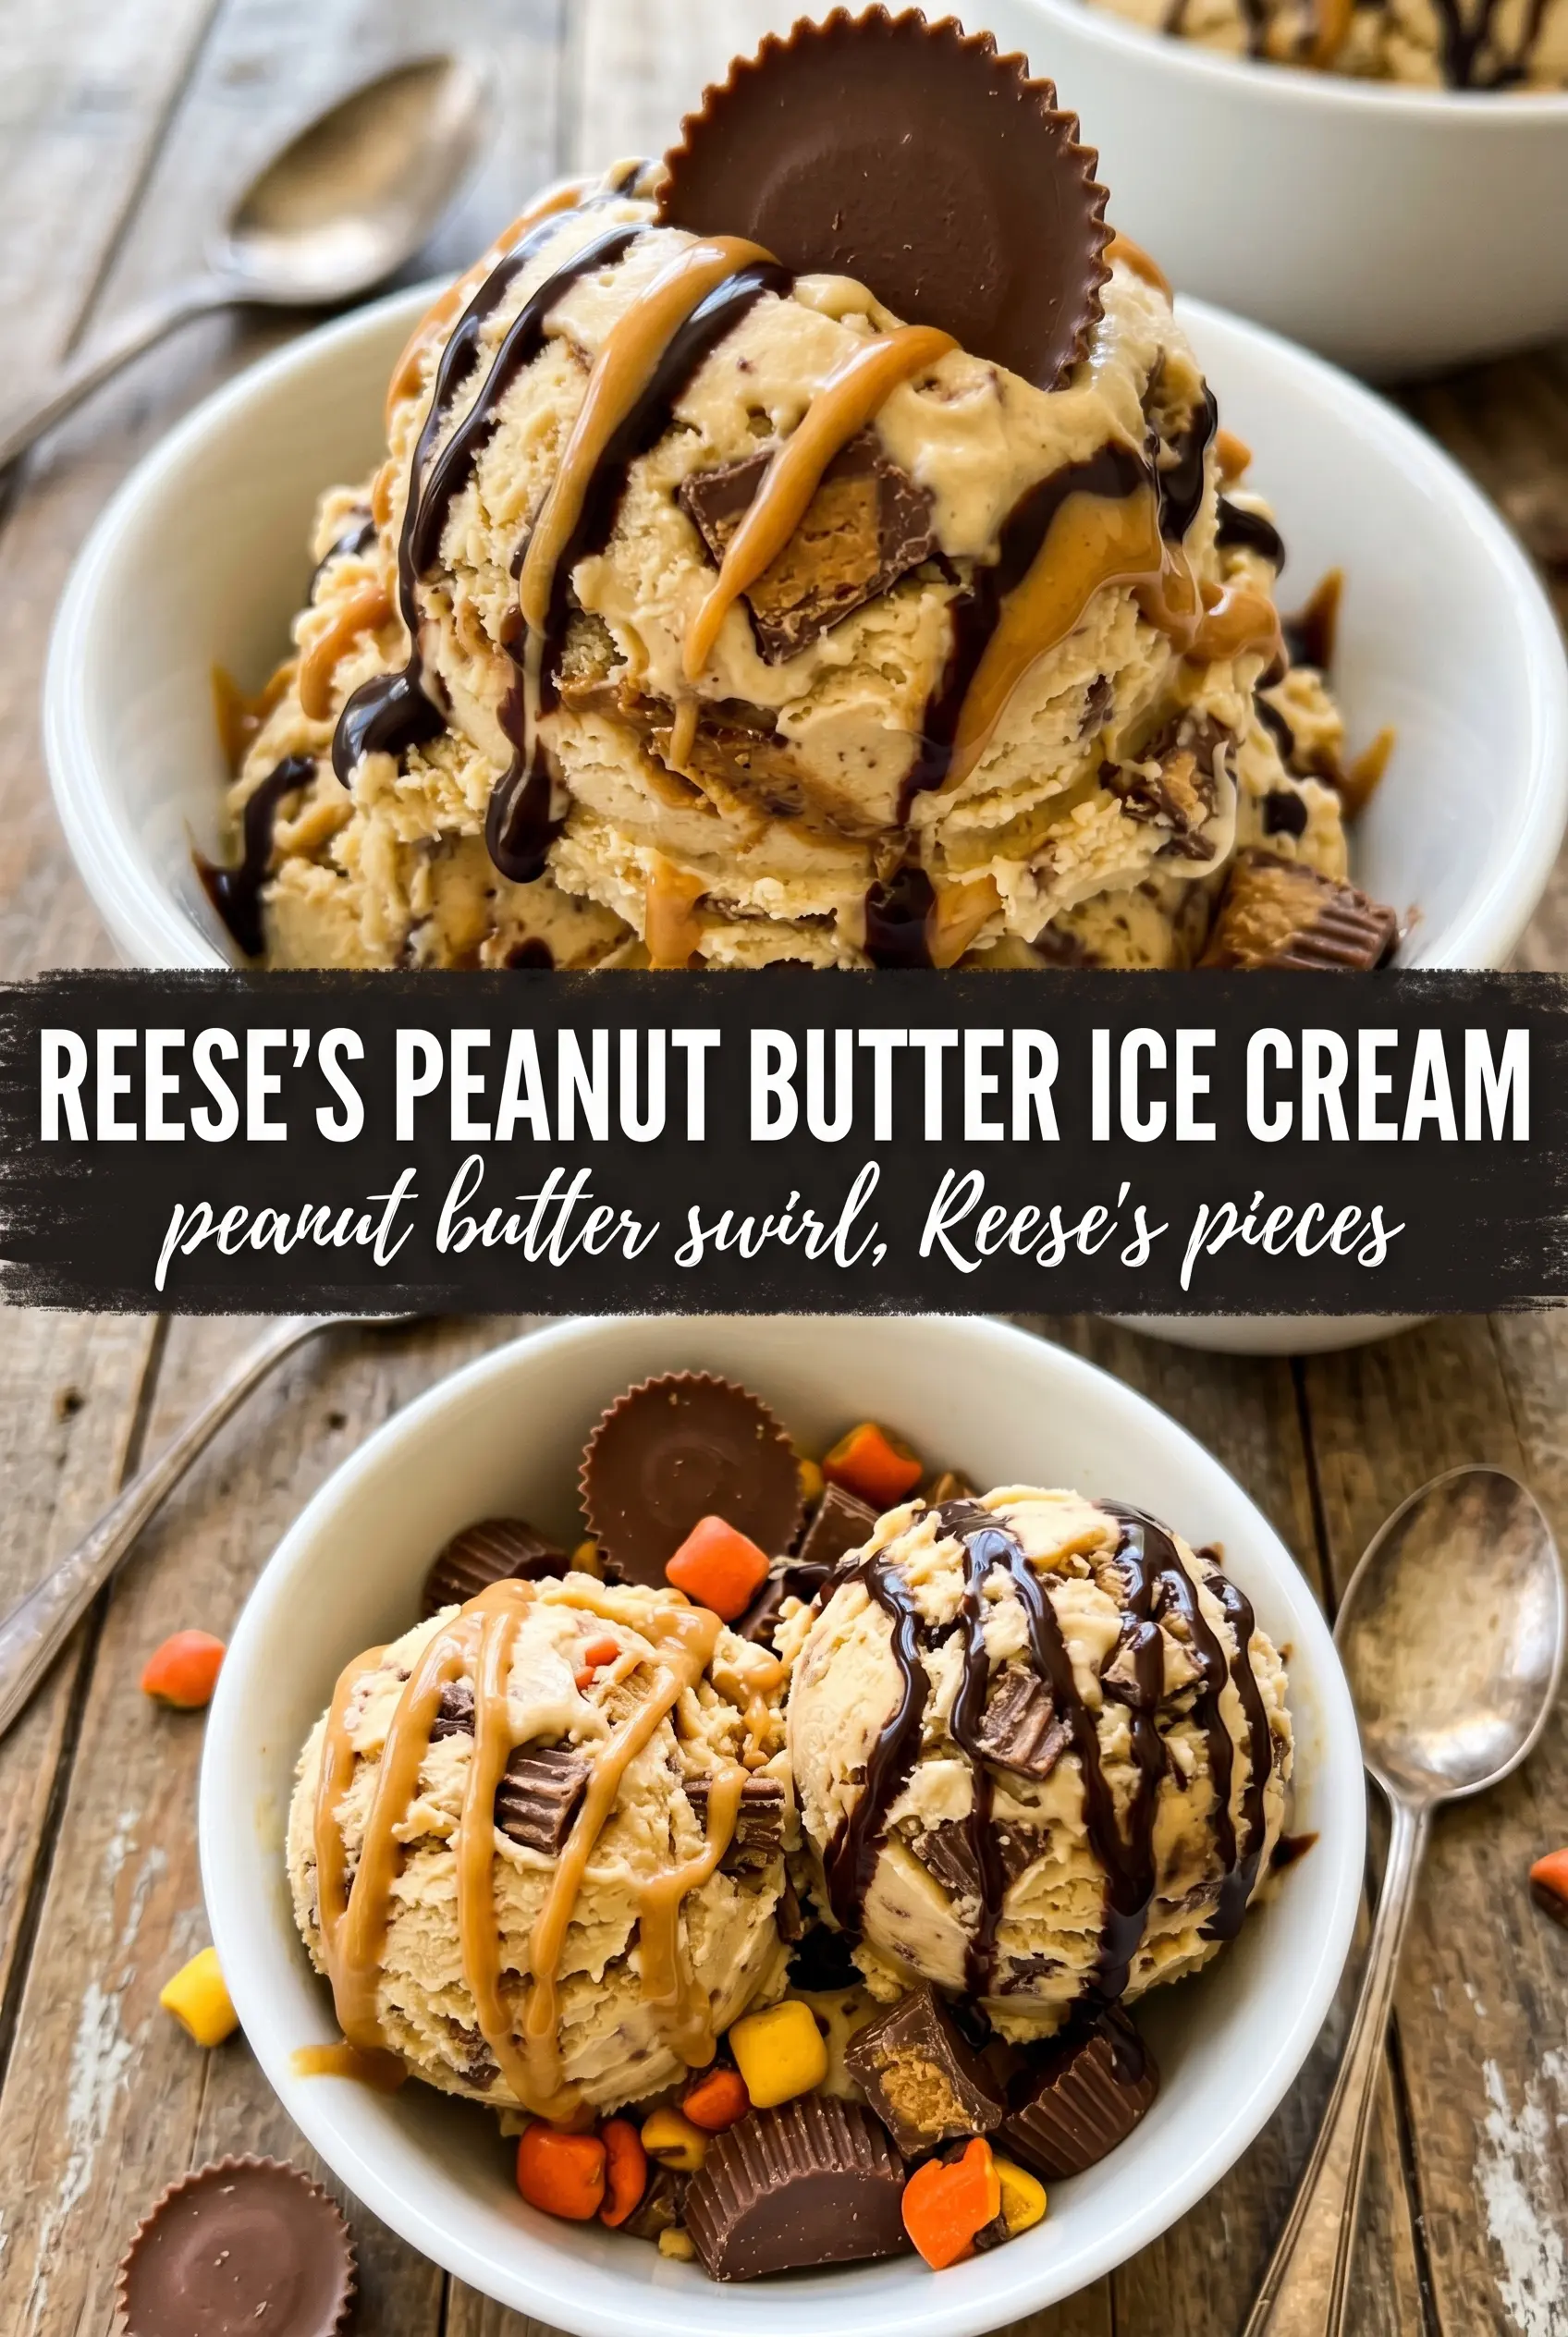
Reese's Peanut Butter Ice Cream
Ingredients
Equipment
Method
- Whip the heavy cream until stiff peaks form, using medium-high speed so the mixture holds a clear, upright peak. You should see thick ridges that don’t collapse when the whisk is lifted.
- Whisk the sweetened condensed milk, creamy peanut butter, vanilla extract, and salt together until smooth. The mixture should look glossy and fully combined with no streaks of peanut butter.
- Gently fold the peanut butter mixture into the whipped cream until just combined. Stop as soon as you no longer see white streaks so the air in the cream stays intact.
- Fold in the chopped Reese's peanut butter cups. You should see evenly scattered chunks throughout the pale tan base.
- Transfer the mixture to a 9x5 loaf pan and press it level with a spatula so it freezes evenly. Cover if desired to prevent freezer odors.
- Freeze at least 6 hours or overnight until firm enough to scoop. The center should be solid with no soft, slushy spots.
- Drizzle extra chocolate sauce over the ice cream when serving. Add it right before eating so the chocolate looks shiny against the creamy frozen surface.