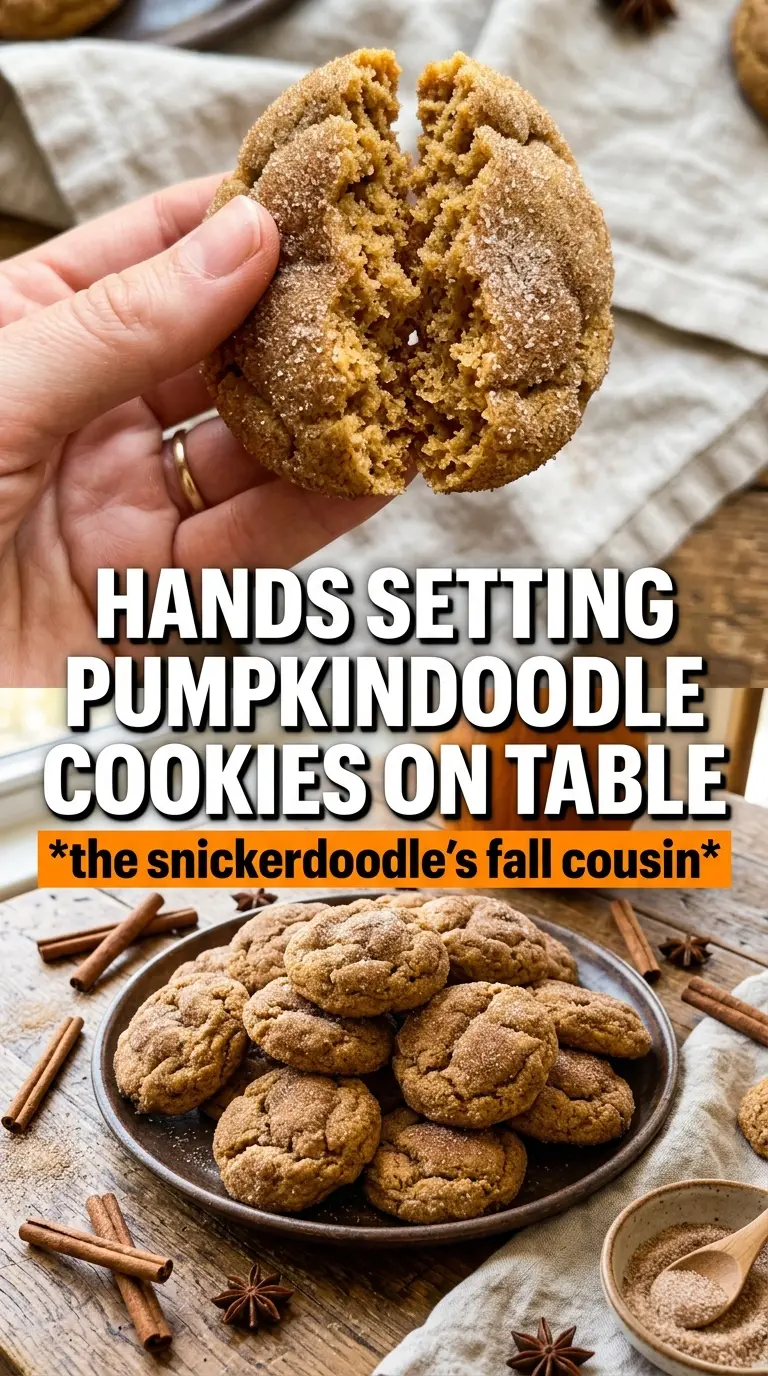
Pumpkindoodle cookies bake up with crackly tops, soft centers, and that cinnamon-sugar edge that tastes like a snickerdoodle met pumpkin bread in the best possible way. The magic is in the contrast: a tender middle with just enough chew, a warm spice finish, and those little crinkles that make them look bakery-made the second they come off the tray.
These work because the pumpkin is treated like a problem to solve, not just an ingredient to toss in. Blotting it dry keeps the dough from turning cakey, and the cream of tartar gives the cookies that familiar tang and soft snap you want in a snickerdoodle. A quick roll in the spiced sugar before baking helps the tops crack and set with a thin, flavorful crust.
Below you’ll find the exact texture cues I watch for, plus the small changes that matter if your pumpkin puree is extra wet or you want to make the cookies ahead.
The cookies came out with those perfect crinkly tops and stayed soft for days. Blotting the pumpkin made a huge difference — mine baked up fluffy, not cakey, and the cinnamon sugar coating was spot on.
Love the crinkly tops and cinnamon sugar shell on these Pumpkindoodle Cookies? Save this one for the next time you want soft pumpkin cookies with snickerdoodle-style edges.
Why These Cookies Stay Crinkly Instead of Turning Cakey
The biggest threat to pumpkindoodle cookies is excess moisture. Pumpkin puree can make a dough puffier and softer in the wrong way, which sounds nice until the cookies bake up like little cakes instead of cracked, chewy rounds. Blotting the pumpkin dry changes the whole result, because less water means the dough can set fast enough in the oven to form those signature ripples on top.
Cream of tartar matters here for more than nostalgia. It gives the cookies that slight tang and helps create the classic snickerdoodle texture, while baking soda works with it to encourage spread and crinkle. If your cookies come out domed and smooth, the dough was probably too wet or the butter was too warm before baking.
- Dry pumpkin puree — This is non-negotiable. Press it between layers of paper towels until it looks dull and thick, not shiny and loose.
- Butter at true room temperature — Soft enough to cream, not greasy or melting. Too-warm butter makes the dough spread before the structure sets.
- Cream of tartar — There isn’t a perfect substitute if you want the classic snickerdoodle bite, but a teaspoon of lemon juice adds a little tang in a pinch. The texture won’t be identical.
- Spiced sugar coating — The coating helps the outside set quickly and adds the first crisp bite. Don’t skip it if you want that crinkled shell.
What Each Ingredient Is Actually Doing in These Pumpkindoodle Cookies
- All-purpose flour — Gives the cookies enough structure to hold the pumpkin without collapsing. Measure it lightly; packed flour makes the cookies dry and dense.
- Cream of tartar and baking soda — This pair gives the dough lift, tang, and the soft crackle on top. Using just baking soda won’t give you the same snickerdoodle character.
- Pumpkin pie spice, cinnamon, and nutmeg — Pumpkin pie spice brings the familiar warm base, while the extra cinnamon in the dough and coating sharpens the flavor. The nutmeg keeps the cookies from tasting flat.
- Blotted pumpkin puree — This is the ingredient that makes or breaks the texture. If you use wet puree, the dough loosens and the cookies lose their crinkled finish.
- Eggs — They bind the dough and help the cookies puff in the oven. Room-temperature eggs mix more evenly into the butter mixture.
- Vanilla — Rounds out the spice and keeps the pumpkin from tasting one-note.
Getting the Dough to Bake Up Soft, Crackly, and Flat Enough
Blotting the Pumpkin First
Lay the pumpkin puree between several layers of paper towels and press until the towels pick up a lot of moisture. Change the towels if they get soaked. This step takes a minute, but it decides whether your cookies bake with crinkles or with a muffin top. If the pumpkin still looks glossy and wet, keep blotting.
Creaming for Texture, Not Just Mixing
Beat the butter and sugar until the mixture turns pale and fluffy. You want air trapped in the dough, but not so much that the cookies rise like little domes. Add the pumpkin, eggs, and vanilla after the creaming step, then mix just until combined. If the batter looks a little loose at this stage, that’s normal; the flour will bring it back together.
Rolling and Baking for the Crinkle
Combine the sugar, cinnamon, and pumpkin pie spice for the coating, then roll each dough portion generously so the outside is well covered. Bake at 375°F until the cookies are puffed and the tops are split with visible cracks, usually 10 to 12 minutes. Pull them when the centers still look slightly soft. They finish setting on the pan, and overbaking is what dries out the middle and kills the chew.
Cooling Long Enough to Set
Let the cookies sit on the baking sheet for about 5 minutes before moving them. That short rest lets the structure firm up enough to handle without breaking. After that, transfer them to a rack so the bottoms don’t steam and lose their texture.
How to Adapt Pumpkindoodle Cookies Without Losing the Crinkle
Dairy-Free Version
Use a plant-based butter that behaves like a stick butter, not a soft spreadable tub product. The texture stays close, but the cookies may brown a little faster, so watch the edges closely in the last two minutes.
Extra-Spiced Cookies
Add another 1/2 teaspoon cinnamon to the dough if you want a stronger spice finish. Don’t increase the pumpkin pie spice too much or the cookies can turn muddy instead of warm.
Gluten-Free Swap
A cup-for-cup gluten-free flour blend usually works here, but the dough may need a short chill if it feels too soft to roll. The cookies will still crinkle, though they may spread a touch less than the original version.
Make-Ahead Dough
You can chill the dough for up to 24 hours after mixing. Let it sit at room temperature just long enough to scoop cleanly, then roll in the sugar coating right before baking so the crust stays bright and crackly.
Storage and Reheating
- Refrigerator: Store in an airtight container for up to 5 days. The cookies stay soft, though the sugar coating softens a little after day two.
- Freezer: Freeze baked cookies for up to 2 months, or freeze the rolled dough balls on a tray and bag them once solid. The dough freezes beautifully and bakes straight from frozen with 1 to 2 extra minutes in the oven.
- Reheating: Warm baked cookies in a 300°F oven for 3 to 4 minutes. The microwave makes them steamy and dull, which flattens the crisp sugar shell.
Questions I Get Asked About This Recipe
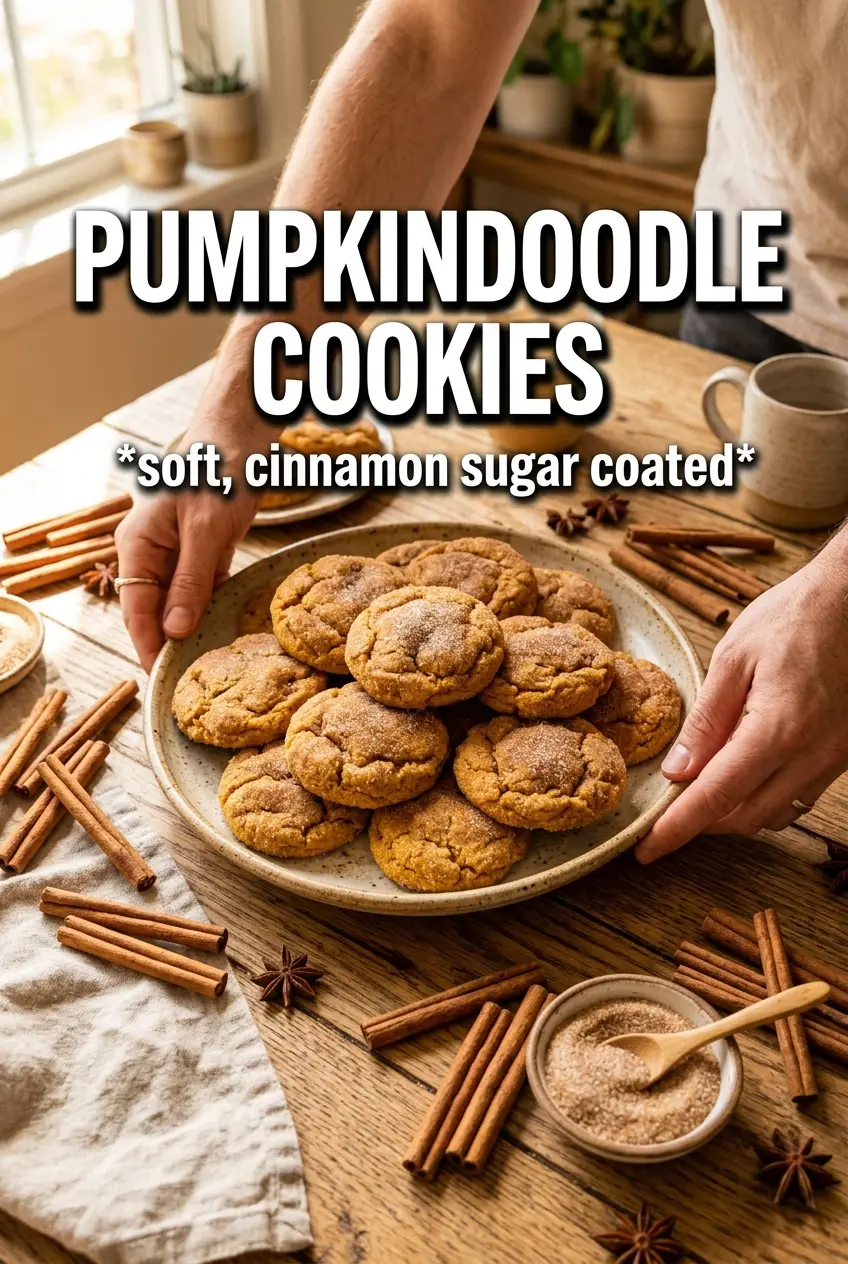
Pumpkindoodle Cookies
Ingredients
Equipment
Method
- Blot pumpkin puree between many layers of paper towels until extremely dry; the drier the better for crinkle.
- Preheat the oven to 375F and line baking sheets.
- Beat softened butter and granulated sugar until very light.
- Add blotted pumpkin puree, then mix in eggs and vanilla until combined.
- Fold in all-purpose flour, cream of tartar, baking soda, cinnamon, pumpkin pie spice, nutmeg, and salt until no dry streaks remain.
- Roll 1-1/2 tablespoon dough balls in the cinnamon pumpkin sugar coating (1/3 cup sugar, 2 teaspoons cinnamon, and 1/2 teaspoon pumpkin pie spice).
- Bake for 10-12 minutes at 375F until the edges set and the tops have crinkled.
- Cool for 5 minutes on the pan before moving them.