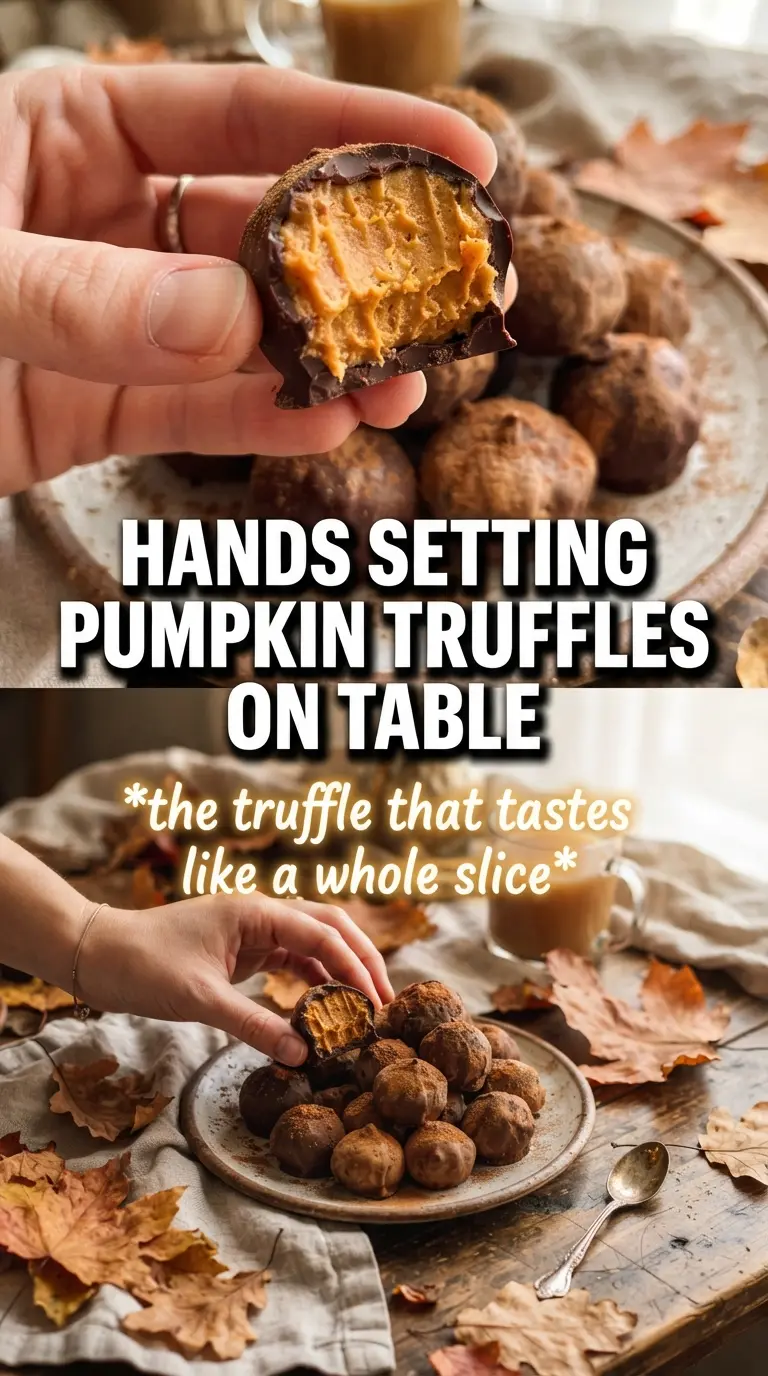
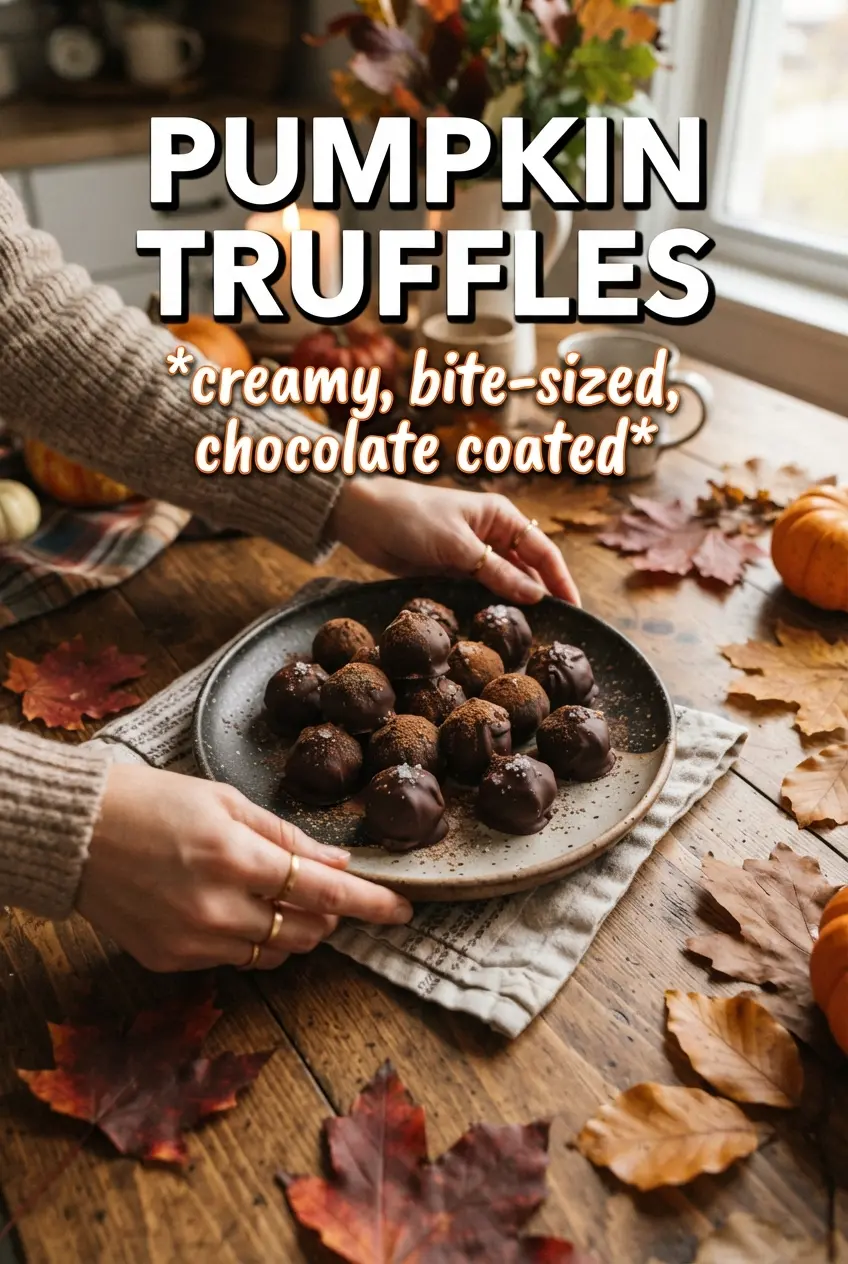
Pumpkin truffles are the kind of dessert that disappear before you get them onto a platter. The centers stay soft and creamy, the pumpkin spice comes through without turning muddy, and the white chocolate shell gives each bite that clean snap that makes them feel a little more special than a standard no-bake treat. They’re sweet, spiced, and tidy enough to serve at a party without any fuss.
The trick is drying the pumpkin puree before it goes into the filling. Pumpkin carries a lot of water, and if you skip that step the mixture turns loose, sticky, and hard to roll. Cream cheese gives the truffles their cheesecake-like richness, while graham cracker crumbs add enough structure to help the centers hold their shape after chilling.
Below, I’ll walk through the one step that keeps the filling firm, the easiest way to dip without making a mess, and a few smart swaps if you want to change up the coating or make them ahead.
The filling set up beautifully after chilling, and the white chocolate shell stayed crisp even after sitting out on the dessert table for a while. The pumpkin spice flavor came through in every bite without being too sweet.
Save these Pumpkin Truffles for a creamy, spiced no-bake dessert with a clean white chocolate shell.
The Part That Keeps Pumpkin Truffles From Turning Soft and Sticky
Pumpkin puree is the ingredient that makes these truffles taste like pumpkin, but it’s also the thing most likely to throw the texture off. Even a couple extra tablespoons of moisture can turn the filling gummy and difficult to scoop. Blotting the puree first pulls out enough water to let the cream cheese and sugar build a mixture that rolls cleanly instead of slumping.
The other thing that matters is chilling in stages. First, the filling needs time to firm up before scooping. Then the shaped balls need a short freeze so they stay round when they hit the warm chocolate. If you try to dip them while they’re still too soft, the coating slides around and you end up with misshapen truffles instead of neat, glossy ones.
- Blotted pumpkin puree — This is not optional if you want a rollable filling. Spoon the puree onto paper towels and press out as much moisture as you can before measuring it.
- Cream cheese — Full-fat cream cheese gives the filling its smooth, tangy backbone. Low-fat versions can work, but they set a little softer and taste less rich.
- Graham cracker crumbs — These add structure and a gentle bakery-style note. Fine crumbs blend in best; coarse crumbs can leave the centers a little gritty.
What Each Ingredient Is Actually Doing in These Truffles
- Powdered sugar — This sweetens the filling and helps it set by absorbing extra moisture. If the mixture feels too soft after mixing, a few more spoonfuls can tighten it, but add them slowly so the filling doesn’t turn chalky.
- Pumpkin pie spice and cinnamon — Pumpkin pie spice gives the familiar warm spice base, and the extra cinnamon keeps the pumpkin flavor from tasting flat. If you only have pumpkin pie spice, you can use a little more of that in place of the cinnamon.
- White chocolate or candy melts — White chocolate tastes richer and creamier, while candy melts are easier if you want a smoother coating with less fuss. Real white chocolate should be melted gently because it can seize if overheated.
- Coconut oil — A small amount loosens the coating just enough to make dipping easier and the shell thinner. Don’t add too much or the chocolate can set with a waxy finish.
Rolling, Chilling, and Dipping Without Losing the Shape
Building the filling base
Beat the softened cream cheese until it’s completely smooth before anything else goes in. If the cream cheese is still lumpy at this stage, those lumps stay there and make the filling harder to scoop cleanly. Add the blotted pumpkin, powdered sugar, spices, and vanilla, then beat just until the mixture looks uniform and fluffy. Stop as soon as it comes together; overmixing only warms the filling and makes it softer.
Adding structure before the chill
Fold in the graham cracker crumbs by hand so they don’t get crushed into a paste. The mixture should look thick, soft, and a little sticky, but it should hold its shape on a spoon. Refrigerate it long enough to firm up; if it still feels loose after chilling, give it another 15 to 20 minutes instead of trying to force it into balls.
Shaping and freezing the truffles
Scoop the filling into 1-inch portions and roll them quickly between your palms. Warm hands can soften the mixture fast, so work in batches and pop the tray into the freezer once the balls are formed. That short freeze is what keeps them from sliding around when they hit the melted coating. If they’re rock hard, let them sit for a minute or two so the coating sticks smoothly.
Coating and finishing cleanly
Melt the white chocolate slowly, then stir in the coconut oil until the coating looks glossy and fluid. Dip each truffle, let the excess drip off, and place it on parchment. Dust with pumpkin pie spice before the shell sets if you want that finished bakery look. If the chocolate starts to thicken while you work, warm it briefly instead of adding more oil, which can make the coating too thin.
How to Adapt Pumpkin Truffles for Different Coatings and Make-Ahead Plans
Swap the white chocolate for orange candy melts
Candy melts give you the easiest dipping setup and the brightest orange finish. They don’t taste as creamy as white chocolate, but they set faster and are more forgiving if you’re making a big batch.
Make them gluten-free
Use gluten-free graham-style crumbs in place of the regular ones. The texture stays nearly the same, and the filling still holds together because the crumbs are there for structure, not flavor alone.
Make them ahead for a party
Shape and freeze the truffle centers up to 2 weeks ahead, then dip them the day you want to serve them. That keeps the coating smooth and avoids condensation, which can make the chocolate dull or streaky.
Storage and Reheating
- Refrigerator: Store in an airtight container for 5 days. The centers stay firm and creamy, though the coating may soften slightly after a day or two.
- Freezer: Freeze for up to 1 month in a single layer, then transfer to a container with parchment between layers. Thaw in the refrigerator so the coating doesn’t sweat.
- Reheating: These don’t need reheating. Serve them cold or let them sit at room temperature for 10 to 15 minutes so the centers soften just enough.
Answers to the Questions Worth Asking
Pumpkin Truffles
Ingredients
Equipment
Method
- Blot the pumpkin puree dry, then beat the cream cheese smooth until no lumps remain. The mixture should look thick and creamy.
- Add blotted pumpkin puree, powdered sugar, pumpkin pie spice, cinnamon, and vanilla, then beat until smooth and evenly orange-speckled. Stop and scrape the sides to keep the texture consistent.
- Fold in the graham cracker crumbs, then refrigerate for 45 minutes. The filling should firm up enough to scoop.
- Scoop the mixture into 1-inch balls and place them on a parchment-lined sheet pan. Aim for even sizing so they dip uniformly.
- Freeze the balls for 15 minutes. They should feel solid and hold their shape for dipping.
- Melt the white chocolate (or orange candy melts) with the coconut oil until smooth and pourable. Keep it warm so the coating stays fluid.
- Dip each frozen truffle into the melted chocolate, then let excess drip off before setting on the pan. Watch for a clean coating around the whole ball.
- Dust the truffles with pumpkin pie spice before the coating sets. The topping should lightly cling while the chocolate is still tacky.