Pumpkin thumbprint cookies bake up with a tender, buttery shortbread crumb, a cinnamon-sugar edge, and a creamy center that gives every bite a little contrast. The cookie itself stays crisp at the edges and soft in the middle, which is exactly what you want here. They look fancy on a plate, but they’re built from simple dough and a filling that comes together fast.
The part that makes these work is the pumpkin treatment. Pumpkin adds flavor and color, but it also brings moisture, so blotting it dry keeps the dough from turning cakey or spreading too much. Chilling the dough matters too; it firms the butter back up and gives you cleaner thumbprints that hold their shape in the oven. Fill them with the cream cheese mixture for a classic bakery-style finish, or go with caramel when you want something a little softer and richer.
Below, I’ve included the small details that keep the dough from getting sticky and the centers from sinking after baking. Those are the little fixes that separate good pumpkin cookies from the ones people remember.
The dough chilled up beautifully and the thumbprints stayed neat in the oven. I filled half with the cream cheese mixture and half with caramel, and both versions disappeared before they were completely cool.
Save these pumpkin thumbprint cookies for the moment you want crisp-edged pumpkin shortbread with a creamy cinnamon filling.
The Trick to Keeping Pumpkin Shortbread Tender, Not Puffy
These cookies fail for the same reason a lot of pumpkin cookie recipes fail: too much moisture. Pumpkin puree is the problem, not the spice. If it goes into the dough wet, the cookies spread more, bake up softer than you want, and lose that clean thumbprint shape. Blotting the pumpkin dry before mixing is what keeps the dough closer to a shortbread texture instead of turning it into a soft cake cookie.
Chilling the dough is just as important. The butter needs to firm back up before baking, or the cookies slump before the centers set. Press the thumbprint after rolling, then bake right away while the dough is still cold enough to hold detail. If the edges crack a little when you press, that’s fine — it means the dough is set up correctly and not overloaded with moisture.
- Blotted pumpkin — This keeps the dough from becoming sticky and prevents excess spread. A paper towel or clean kitchen towel works well; press until the pumpkin looks noticeably drier.
- Cold dough after chilling — Cold dough holds the thumbprint shape and bakes with cleaner edges. If it gets soft while you’re rolling, pop the tray into the fridge for 10 minutes before baking.
- Deep thumbprint — Press firmly enough that the center holds a real well. Shallow indents tend to puff back up and leave you with less room for filling.
What Each Filling Choice Is Doing Here
- Butter — This is the backbone of the cookie’s texture and flavor. Use real butter, not margarine, or the cookies won’t bake with the same rich, sandy shortbread bite.
- Pumpkin puree — The pumpkin should be blotted dry, not just stirred in straight from the can. That one step keeps the cookies from becoming dense and gummy.
- Pumpkin pie spice and cinnamon — These build the warm base flavor in the dough and in the sugar coating. If you only have cinnamon, use it, but the finished cookie will taste flatter.
- Cream cheese filling — This gives you that tangy, bakery-style center that cuts through the sweet cookie. Make sure it’s fully softened before mixing or the filling will stay grainy.
- Caramel sauce — Thick caramel is the easiest swap if you want a sweeter, softer center. Thin caramel won’t stay put, so use one that holds its shape on a spoon.
Rolling, Pressing, and Filling Without Losing the Shape
Mix the Dough Until It Just Comes Together
Beat the butter and sugar until the mixture looks pale and fluffy, then mix in the blotted pumpkin and vanilla. Add the dry ingredients and stop as soon as the flour disappears. Overmixing at this stage makes the dough tough, and pumpkin dough doesn’t forgive that the way plain sugar cookie dough sometimes does.
Chill Before You Roll
Wrap the dough and chill it for 30 minutes. That gives the flour time to hydrate and the butter time to firm up, which makes rolling easier and helps the cookies keep their round shape. If the dough still feels sticky after chilling, let it sit for five minutes, then scoop and roll with lightly floured hands instead of dumping in extra flour.
Press the Wells Before Baking
Roll the dough into 1 1/2 tablespoon balls, coat them in cinnamon sugar, and set them on parchment-lined baking sheets. Press a deep thumbprint into each one with your thumb or the back of a small measuring spoon. If the indents puff too much in the oven, press them again right after baking while the cookies are still warm and soft.
Fill After Cooling
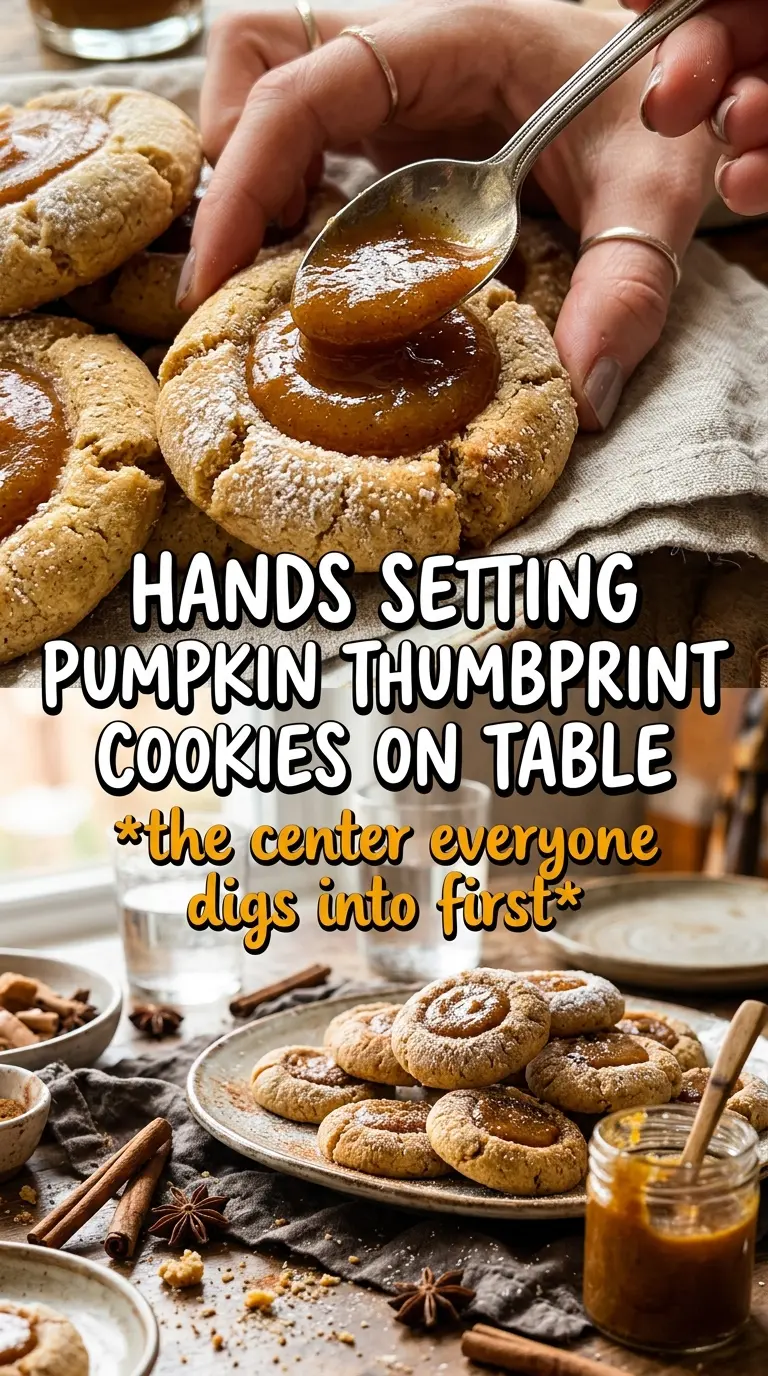
Let the cookies cool completely before adding the filling. Warm cookies soften the cream cheese mixture and make caramel slide off the center. Spoon or pipe the filling into each well, then stop once it reaches the top edge; overfilling makes them messy to stack and serve.
How to Make These Cookies Your Own Without Breaking the Texture
Dairy-Free Version
Use a plant-based butter that bakes well and swap the cream cheese filling for thick caramel. The cookie will still hold together, but the flavor will lean a little less rich and a little more spiced.
Gluten-Free Swap
Replace the flour with a 1:1 gluten-free baking blend that already includes xanthan gum. The cookies may spread a touch more, so chill the dough until it feels firm and cold before rolling.
Caramel-Center Cookie
Swap the cream cheese mixture for thick caramel when you want a softer, sweeter center with less tang. Add the caramel after the cookies are fully cool, and use a sauce that is thick enough to sit in the thumbprint without running out.
Make-Ahead Storage
The baked cookies keep well in an airtight container for 3 days at room temperature or up to 5 days in the refrigerator. Freeze the unfilled cookies for up to 2 months, then thaw and fill them after they come back to room temperature so the centers stay neat. If you need to refresh them, warm the unfilled cookies briefly in a 300°F oven for a few minutes; filled cookies should be served as-is so the filling doesn’t melt.
Answers to the Questions Worth Asking

Pumpkin Thumbprint Cookies
Ingredients
Equipment
Method
- Beat the softened butter and sugar until smooth, then mix in blotted-dry pumpkin and vanilla until evenly combined.
- Fold in the flour mixture (baking powder, salt, pumpkin pie spice, and cinnamon) just until no dry streaks remain.
- Refrigerate the dough for 30 minutes to firm up for shaping.
- Preheat the oven to 350°F and line sheet pan(s) for easy transfer.
- Roll dough into 1-1/2 tablespoon balls, then roll each ball in cinnamon sugar to coat.
- Place the balls on the sheet pan(s) with space between them.
- Press a deep thumbprint into the center of each dough ball to create a well for filling.
- Bake for 12-14 minutes, until the cookies are golden at the edges and set in the centers.
- Cool the cookies completely so the filling won’t melt or run.
- For cream cheese filling, beat cream cheese, powdered sugar, cinnamon, and vanilla until smooth, then spoon into the thumbprint centers.
- Alternatively, spoon thick caramel sauce into the thumbprint centers instead of the cream cheese filling.