Silky cheesecake, a spiced pumpkin ribbon, and a crisp gingersnap crust make this dessert feel polished without being fussy. The swirls bake into deep caramel-colored streaks across the top, so every slice looks like you spent hours on it even though the technique is straightforward once you know the order.
What makes this version work is the way the two batters stay distinct long enough to create contrast. The vanilla layer is kept simple and smooth, while the pumpkin layer gets enough spice to stand on its own without turning muddy. A gingersnap crust gives the whole cheesecake a warmer, snappier base than plain graham crackers ever could, and the water bath keeps the center creamy instead of dry and cracked.
Below, I’ll walk you through the swirl pattern that gives you those dramatic marbled slices, plus the small timing details that keep the cheesecake from overbaking. If you’ve ever had trouble with a cheesecake that looked done on the edges but turned grainy in the middle, this method will help.
The pumpkin layer stayed nicely separate in the swirl, and the center set up creamy after chilling overnight. The gingersnap crust was the best part for me because it didn’t get soggy at all.
Love the dramatic pumpkin swirl and gingersnap crust? Save this cheesecake for the dessert table when you want clean slices and a bakery-style finish.
The Swirl That Keeps the Top from Looking Muddy
The biggest mistake with a marbled cheesecake is overmixing the two batters once they meet. That turns the top into a uniform tan layer instead of clear vanilla-and-pumpkin ribbons. You want the pumpkin mixture thick enough to sit in dollops, then a knife or skewer dragged through just a few times so the layers still look separate.
The other thing that matters is temperature. Both fillings should be smooth before they go into the pan, but not whipped full of air. Air bubbles rise in the oven, crack the surface, and make the texture lighter than it should be. Cheesecake wants gentle mixing, not a fluffy batter.
- Drag, don’t stir. A few figure-eight motions are enough to create the swirl. Once the top looks marbled, stop.
- Keep the batter thick. If the pumpkin layer gets too loose, it sinks and blends instead of sitting on top in defined patches.
- Bake just until the center still moves slightly. The residual heat finishes the set as it cools, which is how you get that creamy middle.
What Each Ingredient Is Actually Doing in This Cheesecake
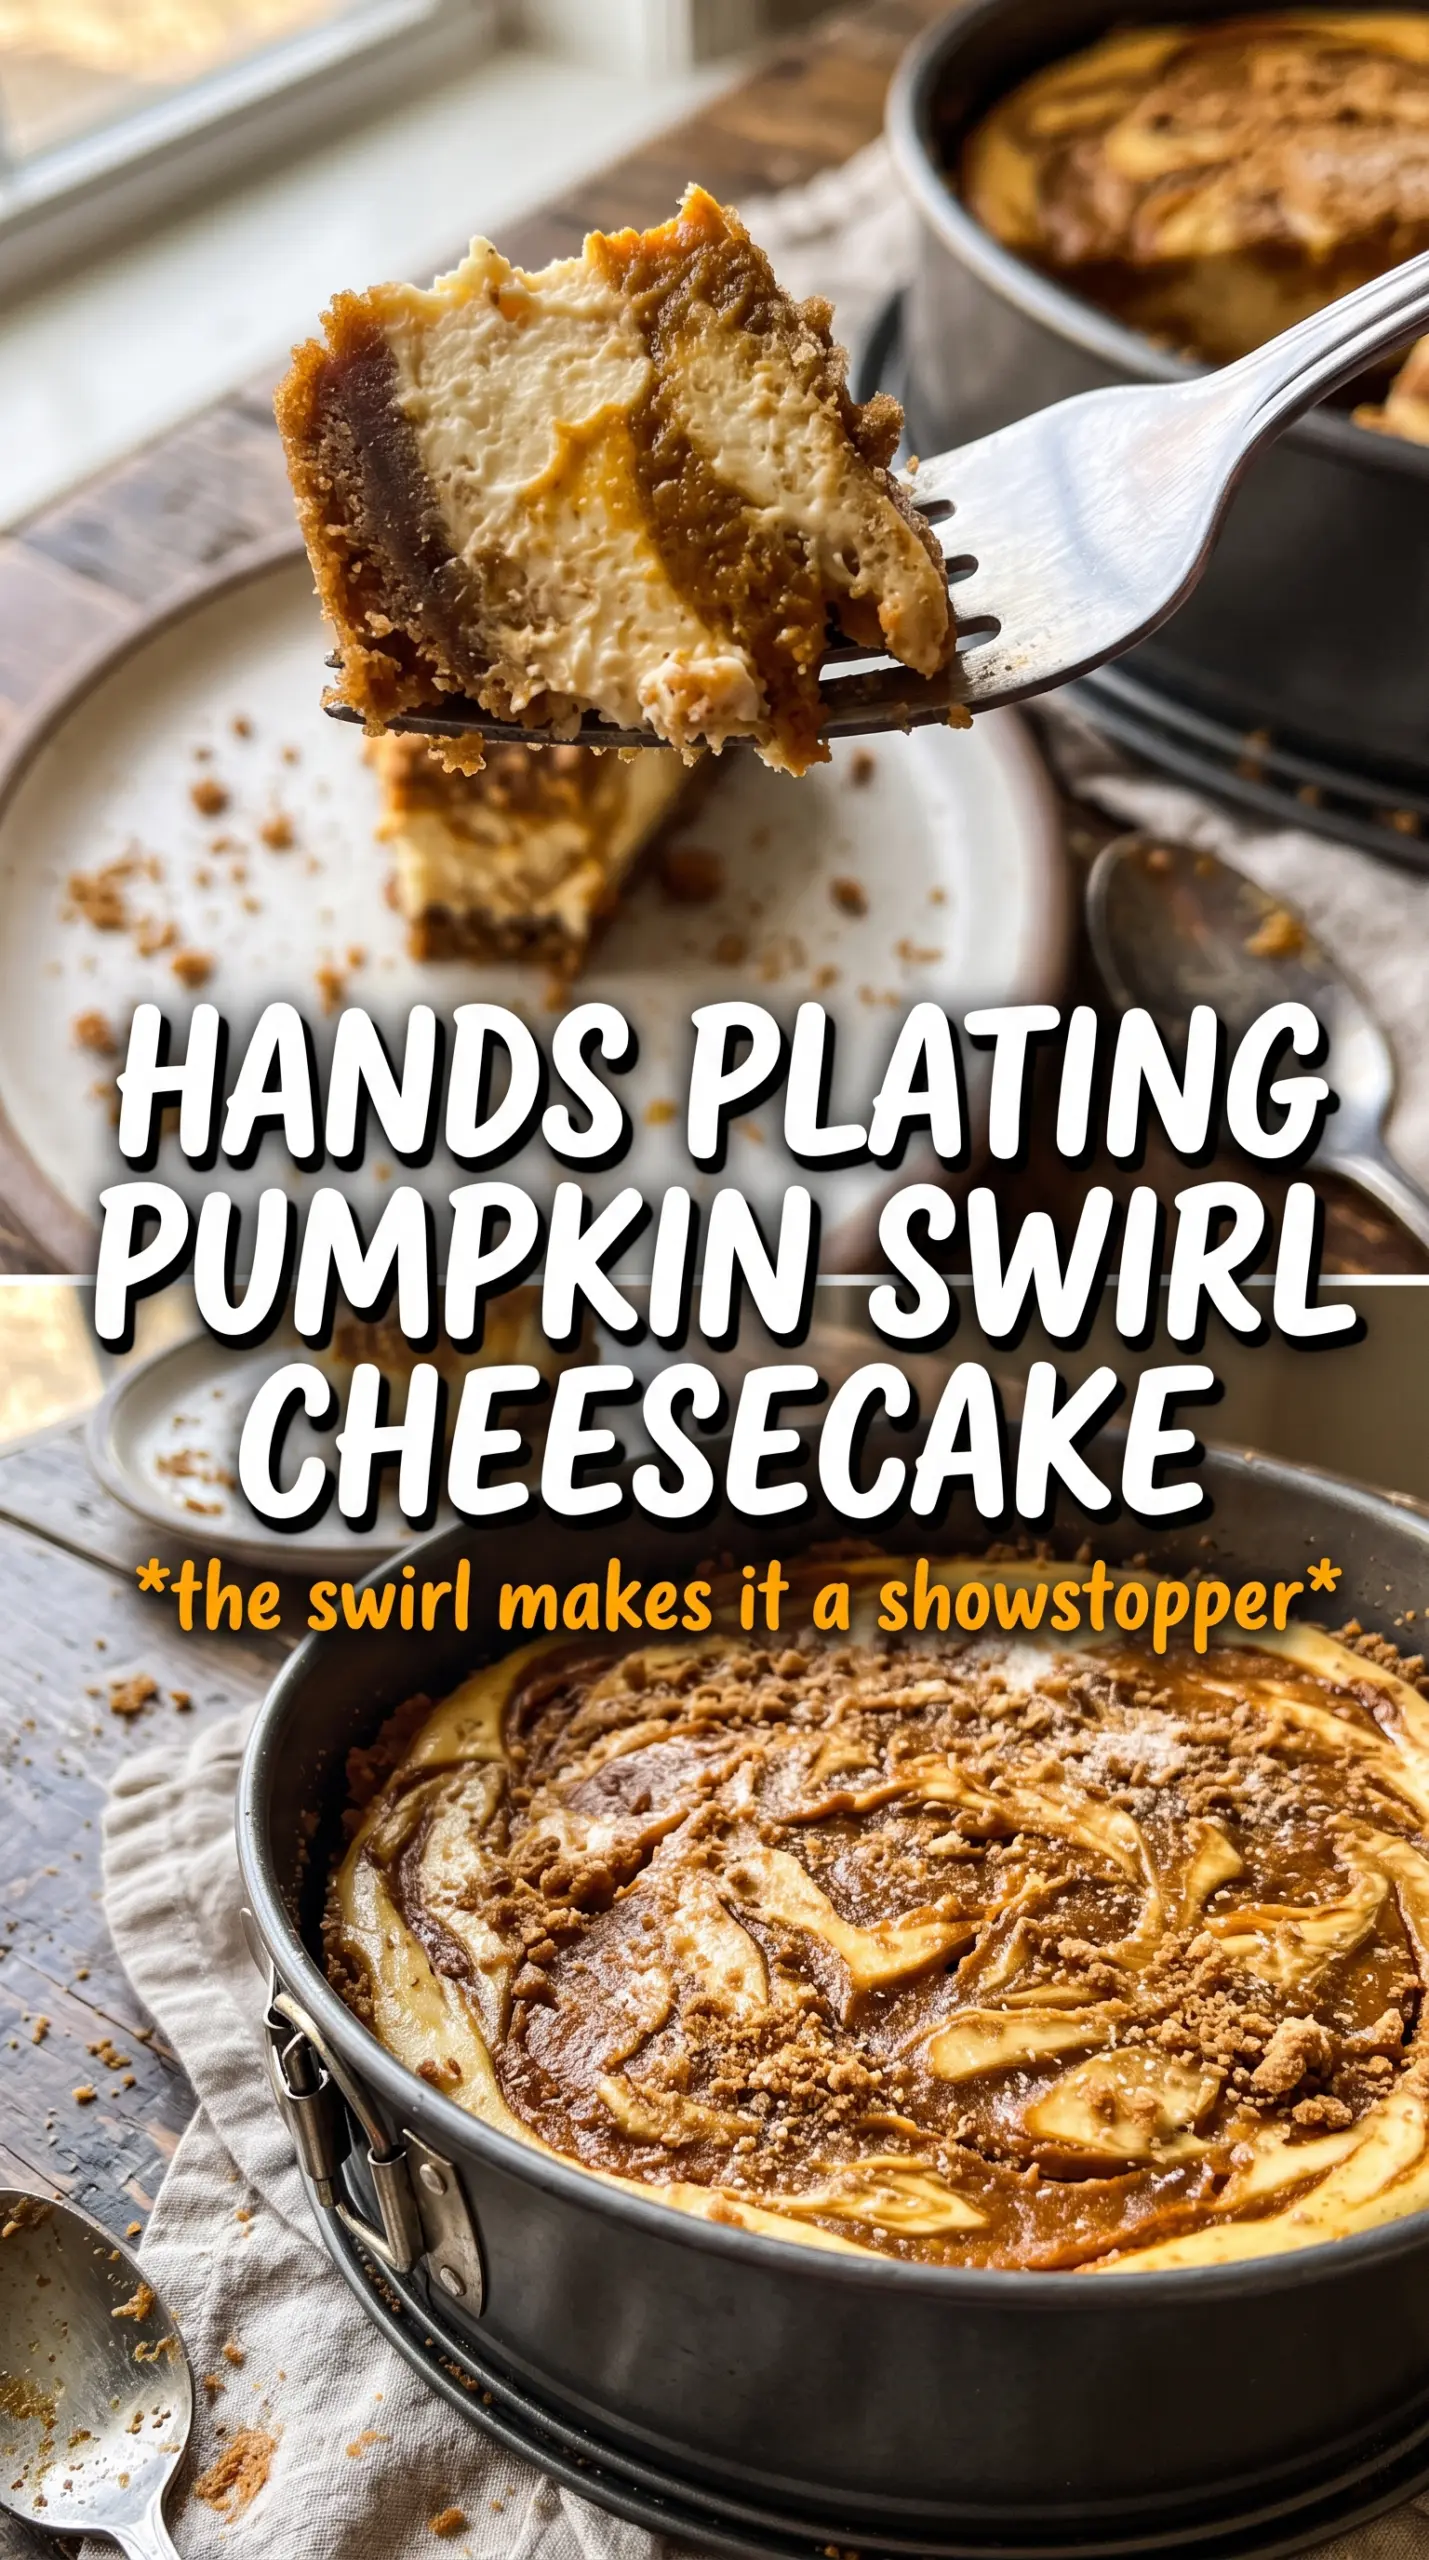
- Gingersnap crumbs — These bring spice and crunch, and they hold up better than graham crackers under a rich filling. If you only have graham crackers, the crust will taste milder and less autumn-spiced, but it will still work.
- Cream cheese — This is the backbone of both fillings. Use full-fat block cream cheese for the smoothest texture; tub-style cream cheese is softer and can make the batter looser.
- Sour cream — It adds a slight tang and keeps the vanilla layer from tasting flat. Greek yogurt can stand in, but the finished cheesecake will be a little less plush.
- Pumpkin puree — Use pure pumpkin, not pumpkin pie filling. Pie filling already contains sugar and spice, which throws off the balance and can make the pumpkin layer too loose.
- Brown sugar and pumpkin pie spice — These deepen the pumpkin layer so it tastes warm, not just sweet. The cinnamon adds extra edge, but the pumpkin pie spice is what gives the swirl its recognizable bakery-style flavor.
- Eggs — They set the cheesecake. Add them last and mix just until combined; overbeating is one of the fastest ways to get a puffed top that cracks as it cools.
Getting the Layers Set Without a Crack in Sight
Building the Gingersnap Base
Mix the crumbs, sugar, and melted butter until every crumb looks damp, then press the mixture firmly into the bottom of a 9-inch springform pan. Bake it for 10 minutes so the crust sets before the filling goes in. If you skip that quick bake, the crust can soften and lose its snap once the cheesecake bakes.
Mixing the Two Fillings Separately
Beat each cheesecake layer until smooth, but stop as soon as the lumps disappear. The goal is a dense, glossy batter, not a whipped one. If you see a lot of small bubbles on top, the batter has too much air in it, and that air will puff and crack in the oven.
Swirling and Baking in a Water Bath
Pour the vanilla layer over the crust first, then spoon the pumpkin mixture over the top in thick dollops. Run a knife through the surface only a few times so the colors stay dramatic. Set the springform pan in a water bath and bake until the edges are set and the center still has a slight wobble; if it looks fully firm in the oven, it’s already overbaked.
Cooling Before the First Slice
Let the cheesecake cool slowly, then chill it for at least 6 hours. This waiting time isn’t optional if you want clean slices, because the texture finishes tightening in the refrigerator. If you cut it warm, the swirl will blur and the filling will slump.
How to Adapt This Pumpkin Swirl Cheesecake for Your Kitchen
Gluten-Free Crust Swap
Use gluten-free gingersnap cookies in place of the regular ones and keep the rest of the crust the same. You still get the spicy crunch that makes this cheesecake special, and the texture stays nearly identical as long as the crumbs are fine and evenly coated with butter.
Dairy-Free Version
Use dairy-free cream cheese and a thick plant-based sour cream. The cheesecake will still set, but it won’t taste quite as rich, so keep the pumpkin spice bold and don’t overbake or the texture can turn dry.
Making It Ahead for a Crowd
Bake the cheesecake a full day ahead and chill it overnight. The flavor deepens and the slices cut cleaner the next day, which makes this one of the easiest desserts to prep before guests arrive.
Extra-Spiced Pumpkin Layer
If you want the pumpkin swirl to stand out more, add a pinch of cloves or nutmeg. That gives the pumpkin side a deeper pie-like flavor, but go light so it doesn’t overpower the vanilla cheesecake underneath.
Storage and Reheating
- Refrigerator: Store covered for up to 5 days. The texture stays creamy, and the crust holds up well.
- Freezer: Freeze whole or in slices after the cheesecake is fully chilled. Wrap it tightly and thaw overnight in the refrigerator for the best texture.
- Reheating: Cheesecake isn’t meant to be reheated. Serve it cold or let a slice sit at room temperature for 15 to 20 minutes so the filling softens without losing its structure.
Questions I Get Asked About This Recipe
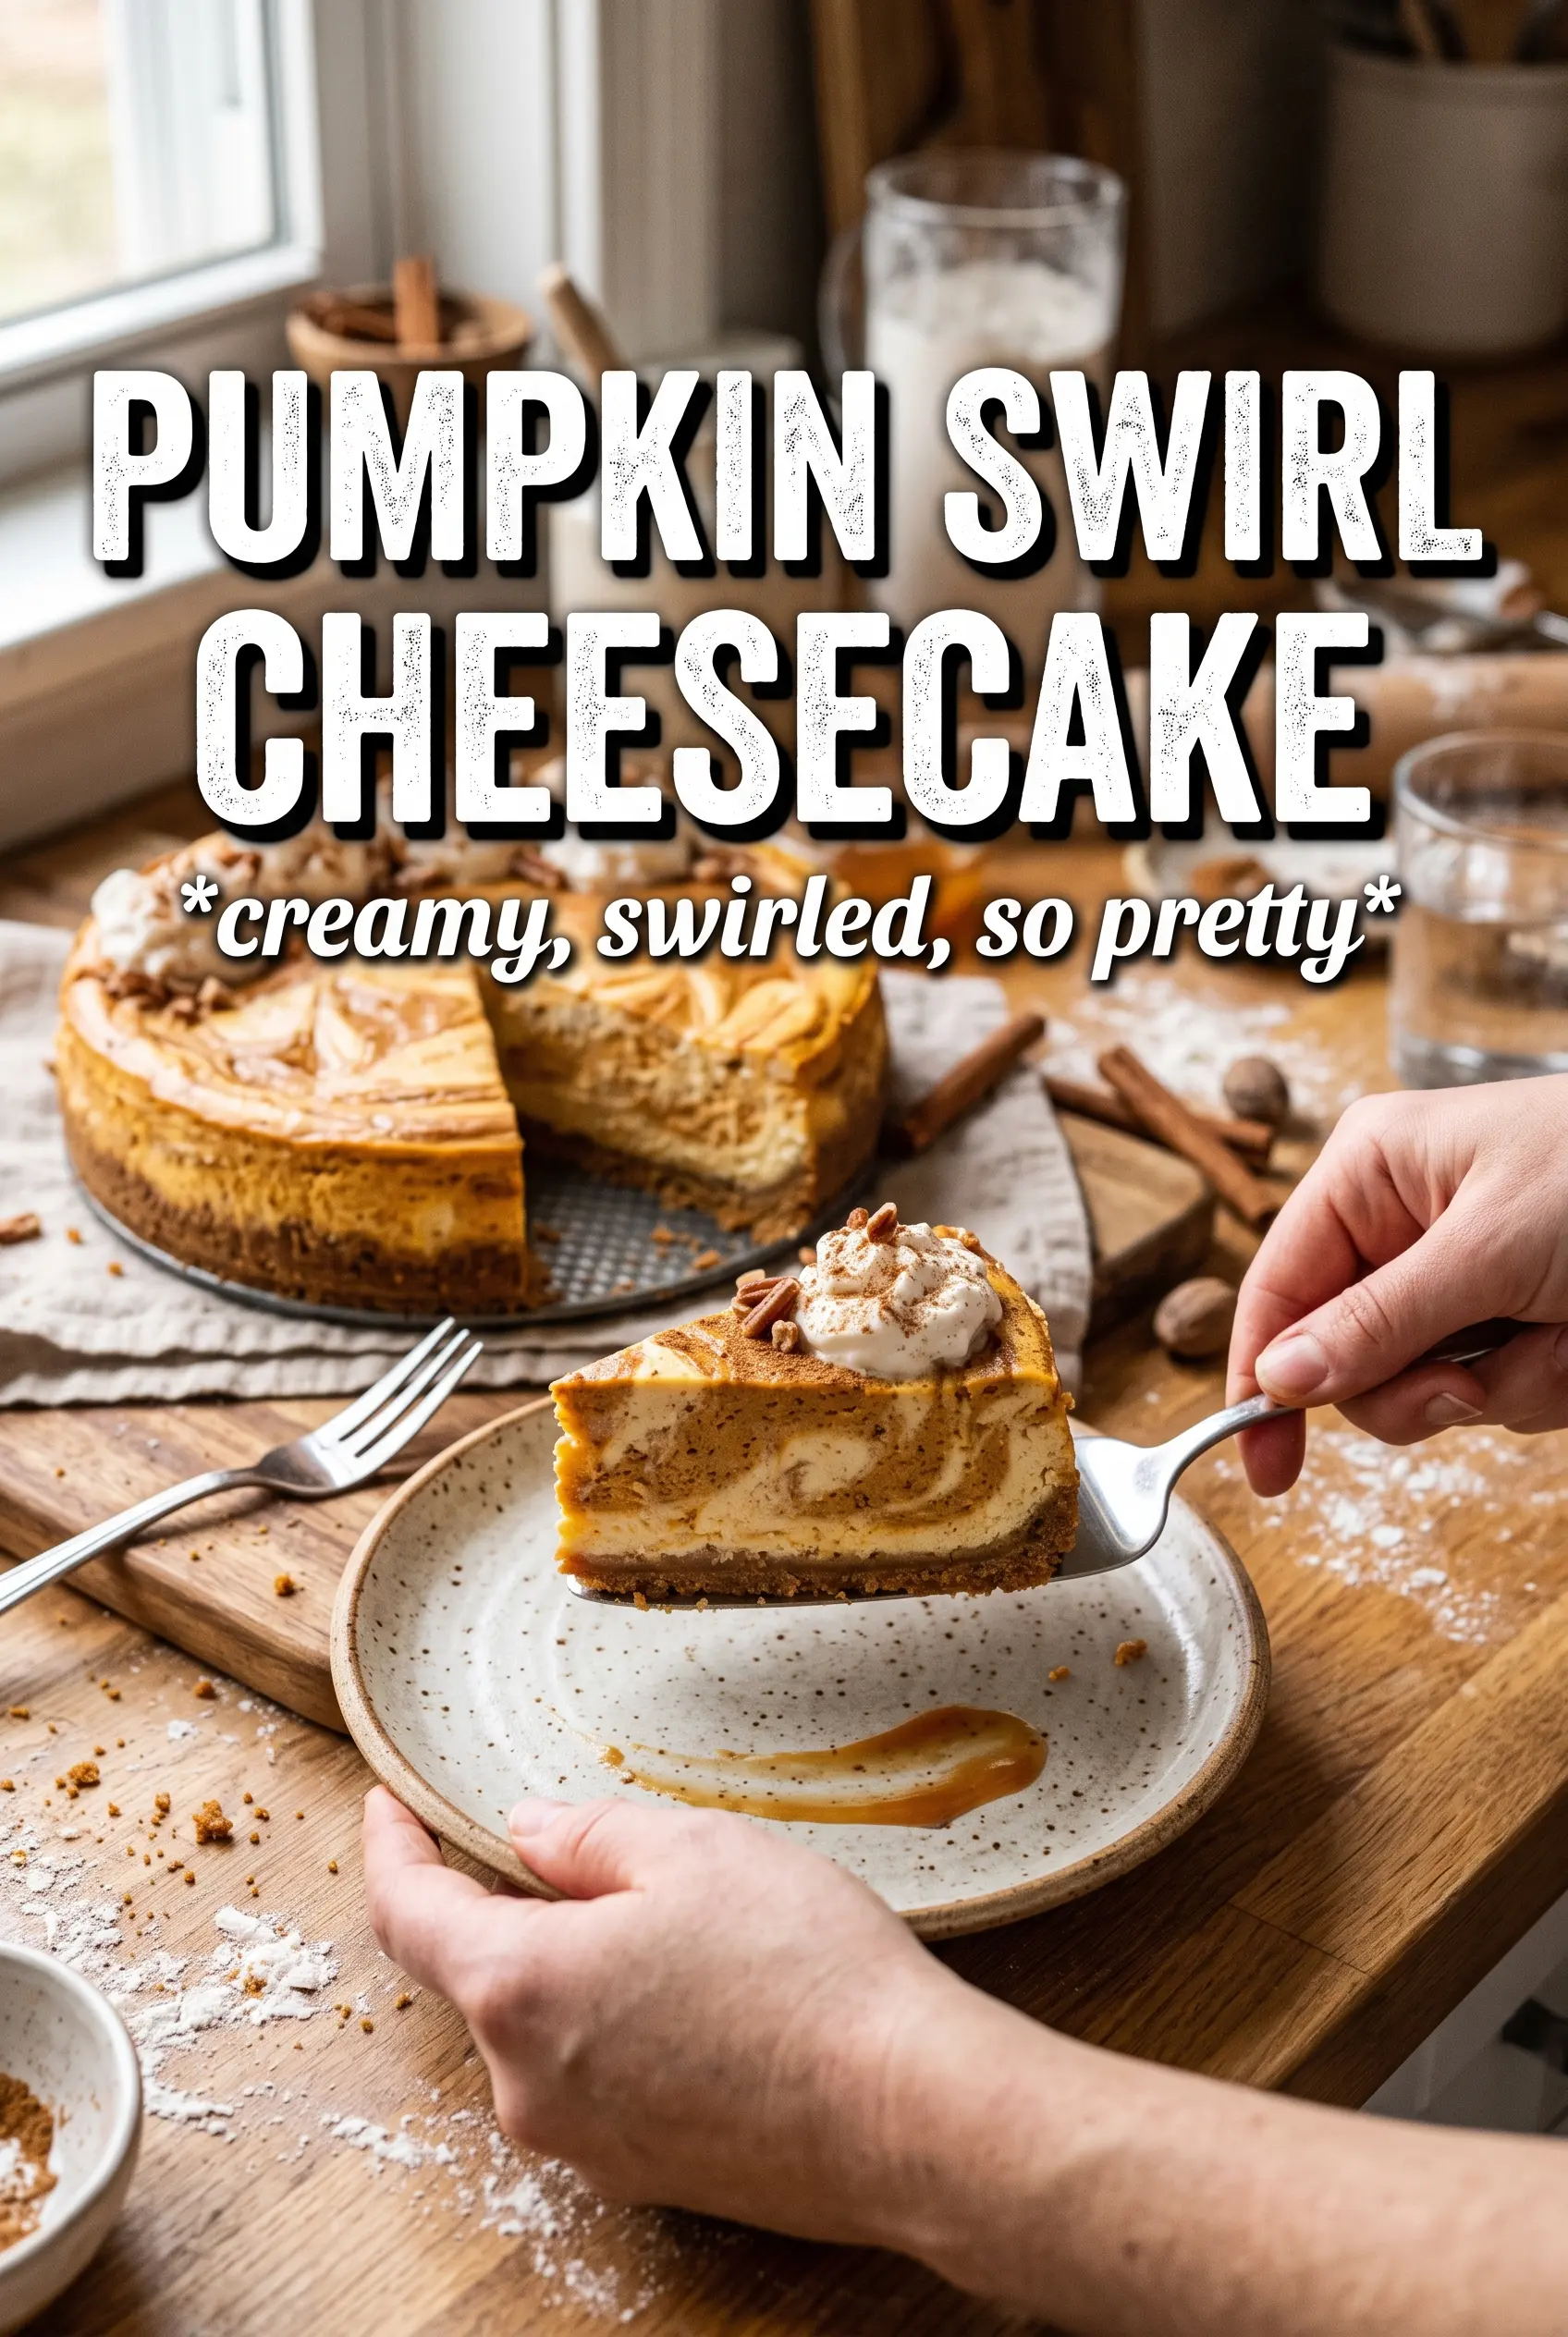
Pumpkin Swirl Cheesecake
Ingredients
Equipment
Method
- Preheat the oven to 325F. Press the gingersnap crumbs mixture into a 9-inch springform pan and bake for 10 minutes, until set and fragrant.
- Beat the vanilla cheesecake layer ingredients separately until smooth, scraping the bowl as needed. Mix until no lumps remain so the batter pours cleanly.
- Beat the pumpkin swirl ingredients separately until smooth, scraping the bowl as needed. Mix until the orange-spiced mixture is evenly blended.
- Pour the vanilla cheesecake batter over the baked crust. Spread to the edges so the crust is fully covered.
- Dollop the pumpkin mixture over the vanilla layer. Add spoonfuls across the surface so the swirl has visible contrast.
- Swirl dramatically with a knife. Drag through the batter in bold paths to create marbled pumpkin-and-vanilla streaks.
- Bake in a water bath at 325F for 55-60 minutes until just set. Look for a slight jiggle in the center and a set outer edge.
- Cool the cheesecake until it reaches room temperature, then refrigerate for 6 hours. Chill until fully firm for clean slices.