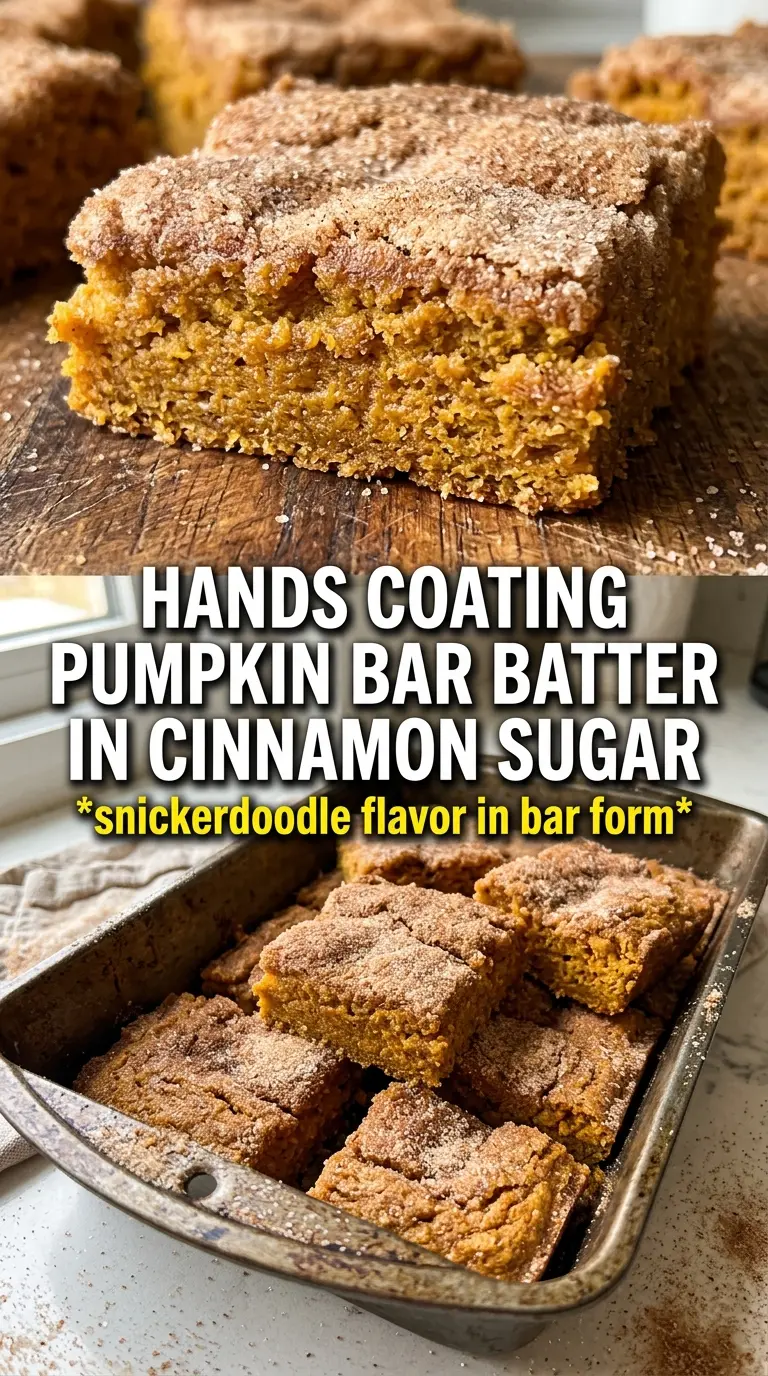
These pumpkin snickerdoodle bars bake up soft in the center with chewy edges and a cinnamon-sugar crust that turns crackly and fragrant in the oven. They have all the comfort of a snickerdoodle, but the pumpkin gives the crumb a little more tenderness and a warm, mellow depth that keeps each bite from tasting flat or overly sweet.
The key is keeping the pumpkin puree dry and treating it like an accent, not the main event. Too much moisture and these bars turn cakey; blotting the pumpkin first keeps the texture dense enough to slice cleanly while still staying soft. Melted butter also helps here, since it gives the bars that fudgy chew instead of a fluffy cake-like finish.
Below you’ll find the small details that matter most: how to keep the pumpkin from watering down the dough, when to stop baking for the best texture, and a few smart swaps if you need to adjust the recipe for what’s in your kitchen.
The bars came out chewy instead of cakey, and the cinnamon sugar top got that little crackly crust I was hoping for. Blotting the pumpkin made a huge difference.
Like this chewy pumpkin snickerdoodle bar recipe? Save it to Pinterest for the days when you want a soft center, crackly cinnamon top, and an easy dessert that slices cleanly.
The Pumpkin That Keeps These Bars Chewy, Not Cakey
Most pumpkin bar recipes lean too hard into moisture, and that’s where the texture goes off the rails. Pumpkin puree brings flavor and softness, but it also brings water, which can turn these bars bready if you add it straight from the can. Blotting the puree first takes out just enough excess moisture to keep the crumb dense and chewy.
The other thing that matters here is the order of mixing. Melted butter and sugar get whisked together before the eggs and pumpkin go in, which helps the sugar dissolve and gives the bars a smoother, more uniform bite. Once the flour goes in, stop as soon as you no longer see dry streaks. Overmixing is what makes bars like these tough instead of tender.
- Blotted pumpkin puree — This is the detail that separates chewy bars from cakey ones. Press the puree between paper towels until it looks thicker and slightly dry on the surface, then measure it after blotting.
- Cream of tartar — It gives the bars that classic snickerdoodle tang and helps the cinnamon sugar topping taste sharper and less flat. There isn’t a perfect substitute, but a little extra cinnamon and a small squeeze of lemon in the dough can echo the brightness in a pinch.
- Melted butter — Melted, not softened, butter keeps the crumb dense and chewy. If you swap in oil, the bars will still bake, but they lose that rich snickerdoodle flavor and the texture feels a little more one-note.
- Cinnamon sugar topping — Don’t be shy with it. The topping is what gives you the crackly crust and the first hit of spice when you bite in.
What Each Ingredient Is Actually Doing in This Recipe
- Primary ingredient (the star) — Quality matters most. Choose the best you can find.
- Cooking medium (oil, butter, or broth) — This carries flavors and prevents dryness.
- Seasonings (salt, pepper, spices, herbs) — Layer flavors so nothing overpowers. Build depth gradually.
- Aromatics (garlic, onion, herbs) — Cook with fat to bloom flavors. Become the foundation.
- Supporting ingredients — Complement the main ingredient without overpowering it.
- Sauce or liquid (if applicable) — Brings flavors together. Balance richness with acid.
- Acid (lemon, vinegar, wine, or other) — Brightens and prevents flat-tasting results.
- Final finish (garnish, glaze, or sauce) — Prevents one-dimensional taste and adds visual appeal.
Getting the Batter Spread and the Top Crisp at the Same Time
Whisk the dry ingredients first
Start by combining the flour, baking powder, baking soda, cinnamon, cream of tartar, nutmeg, and salt in one bowl. That keeps the leavening and spice evenly distributed, which matters in a bar batter that won’t get much stirring later. If you see little pockets of cinnamon in the finished bars, the dry ingredients weren’t mixed enough at the start.
Build the wet mixture with the pumpkin last
Whisk the melted butter and sugar until the mixture looks glossy and slightly thickened, then add the blotted pumpkin, eggs, and vanilla. The pumpkin should disappear into the batter without making it look loose or wet. If it looks soupy at this point, the puree was too wet and the bars will likely need extra baking time without ever setting up quite right.
Stop mixing the moment the flour disappears
Fold the dry ingredients into the wet mixture just until combined. A few streaks at the edge are better than overworking the batter, which can make the bars tight. Spread it into the pan in an even layer, pressing gently into the corners so the edges don’t bake faster than the center.
Bake until the center is just set
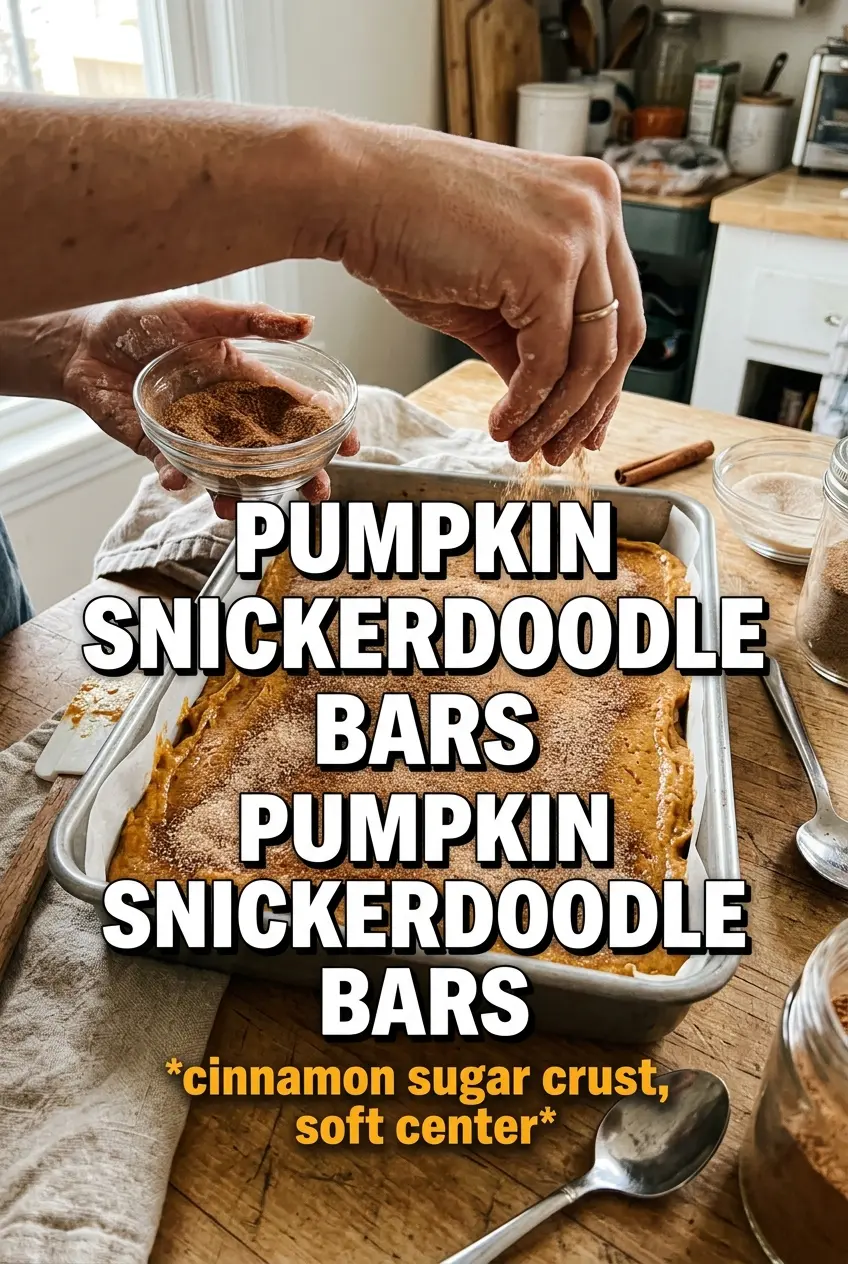
Scatter the cinnamon sugar topping evenly over the surface, then bake at 350F for 25 to 30 minutes. You’re looking for a set top, lightly golden edges, and a center that no longer looks wet but still feels soft when you give the pan a gentle nudge. If you bake until the middle looks fully firm in the oven, the bars will end up dry once cooled.
Cool completely before cutting
Let the bars cool all the way in the pan before slicing. Warm bars will smear and fall apart because the crumb is still settling. Once fully cool, they cut into clean squares with that chewy center and cinnamon crust intact.
How to Adapt These Bars When You Need a Different Pan or a Different Diet
Gluten-Free Pumpkin Snickerdoodle Bars
Use a good 1:1 gluten-free baking blend in place of the flour. The bars will still be chewy, but they may need an extra minute or two in the oven because gluten-free blends often hold moisture a little differently. Don’t swap in almond flour alone — it changes the structure too much and the bars won’t slice cleanly.
If You Want a Stronger Pumpkin Flavor
You can bump the pumpkin puree up slightly, but only by a small amount or the texture starts to drift into cake territory. A better move is to add a pinch more cinnamon and a little extra nutmeg, which makes the pumpkin taste warmer without adding extra moisture.
Dairy-Free Version
Replace the butter with a plant-based stick butter that behaves like real butter, not a tub-style spread. The texture will stay close to the original because the recipe depends on fat for chew. Avoid coconut oil unless you want a noticeable coconut note and a slightly firmer crumb once cooled.
Storage and Reheating
- Refrigerator: Store in an airtight container for up to 5 days. The bars stay chewy, though the cinnamon sugar top softens a little after day one.
- Freezer: These freeze well. Wrap individual bars tightly and freeze for up to 2 months, then thaw at room temperature before serving.
- Reheating: Warm a bar for 10 to 15 seconds in the microwave if you want it softer, but don’t heat it long enough to melt the sugar crust completely. These are best served at room temperature or just barely warmed.
Answers to the Questions Worth Asking
Pumpkin Snickerdoodle Bars
Ingredients
Equipment
Method
- Preheat the oven to 350°F, then grease a 9x13 pan to prevent sticking.
- Whisk all-purpose flour, baking powder, baking soda, cinnamon, cream of tartar, nutmeg, and salt until evenly combined and no dry streaks remain (dry, uniform look).
- Whisk melted and slightly cooled butter with granulated sugar until glossy and smooth (thick, pourable batter).
- Whisk in blotted-dry pumpkin puree, then whisk in eggs and vanilla extract until the mixture looks cohesive.
- Fold the flour mixture into the wet ingredients until just combined, then spread the batter evenly in the greased pan (no visible flour pockets).
- Mix the cinnamon sugar top, then sprinkle it generously over the entire surface for even coverage (dry, speckled top).
- Bake for 25-30 minutes at 350°F until the bars are just set in the center—do not overbake for a chewy texture (lightly golden edges, soft center).
- Cool completely before cutting so the bars firm up and clean slices form (set, room-temperature texture).