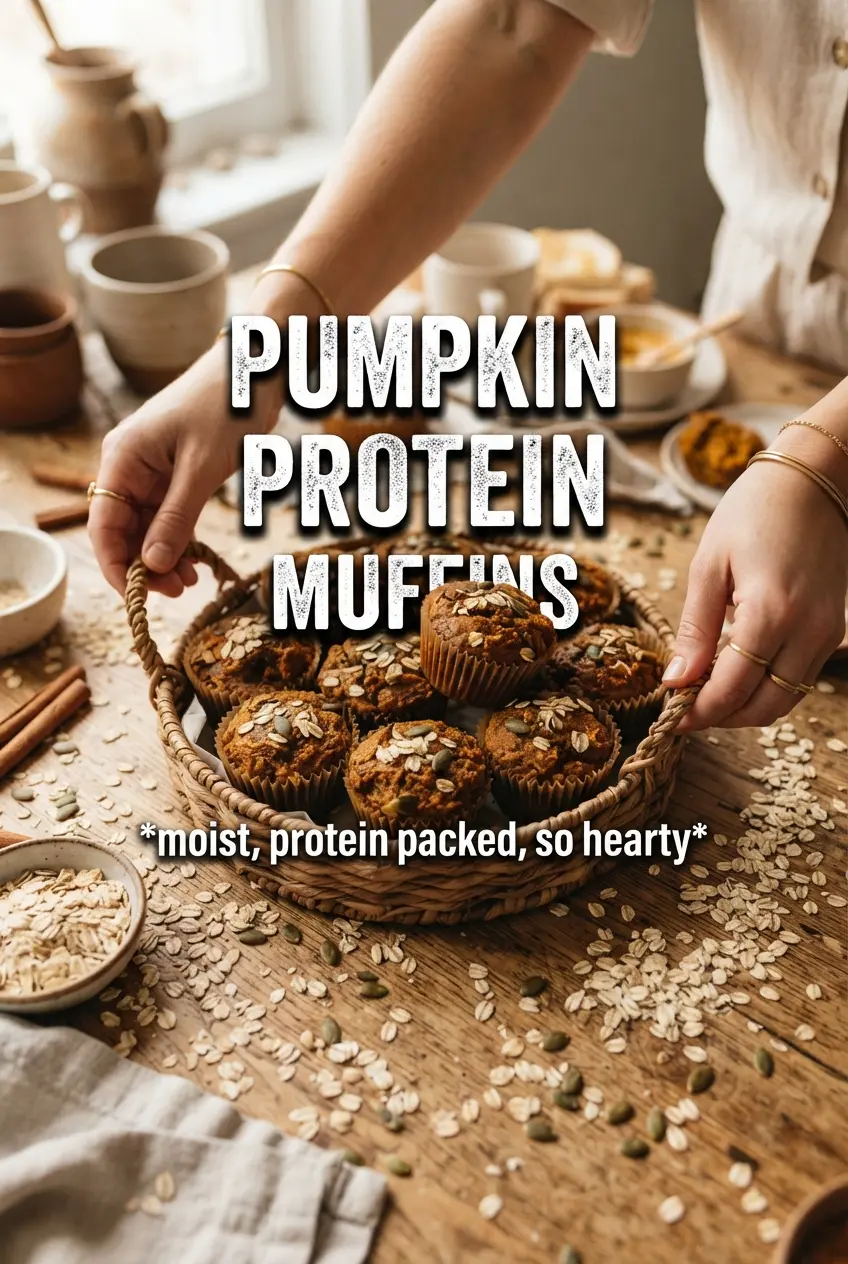
These pumpkin protein muffins bake up with a domed top, a soft middle, and just enough heft to feel like breakfast, not dessert. The pumpkin keeps them moist for days, while the protein powder and Greek yogurt give them a more satisfying bite than a standard muffin. The pumpkin seeds on top add a little crunch and make each one look finished straight from the pan.
The texture depends on two things: blending the oats fine enough to act like flour, and stopping the mixing the second the dry ingredients disappear. Overmix them and the crumb gets tight. Leave the batter a little uneven and the muffins bake up tender with that clean pumpkin-spice flavor people expect, not a gummy center.
Below, I’ve included the small details that matter most here, including what to watch for if your protein powder tends to dry things out and how to keep the tops tall instead of flat.
The muffins came out tall and stayed moist for days, and the pumpkin seeds on top gave them a great little crunch. I used a vanilla protein powder that can get chalky, but the pumpkin and yogurt kept the crumb soft.
These pumpkin protein muffins are worth pinning for a grab-and-go breakfast with a soft crumb and crunchy seed topping.
The Trick to Tall Muffins Without a Dry Crumb
Protein muffins get a bad reputation because they often bake up dense, rubbery, or oddly dry. The fix here is balance: oats bring structure, pumpkin adds moisture, and Greek yogurt keeps the crumb tender without making the batter heavy. The other big mistake is overbaking. These are done when the tops spring back and a toothpick comes out clean or with just a few moist crumbs, not when they look completely dry in the center.
Another thing that helps is the batter rest. Even a few minutes gives the oat flour time to hydrate, which makes the muffins bake more evenly and helps prevent a gritty texture. If your protein powder is especially absorbent, the batter may thicken quickly; that’s normal, and it’s one more reason not to let it sit too long before scooping.
What Each Ingredient Is Actually Doing in These Muffins
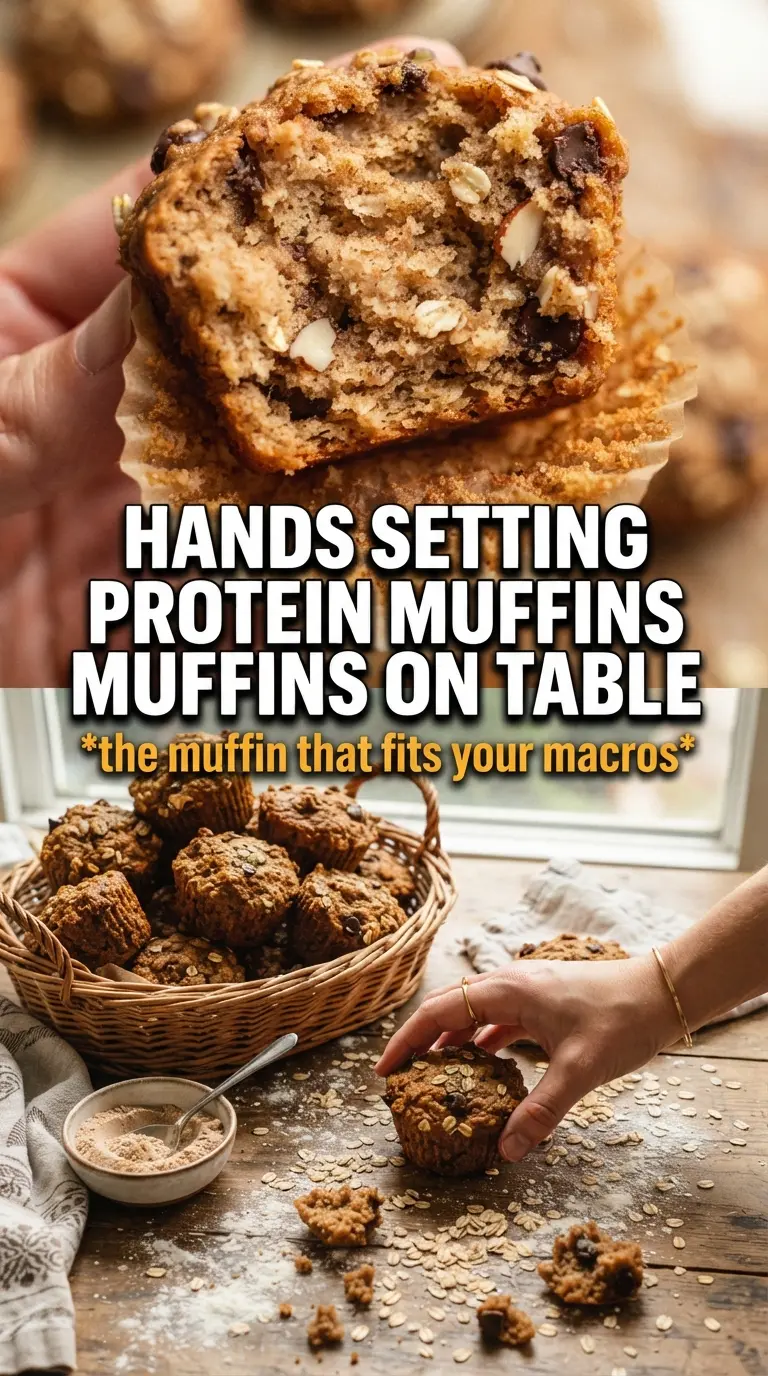
- Old-fashioned oats — Blending them into flour gives these muffins a heartier, more substantial crumb than white flour alone. If you don’t blend them finely enough, the texture turns coarse instead of tender.
- Vanilla protein powder — This is what gives the muffins their extra staying power. Vanilla works best because it blends into the pumpkin spice without fighting it; chocolate or unflavored powders can work, but the flavor shifts.
- Pumpkin puree — Use plain pumpkin puree, not pumpkin pie filling. The puree brings moisture, body, and that deep pumpkin color without extra sugar or spices getting in the way.
- Greek yogurt — It adds protein and keeps the crumb soft. Sour cream can stand in if that’s what you have, but the result will taste a little richer and less tangy.
- Coconut oil — Melted coconut oil gives a clean, soft bite once the muffins cool. You can swap in melted butter if you want a slightly richer flavor, but the texture will be a touch less tender.
- Pumpkin seeds — They’re not just decoration. They give the tops a light crunch and help you spot the muffins that were baked evenly and lifted well in the oven.
Mix the Batter Gently, Then Let the Oven Do the Rest
Blend the Oats into a Fine Flour
Start by pulsing the oats until they look like a rough flour with no obvious flakes left behind. If you leave big oat pieces in the mix, the muffins bake with little chewy pockets instead of a smooth crumb. Add the protein powder, spices, baking powder, baking soda, and salt to the oat flour so everything is evenly distributed before the wet ingredients go in.
Build the Wet Base
Whisk the pumpkin puree, eggs, maple syrup, melted coconut oil, vanilla, and Greek yogurt until the mixture looks smooth and glossy. If the coconut oil starts to firm up in cold ingredients, whisk a little more aggressively before it clumps. A smooth wet base helps the muffins rise evenly, while a lumpy one can leave streaks of oil or pockets of yogurt in the crumb.
Fold, Don’t Beat
Pour the dry ingredients into the wet mixture and fold just until you no longer see streaks of flour. The batter should look thick and scoopable, not thin and pourable. Overmixing wakes up the oat flour and protein powder in the wrong way, which is how you end up with tough muffins instead of a soft, even bake.
Bake Until the Centers Set
Divide the batter evenly among 12 muffin cups and top with pumpkin seeds before baking at 375°F for 20 to 22 minutes. The muffins are done when the tops are domed, the edges look set, and a toothpick inserted into the center comes out clean. Pull them too late and the protein powder can make them dry out fast, so start checking at the 20-minute mark.
How to Adapt These Muffins for Different Needs
Dairy-Free Version
Swap the Greek yogurt for a thick dairy-free yogurt with a plain or vanilla flavor. The muffins will still stay moist, but the crumb may be a little less rich, so don’t overbake them. If your yogurt is thin, reduce it slightly so the batter doesn’t get loose.
Gluten-Free With Better Texture
The oats already keep this naturally gluten-free as long as you use certified gluten-free oats. Blending them fine matters even more here, because the oat flour is doing the work that wheat flour would normally handle. Don’t swap in a coarse oat meal texture unless you want a denser muffin.
Lower-Sugar Option
You can reduce the maple syrup slightly, but don’t cut it too aggressively. It’s not just sweetener; it also helps with browning and tenderness. If you drop it much lower, the muffins can taste flatter and bake up a little drier.
Storage and Reheating
- Refrigerator: Store in an airtight container for up to 5 days. They stay moist, but the tops soften a bit after the first day.
- Freezer: These freeze well. Wrap individually and freeze for up to 3 months, then thaw at room temperature or overnight in the fridge.
- Reheating: Warm one muffin in the microwave for 15 to 20 seconds, or in a low oven for a few minutes. Don’t blast them too long, or the protein powder can make the crumb dry and a little spongy.