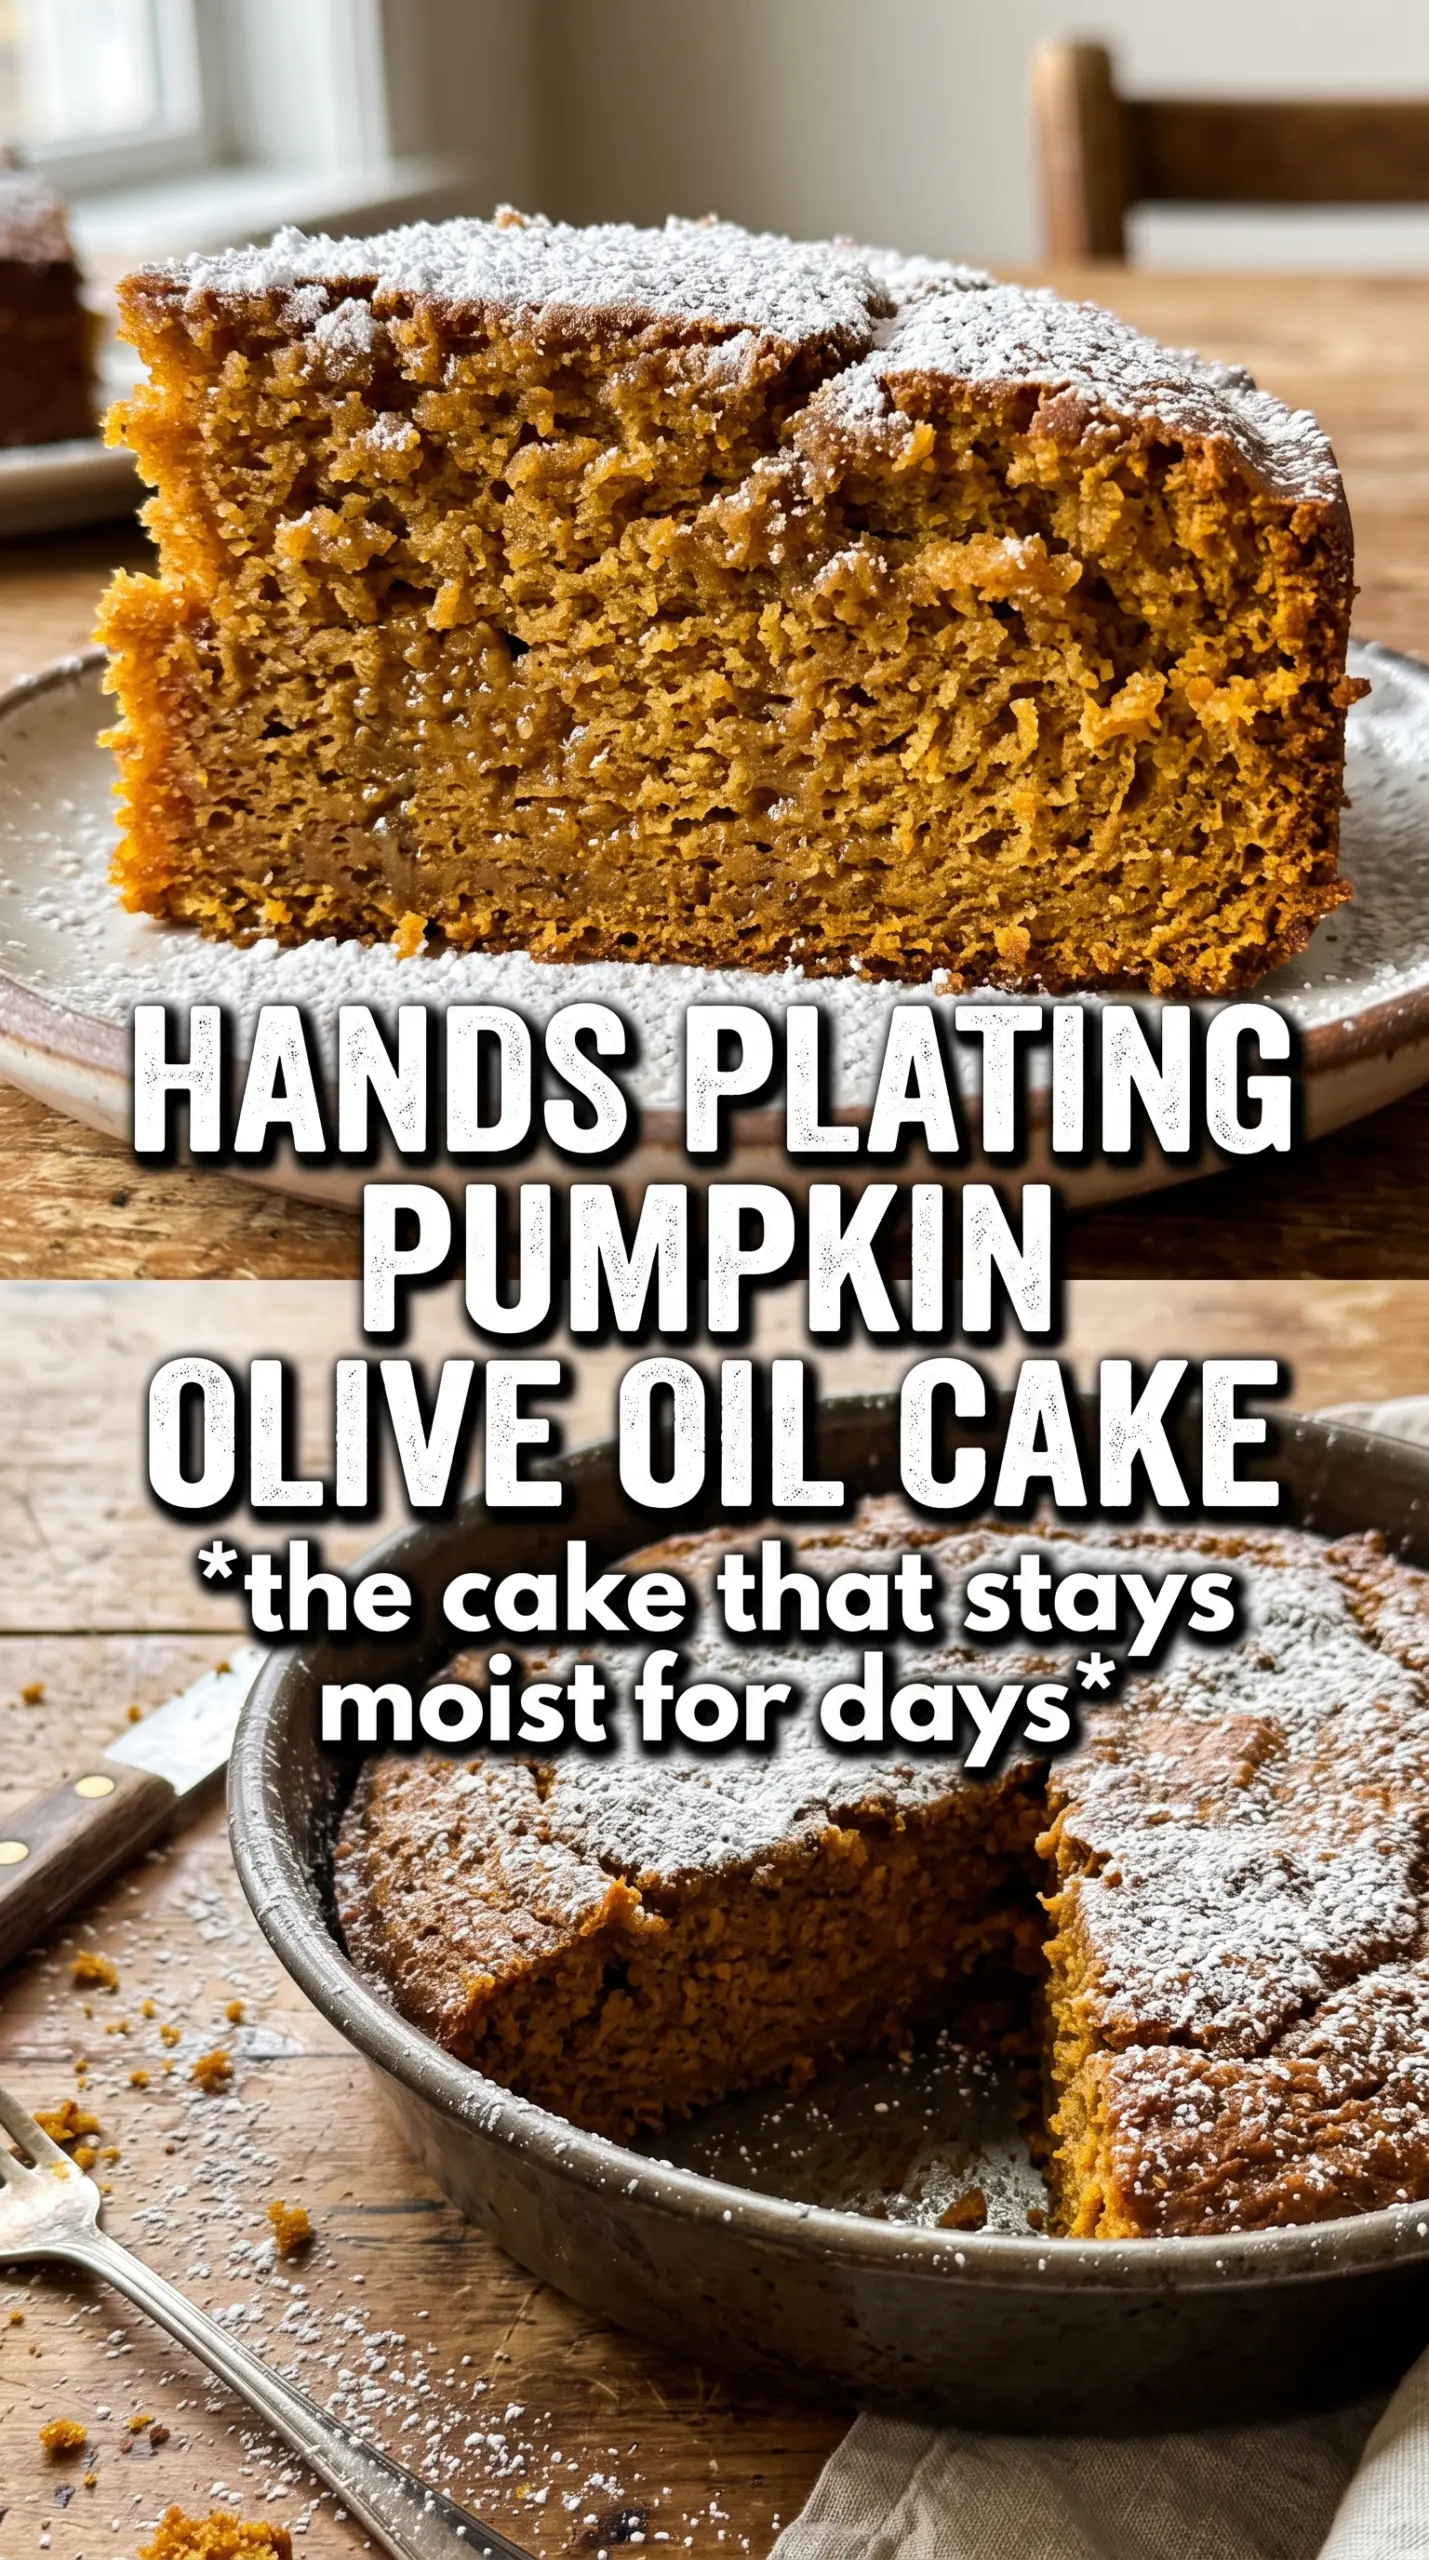
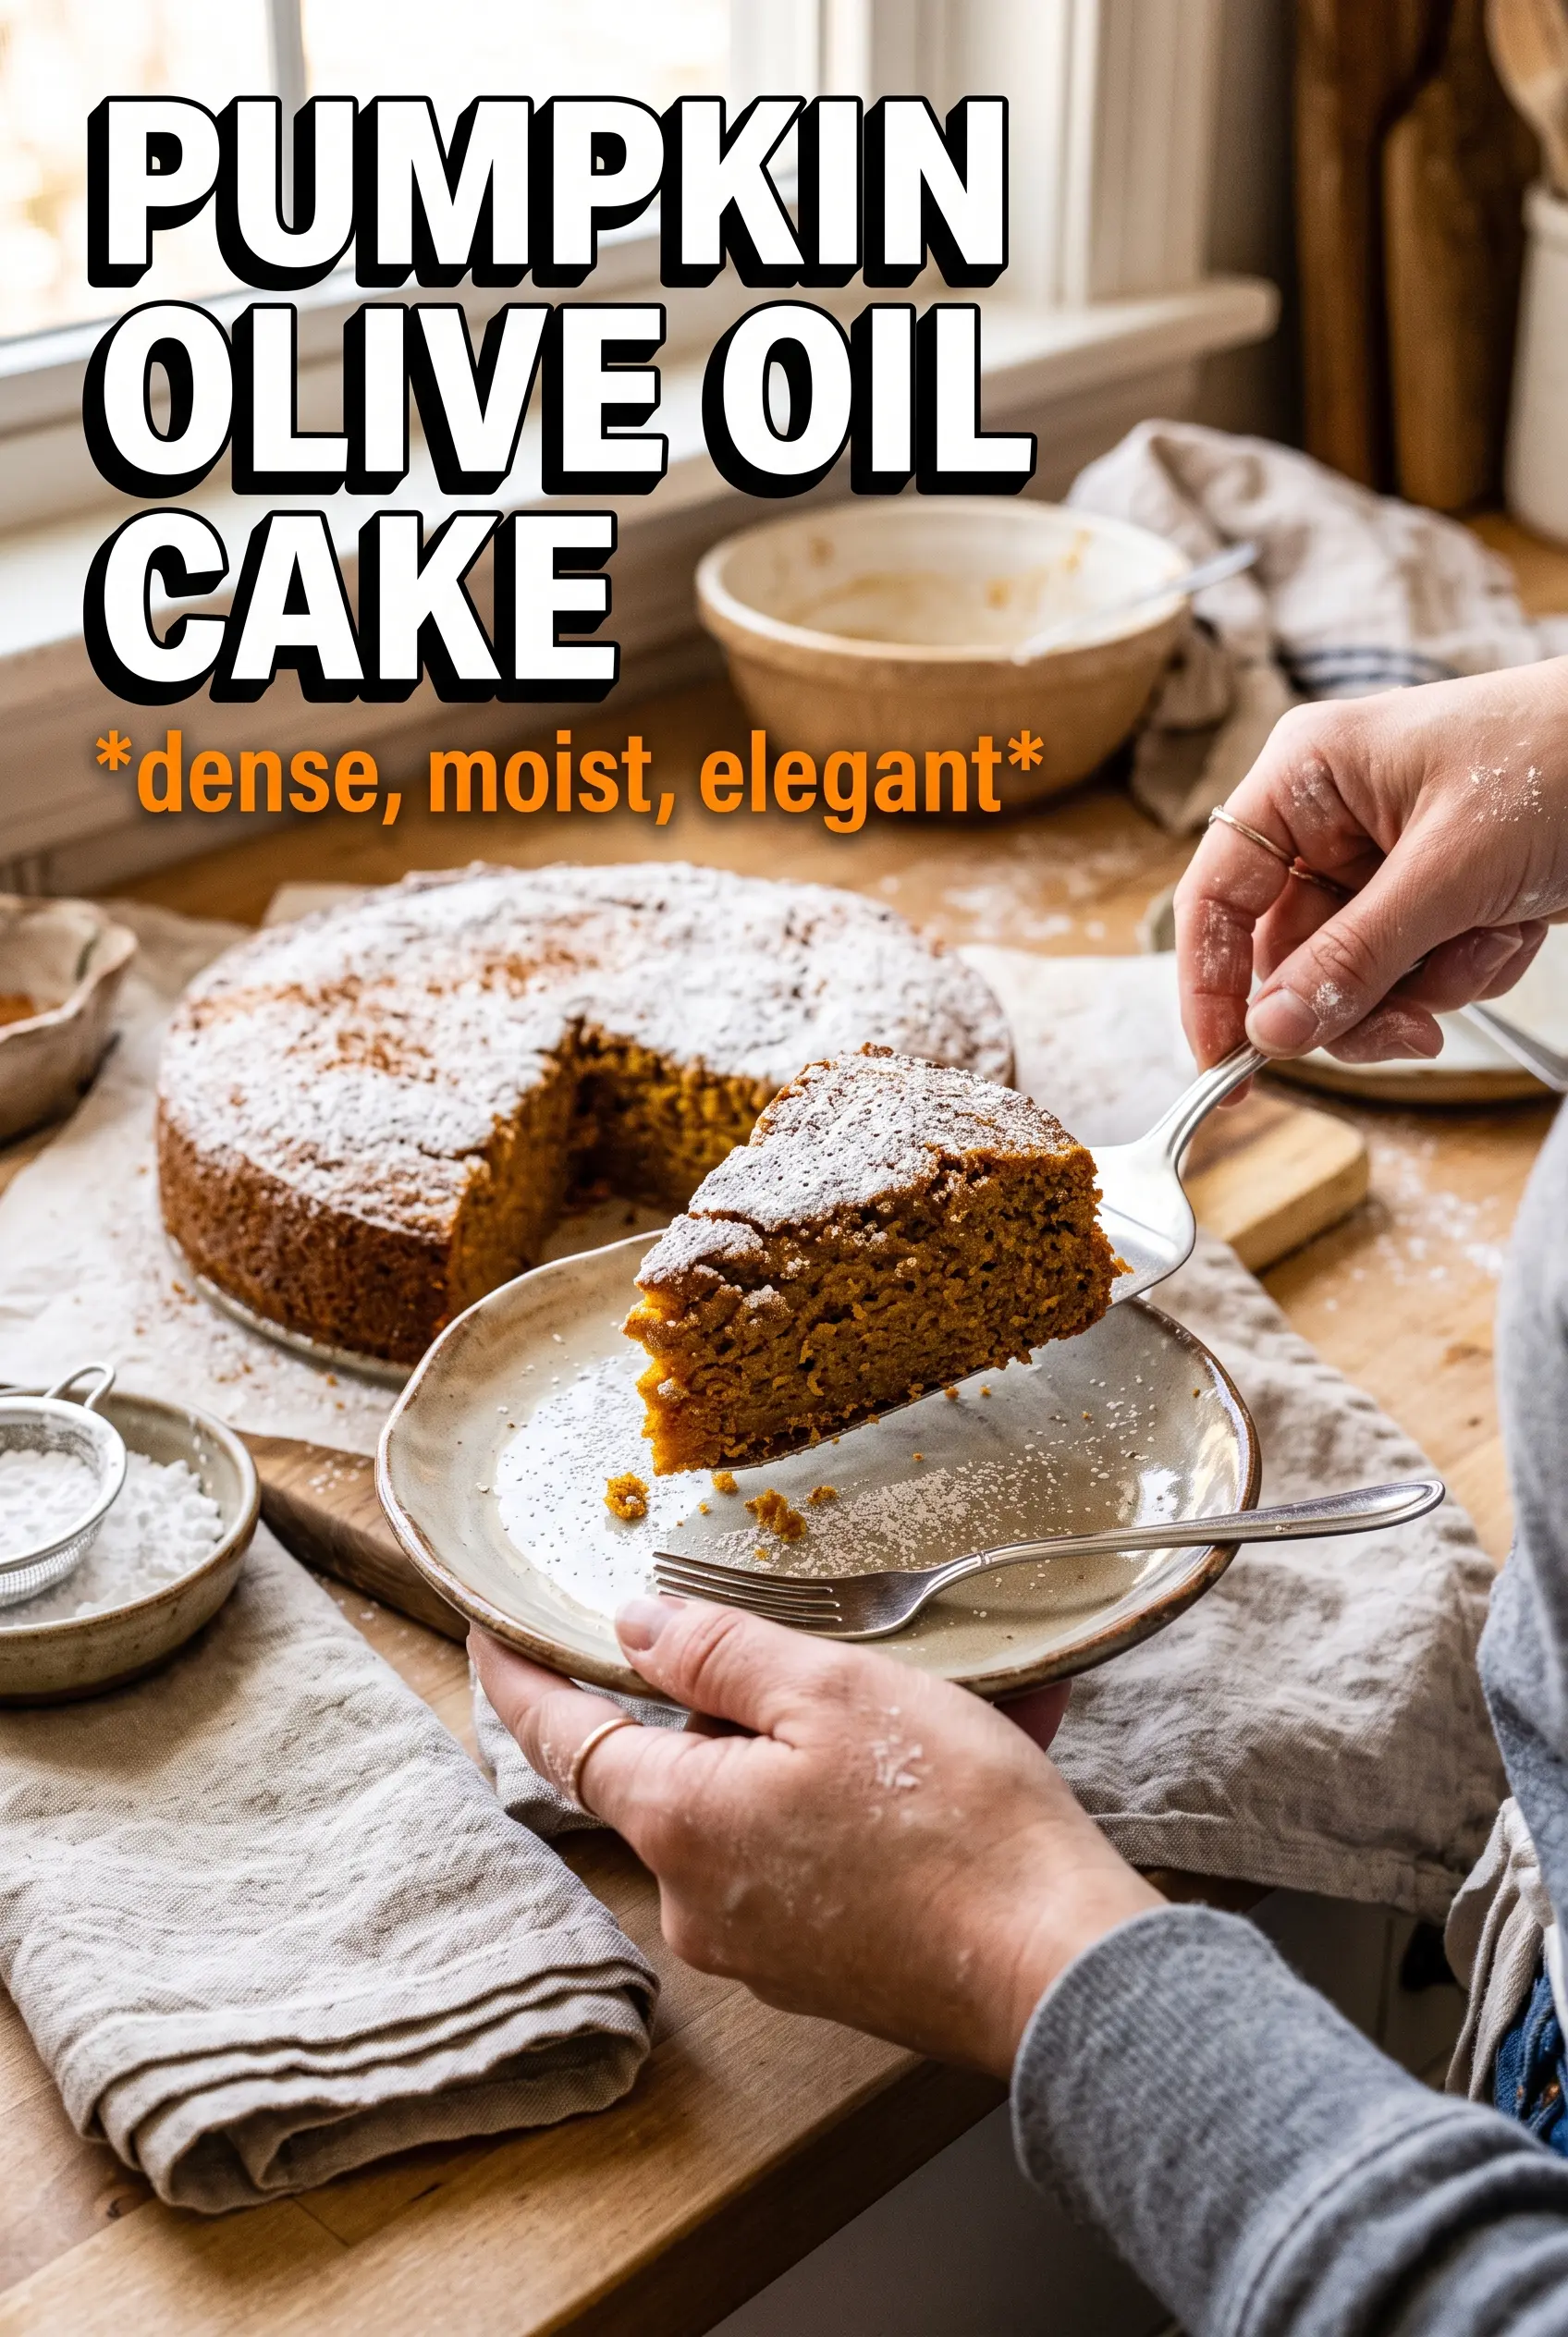
Pumpkin olive oil cake bakes up with a tender crumb, a gently crackled top, and that kind of moist richness that stays soft for days. The olive oil keeps the crumb light instead of heavy, while pumpkin and orange zest give it a warm, fragrant depth that feels elegant without being fussy. It slices cleanly, tastes even better the next day, and lands right in that sweet spot between homey and special.
What makes this version work is the balance. Pumpkin puree brings moisture, but it can also make a cake taste flat if it isn’t backed up with enough fat and acidity, so Greek yogurt steps in with a little tang and structure. The olive oil needs to be good enough to taste pleasant on its own, since it’s one of the main flavors here, and the orange zest keeps the pumpkin from reading one-note. The batter comes together fast, but the order matters: whisk the wet ingredients until smooth, then fold in the dry ingredients just until no flour streaks remain.
Below you’ll find the small details that keep this cake tender instead of dense, plus a few variations if you want to change the spice level or make it dairy-free.
The crumb was unbelievably soft and stayed moist for three days. I used a good fruity olive oil and the orange zest made the pumpkin flavor taste bright instead of heavy.
Save this pumpkin olive oil cake for the dessert table or the next time you want a tender loaf cake with a crackled powdered sugar top.
The Olive Oil Is the Flavor, Not Just the Fat
In cakes like this, people often treat olive oil as a neutral moisture source, but that misses the point. The oil should taste clean, fruity, and smooth, because it comes through in the finished cake. If the oil is harsh or peppery, the cake can turn bitter at the edges and muddle the pumpkin flavor.
The other common mistake is overmixing once the flour goes in. This batter doesn’t need beating; it needs just enough folding to combine. Overworking it tightens the crumb and knocks out the airy lift from the eggs and leaveners, which is how you end up with a dense cake that feels more like a loaf.
- Pumpkin puree — Use plain pumpkin puree, not pumpkin pie filling. Pie filling has added sugar and spice, which throws off the balance here and can make the cake taste muddy.
- Greek yogurt — This adds a little tang and helps the crumb stay tender. Sour cream works in the same amount if that’s what you have.
- Orange zest — It wakes up the pumpkin and keeps the cake from tasting flat. Don’t skip it unless you absolutely have to; it’s one of the reasons this cake tastes layered instead of simple.
- Olive oil — Choose an oil you’d happily dip bread into. A mild, fresh extra-virgin olive oil gives the best result, while a bitter, old bottle will dominate the cake.
What Each Ingredient Is Actually Doing in This Recipe
- Primary ingredient (the star) — Quality matters most. Choose the best you can find.
- Cooking medium (oil, butter, or broth) — This carries flavors and prevents dryness.
- Seasonings (salt, pepper, spices, herbs) — Layer flavors so nothing overpowers. Build depth gradually.
- Aromatics (garlic, onion, herbs) — Cook with fat to bloom flavors. Become the foundation.
- Supporting ingredients — Complement the main ingredient without overpowering it.
- Sauce or liquid (if applicable) — Brings flavors together. Balance richness with acid.
- Acid (lemon, vinegar, wine, or other) — Brightens and prevents flat-tasting results.
- Final finish (garnish, glaze, or sauce) — Prevents one-dimensional taste and adds visual appeal.
The Batter Comes Together Fast, but the Texture Depends on the Order
Whisk the dry ingredients first so the baking powder, baking soda, and spices are evenly distributed. In a separate bowl, whisk the pumpkin, sugars, olive oil, eggs, yogurt, vanilla, and orange zest until the mixture looks smooth and glossy. That extra whisking helps the sugar dissolve enough that the cake bakes up with a finer crumb.
Mixing the Dry Ingredients
Whisk the flour, leaveners, spices, and salt until everything looks evenly speckled. Cinnamon and pumpkin pie spice like to clump, and those little pockets can leave one bite over-spiced while the next tastes plain. A quick whisk now prevents that without adding any extra work later.
Building the Wet Base
Whisk the pumpkin puree, both sugars, olive oil, eggs, Greek yogurt, vanilla, and orange zest until the mixture looks thick, smooth, and slightly satiny. If the eggs are cold from the fridge, give the batter an extra few seconds so the oil fully emulsifies instead of floating on top. That smooth base is what gives the cake its even, tender crumb.
Folding and Baking
Add the dry ingredients to the wet and fold just until the flour disappears. A few streaks are fine; they vanish in the oven. Pour the batter into the prepared pan, level it lightly, and bake until the top is set, the edges pull away just a touch, and a toothpick comes out clean or with a few moist crumbs. If the center still looks wet, give it another few minutes rather than guessing, because underbaked pumpkin cakes can sink as they cool.
Make It Dairy-Free
Swap the Greek yogurt for an equal amount of unsweetened dairy-free yogurt with some body, not a thin drinkable style. The cake still stays tender, but a very loose substitute can make the crumb slightly softer and less structured.
Turn It Into a Loaf Cake
Bake the batter in a well-greased 9×5-inch loaf pan and start checking early, since the center takes longer to set in a deeper pan. The texture stays just as moist, but the bake time can stretch several minutes beyond the round-pan version.
Use a More Intense Spice Profile
Add an extra 1/4 teaspoon cinnamon or a pinch of ground cardamom if you want the cake to lean warmer and more aromatic. Keep the balance in mind; too much spice can overshadow the olive oil and orange zest that make this version stand out.
Storage and Reheating
- Refrigerator: Store tightly covered for up to 4 days. The crumb stays moist, but the olive oil flavor softens a bit after the first day.
- Freezer: This cake freezes well. Wrap individual slices or the whole cooled cake tightly in plastic, then foil, and freeze for up to 2 months.
- Reheating: Thaw at room temperature, then warm slices briefly in a low oven if you want the texture to feel fresh again. Don’t microwave it too long or the crumb can turn oily and a little rubbery.
Answers to the Questions Worth Asking
Pumpkin Olive Oil Cake
Ingredients
Equipment
Method
- Preheat the oven to 350°F, then grease a 9-inch round cake pan or springform to prevent sticking.
- Grease a 9-inch round cake pan or springform.
- Whisk the all-purpose flour, baking powder, baking soda, pumpkin pie spice, cinnamon, and salt together until evenly combined.
- Whisk the pumpkin puree, granulated sugar, brown sugar (packed), olive oil, eggs, Greek yogurt, vanilla extract, and orange zest until smooth.
- Fold the dry ingredients into the wet ingredients until just combined, taking care not to overmix.
- Pour the batter into the prepared pan.
- Bake at 350°F for 40 to 45 minutes, until a toothpick inserted in the center comes out clean.
- Cool the cake completely, then dust generously with powdered sugar.