Pumpkin oatmeal bars bake up soft in the middle with chewy oat edges and just enough spice to taste like a real breakfast, not dessert wearing a disguise. The texture is the reason I keep coming back to them: sturdy enough to slice cleanly, tender enough to eat with coffee, and satisfying enough to hold you until lunch.
What makes this version work is the balance. Pumpkin puree brings moisture and body, but it doesn’t do much lifting on its own, so the eggs, baking soda, and baking powder all have a job. Maple syrup adds sweetness without making the bars cloying, and the oats keep the crumb hearty instead of cakey. If you want the drizzle on top, it finishes the bars with just enough gloss and extra maple flavor to make them feel special without much extra effort.
Below you’ll find the small details that matter here: how to keep the center from turning gummy, what happens if you swap the fat, and how to cut neat bars after baking so they don’t fall apart.
The bars held together perfectly once cooled, and the maple drizzle set up just enough that they sliced clean instead of getting sticky. I used raisins and they tasted like something I’d actually pack for breakfast.
Love these pumpkin oatmeal bars with their chewy oats and maple glaze? Save them to Pinterest for an easy breakfast bake that slices clean and travels well.
The Trick to Keeping Pumpkin Bars from Turning Dense
Pumpkin bars can go heavy fast if the batter is overmixed or if the pumpkin is asked to do all the work. The oats give these bars structure, but they still need a light hand once the wet and dry ingredients come together. Stir until you stop seeing dry flour. Anything beyond that tightens the crumb and makes the bars bake up more like a brick than a breakfast bar.
The other thing that matters is moisture balance. Pumpkin puree varies by brand, and some are noticeably wetter than others. If your batter looks loose enough to pour like cake batter, it probably needs a minute to sit; the oats will absorb some of that liquid before baking and help the bars set up with a chewy center instead of a gummy one.
- Rolled oats — These bring the texture. Quick oats soften too much and lose that hearty bite, while steel-cut oats won’t soften enough in this bake.
- Pumpkin puree — Use plain pumpkin puree, not pumpkin pie filling. The filling already has sugar and spice mixed in, which throws off the balance and can make the bars overly sweet.
- Maple syrup — Maple gives these bars a deeper, rounder sweetness than granulated sugar. Honey works too, but it tastes a little sharper and can brown faster.
- Coconut oil or butter — Melted butter gives a richer flavor; coconut oil keeps the bars a little lighter and works well if you want dairy-free bars. Both need to be melted, not hot, so they don’t scramble the eggs.
What Each Ingredient Is Actually Doing in the Pan
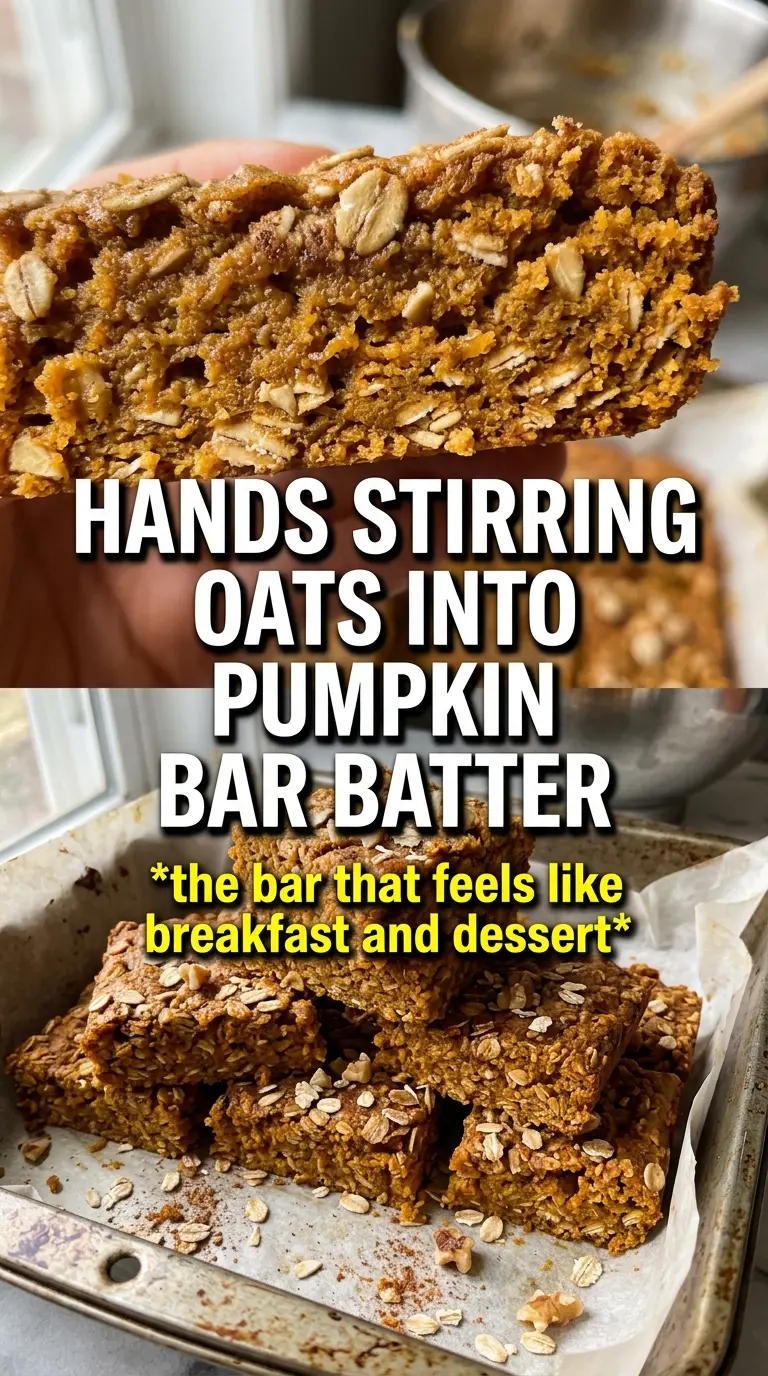
The flour gives the bars enough backbone to slice. Without it, the oats and pumpkin can make the texture loose and fragile. The baking soda and baking powder work together here: soda helps with browning and lift, while baking powder gives a little extra rise so the bars don’t bake up flat and dense.
The eggs matter more than they look like they should. They bind the oats, pumpkin, and fat into a bar that holds together after cooling, which is why you can’t leave them out without changing the whole structure. The spice blend is flexible, but pumpkin pie spice plus cinnamon gives the bars that warm bakery smell right out of the oven. If you add chocolate chips, toss them in at the end so they stay evenly distributed instead of sinking into one corner.
Getting the Batter into the Pan Before the Oats Soak Up Too Much
Mix the Dry Base First
Start by whisking the oats, flour, baking soda, baking powder, pumpkin pie spice, cinnamon, and salt together in a large bowl. That step matters because the leaveners and spices need to be evenly distributed before the wet ingredients hit the mix. If you dump them together unevenly, you’ll get pockets that taste flat or overly spiced.
Build the Wet Mixture Smoothly
Whisk the pumpkin puree, maple syrup, melted coconut oil or butter, eggs, and vanilla until the mixture looks smooth and glossy. The eggs should disappear completely before you add the dry ingredients. If the fat is too hot, the eggs can streak or curdle; let it cool for a few minutes after melting so everything blends cleanly.
Fold, Don’t Beat
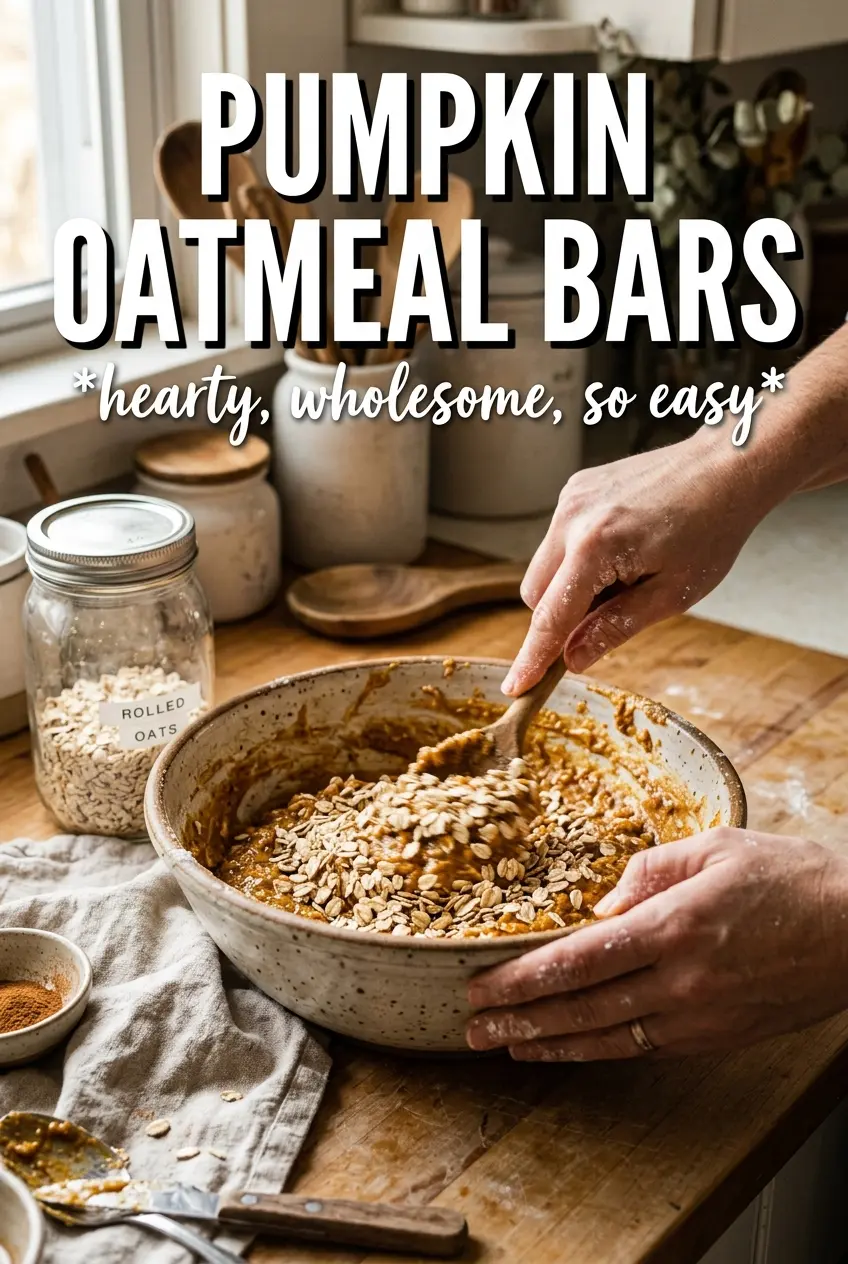
Add the dry ingredients to the wet and fold just until combined. The batter will look thick, and that’s what you want. Overmixing wakes up the flour too much and makes the bars tougher, while a few streaks of flour left behind can be scraped out with one or two final turns of the spoon.
Bake Until Set at the Edges
Spread the batter in a greased 9×13 pan and bake at 350F for 25 to 28 minutes. The edges should look set and lightly browned, while the center should spring back when touched but still feel slightly soft. If you wait until the middle looks completely dry in the oven, the bars usually end up overbaked once they cool.
Cool Before Drizzling and Cutting
Let the pan cool completely before adding the glaze. Warm bars will melt the drizzle right into the top and make slicing messy. Once the bars are cool, whisk the powdered sugar, maple syrup, and milk until smooth, drizzle it over the top, and cut with a sharp knife for neat squares.
How to Adapt These Bars for Different Mornings
Make Them Dairy-Free
Use coconut oil instead of butter and swap the milk in the glaze for any unsweetened non-dairy milk. The bars keep the same soft center and chewy edge, but the flavor shifts a little lighter and more coconut-forward if you use unrefined coconut oil.
Make Them Gluten-Free
Use a good 1:1 gluten-free flour blend in place of the all-purpose flour and check that your oats are certified gluten-free. The bars will be a little more delicate, but they still slice well once fully cooled.
Skip the Glaze for a Lower-Sugar Bar
Leave off the drizzle and you still get a sweet, spiced bar with enough maple in the batter to taste finished. This is the version I make most often for grab-and-go breakfasts because it packs better and doesn’t get sticky in containers.
Use Raisins Instead of Chocolate Chips
Raisins keep the bars firmly in breakfast territory and add little chewy bursts in every bite. Chocolate chips make them taste more like snack cake, which is great if that’s what you want, but raisins keep the maple and pumpkin notes front and center.
Storage and Reheating
- Refrigerator: Store in an airtight container for up to 5 days. The oats soften a little more in the fridge, which makes the bars even chewier.
- Freezer: These freeze well. Wrap individual bars tightly and freeze for up to 2 months, then thaw overnight in the fridge or on the counter for a quick breakfast.
- Reheating: Warm a bar in the microwave for 10 to 15 seconds if you want it soft and just barely warm. Don’t overheat it or the edges dry out and the glaze melts into the paper or plate.
Answers to the Questions Worth Asking
Pumpkin Oatmeal Bars
Ingredients
Equipment
Method
- Preheat oven to 350°F and grease a 9x13 pan. Set aside so the pan is ready when the batter is mixed.
- Combine rolled oats, all-purpose flour, baking soda, baking powder, pumpkin pie spice, cinnamon, and salt. Stir until the spices and leaveners are evenly distributed, with no dry pockets.
- Whisk pumpkin puree, maple syrup or honey, melted coconut oil or butter, eggs, and vanilla extract. Whisk just until smooth and glossy.
- Fold the wet mixture into the dry ingredients until combined. Stop when you no longer see flour and fold in chocolate chips or raisins if using.
- Spread the batter into the prepared pan in an even layer. Bake for 25-28 minutes until the edges are set and the center is just firm, with a lightly golden top.
- Cool completely before cutting into bars. Stir powdered sugar, maple syrup, and milk into a smooth glaze, then drizzle over the cooled bars.