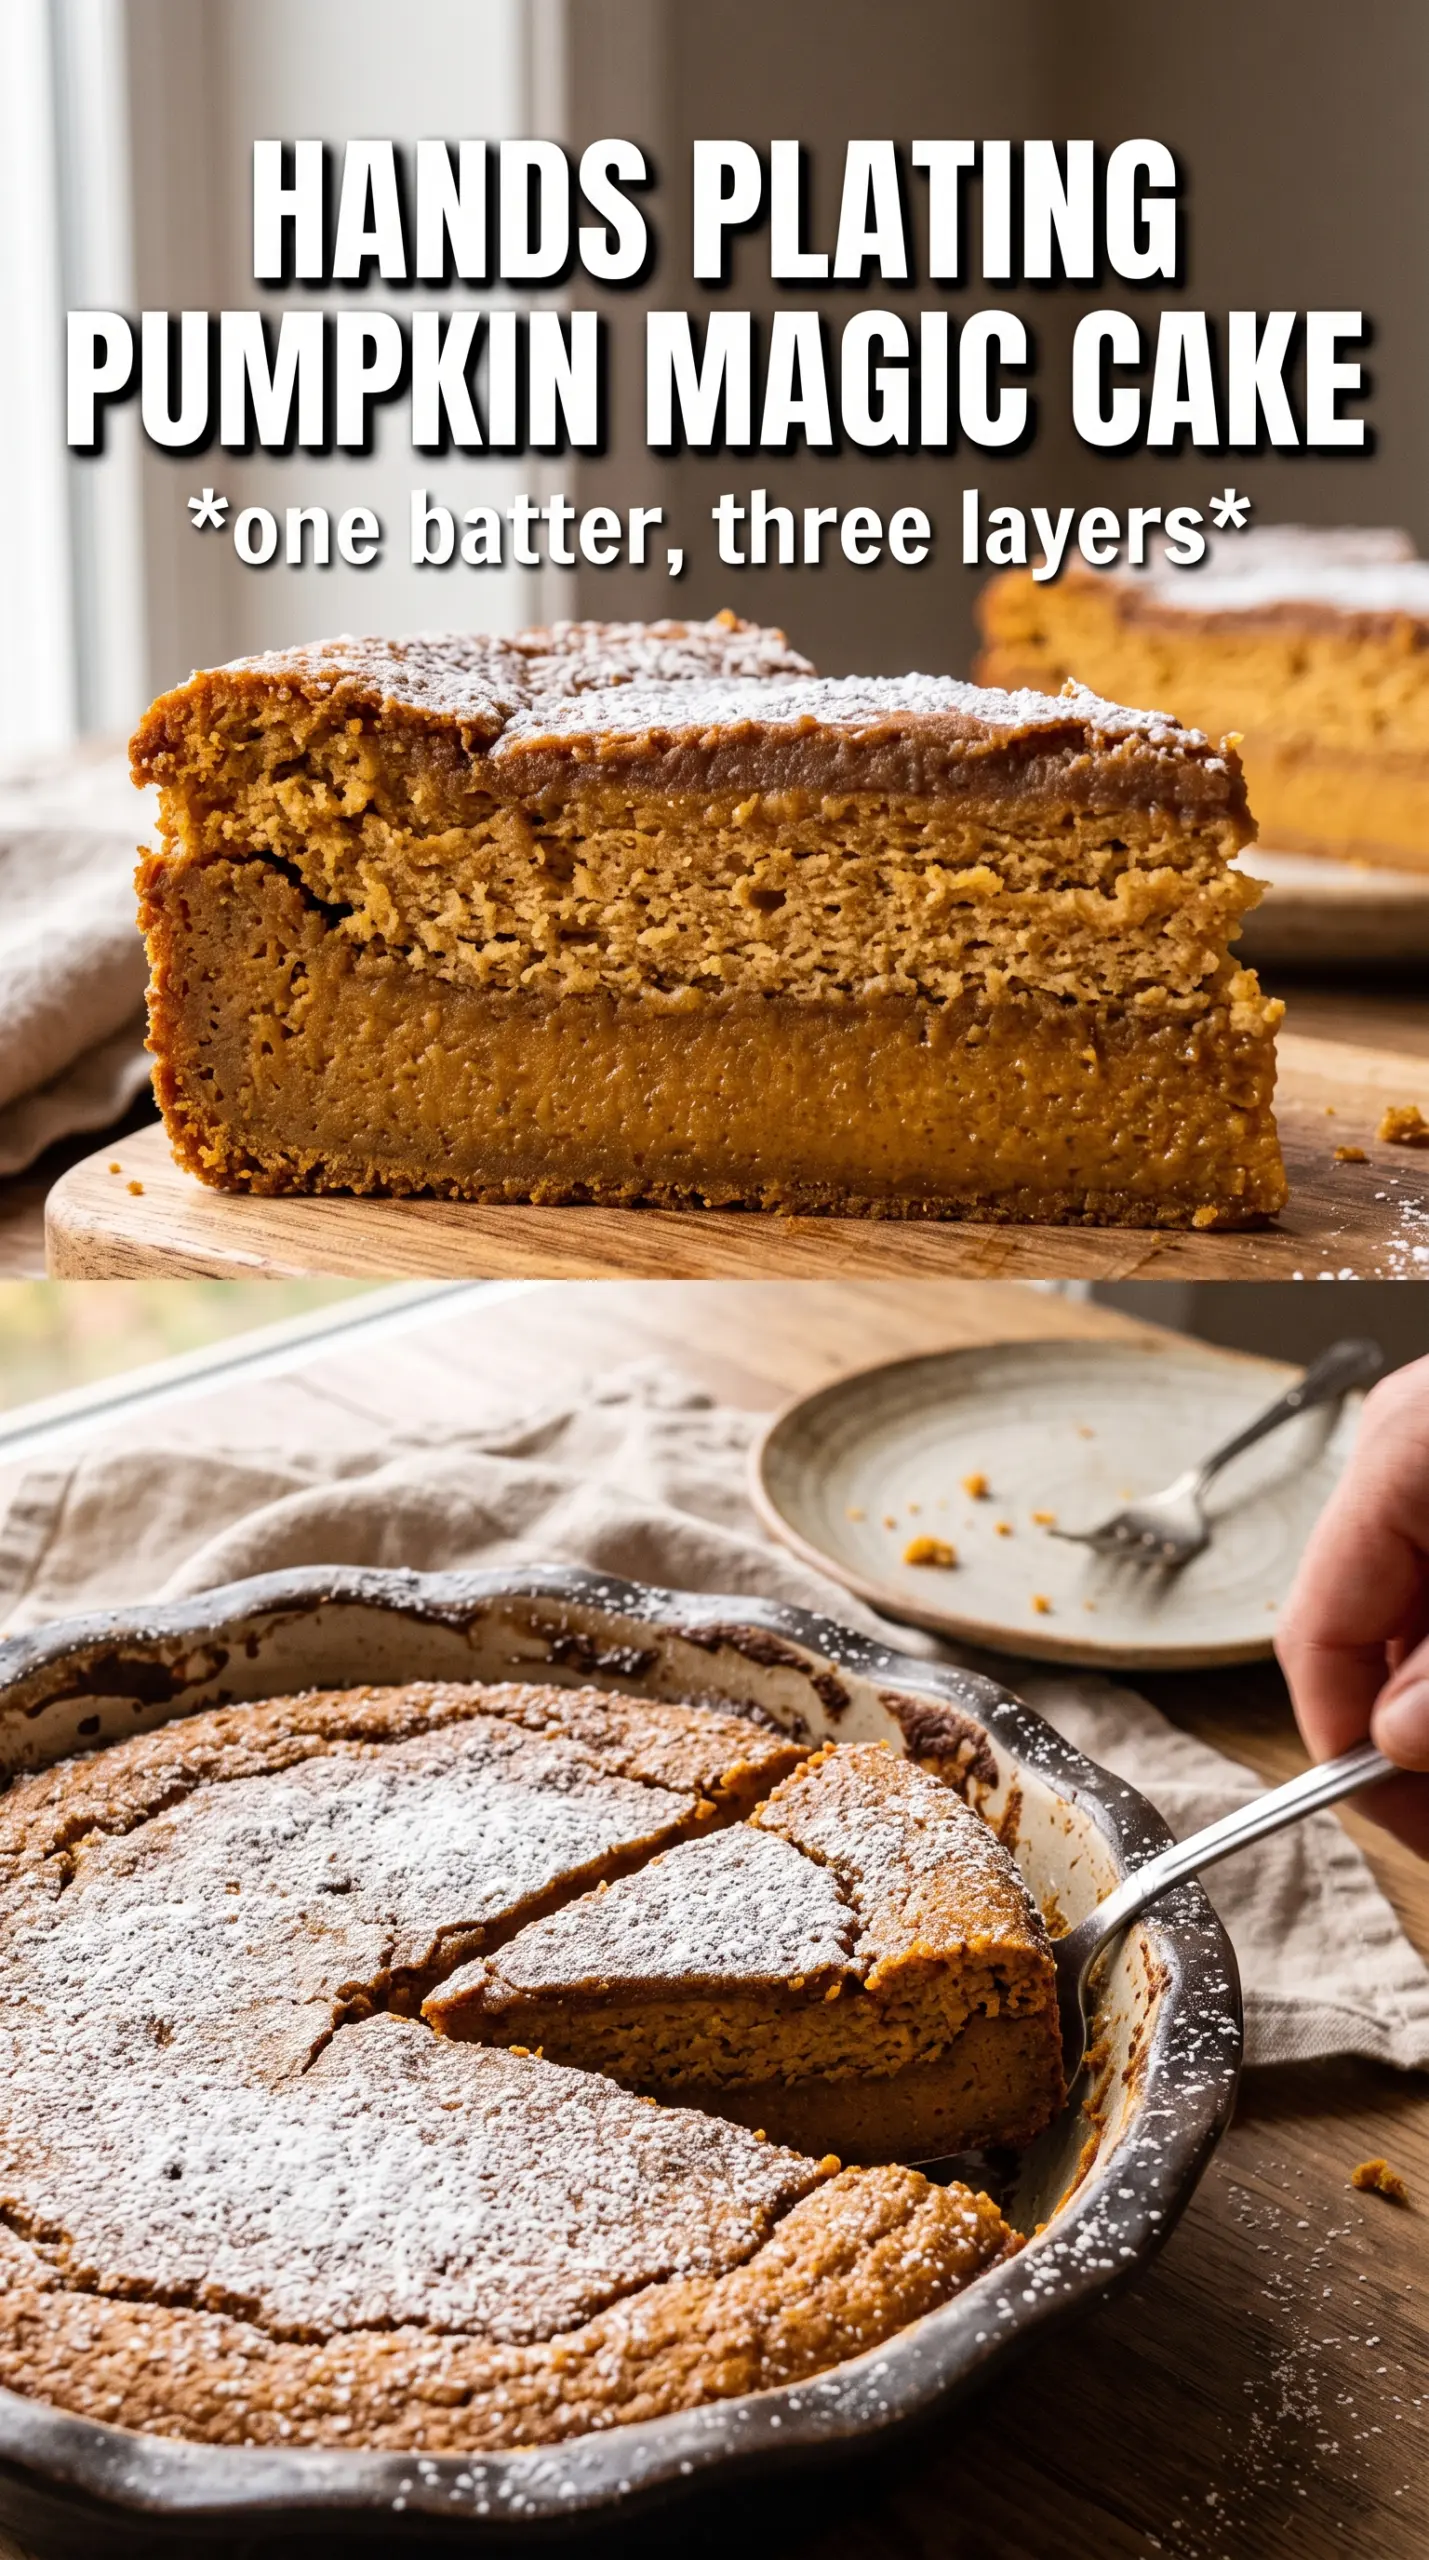
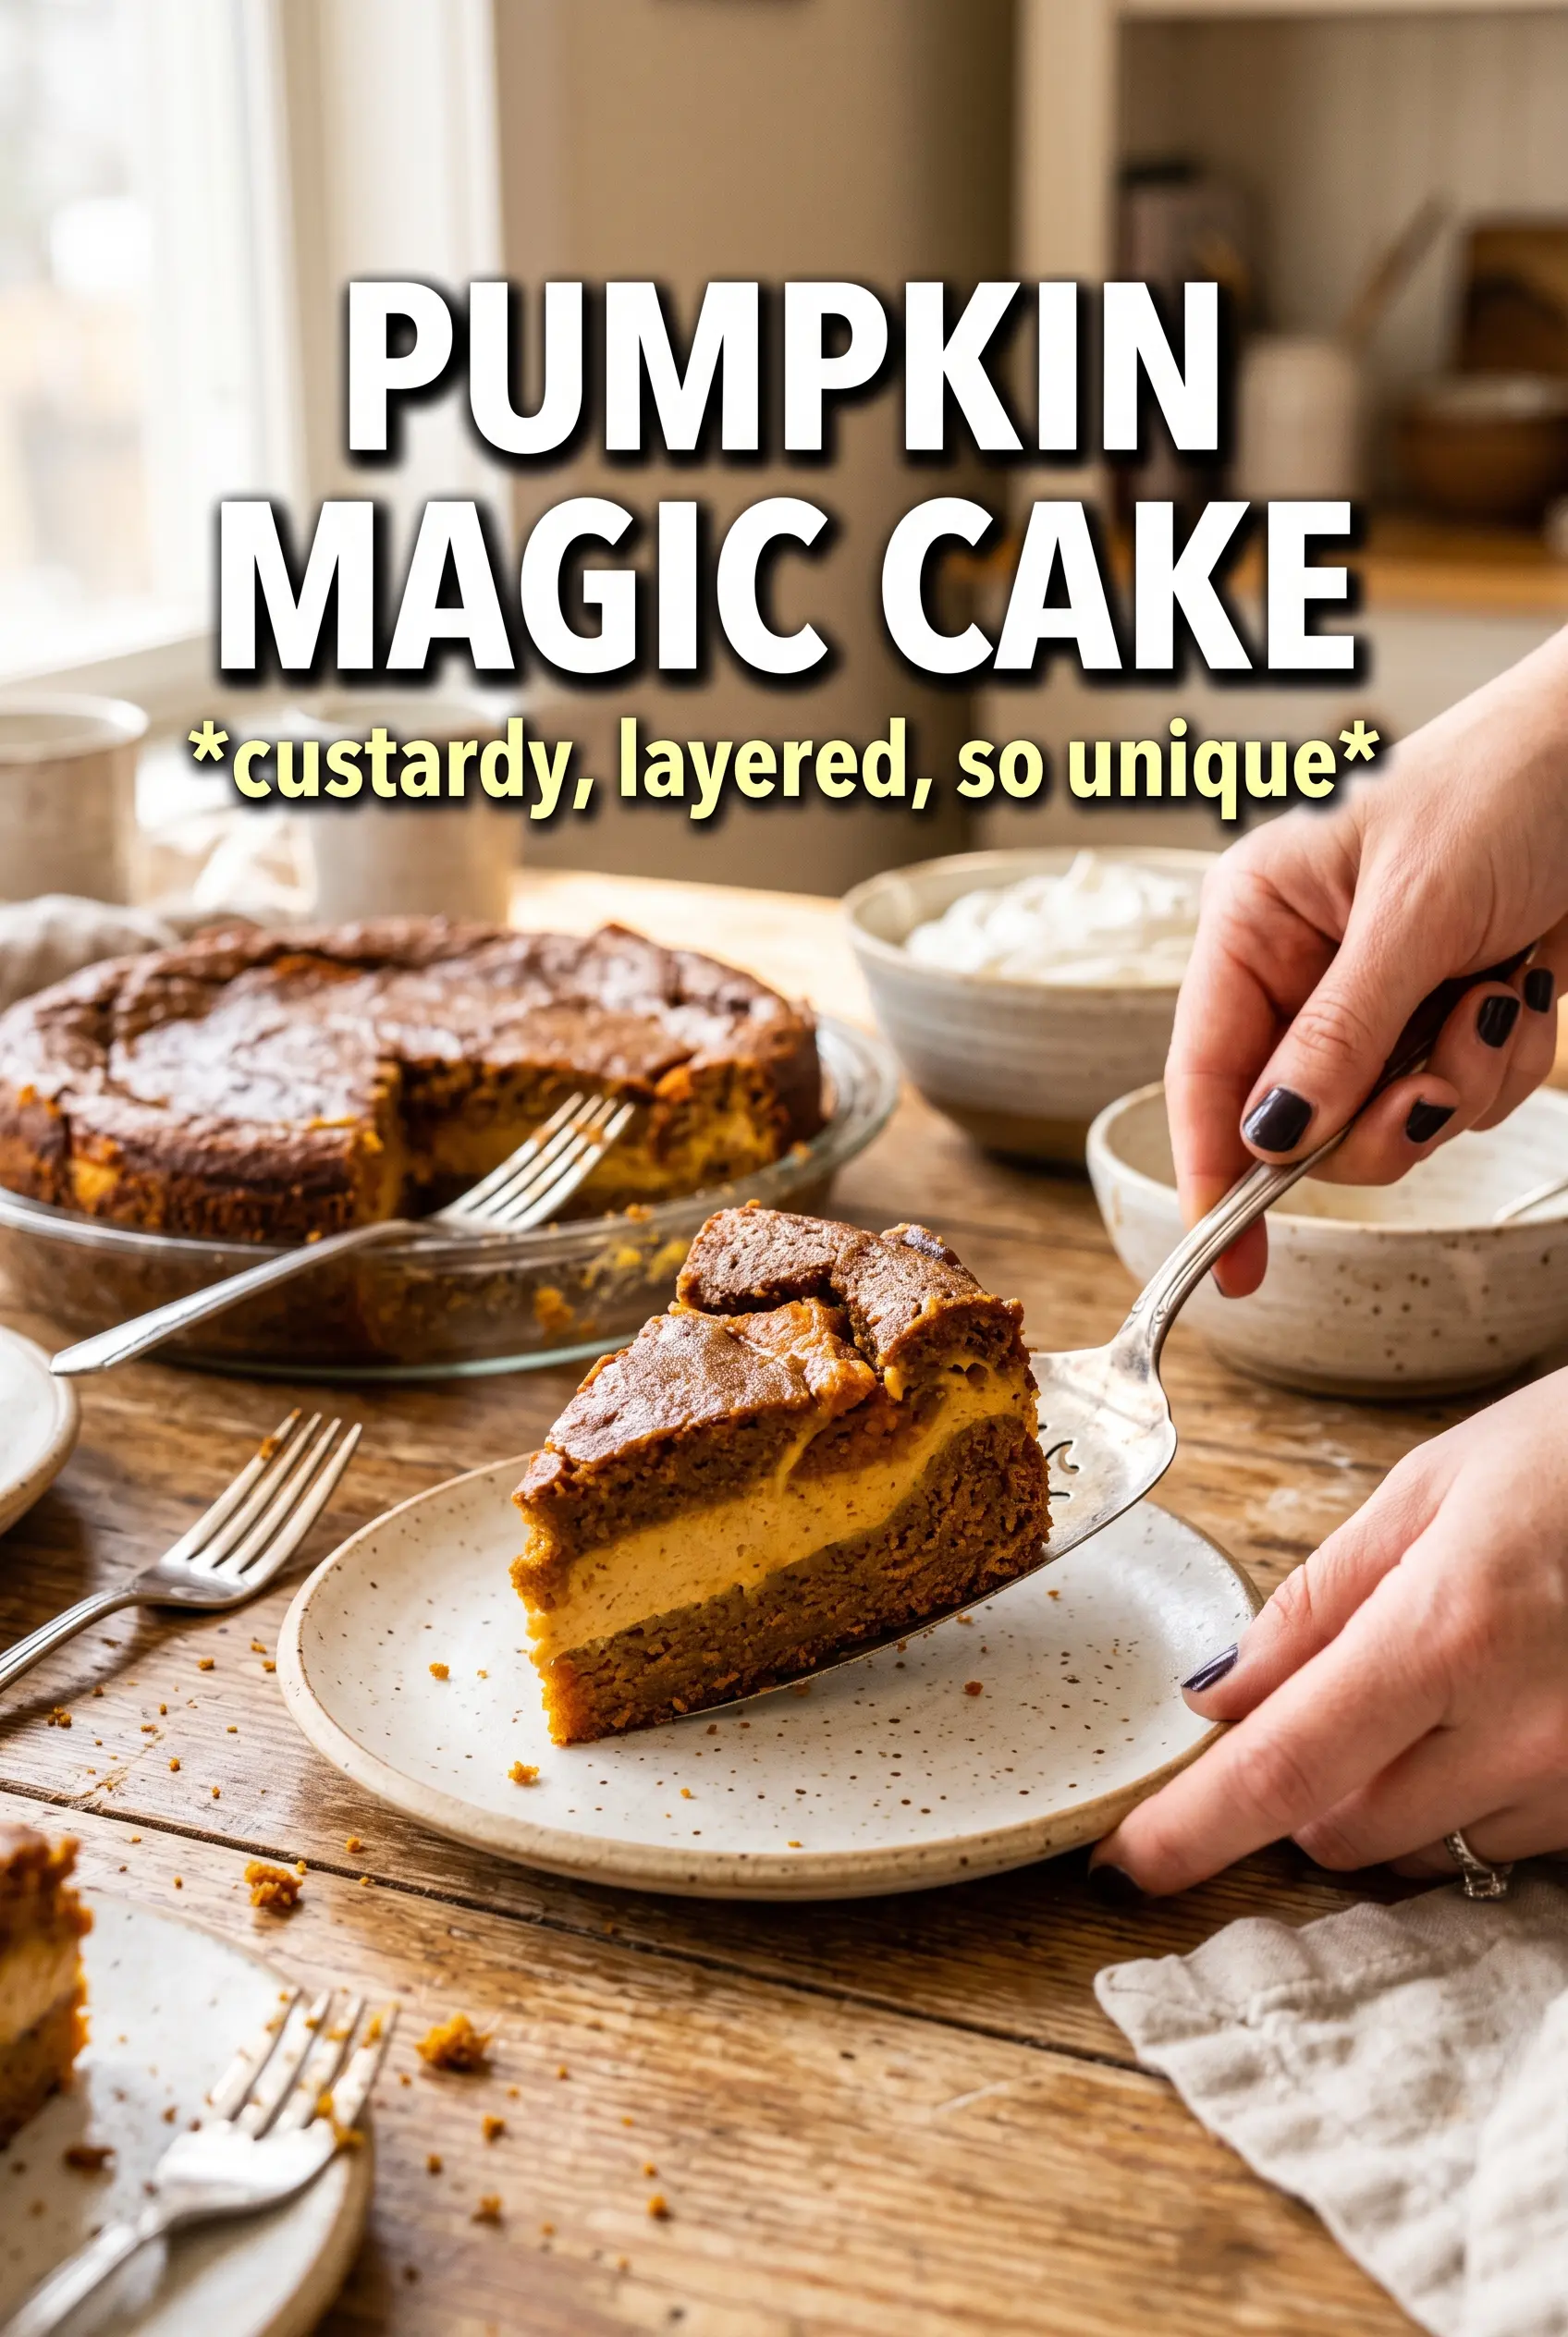
Silky pumpkin custard, a soft sponge top, and a dense, spoonable bottom layer all come from one batter here, and that’s exactly what makes Pumpkin Magic Cake worth keeping in the rotation. The layers set up on their own in the oven, so each slice comes out with a clean visual line and a texture contrast that feels far more complicated than the ingredient list suggests.
The trick is in the batter. It starts loose and almost impossibly thin after the milk goes in, which is what lets the cake separate while it bakes. Whipped egg whites lighten the top layer, while the pumpkin puree and spice settle into the richer custard base. The biggest mistake is overmixing once the whites go in; you want streak-free, not beaten flat. A long chill at the end matters too. It gives the middle time to firm up so the slices hold instead of slumping on the plate.
The cake baked up with three clear layers just like promised, and the custard middle set beautifully after chilling. I was worried the batter looked too thin, but it turned out perfect.
Save this Pumpkin Magic Cake for when you want that three-layer custard-and-sponge slice with almost no hands-on work.
The Thin Batter Is What Makes the Layers Separate
Most magic cake failures happen before the pan ever goes into the oven. If the batter is too thick, the cake bakes up as one uniform layer instead of separating into custard, sponge, and base. This recipe stays loose on purpose, and that thinness is what gives the milk and pumpkin time to settle while the whites rise and set on top.
Don’t chase a normal cake batter texture here. After the milk goes in, it should look almost like a loose custard, and after the egg whites are folded in, a few airy streaks are fine. The oven does the separating. Stirring until perfectly smooth knocks out the air you need for the top layer, and that’s the difference between a striking slice and a dense pumpkin bake.
What Each Ingredient Is Actually Doing in This Cake
- Eggs — Separating them is the whole trick. The yolks enrich the custard layer, while the whipped whites lift the top into that soft sponge. Room-temperature eggs whip up with more volume, which helps the layers stay distinct.
- Pumpkin puree — Use plain pumpkin puree, not pumpkin pie filling. Pie filling is already sweetened and spiced, which throws off the balance and can make the custard layer too loose. If your puree looks watery, blot it lightly with paper towels before adding it.
- Whole milk — This is not the place for skim milk if you want the richest custard layer. Whole milk gives the middle its creamy texture and helps the cake set with a clean slice. Lukewarm milk blends in more smoothly and keeps the butter from seizing.
- Pumpkin pie spice and cinnamon — Pumpkin pie spice brings warmth, while the extra cinnamon sharpens the pumpkin so it doesn’t taste flat. You can swap in an equal amount of homemade spice blend if that’s what you keep on hand.
- Butter — Melt it, then let it cool before mixing it in. Hot butter can cook the yolks and create greasy streaks, while cooled butter emulsifies cleanly into the batter.
How to Fold the Whites Without Deflating the Cake
Build the Pumpkin Base First
Beat the yolks and sugar until the mixture turns pale and a little thicker, then work in the melted butter and vanilla. This gives the cake a smooth base before the dry ingredients go in. Once you add the flour, pumpkin, spices, and salt, the mixture will look heavy and pasty, and that’s normal. The milk comes next and loosens everything into a very thin batter, which is exactly what you want.
Whip the Whites to Stiff, Glossy Peaks
Beat the egg whites until they hold firm peaks that stand upright when you lift the beater. If they look dry and clumpy, you’ve gone too far and they’ll be harder to fold in evenly. If they’re soft and droopy, the cake won’t get enough lift. Stop at glossy and stable, then move straight to folding so they don’t start collapsing in the bowl.
Fold Gently and Bake Until the Center Is Set
Add the whites in two additions and use a wide spatula to cut through the batter, then sweep up from the bottom. A few white streaks are better than overmixing. Pour the batter into the prepared dish and bake until the top is golden and the center no longer sloshes when you gently nudge the pan. Cool it completely, then chill for two hours so the custard layer tightens enough to slice cleanly.
Make It Gluten-Free
Use a 1:1 gluten-free flour blend in place of the all-purpose flour. The cake will still separate into layers, but the sponge top may be a touch more delicate, so let it chill fully before slicing.
Dairy-Free Version
Swap the butter for melted dairy-free butter and use full-fat canned coconut milk in place of the whole milk. The texture will be a little silkier and the flavor will lean slightly coconut, which works well with the pumpkin spice.
Make It a Little Less Sweet
Reduce the sugar to 2/3 cup if you prefer a more pumpkin-forward dessert. The top layer will still rise, but the custard middle will taste less like pudding and more like a gently sweet baked pumpkin cream.
Storage and Reheating
- Refrigerator: Store covered for up to 4 days. The custard layer firms up as it chills, which actually makes the slices cleaner after the first day.
- Freezer: It freezes, but the texture softens a bit after thawing. Wrap individual slices tightly and freeze for up to 1 month for the best result.
- Reheating: Eat it chilled or let a slice sit at room temperature for 15 to 20 minutes. If you warm it, use short bursts in the microwave; long heating will loosen the custard and blur the layers.
Answers to the Questions Worth Asking
Pumpkin Magic Cake
Ingredients
Equipment
Method
- Preheat the oven to 325°F and butter an 8x8 baking dish so the batter releases cleanly after baking.
- Beat the egg yolks with the granulated sugar until pale, then add the melted and cooled butter and vanilla.
- Add the all-purpose flour, pumpkin puree, pumpkin pie spice, cinnamon, and salt, then mix until no dry flour remains.
- Gradually pour in the lukewarm whole milk; mix until the batter looks very thin and liquid.
- Beat the egg whites to stiff peaks so the mixture holds shape when you lift the beaters.
- Gently fold half of the beaten egg whites into the thin batter, keeping the batter airy with slow, complete strokes.
- Fold in the remaining egg whites in the same gentle manner until the batter looks evenly combined.
- Pour the batter into the prepared dish and bake for 55-65 minutes until the top is set and golden.
- Cool the cake completely so the three layers stabilize before chilling.
- Refrigerate for 2 hours to firm the custard layer for easier cutting.
- Dust with powdered sugar, then cut carefully for distinct layers.
- As it bakes, the single batter separates into three distinct layers: a dense pumpkin fudge bottom, a creamy custard middle, and a light sponge top.