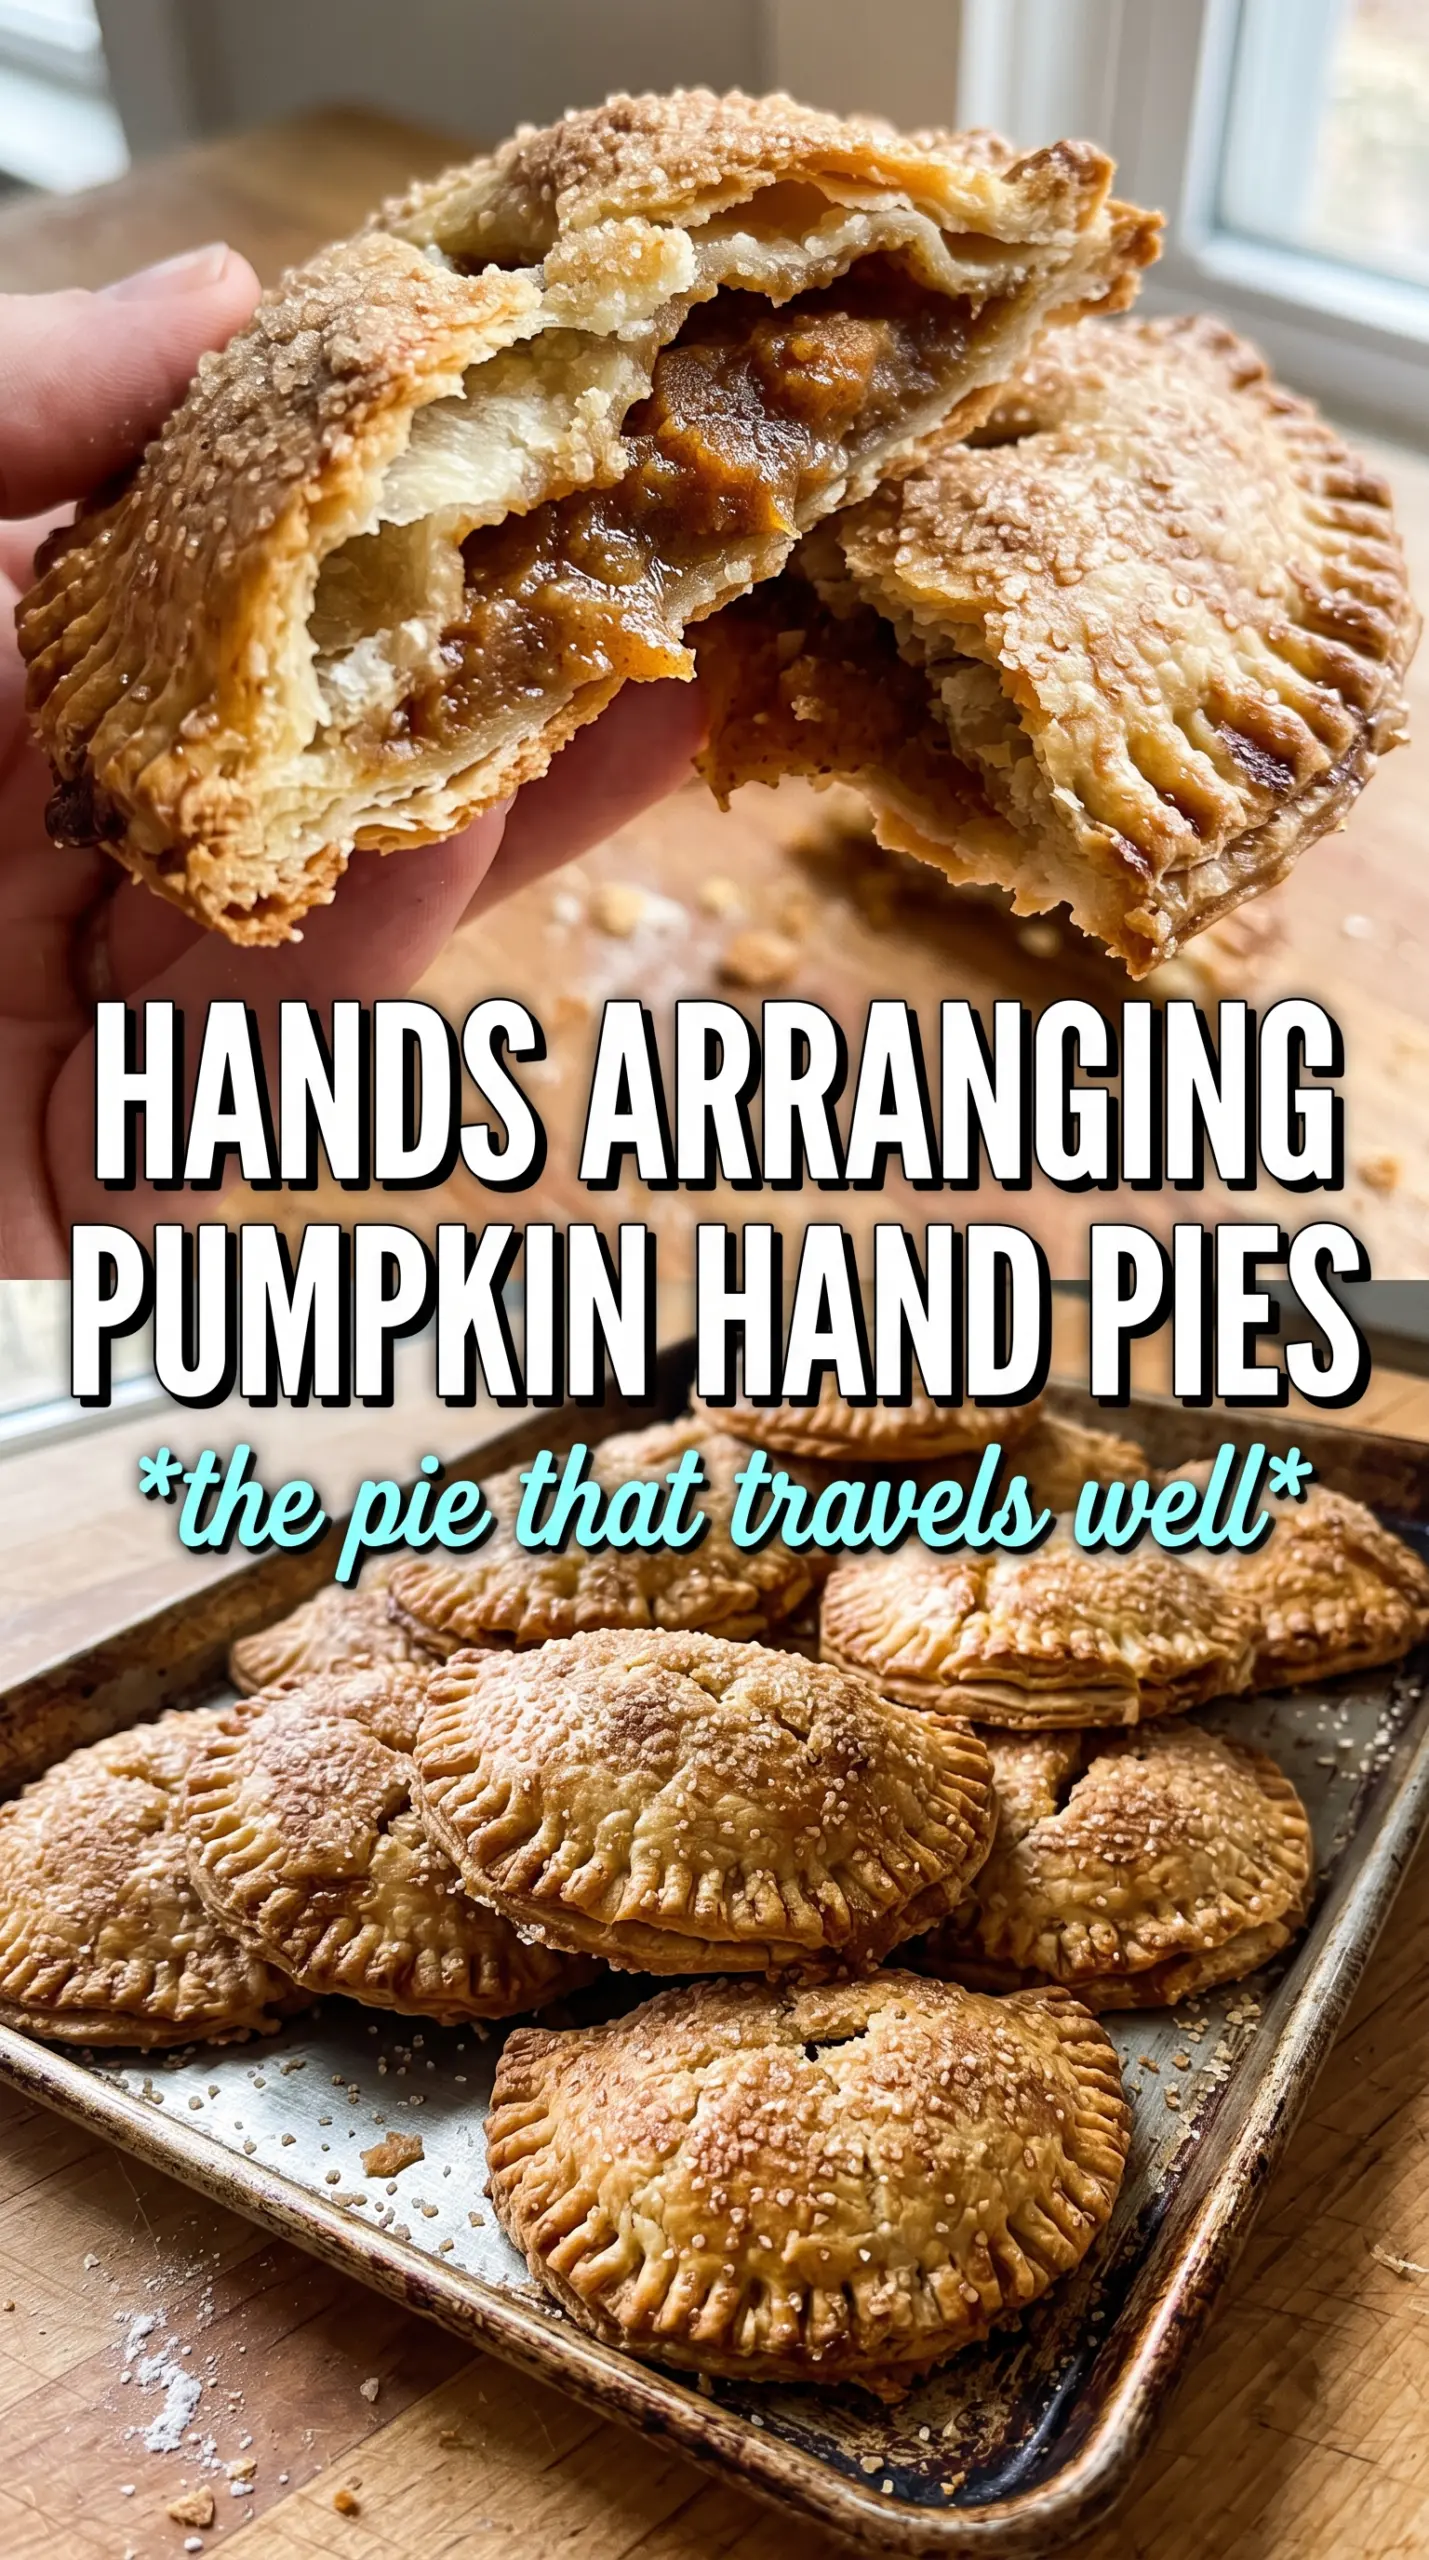
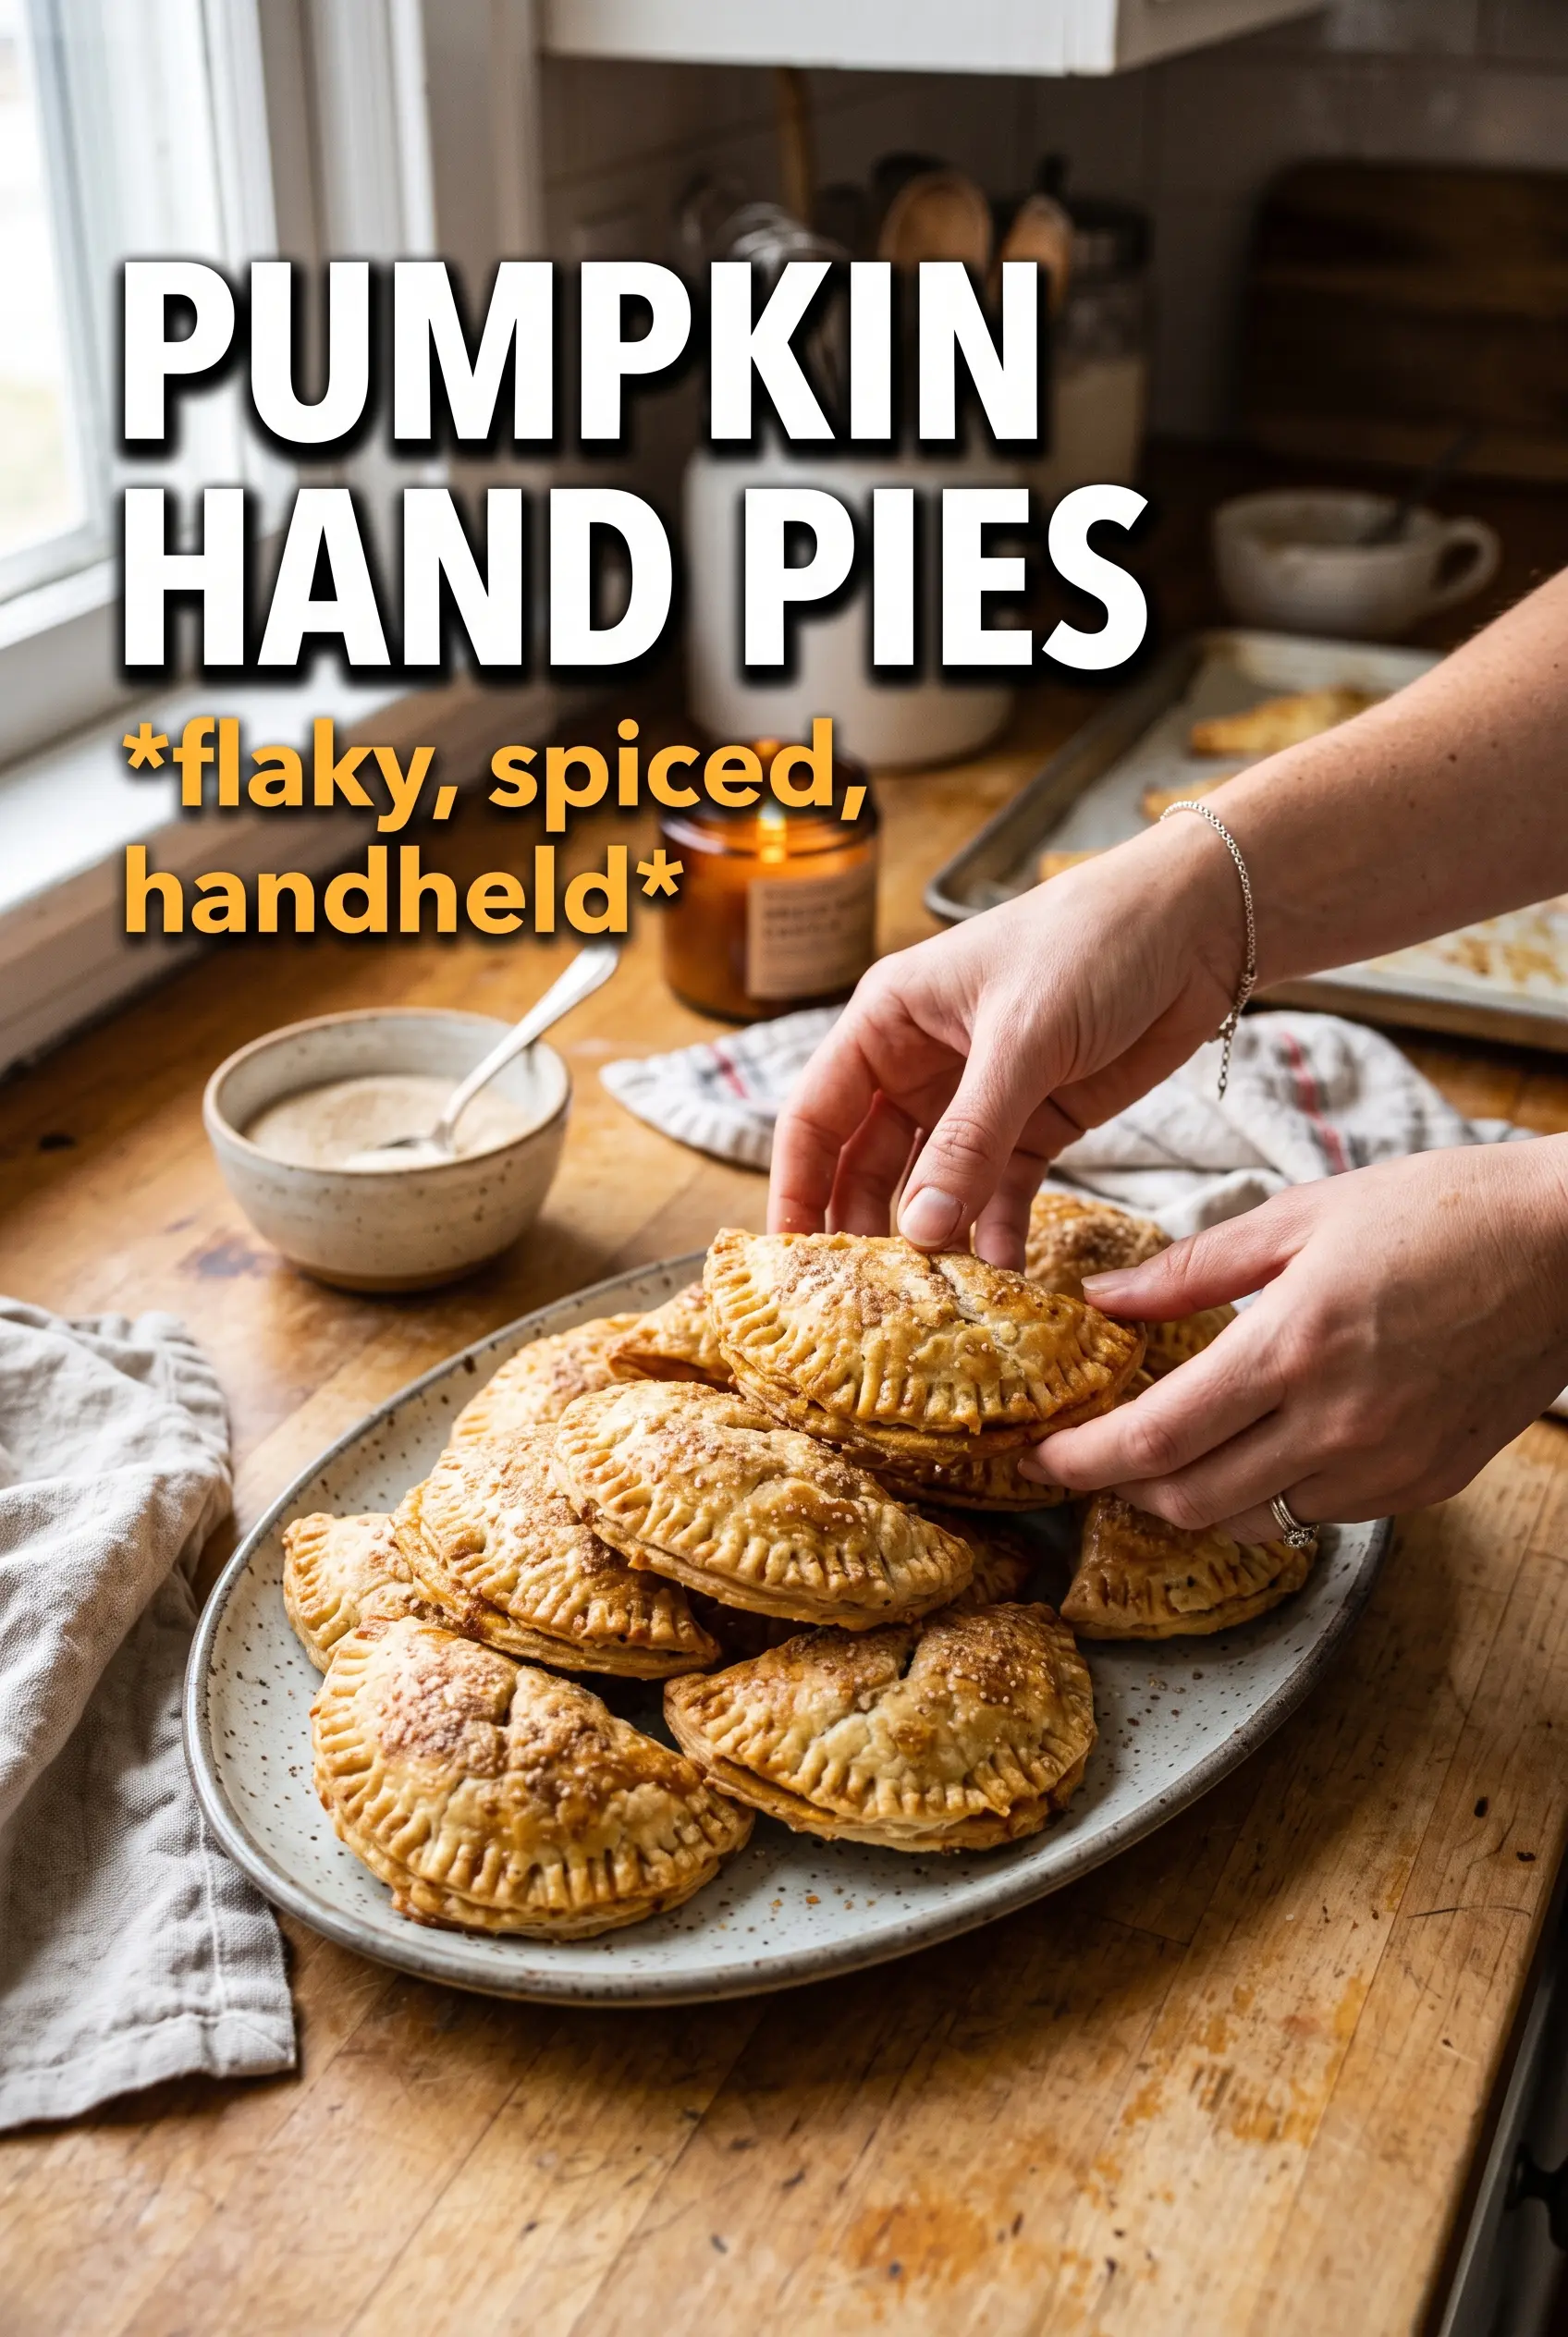
Golden, flaky pumpkin hand pies are the kind of dessert that disappears before they’ve even cooled. The crust bakes up crisp and buttery, the filling stays smooth and warmly spiced, and the cinnamon sugar on top gives every bite a little crackle. They feel bakery-special, but they’re built from simple pantry ingredients and a dough that rolls out cleanly instead of fighting back.
What makes this version work is the balance. The pumpkin filling is thickened with cornstarch before it ever hits the pastry, which keeps the pies from leaking out in the oven. Cold butter in the dough gives you those layered, tender flakes, and the 30-minute chill keeps the hand pies from shrinking or getting greasy. The small vent cuts matter too; they let steam escape so the pastry stays crisp instead of softening from the inside out.
Below, I’ve included the one detail that makes the crimped edges hold, plus a few swaps and storage notes for baking these ahead.
The filling set up perfectly and didn’t leak at all, and the pastry stayed flaky even the next day. I added a little extra cinnamon sugar on top and my kids asked for these again before the tray was empty.
Save these pumpkin hand pies for the buttery crust, spiced filling, and cinnamon sugar finish that bake up bakery-style at home.
The Trick to Keeping Pumpkin Filling Inside the Pastry
Pumpkin hand pies fail for the same reason over and over: the filling is too loose, the edges aren’t sealed well enough, or the dough gets too warm before it goes into the oven. Any one of those can turn a neat little pastry into a syrupy leak on the baking sheet. The fix is a combination of thickness, chill time, and a tight seal.
That cornstarch in the filling matters more than most people think. It gives the pumpkin puree enough structure to hold its shape after baking, and it sets faster once the pies hit the hot oven. Cold dough helps too. When the butter stays in visible bits until baking, those bits melt into steam and create flakes instead of a dense, greasy crust.
- Chilled dough — Roll it only after it has rested long enough to feel firm. If it softens while you work, slide it back into the fridge for 10 minutes before cutting and filling.
- Thick filling — The filling should look like a soft paste, not a pourable custard. If it looks runny, add a little more cornstarch before assembling.
- Tight crimping — Press the fork firmly enough to seal the seam all the way to the ends. A weak seal is the fastest way to get a filling leak.
- Vent cuts — The steam has to go somewhere. Without vents, pressure builds inside the pastry and can split the seam open.
What Each Ingredient Is Doing in These Pumpkin Hand Pies
- All-purpose flour — This gives the dough enough structure to hold the filling without becoming tough. Bread flour would make the crust chewier, which works against the tender, flaky result you want here.
- Cold butter — The butter should stay cold and be cut into the flour in small pieces. Those pieces melt in the oven and leave behind layers. If the butter warms up before baking, the crust turns more pie-like and less flaky.
- Pumpkin puree — Use plain pumpkin puree, not pumpkin pie filling. The puree lets you control sweetness and spice, and it thickens predictably with the cornstarch.
- Brown sugar and spices — Brown sugar brings a deeper, molasses note that plain white sugar misses. Pumpkin pie spice gives the familiar base, while the extra cinnamon and ginger sharpen the flavor so the filling doesn’t taste flat.
- Cornstarch — This is the insurance policy. It helps the filling set in the oven so it doesn’t ooze out when you fold and crimp the dough.
- Egg wash and cinnamon sugar — The egg wash helps the pies turn glossy and deeply golden. The cinnamon sugar sticks to that wet surface and adds a crisp, sweet shell on top.
Rolling, Filling, and Baking Without the Mess
Make the Dough First, Then Let It Rest
Mix the dough just until it starts to come together. You want a shaggy mass, not a smooth bread-like ball, because overworking it develops gluten and makes the crust fight you when you roll it out. The 30-minute chill lets the flour hydrate and the butter firm up again. If the dough cracks badly when you roll it, let it sit at room temperature for a few minutes instead of forcing it.
Shape the Fillings Before the Oven Is On
Stir the pumpkin filling until it looks completely smooth and slightly thickened. Then roll the dough to about 1/8 inch and cut it into even ovals or rectangles so the pies bake at the same rate. Spoon the filling onto one half of each piece, leaving a clean border around the edges. Too much filling is the biggest mistake here; once it heats up, it expands and pushes against the seam.
Seal, Vent, and Bake Until Deeply Golden
Fold the dough over the filling, press out any trapped air, and crimp the edges with a fork. Brush the tops with egg wash, cut a couple of small vents, and finish with cinnamon sugar. Bake until the pies are a deep golden color and the bottoms feel set, not pale or soft. If the tops brown too quickly before the bottoms are done, your oven may run hot; move the tray to a lower rack for the last few minutes.
How to Adapt These Pumpkin Hand Pies for Different Needs
Make Them Dairy-Free
Use a dairy-free butter stick that is meant for baking, not a tub spread. You need something that stays firm enough to cut into the flour, or the pastry won’t build the same flaky layers.
Use Store-Bought Pie Dough When You’re Short on Time
Store-bought pie dough saves time and still bakes up nicely here. It won’t have quite the same buttery depth as homemade, but the filling and cinnamon sugar carry the dessert just fine.
Make Them a Little Less Sweet
Cut the brown sugar in the filling by 2 to 3 tablespoons if you like a more restrained dessert. The pies still taste full and spiced, and the cinnamon sugar on top keeps the crust from tasting plain.
Storage and Reheating
- Refrigerator: Store in an airtight container for up to 4 days. The crust softens slightly as it sits, but a short reheat brings it back.
- Freezer: Freeze baked hand pies in a single layer, then transfer to a freezer bag for up to 2 months. Wrap them well so the pastry doesn’t pick up freezer odors.
- Reheating: Warm in a 325°F oven for 8 to 10 minutes. The oven keeps the crust crisp; the microwave will make it soft and chewy.
Questions I Get Asked About This Recipe
Pumpkin Hand Pies
Ingredients
Equipment
Method
- Make pie dough with flour, sugar, salt, cold butter, and ice water, then shape into a disk. Refrigerate for 30 minutes so it firms up for easier rolling.
- Mix pumpkin puree, brown sugar, pumpkin pie spice, cinnamon, ginger, cornstarch, and vanilla until smooth. Stir until no cornstarch lumps remain and the mixture looks evenly combined.
- Preheat the oven to 375°F and line baking sheets. Have the baking sheets ready so the pies can go in right after assembling.
- Roll the chilled dough to 1/8-inch thickness, then cut into 4x6 inch ovals or rectangles. Keep scraps covered so the dough stays cool.
- Place filling on half of each oval, then fold over the other half to form a pocket. Press around the edges so the seam stays closed.
- Crimp the edges with a fork to seal completely. Aim for a tight, ridged seal to prevent filling leaks.
- Brush the tops with beaten egg wash, then cut small vents in each hand pie. The vents let steam escape during baking.
- Sprinkle cinnamon sugar evenly over the tops. Use a light, even coating so the crust browns nicely.
- Bake for 20–22 minutes at 375°F until deeply golden. Let them cool briefly on the baking sheet before serving.