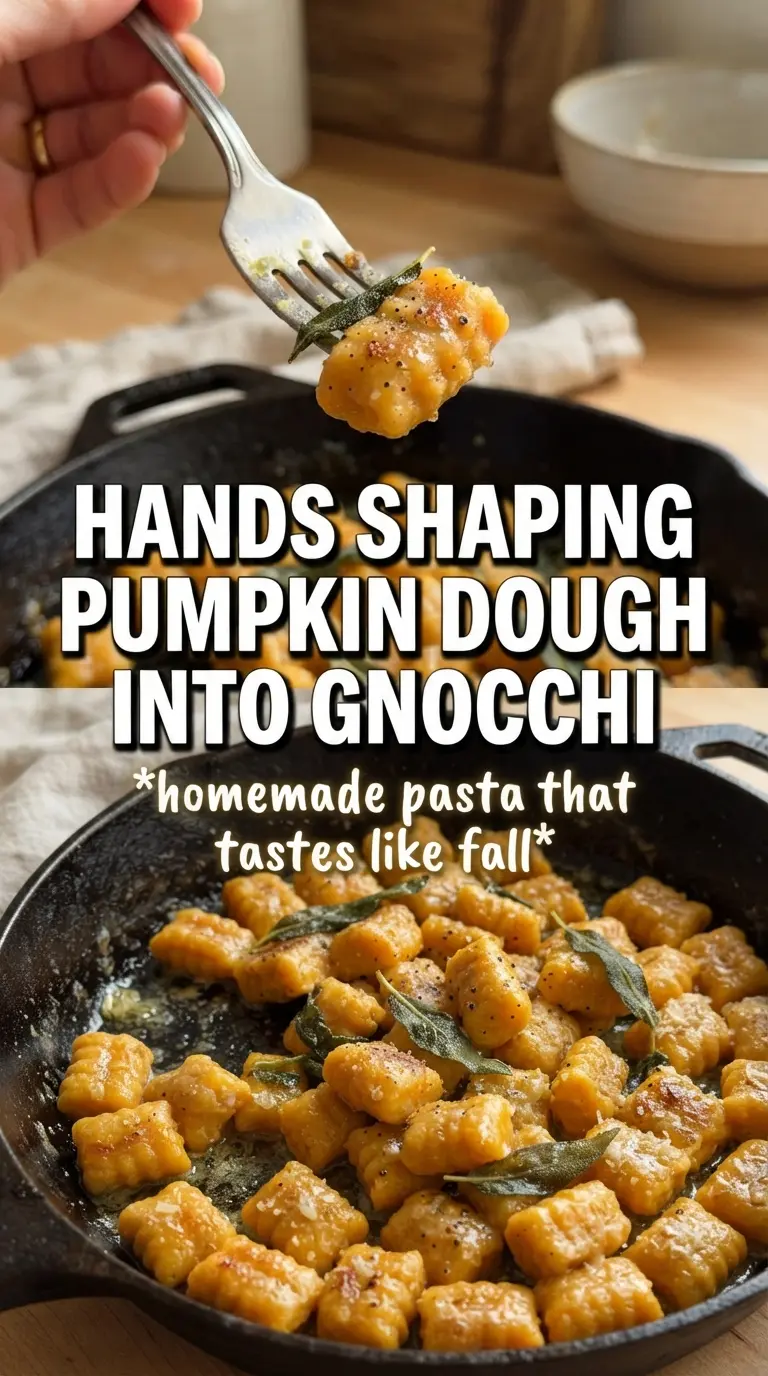
Soft, pillowy pumpkin gnocchi turns rich and tender when the dough is kept dry enough to hold its shape but still light on the plate. The best batches have that delicate bite at the edges, a gentle squash sweetness in the middle, and just enough parmesan to keep every piece savory instead of tasting like dessert. Brown butter and crisp sage take the whole dish in a nutty, aromatic direction that makes the gnocchi feel restaurant-worthy without turning the process fussy.
The difference between good pumpkin gnocchi and gummy pumpkin gnocchi comes down to moisture management. Pumpkin puree and ricotta both need to be drained until they stop weeping, and flour has to be added only until the dough is soft and workable. Too much flour makes the gnocchi heavy; too little and they collapse in the pot. Boiling them briefly and finishing them in brown butter gives you that tender center and a little golden color on the outside.
Below, I’ve included the exact signs I watch for when the dough is ready, plus the easiest way to keep the gnocchi from sticking while you shape them. If you’ve ever had pumpkin pasta turn dense, this version fixes the problem at the source.
I blotted the pumpkin and ricotta like you said, and the gnocchi held together in the water without getting dense. The brown butter with sage and walnuts made the whole dish taste finished, not just homemade.
Keep this pumpkin gnocchi recipe handy for a soft, golden dinner with brown butter, crispy sage, and parmesan on top.
The Trick to Keeping Pumpkin Gnocchi Light Instead of Heavy
Pumpkin gnocchi gets dense for one reason: too much moisture turns the dough into a flour trap. The pumpkin puree and ricotta both need to be pressed dry before they hit the bowl, because once that extra water is in the dough, you’ll keep chasing it with flour and end up with something bready instead of tender. The goal is a soft dough that just barely holds together when you cut it.
Flour should be treated like a correction, not the base. Start with the lower amount, mix just until the dough comes together, then stop. If the dough is still tacky but handles without slumping, that’s the sweet spot. A little stickiness is fine; a dry, smooth dough usually means you’ve already gone too far.
What Each Ingredient Is Actually Doing in the Dough
- Pumpkin puree — This gives the gnocchi its color and gentle squash flavor, but it only works if it’s extremely dry. Canned puree is fine, and honestly easier to control than fresh pumpkin, as long as you blot out the extra liquid.
- Ricotta — Ricotta keeps the texture softer than a potato gnocchi would be, but it also brings a lot of moisture. Drain it in a fine mesh strainer or cheesecloth before mixing, or the dough will loosen as it sits.
- Parmesan — This adds salt, body, and a savory edge that keeps the pumpkin from tasting flat. Use finely grated parmesan so it melts into the dough instead of leaving gritty bits behind.
- Flour — This is the structure, but too much makes the gnocchi tough. Add it slowly and stop the second the dough can be rolled without collapsing.
- Nutmeg — A small amount is enough. It sharpens the pumpkin and gives the gnocchi that classic Italian-American warmth without making the dish taste like a dessert filling.
- Brown butter, sage, and walnuts — The sauce needs no cream. Brown butter adds depth, sage crisps in the pan, and walnuts bring a toasted crunch that stands up to the soft gnocchi.
Rolling, Boiling, and Finishing Without Losing the Shape
Building the Dough
Mix the pumpkin, ricotta, egg, parmesan, salt, and nutmeg first, then add flour a little at a time until the dough is soft and only slightly sticky. It should come together without feeling wet or slack. If it sticks aggressively to your hands, it needs a touch more flour; if it feels stiff before you’ve rolled it, you’ve gone too far. Letting it rest for a few minutes helps the flour hydrate evenly, which makes shaping easier.
Shaping the Gnocchi
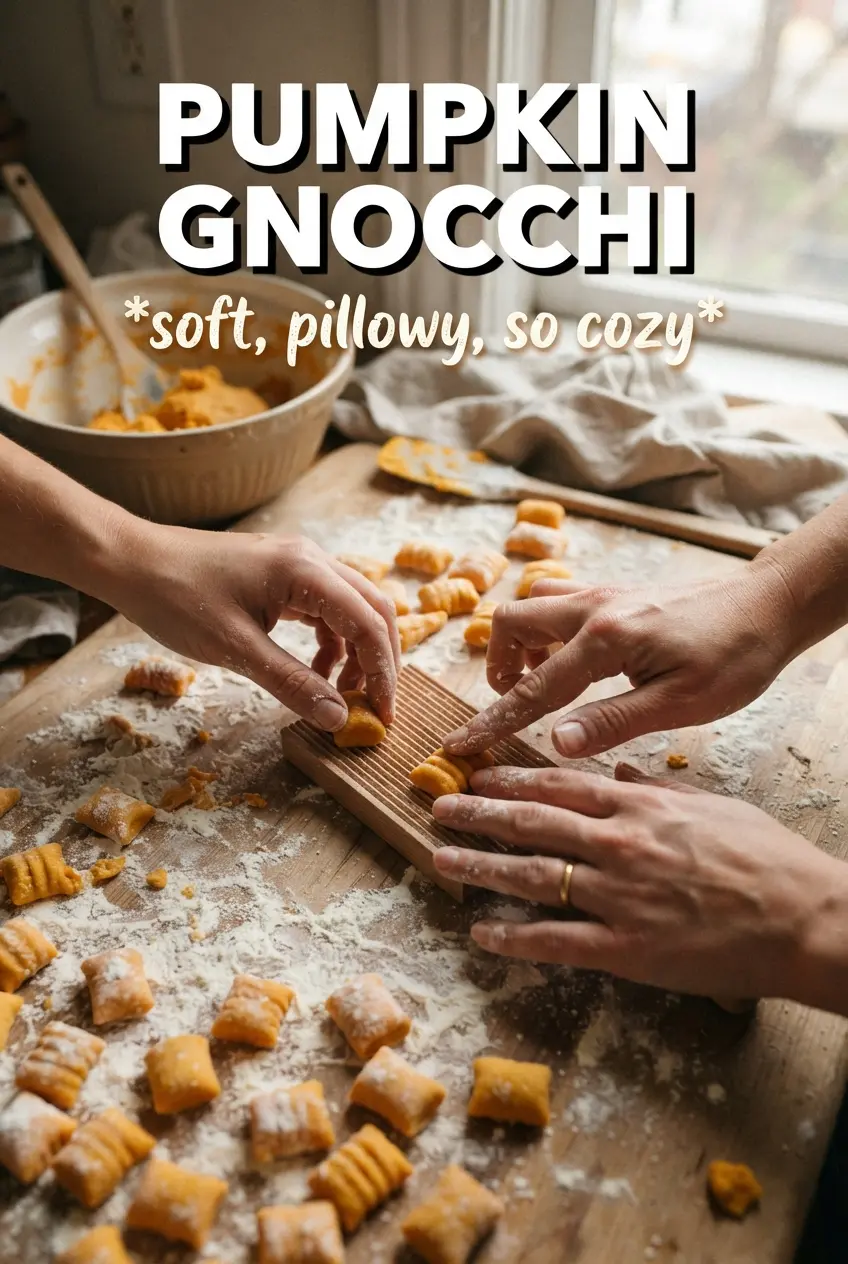
Dust your work surface lightly and roll the dough into ropes that are about finger-thick, then cut them into 1-inch pieces. A fork gives the outside ridges that catch the butter, but don’t press so hard that you flatten the pillows. If the pieces start sticking to each other, dust them sparingly with flour rather than kneading more into the dough. Work in small batches so the shaped gnocchi don’t soften while they sit.
Cooking and Browning
Boil the gnocchi in well-salted water and pull them as soon as they float plus about 30 seconds more. That extra moment helps the centers set without turning them mushy. In a separate pan, cook the butter until it turns nutty and amber, then add the sage leaves and let them crisp quickly. If the butter looks black or smells acrid, it’s gone too far; brown butter should smell toasted, not burnt.
Finishing the Plate
Toss the drained gnocchi directly into the brown butter so every piece gets coated. Add the walnuts at the end so they stay crunchy, then shower the top with parmesan while the gnocchi is still hot enough to soften the cheese slightly. Serve it right away. Pumpkin gnocchi waits badly once it’s sauced, and the texture is best the moment the butter clings to the surface.
How to Adapt This Pumpkin Gnocchi for Different Kitchens
Gluten-Free Version
Use a 1:1 gluten-free all-purpose blend that includes xanthan gum. The dough may feel softer and a little more fragile, so keep the shaping light and boil in smaller batches. You’ll lose a bit of chew, but the pumpkin and brown butter still carry the dish.
Dairy-Free Adaptation
Swap the ricotta for a thick dairy-free ricotta alternative and use a vegan parmesan-style cheese with enough salt to season the dough. Brown the butter with a plant-based butter that browns well, though it won’t taste as nutty as real butter. The result is still soft and savory, just a little less rich.
No Walnuts
Leave them out or replace them with toasted pecans. The crunch matters more than the exact nut, but any nut should be toasted before it goes on top so it doesn’t taste raw against the warm butter.
Storage and Reheating
- Refrigerator: Store cooked gnocchi for up to 3 days. They’ll firm up a little as they chill.
- Freezer: Freeze the shaped, uncooked gnocchi on a tray until solid, then move them to a bag for up to 2 months. Cook straight from frozen; don’t thaw, or they’ll turn sticky.
- Reheating: Reheat in a skillet with a little butter over medium-low heat until warmed through. Microwaving makes them soft and uneven, and boiling them again can make them waterlogged.
Questions I Get Asked About This Recipe
Pumpkin Gnocchi
Ingredients
Equipment
Method
- Blot the pumpkin puree and ricotta extremely dry, then combine them with the egg, parmesan, salt, nutmeg, and enough all-purpose flour to form a soft, slightly sticky dough. Mix until you no longer see dry flour, adding flour gradually as needed.
- Roll the dough into ropes and cut into 1-inch pillows, then press each piece with a fork for texture. Arrange the gnocchi in a single layer as you work so they don’t stick.
- Boil the gnocchi in well-salted water until they float, 2-3 minutes, then drain and let excess water steam off briefly. Keep the water at a steady simmer to prevent mushy texture.
- Brown the butter in a cast iron skillet over medium heat, then add sage leaves and cook until crispy. Watch the butter closely until it turns nutty brown, about 4-6 minutes total.
- Toss the boiled gnocchi in the brown butter until lightly coated, then top with crispy sage, toasted walnuts, and extra parmesan for serving. Finish by dusting parmesan over the entire surface before serving.