Pumpkin cheesecake cupcakes bake up with a creamy center, a spiced gingersnap crust, and just enough tang to keep the whole dessert from feeling heavy. They’re the kind of treat that disappears fast because each one gives you the best parts of pumpkin pie and cheesecake in a neat little package.
What makes this version work is the balance. The gingersnap crumbs bring extra spice and a sturdy base, while sour cream keeps the filling from tasting flat. I also like baking them just until the centers still have a slight wobble; that small detail is what keeps the texture smooth after chilling instead of dry and crumbly.
Below, I’ve included the small technique details that matter, plus a few smart variations for when you want to change the crust or make them ahead for a crowd.
The cheesecake filling set up beautifully after chilling, and the gingersnap crust stayed crisp instead of getting soggy. I served them cold with whipped cream, and everyone went back for a second one.
Save these pumpkin cheesecake cupcakes for a make-ahead dessert with a crisp gingersnap crust and silky spiced filling.
The Trick That Keeps the Centers Creamy Instead of Grainy
Cheesecake cupcakes only turn out smooth when the batter stays gentle from start to finish. The biggest mistake is beating too much air into the cream cheese mixture, then baking it hard enough to puff and crack. A dense, silky batter gives you that classic cheesecake texture in cupcake form, and it chills into a clean sliceable bite instead of something fluffy and dry.
The second thing that matters is the bake. Pull them when the edges are set and the centers still move slightly if you nudge the pan. They keep cooking from residual heat, and that small wobble is what prevents overbaking. If they look fully firm in the oven, they’re usually already too far gone.
- Cream cheese — Softened cream cheese blends into a smooth base without lumps. Cold cream cheese leaves specks in the batter no matter how long you beat it, so let it sit out until it bends easily when pressed.
- Pumpkin puree — Use plain pumpkin puree, not pumpkin pie filling. Pie filling is already sweetened and spiced, which throws off both the texture and the flavor balance here.
- Sour cream — This adds tang and softens the richness. If you’re out, plain full-fat Greek yogurt works, though the filling tastes a little less round and a touch more tart.
- Gingersnap crumbs — These do more than hold the crust together. They bring spice and a little crunch that stands up to the creamy filling better than a plain graham crust.
What Each Ingredient Is Actually Doing in This Recipe
- Primary ingredient (the star) — Quality matters most. Choose the best you can find.
- Cooking medium (oil, butter, or broth) — This carries flavors and prevents dryness.
- Seasonings (salt, pepper, spices, herbs) — Layer flavors so nothing overpowers. Build depth gradually.
- Aromatics (garlic, onion, herbs) — Cook with fat to bloom flavors. Become the foundation.
- Supporting ingredients — Complement the main ingredient without overpowering it.
- Sauce or liquid (if applicable) — Brings flavors together. Balance richness with acid.
- Acid (lemon, vinegar, wine, or other) — Brightens and prevents flat-tasting results.
- Final finish (garnish, glaze, or sauce) — Prevents one-dimensional taste and adds visual appeal.
Building the Crust and Filling Without Overmixing
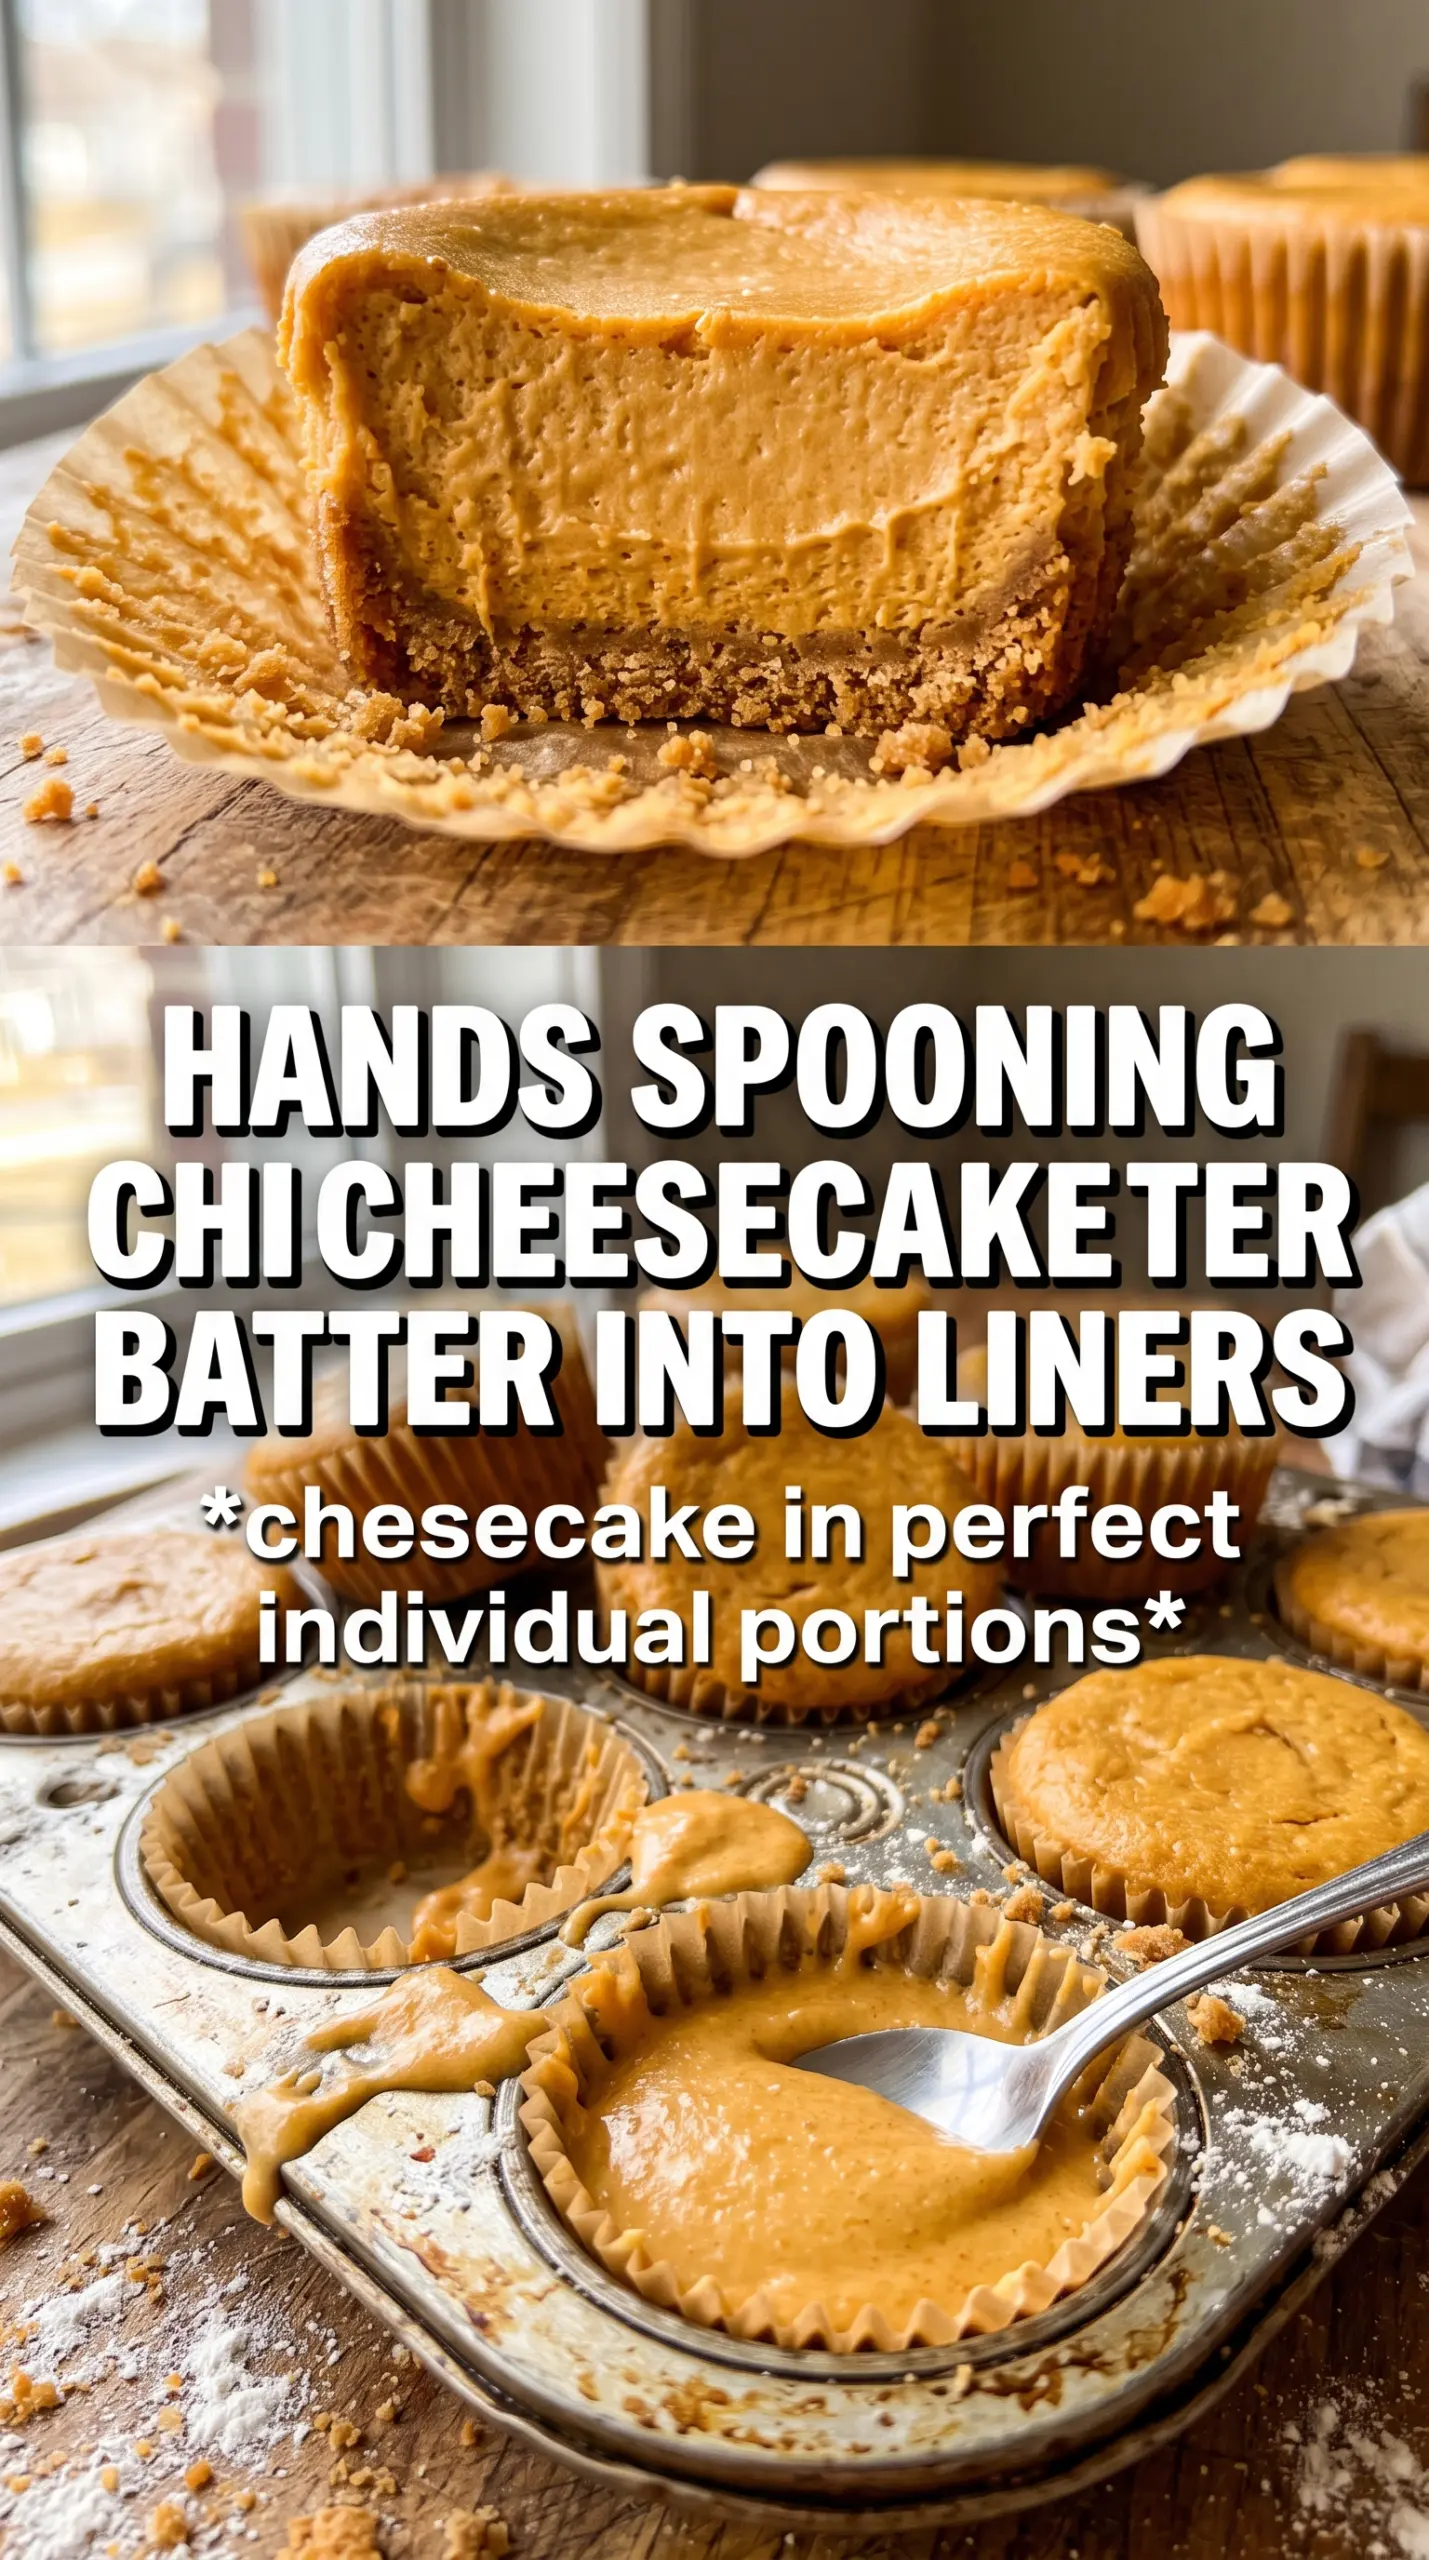
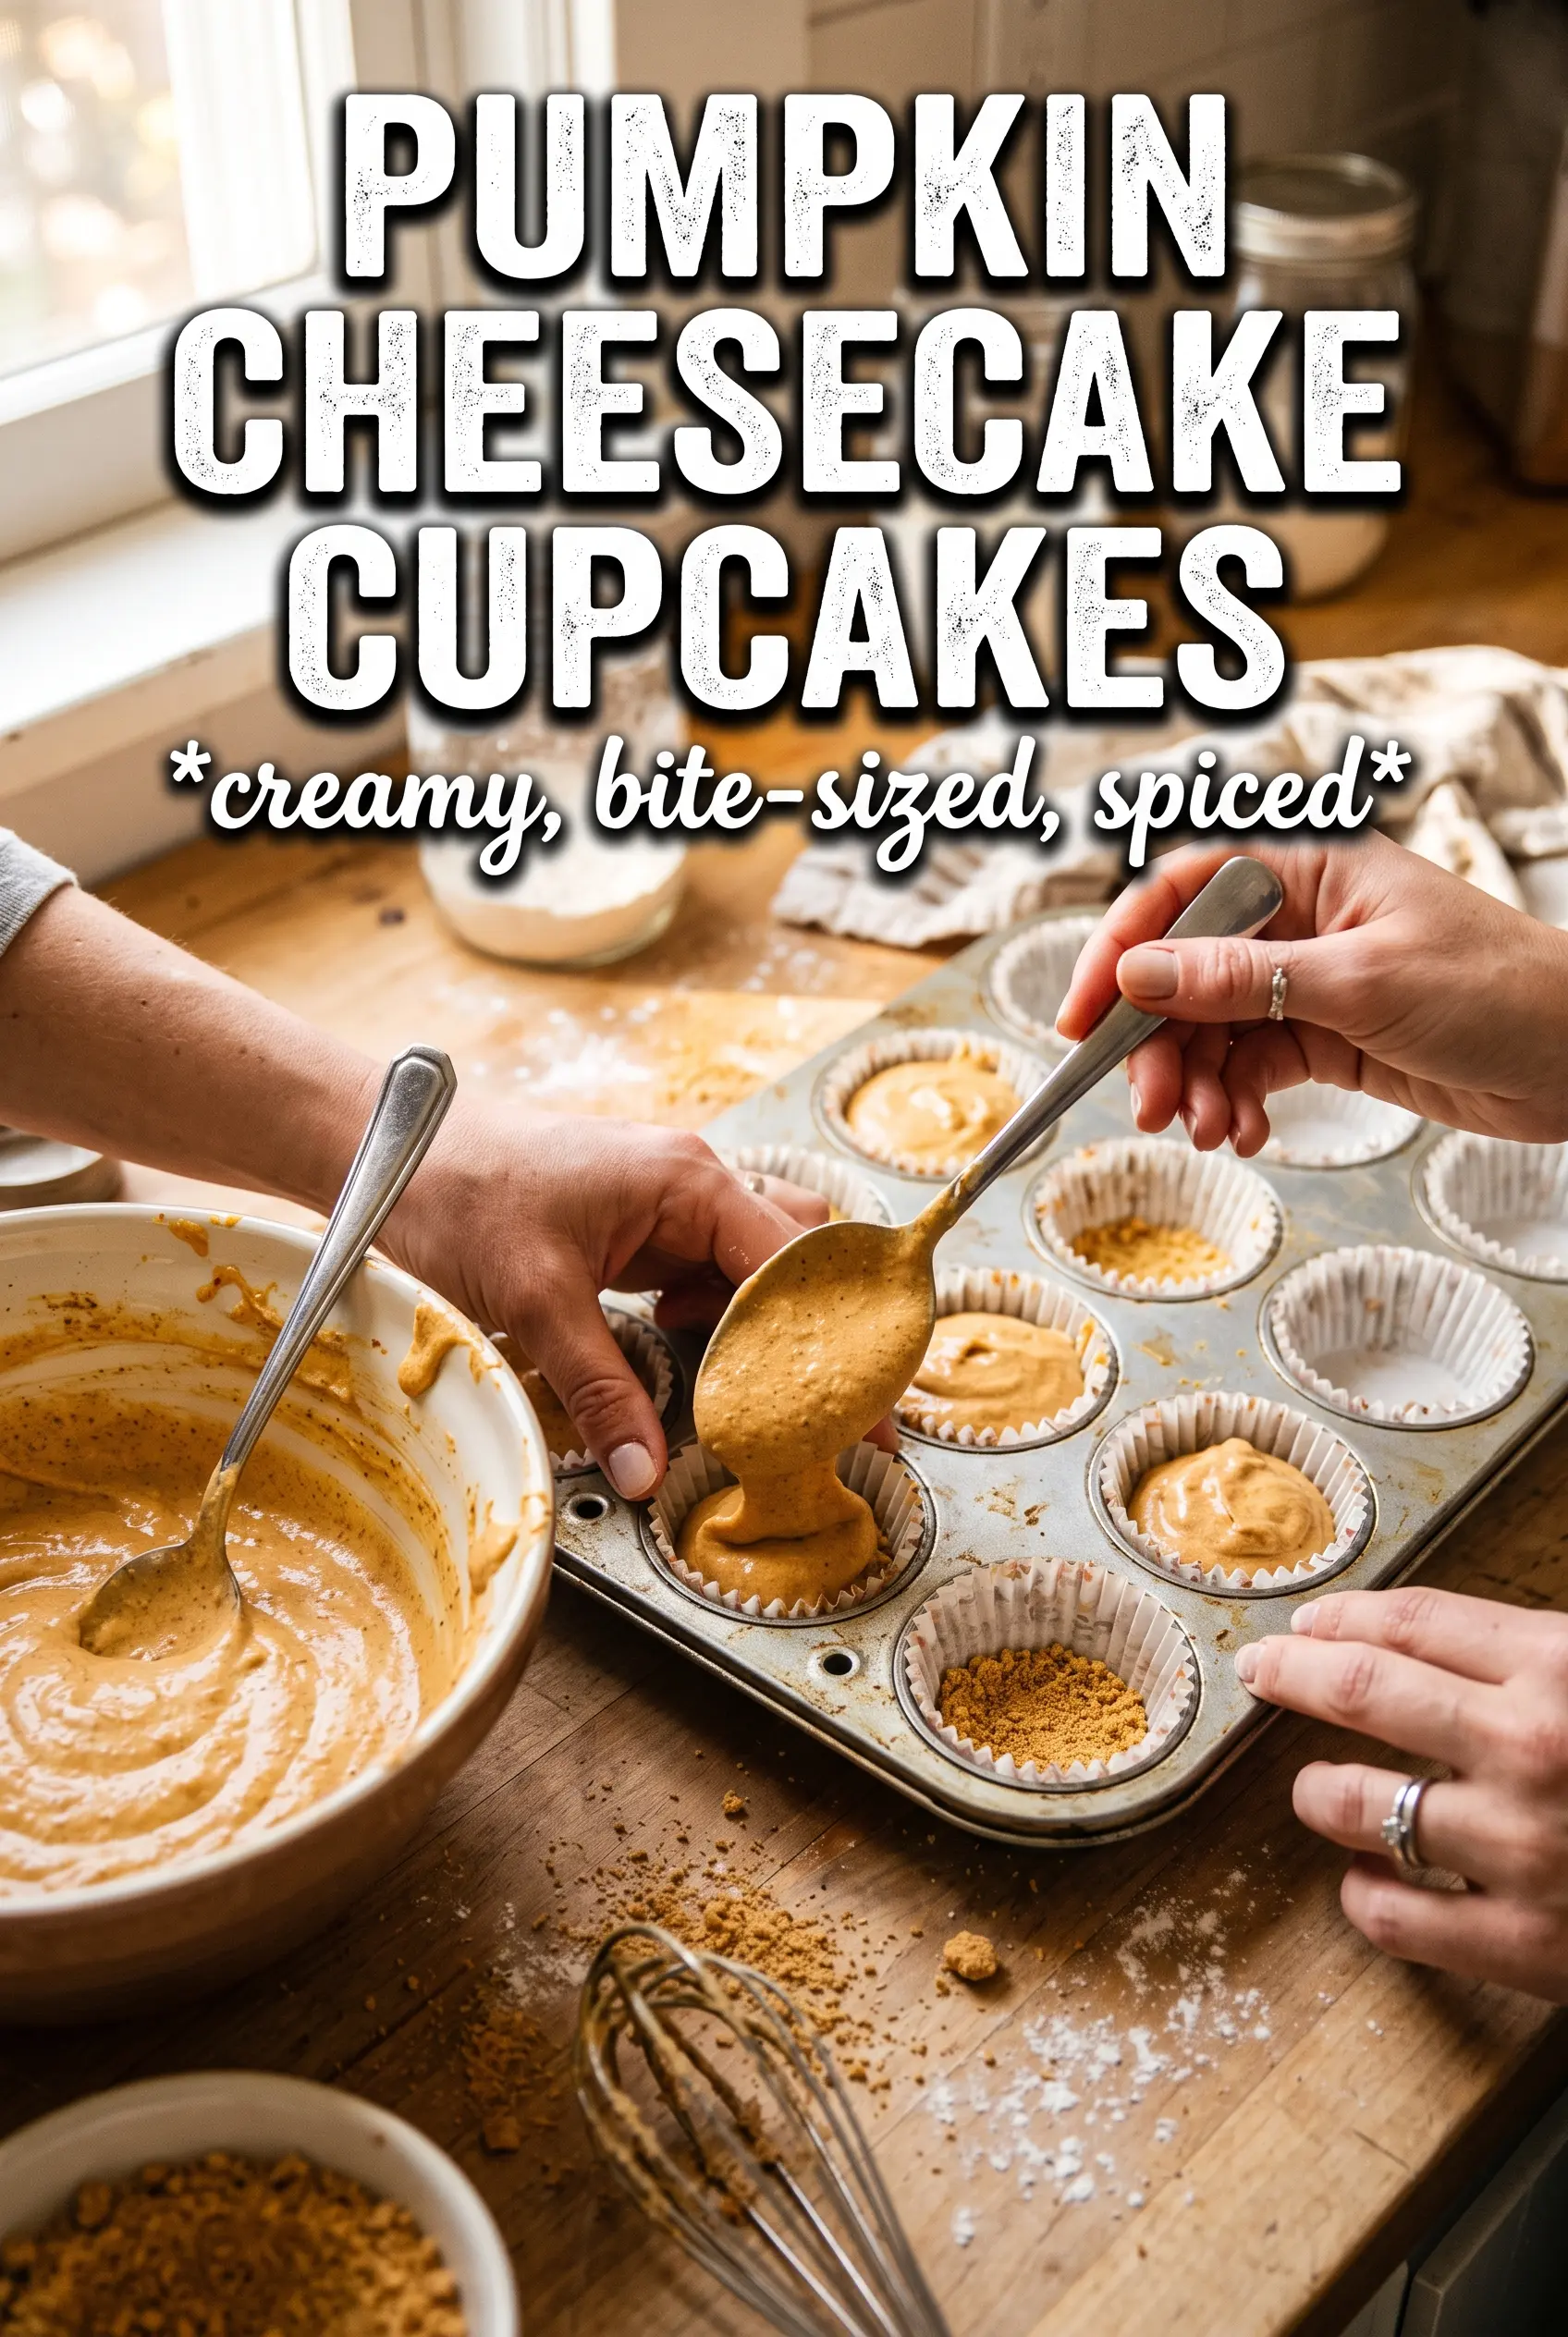
Press the crust mixture firmly into each liner before the filling goes in. Loose crumbs will scatter once the batter hits them, and you’ll lose that neat base. A flat-bottomed measuring cup or small glass works well for packing the crumbs evenly and getting the sides as level as you can.
For the filling, beat the cream cheese and sugar until smooth first, then add the eggs one at a time. That sequence matters because eggs help the batter emulsify, but only if the cream cheese is already creamy. Once the pumpkin, sour cream, spice, and vanilla go in, mix just until combined. If you keep beating after that, you’ll add air and the cupcakes are more likely to rise, crack, and sink as they cool.
Pressing the Gingersnap Base
Combine the crumbs, melted butter, and sugar until the mixture looks like damp sand. Spoon it into the liners and press firmly; you want the crust to hold together when the cupcakes are unmolded or peeled from the liner. If the crumbs are too dry, add a teaspoon more melted butter rather than forcing them to work. The crust should feel compact, not greasy.
Mixing the Pumpkin Cheesecake Batter
Start with softened cream cheese and sugar until the mixture looks glossy and thick with no visible lumps. Add the eggs one at a time so the batter stays smooth instead of turning loose and curdled. When the pumpkin and sour cream go in, the mixture will loosen a little, which is exactly what you want. Stop mixing as soon as the batter looks uniform; that’s how you keep the texture dense and creamy after chilling.
Baking to the Right Wobble
Fill each liner nearly full, then bake at 325°F until the edges are set and the centers still have a small wobble, about 20 to 22 minutes. If the tops crack, the oven was too hot or they baked too long. They should look puffed, set around the edges, and just a touch soft in the middle. Let them cool completely in the pan before refrigerating or the filling can collapse and turn watery.
How to Adjust These Cupcakes for Different Kitchens and Schedules
Gluten-Free with a Different Crust
Use certified gluten-free gingersnap cookies and crush them the same way. The texture stays nearly identical, though some gluten-free cookies are a little drier, so you may need a small extra spoonful of melted butter to get a crust that presses together cleanly.
Dairy-Free Filling
Swap in a dairy-free cream cheese that bakes well and use a thick plant-based yogurt in place of sour cream. The filling won’t taste exactly the same, but you’ll still get that creamy, spiced pumpkin center. Skip any very soft tub-style product or the cupcakes may not set firmly.
Making Them Ahead for Guests
Bake and chill the cupcakes a full day ahead, then add whipped cream and cinnamon just before serving. That keeps the topping fluffy and the crust from softening under the cream. They’re actually easier to serve cold because the filling slices and lifts cleanly.
Storage and Reheating
- Refrigerator: Store covered for up to 4 days. The crust softens a little over time, but the filling stays smooth and creamy.
- Freezer: Freeze without whipped cream for up to 1 month. Wrap each cupcake tightly, then thaw overnight in the refrigerator. The texture is best after thawing slowly, not at room temperature.
- Reheating: Don’t reheat these. Cheesecake is meant to be served cold here, and warming it will loosen the filling and dull the crust.
Questions I Get Asked About This Recipe
Pumpkin Cheesecake Cupcakes
Ingredients
Equipment
Method
- Preheat the oven to 325F, then line a 18-cup muffin tin with liners. Keep a sheet pan nearby for easy handling.
- Mix gingersnap crumbs, melted butter, and sugar until the crumbs look evenly coated. Divide and press firmly into the bottom of each liner so it forms a compact layer.
- Beat softened cream cheese and granulated sugar until completely smooth, scraping the bowl as needed. The mixture should look glossy and lump-free.
- Add the eggs one at a time and beat after each addition until incorporated. The batter should stay smooth and thick.
- Stir in pumpkin puree and sour cream until the color turns uniformly orange. Mix just until no streaks remain.
- Add pumpkin pie spice, cinnamon, and vanilla, then stir until fully combined. The batter should smell strongly spiced and look smooth.
- Fill each liner nearly full with the pumpkin cheesecake batter. Leave a little headspace so the tops don’t overflow.
- Bake at 325F for 20-22 minutes until the cupcakes are just set with a slight wobble in the center. The edges should look set while the middle jiggles gently.
- Cool the cupcakes completely at room temperature. The filling will firm up as it cools.
- Refrigerate for 3 hours (chilling) to fully set the cheesecake. Chill until cold and sliceable, with no loose movement.
- Top each chilled cupcake with whipped cream. Add it right before serving so the topping stays fluffy.
- Dust the tops lightly with cinnamon for garnish. Finish with a small, even sprinkle for a classic look.