These pumpkin banana bread bars bake up soft, moist, and sturdy enough to slice into neat squares without falling apart. The banana keeps the crumb plush, the pumpkin brings that warm earthy sweetness, and the maple glaze gives the top a glossy finish that makes each bar feel a little more special than the usual quick bread. They’re the kind of breakfast bar people keep reaching for with one hand while pouring coffee with the other.
What makes this version work is the balance. The bananas should be mashed very smooth so they disappear into the batter instead of leaving stringy pockets, and the pumpkin puree adds body without making the bars heavy. The batter stays on the thick side, which helps the bars bake up evenly in a 9×13 pan instead of sinking in the middle. A short bake and a full cool-down matter here; cut too early and the bars will smear instead of slice.
Below, you’ll find the exact cues I watch for in the oven, plus a few smart swaps if you need to adjust the recipe for your pantry or your schedule.
The bars stayed incredibly moist for days, and the maple glaze set up just enough that I could stack them after lunchboxes were packed. The banana and pumpkin flavor came through without being too sweet.
Like these pumpkin banana bread bars? Save them to Pinterest for a soft, glazed breakfast bake with warm spice and ripe banana in every bite.
The Trick to Keeping Pumpkin Bars Tender Instead of Dense
Banana bread batter can go heavy fast, and pumpkin adds even more moisture, so the biggest risk here is a tight, gummy crumb. The fix is simple: whisk the wet ingredients until smooth, then fold in the dry ingredients only until the flour disappears. Once the batter is mixed, stop. Overworking it builds too much structure, and these bars are meant to be soft, not chewy.
The other thing that matters is the pan. A 9×13 baking pan gives these bars enough surface area to bake through before the center turns paste-like. If you use a smaller pan, the middle stays too wet for too long, and the edges dry out before the center sets. That balance is what gives you bars that slice cleanly and still feel moist the next day.
What Each Ingredient Is Actually Doing in These Bars
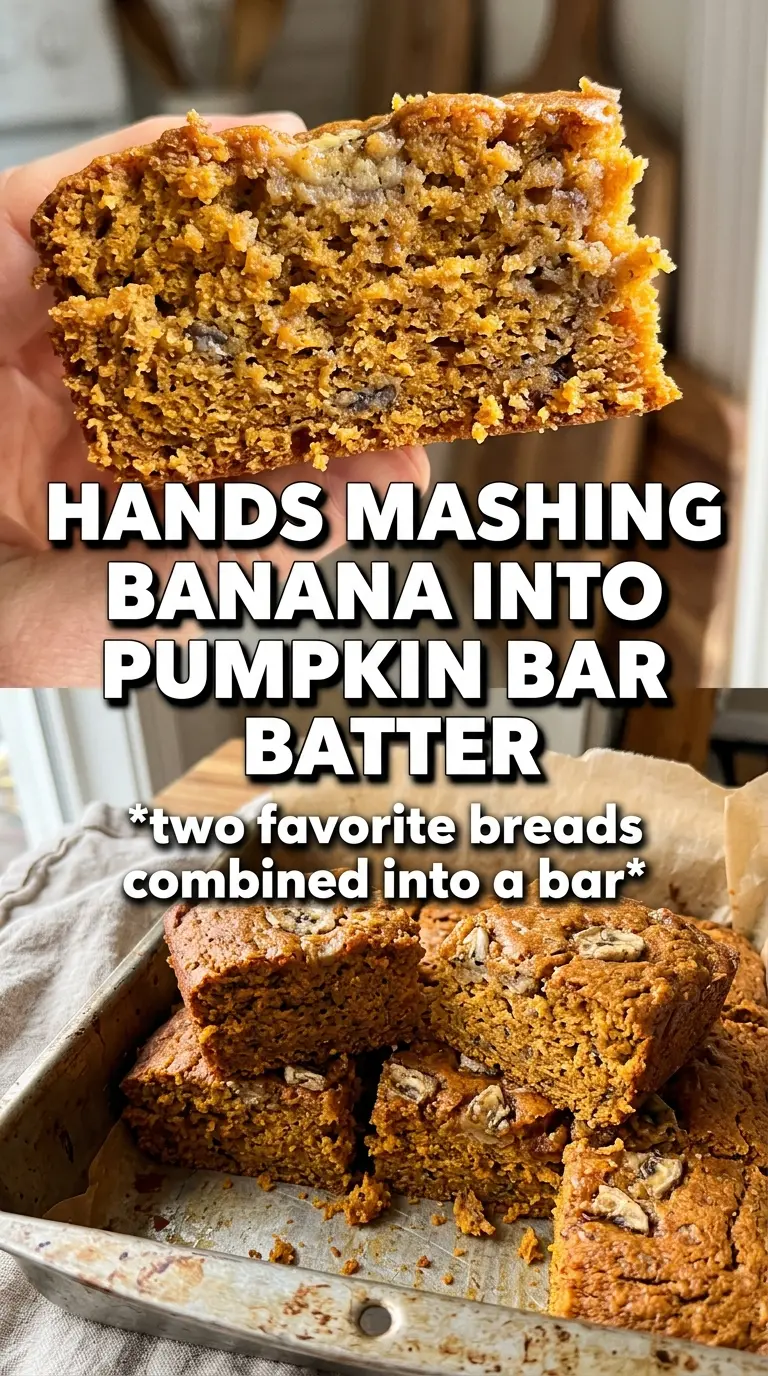
- Very ripe bananas — These bring sweetness, moisture, and that classic banana bread flavor. The riper they are, the smoother they mash and the less sugar you need to force the flavor. If yours still have a little firmness, wait another day; under-ripe bananas taste flat here.
- Pumpkin puree — This adds body and a warm, earthy note that makes the bars taste richer than banana bread alone. Use plain pumpkin puree, not pumpkin pie filling, or the batter will be too sweet and spiced before you even start.
- Vegetable oil — Oil keeps the crumb soft for days, which is why these bars stay tender longer than butter-based versions. Melted butter will work in a pinch, but the bars will bake up a little firmer and lose some of that plush texture.
- Brown sugar plus granulated sugar — The granulated sugar gives clean sweetness, while the brown sugar adds a deeper note that fits the pumpkin and banana. If you only have brown sugar, the bars will taste slightly more molasses-heavy but still work well.
- Maple glaze — The glaze is not just decoration. It adds a little extra sweetness and a maple note that ties the whole pan together. Keep it thick enough to ribbon over the bars; if it runs off like milk, add more powdered sugar a spoonful at a time.
Mixing, Baking, and Knowing When These Bars Are Done
Getting the Wet Base Smooth
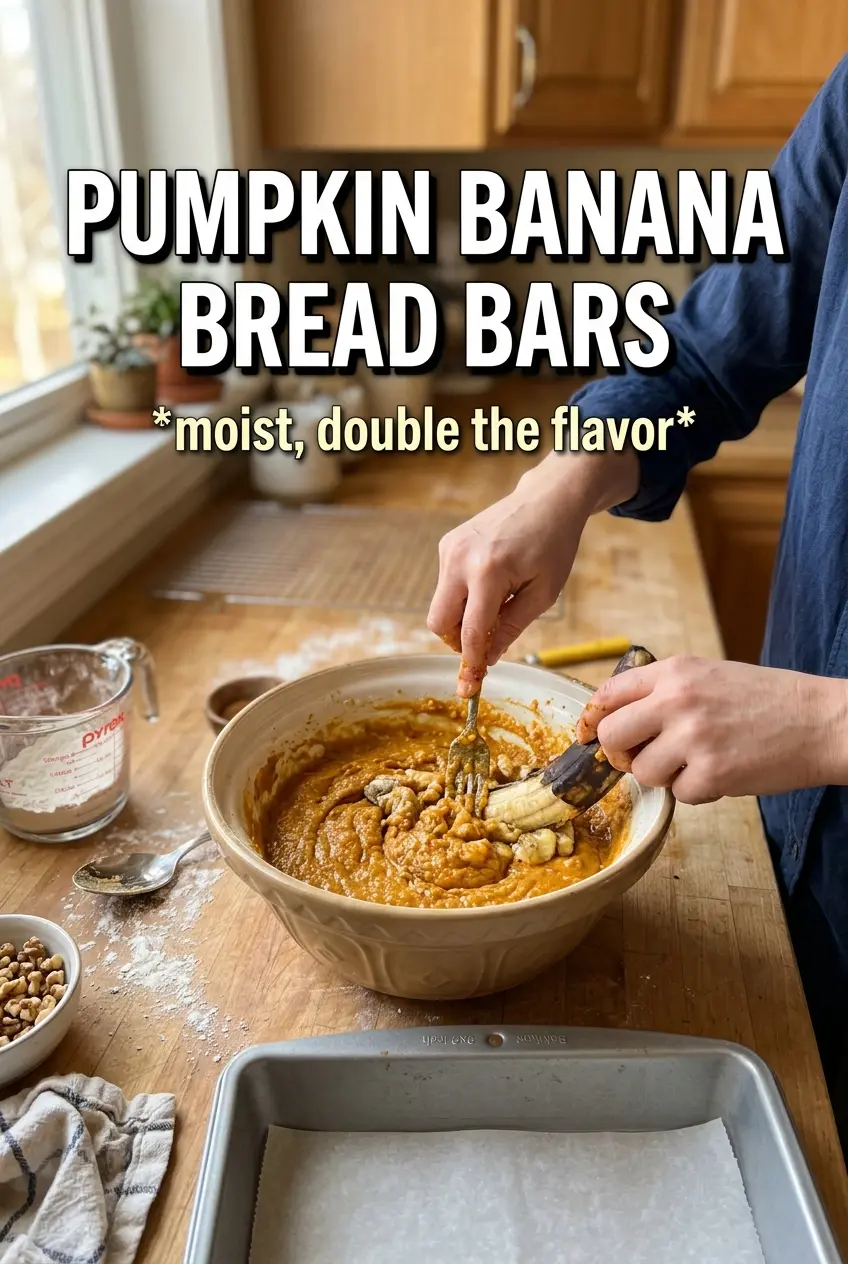
Start by mashing the bananas until they’re almost paste-like, with no big lumps left. Whisk them with the pumpkin, sugars, oil, eggs, and vanilla until the mixture looks uniform and glossy. If the wet base still looks streaky, the sugar won’t distribute evenly and you can end up with random wet spots in the finished bars. A smooth base also helps the bars bake with a more even crumb from edge to center.
Folding in the Dry Ingredients
Combine the flour, baking soda, baking powder, pumpkin pie spice, cinnamon, and salt in a separate bowl, then add it to the wet mixture in one go. Fold with a spatula just until the flour disappears. A few small streaks are better than a fully beaten batter, because the final stir should stop the moment there’s no dry flour left. That’s what keeps the bars soft instead of rubbery.
Watching for the Right Bake
Spread the batter evenly in the pan so it bakes at the same rate across the whole surface. In a 350°F oven, start checking at 25 minutes; the top should look set, the edges will pull back slightly from the pan, and a toothpick should come out clean or with a few moist crumbs. If it comes out with wet batter, give it a few more minutes, but don’t wait for the top to get dark or you’ll lose the tender center these bars are known for.
Cooling Before the Glaze
Let the bars cool completely before drizzling the maple glaze. If you glaze while they’re still warm, the icing melts into the crumb instead of sitting in those pretty ribbons on top. A fully cooled bar also cuts much more cleanly, which matters if you want neat breakfast squares rather than crumbly spoonfuls. Once glazed, let it set for a few minutes before slicing.
How to Change These Bars Without Losing the Soft Crumb
Make Them Dairy-Free
The bars themselves are already dairy-free if you use milk in the glaze as written, so the only swap you need is to use a plant-based milk in the maple glaze. Almond, oat, or soy milk all work. Keep the glaze thick so it clings to the bars instead of soaking in.
Skip the Glaze for a Lower-Sugar Version
Leave off the maple glaze and the bars still taste finished thanks to the banana, pumpkin, and spice. The texture stays the same, but the top reads more like a breakfast snack than dessert. If you still want a little shine, dust the cooled bars with powdered sugar instead.
Use Freshly Pureed Pumpkin
Homemade pumpkin puree can work, but it needs to be thick and well-drained or the bars turn wet and cakey. If your puree looks loose, spread it on paper towels or let it drain in a fine mesh strainer before measuring. The goal is a puree that behaves like canned pumpkin, not pumpkin soup.
Add Chopped Nuts or Chocolate Chips
Fold in up to 3/4 cup of chopped walnuts, pecans, or chocolate chips at the very end. Nuts add crunch and make the bars feel more bakery-style, while chocolate chips push them closer to dessert. Don’t add too much or the batter gets crowded and the bars won’t slice as cleanly.
Storage and Reheating
- Refrigerator: Store in an airtight container for up to 5 days. The bars stay moist, though the glaze may soften a little on day two.
- Freezer: These freeze well. Wrap individual bars tightly and freeze for up to 2 months, then thaw at room temperature or overnight in the fridge.
- Reheating: Warm a bar for 10 to 15 seconds in the microwave if you want it soft and bakery-fresh. Don’t overheat it or the crumb turns tough and the glaze melts away.
Questions I Get Asked About This Recipe
Pumpkin Banana Bread Bars
Ingredients
Equipment
Method
- Preheat oven to 350F and grease a 9x13 baking pan so the bars release cleanly.
- Mash the bananas very smooth so the batter stays lump-free.
- Whisk all-purpose flour, baking soda, baking powder, pumpkin pie spice, cinnamon, and salt in a bowl.
- Whisk the mashed bananas, pumpkin puree, granulated sugar, brown sugar, vegetable oil, eggs, and vanilla until smooth.
- Fold the dry mixture into the wet mixture until just combined, then spread the batter evenly in the prepared pan.
- Bake for 25-30 minutes at 350F until a toothpick comes out clean.
- Cool completely before glazing to help the ribbon drizzle set.
- Whisk powdered sugar, maple syrup, and milk to make the maple glaze, then drizzle over the cooled bars and cut into bars.