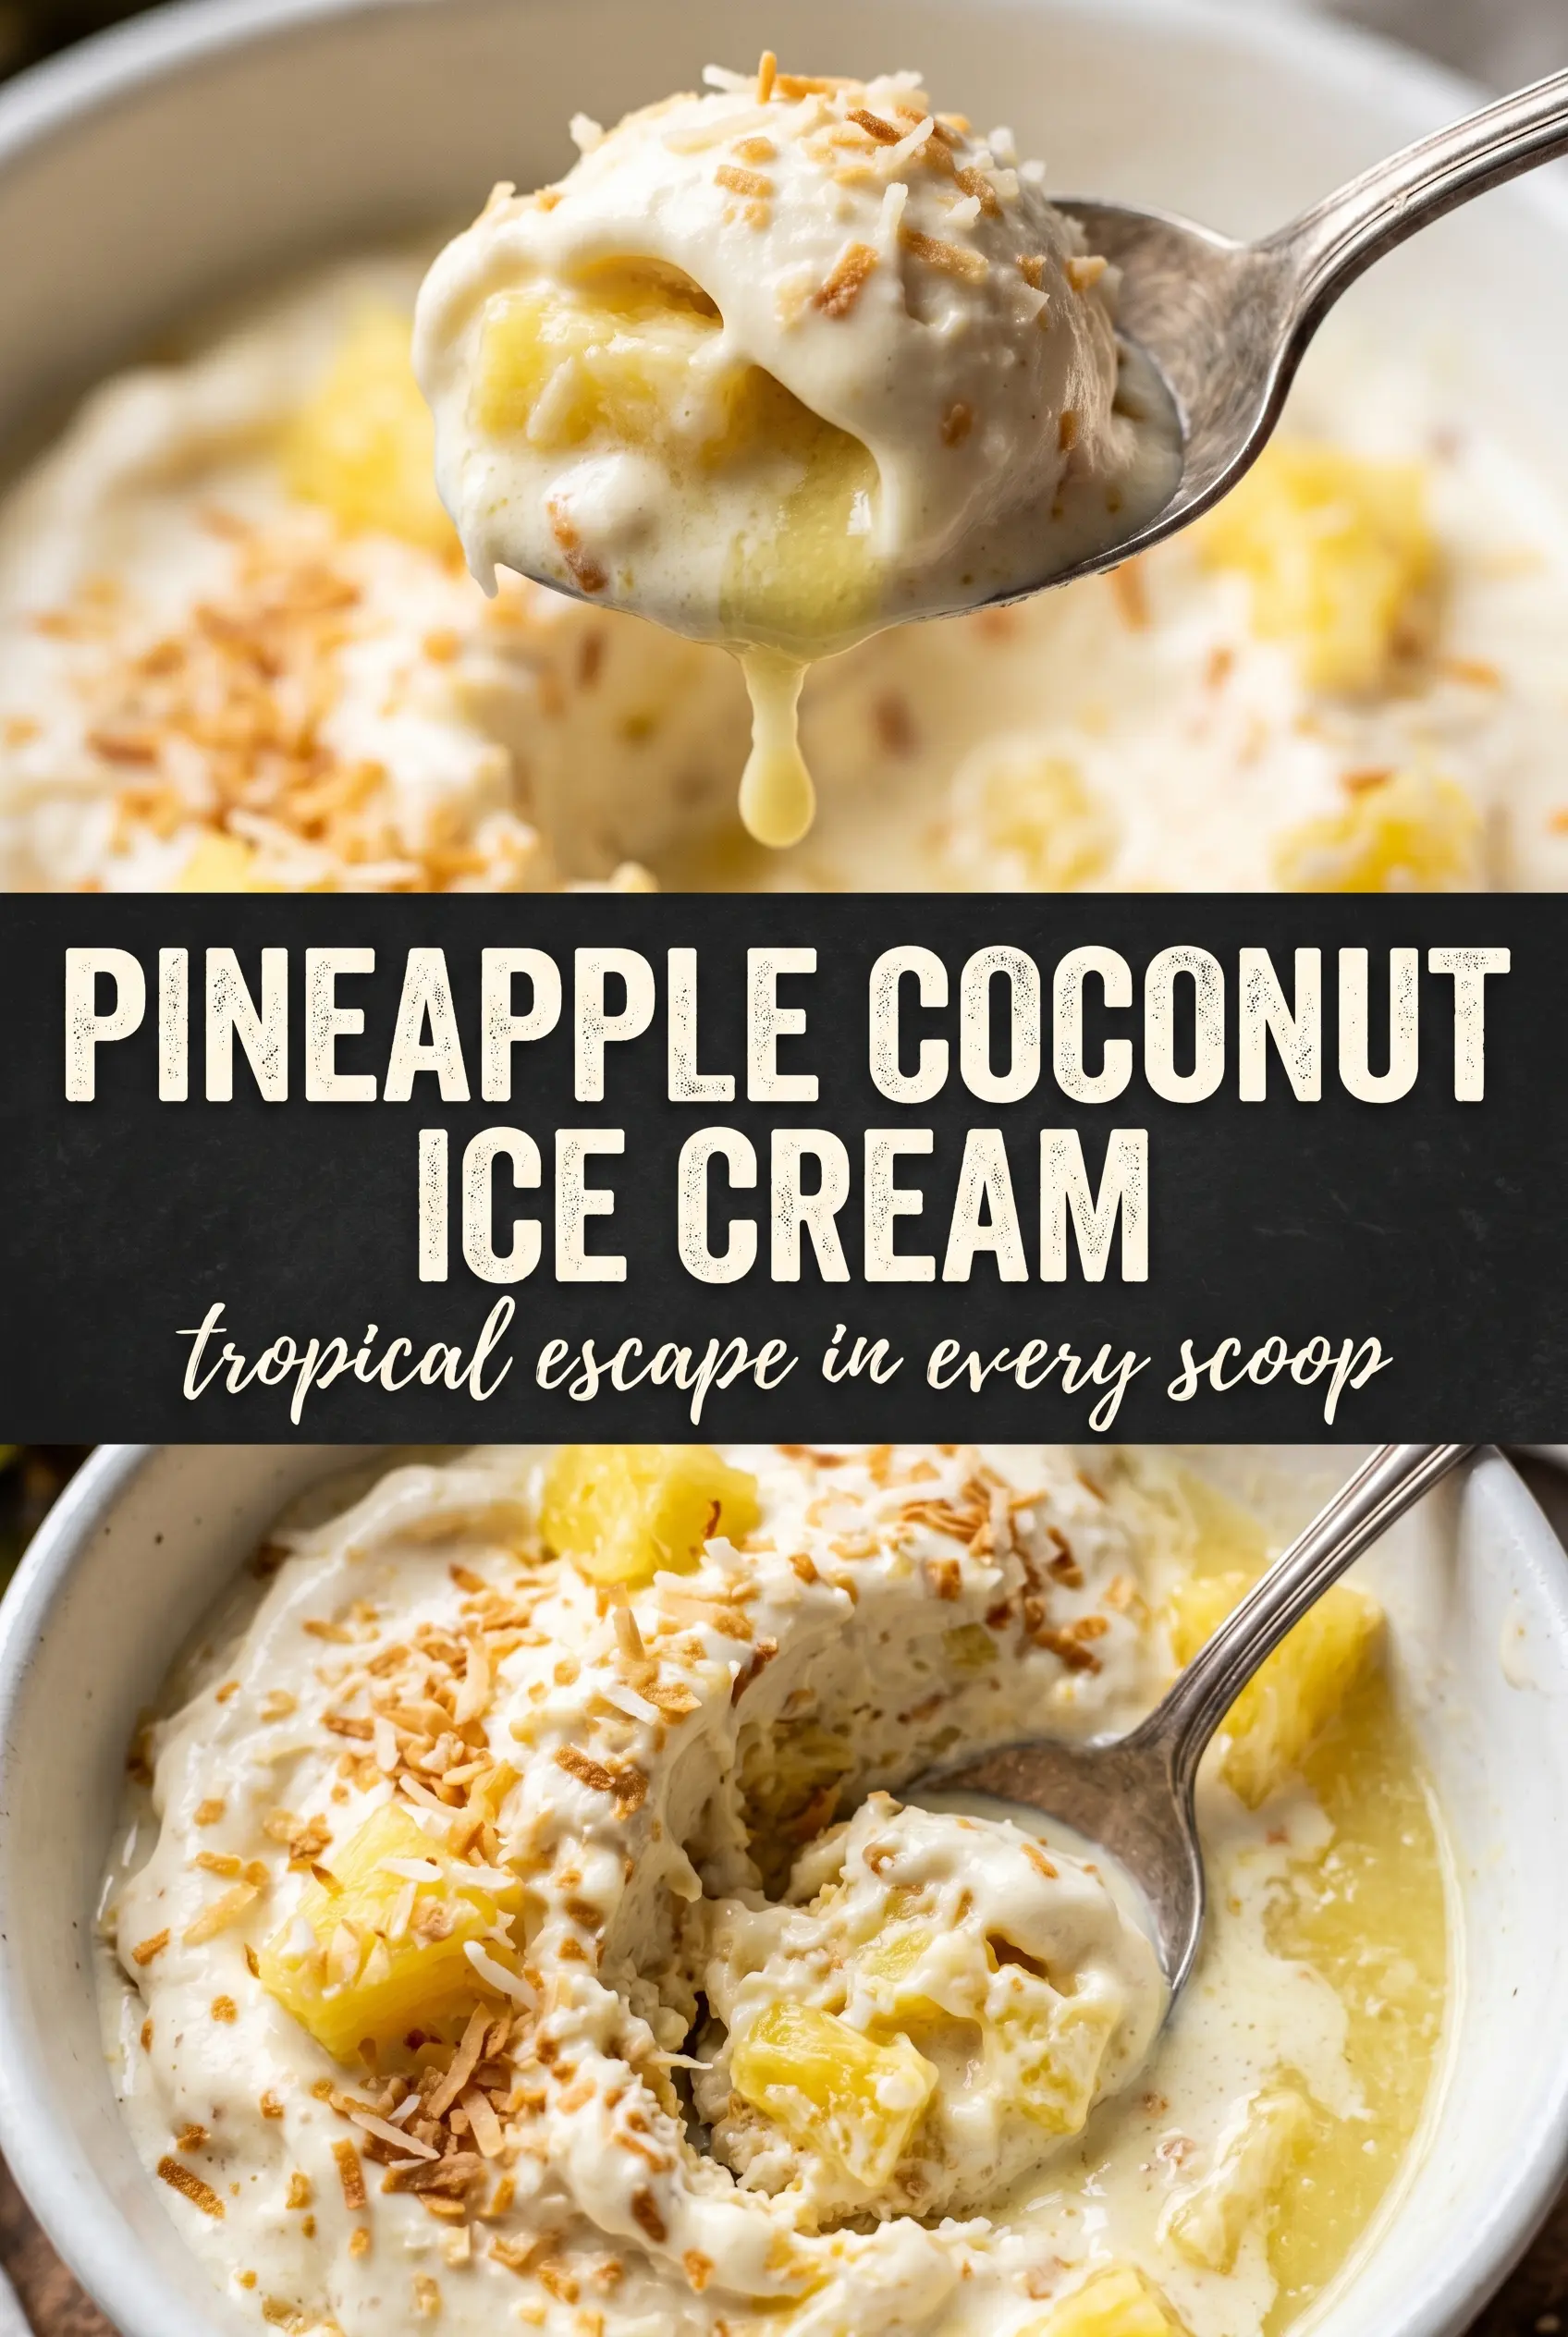
Pineapple coconut ice cream lands with that sweet-tart, creamy contrast that makes a second scoop feel inevitable. The coconut base freezes rich and plush, while the pineapple stays bright enough to keep each bite from turning heavy. With toasted coconut folded in at the end, the texture stays lively instead of one-note and smooth.
What makes this version work is the custard base. Egg yolks give it body, coconut milk brings that rounded tropical richness, and the pineapple goes in late so it keeps its flavor and little bursts of juice. Cook the base only to 175°F and strain it before chilling; that gives you a clean, silky finish without any graininess.
Below, I’ve laid out the one timing detail that matters most for keeping the pineapple pieces from freezing into hard little chunks, plus a few smart swaps if you want to adjust the sweetness or make it dairy-free.
The custard churned up smooth, and the pineapple stayed in little juicy pieces instead of turning icy. Toasting the coconut made a huge difference too — it gave the ice cream a great texture and kept the coconut flavor from getting lost.
Save this pineapple coconut ice cream for the nights when you want a creamy tropical dessert with real pineapple chunks and toasted coconut in every scoop.
The Part Most Ice Cream Gets Wrong: Adding Pineapple Too Early
Pineapple is the thing that can make this ice cream sing or wreck the texture. If you cook it down with the custard, it loses its fresh brightness and turns soft in a flat, jammy way. If you freeze it in too soon, it can harden into icy bits that feel out of place against the creamy base. The fix is simple: churn the custard first, then add the diced pineapple and toasted coconut during the last few minutes so they disperse evenly without breaking down.
That late addition keeps the pineapple tasting like pineapple instead of a background sweetness. It also helps the fruit stay visible, which matters here because those yellow pieces are part of the appeal. The toasted coconut follows the same logic; it gives you a little chew and a nuttier coconut note that plain coconut milk can’t provide on its own.
What Each Ingredient Is Doing in the Bowl

- Full-fat coconut milk — This is the backbone of the tropical flavor and the main source of that creamy body. Use full-fat, not light, or the ice cream will freeze harder and taste thin.
- Heavy cream — Coconut milk alone can freeze a little icy. The cream smooths out the texture and makes the custard scoopable after freezing.
- Egg yolks — They turn the base into a custard, which gives the finished ice cream a softer, richer texture. If you rush this step and cook it too hot, you’ll get scrambled bits instead of a smooth base, so keep the heat steady and stir constantly.
- Fresh pineapple — Fresh pineapple keeps the flavor bright and clean. Canned pineapple can work in a pinch, but drain it well and expect a softer texture.
- Coconut extract and vanilla — These round out the flavor without making the base taste perfumed. Coconut extract is strong, so don’t overdo it; the measured amount is enough.
- Toasted shredded coconut — This brings texture and a deeper coconut note. Toast it until the edges are golden and fragrant, then cool it before adding it to the churned ice cream so it stays crisp.
Building the Custard Without Scrambling the Eggs
Warming the Dairy and Sugar
Start by heating the coconut milk, heavy cream, and sugar together just until the sugar dissolves and the mixture is steaming. You want hot, not boiling. If it boils, the eggs are much more likely to cook unevenly when you temper them. Stir often and watch for the sugar to disappear completely; gritty custard usually starts with sugar that never fully dissolved.
Tempering the Yolks
Whisk the egg yolks in a separate bowl, then add the hot dairy in a slow stream while whisking constantly. That gradual addition raises the yolks’ temperature without shock. If you dump the hot liquid in all at once, the yolks can curdle at the edges before they have a chance to blend. After the yolks are warmed through, pour everything back into the saucepan.
Cooking to 175°F
Cook the custard over medium-low heat, stirring nonstop and scraping the bottom and corners of the pan. It should thicken enough to coat a spoon and reach 175°F, but it doesn’t need to bubble. If you go much hotter, the yolks can turn grainy. Pull the pan off the heat as soon as it reaches temperature, then strain it into a clean bowl for the smoothest finish.
Chilling Before Churning
Stir in the coconut extract, vanilla, and salt after straining, then cool the base completely before it goes into the fridge. It needs at least 4 hours chilled, and overnight is even better if you have the time. A cold base churns faster and freezes with smaller ice crystals. If you churn it warm, the machine works harder and the texture suffers.
Adding the Fruit at the End
Churn the custard until it looks like soft-serve, then add the diced pineapple and toasted coconut during the final 5 minutes. The ice cream should be thick enough that the fruit stays suspended instead of sinking to the bottom. Once it’s done, transfer it to a container and freeze until scoopable. If it seems too soft at first, that’s normal; homemade ice cream always firms up after a few hours in the freezer.
How to Adjust It Without Losing the Tropical Feel
Dairy-Free Version That Still Feels Creamy
Replace the heavy cream with more full-fat coconut milk or a thick coconut cream. The flavor gets even more coconut-forward, and the ice cream may freeze a little firmer, so let it sit on the counter for 5 to 10 minutes before scooping.
No-Churn Shortcut for a Softer Texture
If you don’t have an ice cream maker, whip the cream separately and fold it into a sweetened coconut base, then freeze it in a loaf pan. You’ll lose some of the custard richness, but the result is still creamy and easy to scoop if you stir the pineapple in gently and keep the fruit pieces small.
Extra Tropical, More Pineapple-Packed
For a sharper pineapple finish, add a spoonful of finely crushed pineapple that’s been well drained along with the diced fruit. The flavor gets brighter, but the texture will be softer and a little icier if you add too much liquid, so keep the amount modest.
Storage and Reheating
- Refrigerator: This isn’t a refrigerator dessert; keep it frozen. Once it softens in the fridge, the texture turns loose and uneven.
- Freezer: Store in an airtight container with plastic wrap pressed directly on the surface for up to 2 weeks. After that, it can pick up ice crystals and lose the fresh pineapple flavor.
- Reheating: Not needed. For the best scoop, let it sit at room temperature for 5 to 10 minutes before serving. If it’s frozen rock-hard, don’t microwave it; that melts the edges before the center softens.
Questions I Get Asked About This Recipe
Pineapple Coconut Ice Cream
Ingredients
Equipment
Method
- Heat the full-fat coconut milk, heavy cream, and granulated sugar in a saucepan over medium heat until the sugar dissolves completely, about 2–3 minutes, stirring until it looks smooth and glossy.
- Whisk the warm coconut mixture slowly into the egg yolks in a steady stream, so the yolks thicken without scrambling, about 1–2 minutes, with a light yellow custard beginning to form.
- Return the mixture to the saucepan and cook while stirring constantly until it reaches 175°F, about 6–8 minutes, until the custard coats the back of a spoon and a finger trace leaves a clear line.
- Strain the custard into a clean container and stir in the coconut extract, vanilla extract, and salt until evenly combined, about 1 minute, with no streaks visible.
- Cool completely to room temperature, then refrigerate at least 4 hours until very cold, about 4–6 hours, until it’s set and spoonable like a thick cream.
- Churn in an ice cream maker according to the manufacturer’s instructions until it thickens to soft-serve consistency, then add the finely diced fresh pineapple and toasted shredded coconut in the last 5 minutes, so pineapple chunks and coconut flakes distribute throughout.
- Transfer to a container and freeze until scoopable, about 2–4 hours, until the texture holds shape with minimal melting at the edges.