Creamy vanilla custard and crunchy caramelized pecans give this ice cream the kind of contrast that keeps people going back for another scoop. The praline pieces stay distinct instead of turning into sticky little shards, and that matters more than it sounds like it would: you want pockets of candy crunch in every bite, not a muddy churn of nuts and sugar.
The trick is treating the pralines like candy, not a stir-in. Cook the sugar mixture to soft-ball stage so it sets into crisp clusters once it cools, then fold those chunks into a fully chilled custard base near the end of churning. That keeps the pecans coated, crisp, and evenly scattered through the finished ice cream instead of sinking or dissolving into the base.
Below, I’ll walk through the part that keeps the custard smooth, the point where the pralines need to be pulled from the heat, and the little storage detail that keeps the candy bits from going soft in the freezer.
The praline chunks stayed crunchy even after freezing overnight, and the custard came out silky instead of icy. I was worried the candy would disappear, but every scoop had those perfect caramelized pecan bits.
Like this pecan praline and cream ice cream? Save it to Pinterest for the nights when you want silky custard and crunchy praline in every scoop.
The Praline Step That Keeps the Nuts Crunchy
The biggest mistake in praline ice cream is rushing the candy. If the sugar mixture never reaches soft-ball stage, the pecans stay tacky and bendy instead of snapping cleanly after freezing. If it goes much further than that, the praline turns harder than you want and can feel tooth-shattering straight from the freezer.
Cooking the brown sugar, cream, and butter to 235F gives you a coating that sets with a crisp bite but still breaks into chunks when folded into the churned base. Stir the pecans in only after the candy reaches temperature, then spread them out fast on parchment so they cool in separate pieces instead of one big sheet. That cooling step matters more than people think.
- Pecans — Fresh pecan halves matter here because stale nuts taste flat once they’re coated in sugar. Halves give better texture than pieces, and they hold up better when you break the praline into chunks.
- Brown sugar — This is the backbone of the praline and the custard. You can swap in granulated sugar for a cleaner caramel note, but you’ll lose the deeper molasses flavor that makes this ice cream taste distinctly Southern.
- Heavy cream — A little cream in the praline mixture keeps the candy from becoming brittle and gives the custard its rich, scoopable body. Don’t replace it with milk here; the lower fat content makes both parts less smooth.
- Egg yolks — Yolks are what give the base that dense, custardy texture. Whole eggs won’t thicken the same way, and you’ll end up with a lighter, more icy ice cream instead of a plush one.
- Vanilla — Vanilla ties the praline and custard together. Use real extract if you can; it softens the brown sugar and pecan notes without taking over.
What Each Ingredient Is Actually Doing in This Ice Cream

- Base ingredient (cream, milk, or custard) — This provides the foundation and richness. Quality matters.
- Sweetener (sugar, honey, or condensed milk) — This sweetens and prevents ice crystals. The ratio is critical.
- Flavor element (vanilla, fruit, chocolate, or other) — This defines the ice cream personality. Use quality ingredients.
- Egg yolks (if making custard base) — These create richness and silky texture. Optional but elevates ice cream.
- Churning (if using ice cream maker) — This incorporates air and prevents ice crystals. Critical for smooth texture.
- Freezing temperature and time — Proper freezing prevents rock-hard texture. Store at 0°F or below.
- Mix-ins (chocolate, cookies, fruit, or swirls) — These add texture and prevent one-dimensional flavor. Add near end of churning.
- Serving temperature (slightly soft, not rock hard) — This provides creamy mouthfeel. Remove from freezer 5 minutes before serving.
How to Keep the Custard Smooth While the Praline Stays Crisp
Cooking the Praline Candy
Set the brown sugar, cream, and butter over medium heat and let the mixture come to a steady boil before you start watching the temperature closely. Once it reaches 235F, stir in the pecans, vanilla, and salt, then get it out onto parchment right away. If you leave it in the pan too long, the residual heat keeps pushing the sugar past the point where it should be.
Tempering the Egg Yolks
Heat the milk, cream, and brown sugar until the sugar dissolves and the mixture is steaming, not raging. Whisk a little of that hot liquid into the yolks first, then slowly add the rest so the eggs warm gradually instead of scrambling. If you dump the hot base straight in, you’ll get sweet scrambled eggs and no custard.
Cooking and Chilling the Custard
Return the tempered base to the pan and cook it gently to 175F, stirring constantly and scraping the bottom so nothing catches. You’re looking for a lightly thickened custard that coats the spoon. Strain it, then chill it completely and let it rest in the refrigerator for the full four hours; if the base goes into the machine warm, it won’t churn up with the same smooth texture.
Folding in the Praline Pieces
Churn the custard until it’s thick and soft-serve in texture, then add the praline chunks during the last few minutes. That timing keeps the candy distributed without letting it melt into the base. If the pralines are larger than bite-size, break them down a bit more before folding so every scoop gets some crunch.
Salted caramel swirl
Drizzle in cooled salted caramel after churning instead of mixing it into the base. It gives you ribbons of extra sweetness and a little salt bite, but keep the caramel thick so it doesn’t disappear into the custard.
Dairy-free version
Use full-fat coconut milk for the custard and coconut cream in place of the heavy cream. The texture will be a little softer and the coconut note will show up, but the praline crunch still gives the same contrast.
More pronounced pecan flavor
Toast the pecans before making the praline. That extra step deepens the nuttiness and keeps the flavor from getting buried under the brown sugar.
Storage and Reheating
- Refrigerator: Keep the custard base up to 2 days before churning. Once frozen, the ice cream is best within 1 to 2 weeks before the praline starts to soften.
- Freezer: It freezes well in an airtight container, but press parchment or plastic wrap against the surface to limit ice crystals. The praline pieces will stay crisp longer if the container stays tightly sealed.
- Reheating: Let it sit on the counter for 5 to 10 minutes before scooping. If you try to force it right out of the freezer, you’ll break the praline chunks and crush the texture you worked for.
Questions I Get Asked About This Recipe
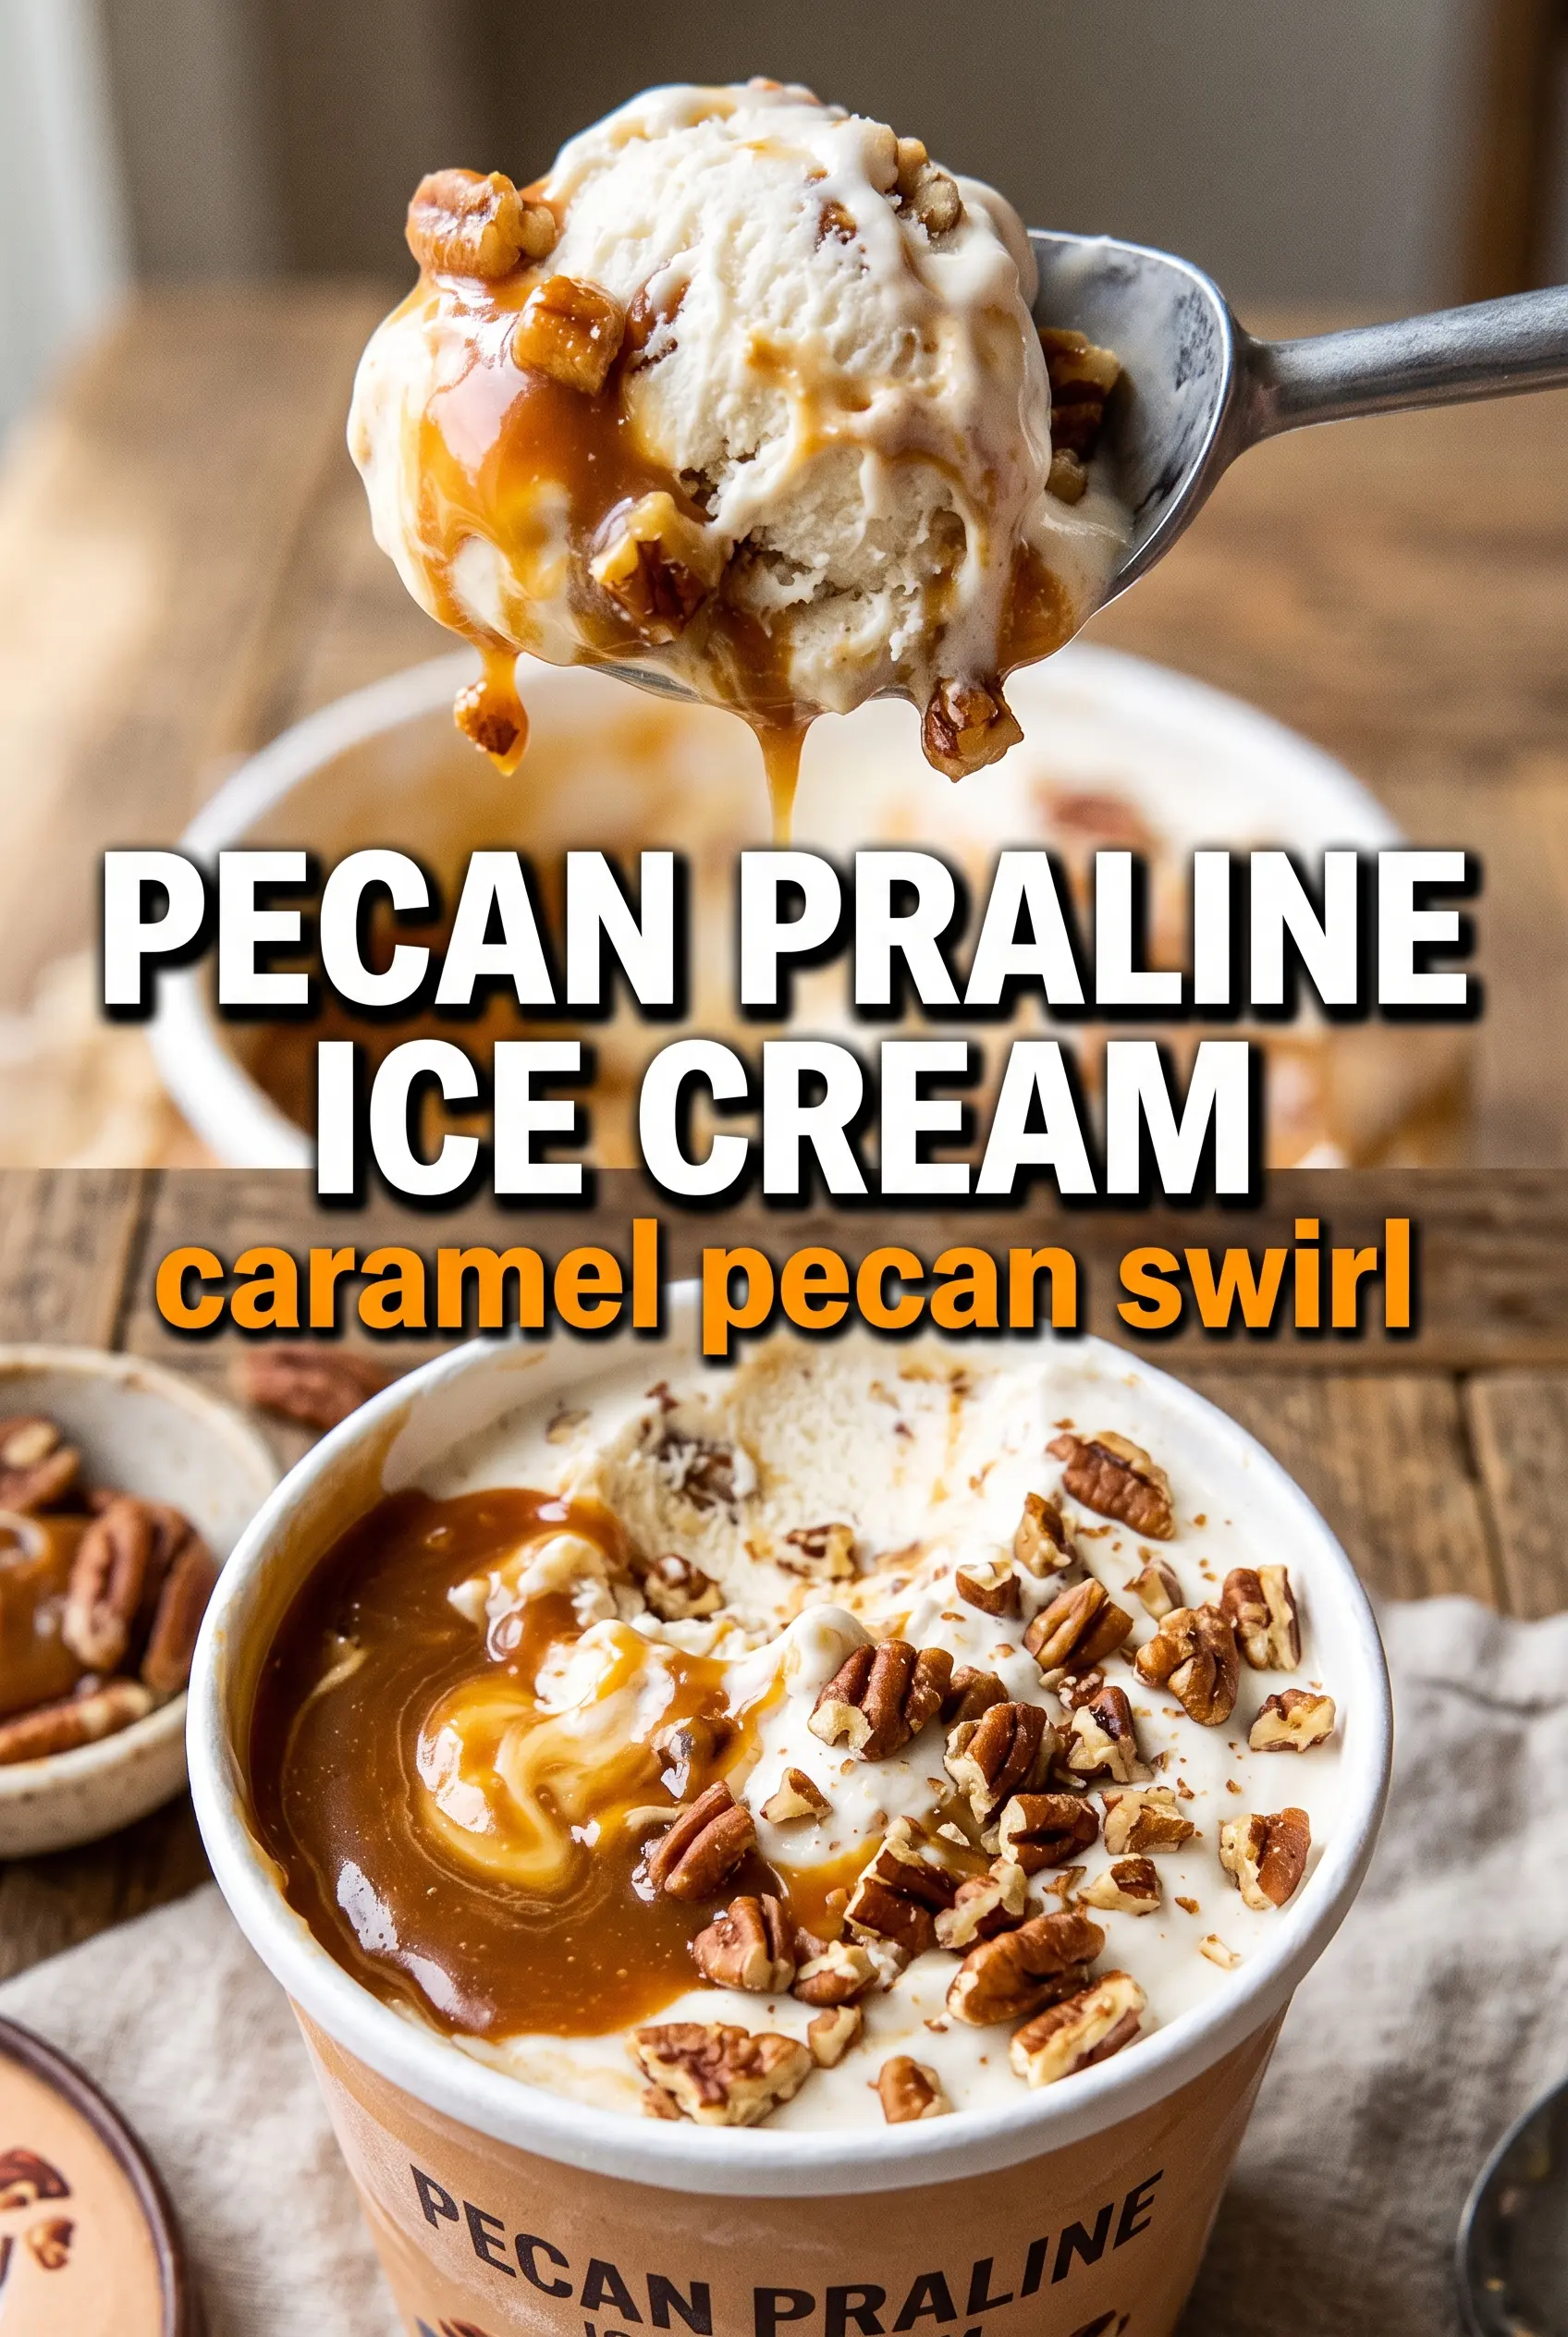
Pecan Praline and Cream Ice Cream
Ingredients
Equipment
Method
- Combine brown sugar, heavy cream, and butter in a saucepan over medium heat and cook, stirring, to 235F (soft ball stage). The mixture should look glossy and thicken as it reaches temperature.
- Stir in pecan halves, vanilla extract, and salt until all nuts are evenly coated. The coating should cling to the pecans and look caramelized.
- Spread the hot praline pecans on parchment to cool and harden. Let them sit until fully set, then break into chunks for folding into the ice cream later.
- Heat heavy cream, whole milk, and brown sugar in a saucepan until the sugar is dissolved, stirring to fully combine. The mixture should be smooth and steaming with no grainy sugar left.
- Slowly whisk the warm cream mixture into egg yolks to temper them. The yolks should turn loose and glossy without scrambling.
- Cook the custard, stirring constantly, until it reaches 175F. It will thicken enough to lightly coat the back of a spoon.
- Strain the custard into a clean container, then whisk in vanilla extract and salt. The texture should be silky with no bits of cooked egg.
- Cool the custard completely, then refrigerate for 4 hours. Chill until very cold for best churning results.
- Churn the chilled custard in an ice cream maker until it reaches a soft-serve consistency. The base will look thicker and aerated.
- Fold in praline pecan chunks during the last 5 minutes of churning. The pecans should distribute throughout without crushing too much.
- Freeze the ice cream until firm. The surface will set and the texture becomes scoopable.