Pale, dense, and intensely peanutty, this peanut butter ice cream lands with the kind of creamy scoop that tastes richer than the ingredient list suggests. The peanut butter doesn’t just add flavor here; it gives the custard a plush, almost chewy body that holds up beautifully in the freezer instead of turning airy or bland.
The key is building a proper custard before the peanut butter goes in. Egg yolks give the base enough structure to stay smooth after churning, while the sugar keeps the texture soft enough to scoop straight from the freezer. I also like using creamy peanut butter instead of a natural stir-in version, because the stabilized texture melts into the custard more cleanly and gives you a smoother finish.
Below, I’ve included the exact moment to add the peanut butter, why straining matters, and a few smart variations if you want to make this dairy-free or turn it into a peanut butter swirl situation.
The custard was silky and the peanut butter flavor came through in every bite without tasting heavy. I chilled it overnight and it churned into the smoothest ice cream I’ve made at home.
Save this creamy peanut butter ice cream for the days when you want a rich custard base and a deep roasted peanut finish.
The Custard Step That Keeps Peanut Butter Ice Cream Creamy
Peanut butter ice cream can go grainy or greasy fast if you treat it like a simple stir-together base. The custard is what keeps it smooth. Egg yolks emulsify the cream and milk, and that gives the finished ice cream a tighter, silkier texture that holds up after freezing.
The part people usually rush is the cook time. Once the custard goes back on the stove, keep the heat at medium-low and stir constantly until it reaches 175°F. If it climbs much higher, the yolks can scramble and the base loses that velvety texture. The peanut butter goes in after the custard comes off the heat, not before, because peanut butter can separate if it cooks too hard.
What Each Ingredient Is Doing in the Bowl
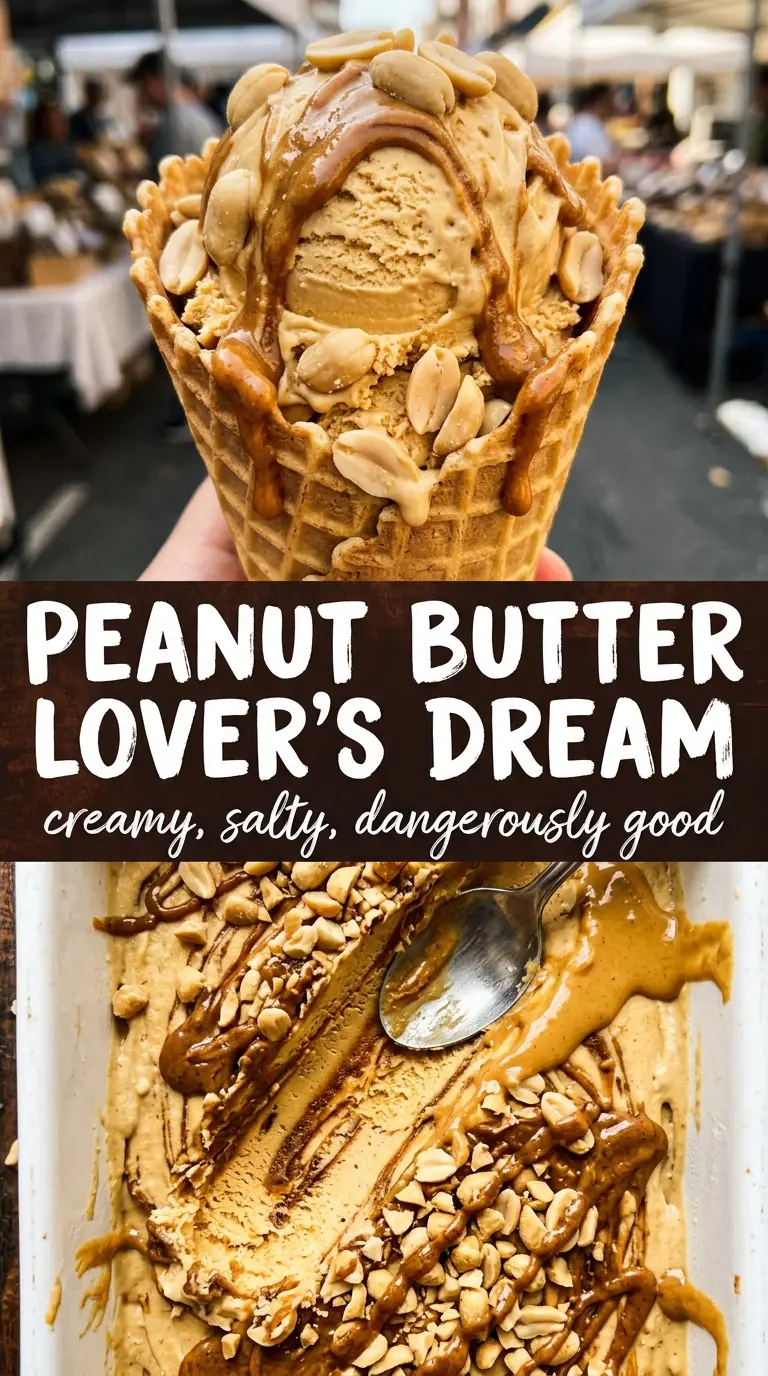
- Heavy cream — This brings the rich, spoon-coating texture. You need the fat here; lower-fat dairy will freeze harder and taste flatter.
- Whole milk — It softens the base so the finished ice cream isn’t dense like frozen peanut butter. Don’t swap in skim milk unless you want a much icier result.
- Egg yolks — They thicken the custard and keep the texture smooth after churning. There isn’t a real substitute if you want this exact custard style, though a cornstarch-based base can work in a pinch.
- Creamy peanut butter — Use a shelf-stable creamy peanut butter for the smoothest result. Natural peanut butter can separate and make the base oily unless you stir it extremely well and accept a slightly less uniform texture.
- Vanilla extract — This rounds out the peanut flavor and keeps it from tasting one-note. It doesn’t replace the peanut butter, but it makes the whole base taste fuller.
- Salt — A small amount sharpens the peanut flavor and keeps the sweetness in check. Without it, the ice cream tastes softer and less defined.
Building the Base Without Scrambling the Yolks
Tempering the Custard
Warm the cream and milk until steaming, not boiling. Whisk the hot dairy into the yolks and sugar slowly at first so the eggs warm gradually instead of turning into bits of cooked yolk. If the stream goes in too fast, you’ll get sweet scrambled eggs instead of a base. Once the mixture is combined, return it to the saucepan and stir constantly over medium-low heat.
Knowing When It Has Thickened Enough
Cook until the custard reaches 175°F and lightly coats the back of a spoon. It should feel noticeably thicker, but it won’t look like pudding yet. Pull it off the heat as soon as it hits temperature; the residual heat will keep cooking it for a minute or two. If it starts to steam hard or bubble, the burner is too high.
Melting in the Peanut Butter
Whisk the peanut butter into the hot custard off the heat until the mixture looks glossy and completely smooth. This is where the base turns from standard custard into peanut butter ice cream, so take the time to fully dissolve any streaks. If you see little oily ribbons, the base was too hot or the peanut butter wasn’t blended enough.
Straining, Chilling, and Churning
Push the custard through a fine mesh sieve before chilling it over an ice bath. That catches any tiny egg solids and gives you a smoother churn later. Chill it for at least 4 hours, or overnight if you can, because a cold base churns faster and picks up less air. Churn according to your machine’s instructions, then freeze until firm enough to scoop cleanly.
How to Change This Peanut Butter Ice Cream Without Losing the Good Part
Dairy-Free Version
Use full-fat coconut milk in place of the cream and whole milk, and keep the egg yolk custard if you still want that rich body. The ice cream will taste a little coconutty, which works well with peanut butter, but it won’t be as neutral as the original.
Chocolate Swirl
Fold in a ribbon of cooled fudge sauce after churning for a peanut butter cup effect. Don’t mix it all the way through or you’ll lose the contrast; a few visible swirls keep the texture interesting and make each scoop feel more finished.
Extra Peanut Crunch
Stir in chopped roasted peanuts during the last minute of churning or scatter them on top before freezing. Roasted nuts add a sharper peanut note and a little bite, but they’ll soften over time in the freezer, so they’re best for the first couple of days.
Sugar-Free Approach
Agranulated sugar substitute can work, but the texture will freeze harder and the custard won’t soften the same way. If you go this route, let the finished ice cream sit at room temperature for 10 to 15 minutes before scooping so it doesn’t feel icy and tight.
Storage and Reheating
- Refrigerator: Chill the custard base up to 24 hours before churning. After churning, keep the ice cream in the freezer rather than the fridge or it will melt and refreeze poorly.
- Freezer: Store in an airtight container with parchment pressed on the surface. It keeps well for about 2 weeks, though the texture is best in the first few days before ice crystals start to creep in.
- Reheating: Not applicable, but if the ice cream gets too hard, let it stand at room temperature for 5 to 10 minutes before scooping. Don’t microwave it or you’ll melt the edges before the center softens.
Answers to the Questions Worth Asking
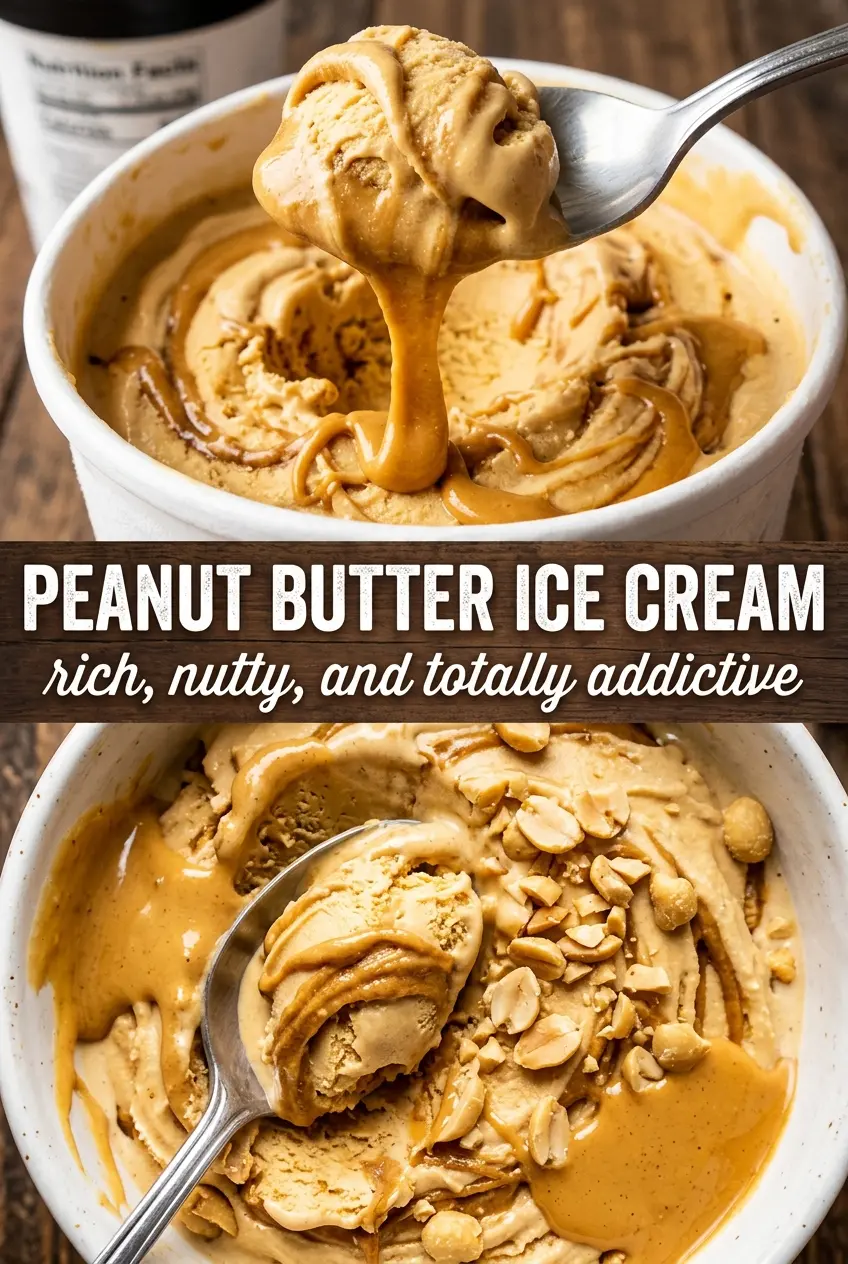
Peanut Butter Ice Cream
Ingredients
Equipment
Method
- Heat heavy cream and whole milk in a saucepan over medium heat until steaming, with small bubbles just starting to form around the edges. Visual cue: steam should rise consistently but the mixture should not boil.
- Whisk egg yolks and granulated sugar in a bowl until smooth and slightly thickened. Visual cue: the mixture should look pale and ribbon easily from the whisk.
- Slowly whisk the steaming cream mixture into the egg yolks in a thin stream to temper. Visual cue: the custard should stay glossy without scrambling.
- Return the mixture to the saucepan and cook over medium-low heat, stirring constantly, until the custard reaches 175F. Visual cue: it should coat the back of a spoon and hold a line when you run a finger through.
- Remove from heat and whisk in creamy peanut butter until completely smooth. Visual cue: no peanut butter streaks should remain.
- Strain the custard through a fine mesh sieve into a clean container, then add vanilla extract and salt. Visual cue: the final texture should look silky and uniform.
- Cool the custard over an ice bath, stirring occasionally until it is cool to the touch. Visual cue: the container should feel cold quickly and the custard should thicken slightly as it cools.
- Refrigerate the custard at least 4 hours or overnight until thoroughly chilled. Visual cue: it should be cold throughout and pourable but noticeably thick.
- Churn the chilled custard in an ice cream maker according to the manufacturer’s instructions. Visual cue: it should look like soft-serve and hold gentle ridges from the paddle.
- Freeze the churned ice cream until firm. Visual cue: it should become scoopable with resistance and not feel like melted soft-serve.