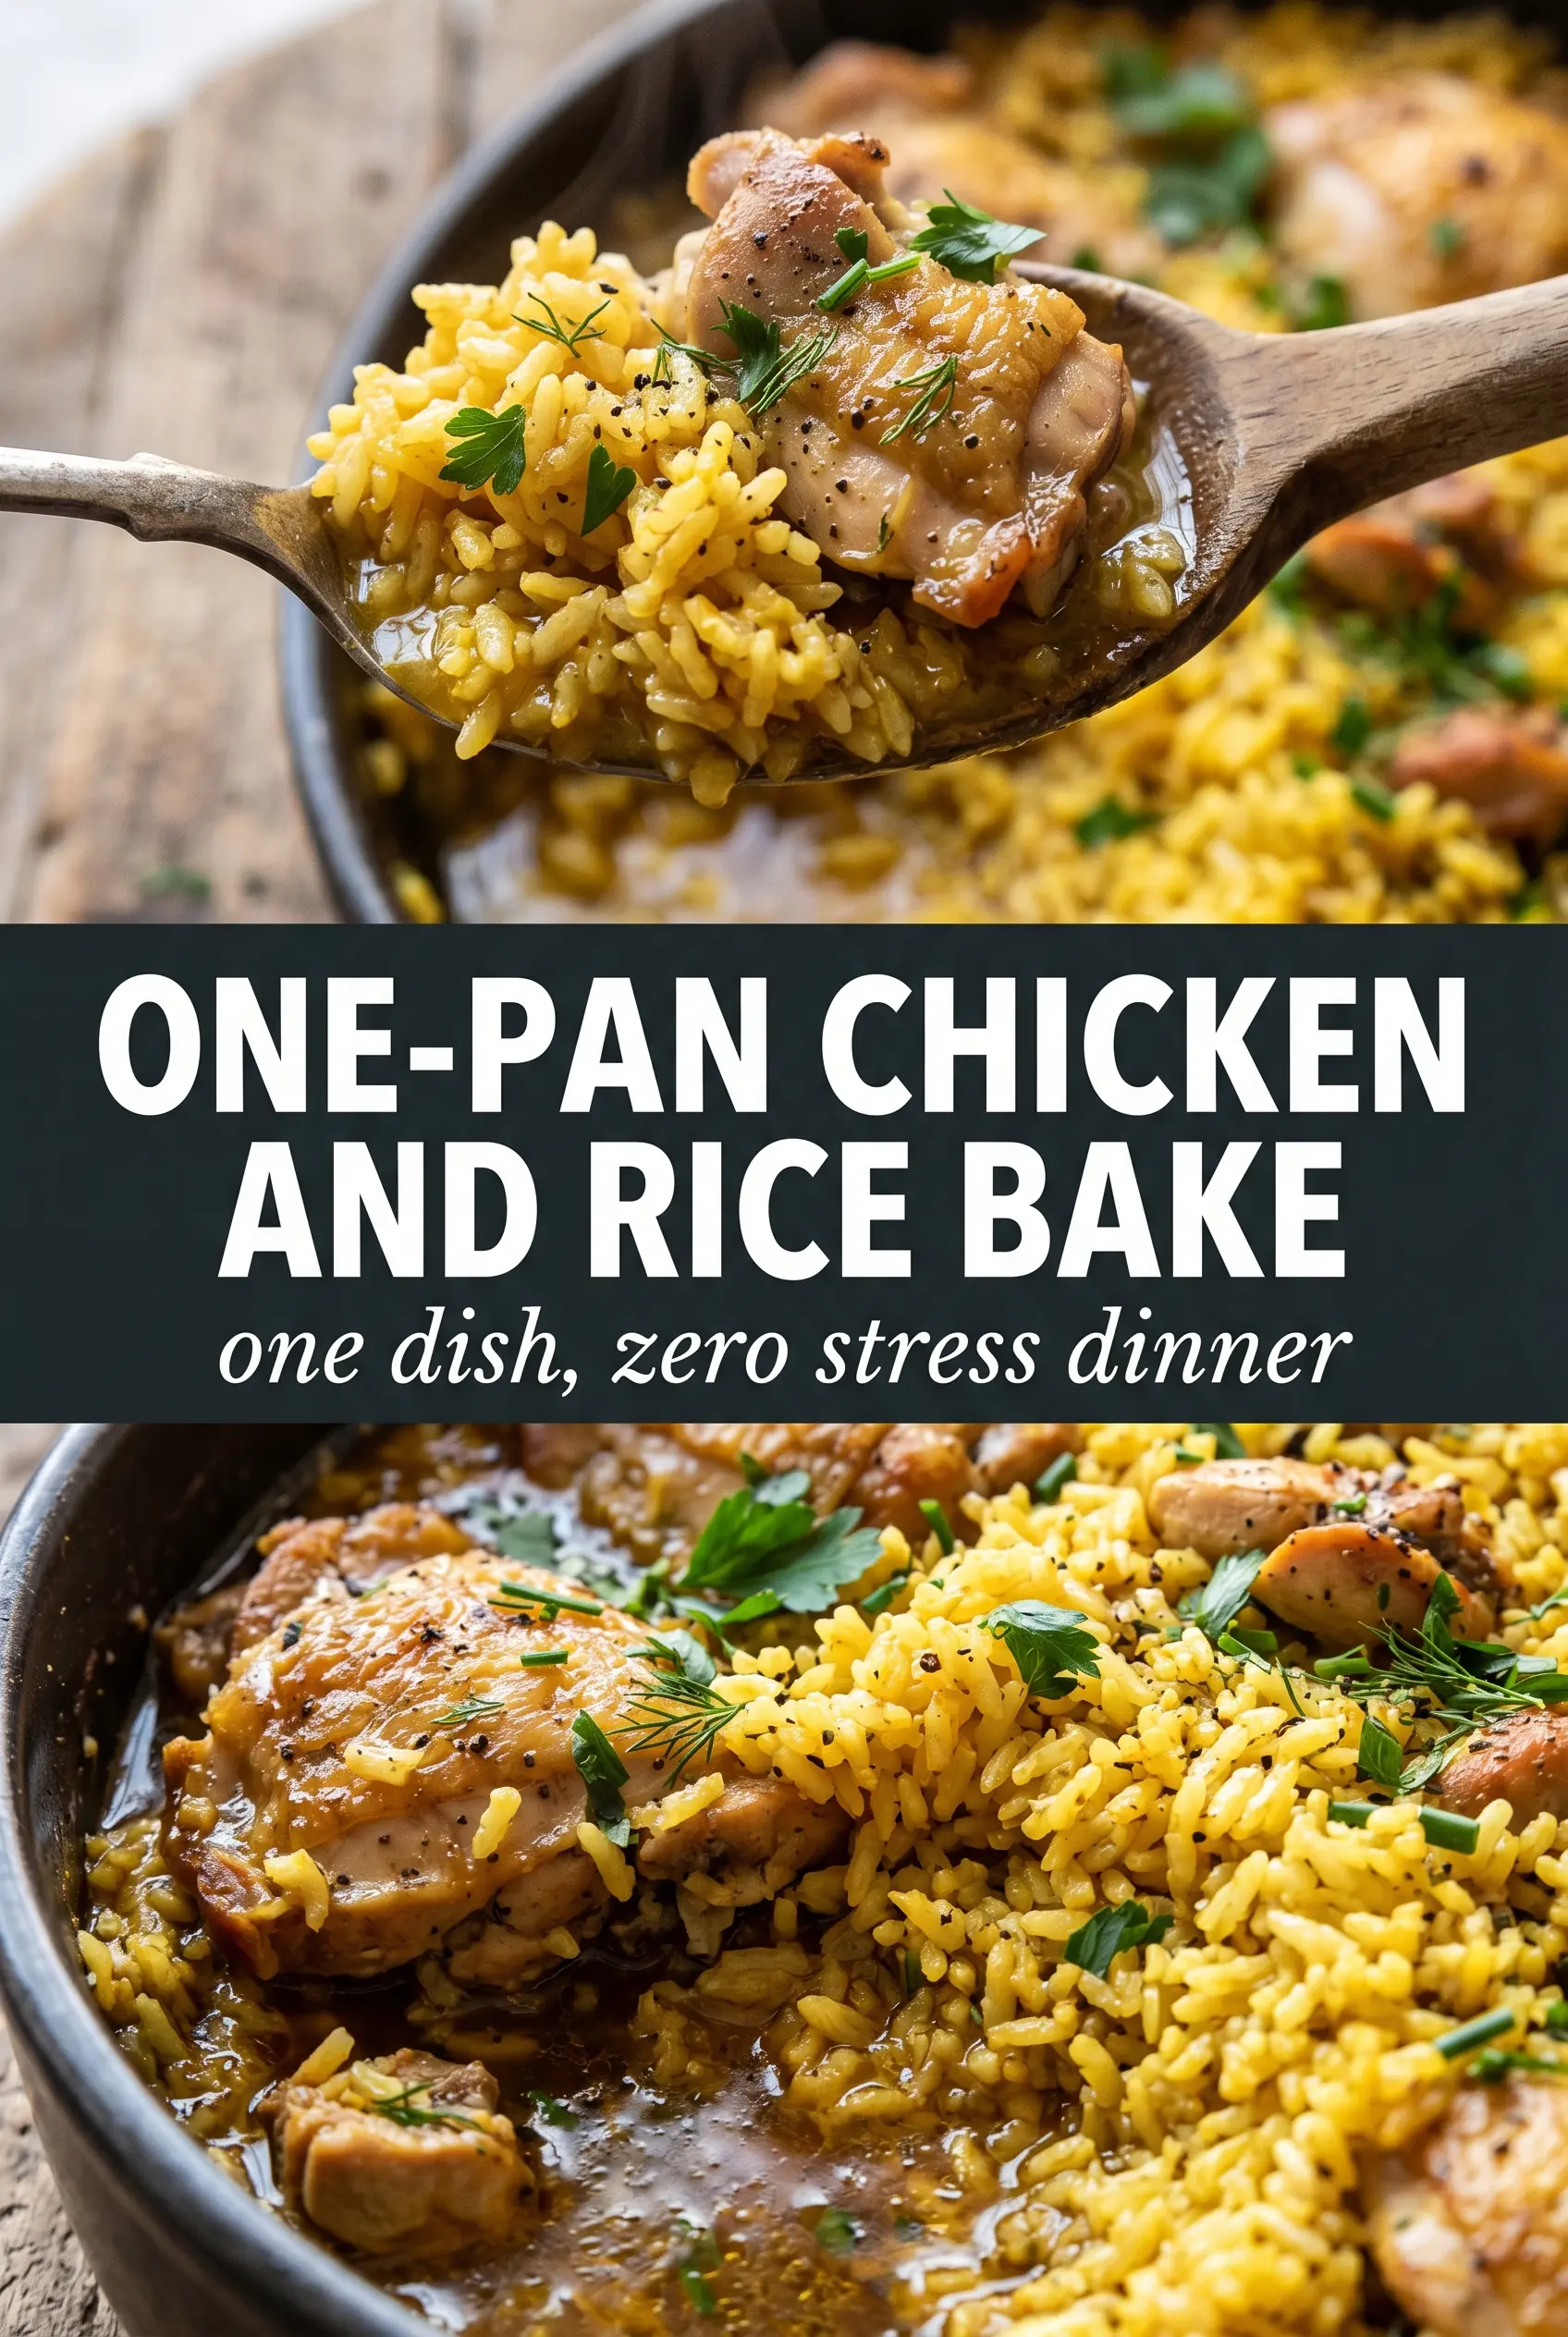
Golden-skinned chicken thighs nestled over tender rice make this one-pan chicken and rice bake the kind of dinner that earns repeat status fast. The rice cooks under the chicken, not beside it, so every spoonful picks up savory drippings, onion, garlic, and herbs instead of tasting plain or watery. The chicken stays juicy while the skin turns crisp enough to crackle when you serve it.
The part that makes this version work is the covered bake first, then the uncovered finish. That first stretch traps steam so the rice cooks evenly without drying out, and the last 15 minutes give the skin a chance to brown and the top layer of rice to absorb the last bit of broth. Bone-in, skin-on thighs matter here because they bring enough fat and flavor to season the rice as they cook.
Below you’ll find the small details that keep the rice from going gummy, plus a few smart swaps if you need to work with what’s already in your kitchen.
The rice came out fluffy under the chicken, not mushy, and the skin got crisp in the last few minutes just like you said. My husband went back for seconds and asked if I could put this in the regular rotation.
Love the crispy-skin, herb-scented rice in this one-pan chicken and rice bake? Save it to Pinterest for the nights when you want a full dinner from one baking dish.
Why the Rice Cooks Right Under the Chicken
The mistake most one-pan rice bakes make is leaving the rice exposed too early or using too little liquid. Rice needs steady, trapped steam at the start, and the chicken needs time to release its juices into the pan. When both happen together, the rice absorbs flavor instead of cooking in a bland broth bath.
Keep the chicken on top of the rice mixture, not stirred in. That lets the skin stay above the liquid so it can brown later, while the rendered fat drips down and seasons the rice. If you bury the thighs, the skin turns soft and the rice around them can cook unevenly.
- Bone-in, skin-on chicken thighs — These bring enough fat and moisture to season the rice while staying juicy through a long bake. Boneless chicken cooks faster and doesn’t give the same deep, savory drippings.
- Long-grain white rice — This is the rice that holds its shape here. Short-grain rice can turn sticky, and brown rice needs more liquid and a longer cook time than this recipe gives it.
- Chicken broth — Broth does the heavy lifting on flavor. Water will work in a pinch, but the rice will taste flatter and you’ll lose some of the built-in savoriness that makes this dish taste like more than the sum of its parts.
- Onion, garlic, thyme, and Italian seasoning — These season the rice from the start so every bite tastes finished. Fresh garlic is worth using here because it softens in the bake and blends into the broth instead of tasting sharp.
What Each Ingredient Is Actually Doing in This Recipe
- Primary ingredient (the star) — Quality matters most. Choose the best you can find.
- Cooking medium (oil, butter, or broth) — This carries flavors and prevents dryness.
- Seasonings (salt, pepper, spices, herbs) — Layer flavors so nothing overpowers. Build depth gradually.
- Aromatics (garlic, onion, herbs) — Cook with fat to bloom flavors. Become the foundation.
- Supporting ingredients — Complement the main ingredient without overpowering it.
- Sauce or liquid (if applicable) — Brings flavors together. Balance richness with acid.
- Acid (lemon, vinegar, wine, or other) — Brightens and prevents flat-tasting results.
- Final finish (garnish, glaze, or sauce) — Prevents one-dimensional taste and adds visual appeal.
Getting the Rice Tender Without Drying Out the Chicken
Build the Seasoned Rice Base
Stir the uncooked rice, broth, onion, garlic, thyme, Italian seasoning, and salt directly in the baking dish until the grains are evenly distributed. The liquid should look well mixed, not clumped at one side of the pan. This is the point where under-seasoning shows up later, so taste the broth mixture before the chicken goes on top; it should taste a little salty because the rice will absorb some of that seasoning as it bakes.
Season the Chicken Generously
Pat the thighs dry, then season them on both sides with salt, pepper, garlic powder, paprika, and Italian seasoning. Dry skin browns better, and that seasoning helps the top layer of chicken develop color instead of steaming under the foil. If you skip the paprika or go too light with salt, the rice can taste right but the chicken tastes underdone in the flavor department.
Cover for the First Bake
Arrange the chicken skin-side up over the rice mixture, drizzle with olive oil, and cover the dish tightly with foil. Tight foil matters because loose foil leaks steam, and steam is what finishes the rice without leaving the top grainy or hard. Bake until the rice is mostly tender and the chicken is cooked through enough that the juices are running clear around the edges.
Uncover for the Final Browning
Remove the foil and bake until the skin turns deep golden and the rice has absorbed the remaining liquid. If the rice still looks wet but the skin is done, let it rest covered for 5 to 10 minutes off the heat; that extra time finishes the grains without overcooking the chicken. Fresh parsley at the end gives the dish a clean finish and keeps the whole pan from tasting heavy.
How to Adapt This When You Need a Different Pan, Protein, or Grain
Use Boneless Chicken Thighs for a Faster Bake
Boneless thighs cut the cooking time a bit, but they won’t flavor the rice as deeply as bone-in pieces. Start checking early and pull the pan once the rice is tender and the chicken is just cooked through, or the thighs can dry out before the grains finish.
Make It Gluten-Free Without Changing the Method
This dish is naturally gluten-free as long as your broth is certified gluten-free. That matters more than people realize, because some broths use additives that can sneak gluten into an otherwise safe pan dinner.
Swap in Brown Rice Only If You Change the Timeline
Brown rice needs more liquid and a longer covered bake, so it’s not a straight swap. If you try to use it here without adjusting both, the chicken will finish before the rice softens, and you’ll end up with dry meat over hard grains.
Go Dairy-Free Without Losing Richness
No dairy is needed here, so the recipe is already naturally dairy-free. The olive oil and chicken drippings carry the richness, which is why this bake still tastes full and satisfying without butter or cream.
Storage and Reheating
- Refrigerator: Store leftovers in an airtight container for up to 4 days. The rice will firm up as it chills, which is normal.
- Freezer: Freeze portions for up to 2 months. The rice softens a little after thawing, but it still reheats well if you cool it completely before freezing.
- Reheating: Reheat covered in the oven at 325°F with a splash of broth or water to loosen the rice. The common mistake is blasting it uncovered in the microwave, which dries out the chicken and makes the rice tough on the edges.