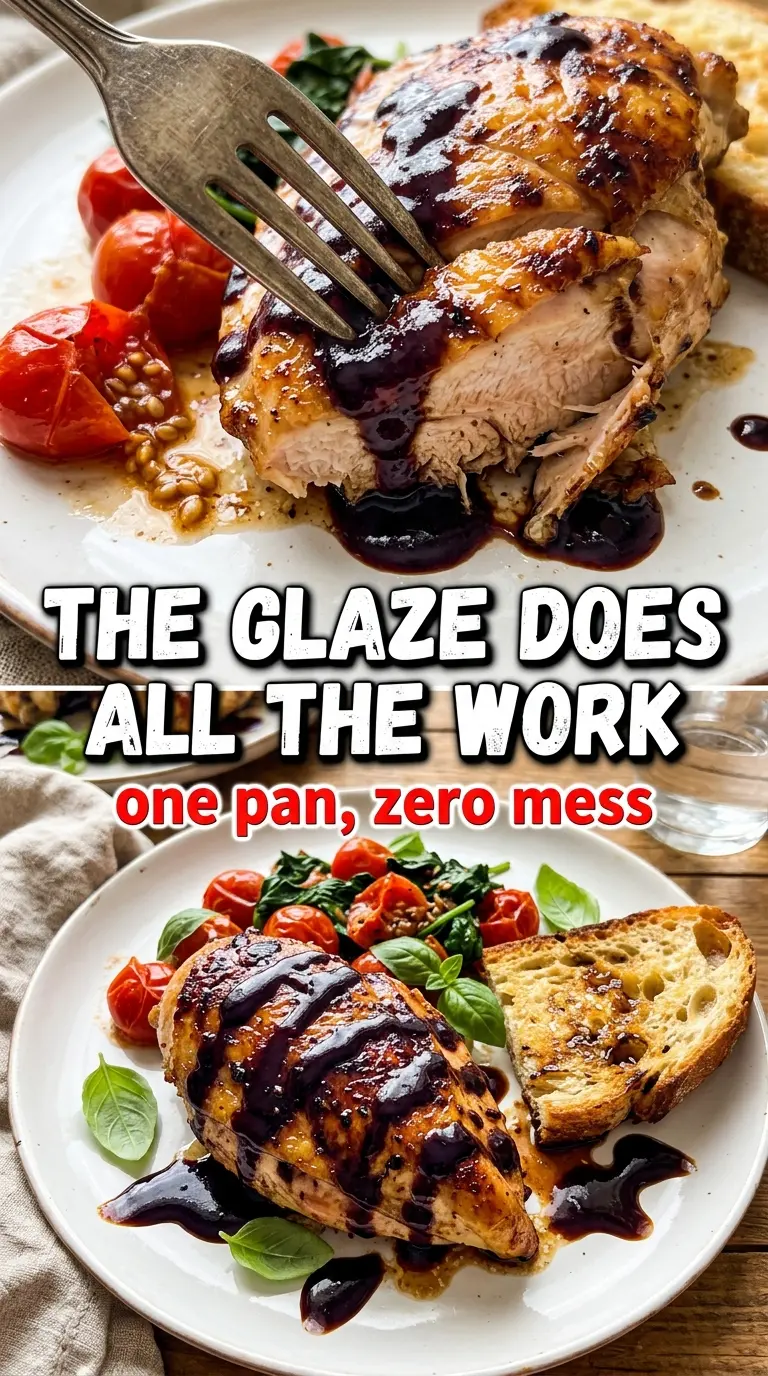
One pan balsamic chicken earns its place in the dinner rotation because the sauce turns glossy and deep without needing a long simmer or a second pan. The chicken stays juicy under a crisp, well-browned skin, and the cherry tomatoes collapse just enough to sweeten the balsamic glaze without turning the whole skillet muddy. It tastes like you spent a lot longer on it than you did.
The trick is to sear the thighs skin-side down first and leave them alone until the fat renders and the skin turns deeply golden. That step gives you both flavor and texture, and it also leaves behind browned bits that dissolve into the balsamic, honey, and broth. The garlic goes in whole so it softens and sweetens instead of burning while the sauce reduces.
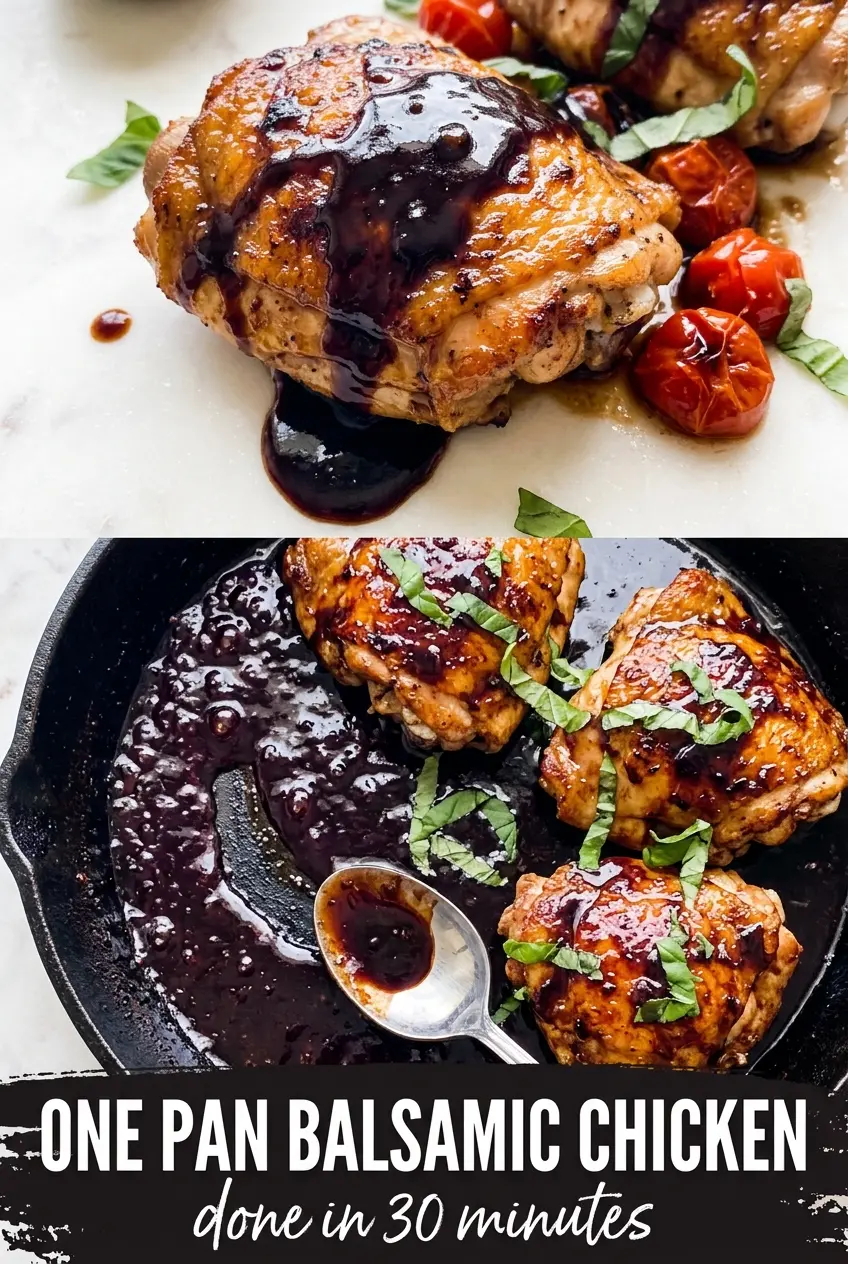
Below you’ll find the exact timing that keeps the chicken from drying out, plus a few smart swaps if you need to work with what’s in the fridge. The glaze should coat the back of a spoon and cling to the chicken in a shiny layer, not pool thinly at the bottom of the pan.
The sauce reduced into a thick, shiny glaze and the chicken skin stayed crisp even after it went back into the skillet. My husband kept spooning the tomatoes over his rice.
Love the dark balsamic glaze and crisp chicken skin? Save this skillet balsamic chicken for a night when you want a one-pan dinner with big flavor and almost no cleanup.
The Part That Keeps the Chicken Crispy While the Glaze Reduces
The biggest mistake with balsamic chicken is rushing the skillet once the sauce goes in. If the chicken goes back into a pan that’s still roaring hot, the sauce can reduce too fast and turn sticky before the thighs are cooked through. If the heat is too low, the skin softens and the glaze stays thin. The sweet spot is a steady medium heat after the initial sear, which gives the chicken time to finish while the liquid tightens into a real glaze.
- Bone-in, skin-on chicken thighs — These stay juicy and keep their texture while the sauce reduces. Boneless thighs work in a pinch, but they cook faster and won’t give you the same crispy skin or rich pan drippings.
- Balsamic vinegar — This is the backbone of the sauce, so use a balsamic you’d actually drink with olive oil. A cheap, harsh vinegar can taste sharp after it reduces; a decent bottle turns mellow and syrupy.
- Honey — It rounds out the acidity and helps the glaze cling to the chicken. If you swap in maple syrup, the sauce still thickens, but the finish will taste a little deeper and less floral.
- Chicken broth — This keeps the glaze from becoming candy-sweet and gives it enough volume to simmer around the chicken. Water will work in an emergency, but you’ll lose some savory depth.
- Whole garlic cloves — Leaving them whole lets them soften and sweeten in the sauce without scorching. If you mince them, they’ll disappear into the glaze and can turn bitter during the sear.
What Each Ingredient Is Actually Doing in This Recipe
- Primary ingredient (the star) — Quality matters most. Choose the best you can find.
- Cooking medium (oil, butter, or broth) — This carries flavors and prevents dryness.
- Seasonings (salt, pepper, spices, herbs) — Layer flavors so nothing overpowers. Build depth gradually.
- Aromatics (garlic, onion, herbs) — Cook with fat to bloom flavors. Become the foundation.
- Supporting ingredients — Complement the main ingredient without overpowering it.
- Sauce or liquid (if applicable) — Brings flavors together. Balance richness with acid.
- Acid (lemon, vinegar, wine, or other) — Brightens and prevents flat-tasting results.
- Final finish (garnish, glaze, or sauce) — Prevents one-dimensional taste and adds visual appeal.
Building the Skillet so the Sauce Turns Glossy, Not Thin
Seasoning and Searing the Thighs
Pat the chicken dry before seasoning it. Moisture on the skin is the enemy of crispness, and if the thighs go into the pan damp, they’ll steam before they brown. Lay them skin-side down in the hot oil and leave them alone until the skin is deep golden and releases easily from the pan. If it sticks, it isn’t ready yet.
Softening the Garlic and Tomatoes
Once the chicken comes out, the garlic cloves and cherry tomatoes go into the rendered fat. The tomatoes should blister and split at the seams, not collapse immediately into mush. That short cook gives the sauce a sweet, concentrated base and keeps the garlic from tasting raw. Stir just enough to coat them in the drippings.
Reducing the Balsamic
Add the balsamic vinegar, honey, and broth, then scrape the browned bits from the bottom of the pan. Those browned bits carry most of the flavor, and once they dissolve, the liquid should bubble steadily, not violently. If the sauce boils too hard, the vinegar can taste harsh before it has time to mellow. Let it simmer until it looks slightly syrupy and coats the back of a spoon.
Finishing in the Glaze
Return the chicken skin-side up so the skin stays above the liquid. Cook until the thighs hit 165°F at the thickest part and the sauce has thickened around them into a shiny glaze. Stir in the butter off the heat or over very low heat; that last bit adds sheen and smooths the sharp edges of the balsamic. Scatter the basil on top at the end so it stays bright.
How to Adapt This Skillet Dinner Without Losing the Glaze
Use boneless chicken thighs for faster cooking
Boneless thighs shave a few minutes off the cook time and are easier to eat, but you’ll lose some of the deep pan flavor that bone-in pieces bring. Sear them just until browned, then simmer only until they’re cooked through so they don’t dry out.
Make it dairy-free
Leave out the butter and finish with a drizzle of olive oil instead. You’ll still get a glossy sauce, just with a slightly lighter finish and less richness at the very end.
Swap the honey if that’s what you have
Maple syrup or brown sugar both work, but they change the flavor in small ways. Maple gives the glaze a rounder finish, while brown sugar pushes it toward a deeper caramel note.
Make the sauce gluten-free without changing the method
This recipe is naturally gluten-free as written as long as your chicken broth is certified gluten-free. The reduction and glaze don’t rely on flour, so you don’t need any special thickener.
Storage and Reheating
- Refrigerator: Store leftovers in an airtight container for up to 4 days. The skin will soften, but the flavor gets even deeper after a night in the fridge.
- Freezer: Freeze the chicken and sauce together for up to 2 months. The texture of the tomatoes changes a bit after thawing, but the dish still reheats well.
- Reheating: Warm it gently in a covered skillet over low heat with a splash of broth or water. High heat will tighten the chicken and can make the balsamic sauce stick and scorch before the center is warm.
Answers to the Questions Worth Asking
One Pan Balsamic Chicken
Ingredients
Equipment
Method
- Season the chicken thighs generously on both sides with salt, pepper, garlic powder, and Italian seasoning.
- Heat the olive oil in a large cast iron skillet over medium-high heat, then sear the chicken skin-side down for 7-8 minutes until the skin is deeply golden and crispy.
- Flip the chicken and sear 3 more minutes, then remove the thighs to a plate.
- Add the whole garlic cloves and cherry tomatoes to the skillet and cook for 2 minutes until the tomatoes begin to blister.
- Pour in the balsamic vinegar, honey, and chicken broth, stir, and bring to a boil while scraping up any browned bits from the pan.
- Return the chicken skin-side up and cook over medium heat for 12-15 minutes until the chicken reaches 165°F and the balsamic sauce reduces to a thick glaze.
- Stir in the butter until melted for a glossy sauce.
- Scatter fresh basil over the top and serve straight from the skillet.