Pale golden vanilla custard ice cream has a way of making the store-bought pint feel thin and flat by comparison. The first spoonful should land rich and cold, with a dense creaminess that melts slowly and leaves behind a deep vanilla finish instead of a blast of artificial sweetness. This version gets there by building a real custard base, which gives the ice cream body, a silkier texture, and that old-fashioned scoop-shop feel.
The egg yolks do the heavy lifting here. They thicken the base just enough to keep the ice cream from freezing icy, while the cream and whole milk keep it lush instead of heavy. Steeping the vanilla bean in the warm dairy pulls out a fuller, rounder flavor, and straining the custard at the end catches any tiny bits of cooked egg before they can turn the texture grainy.
Below, you’ll find the exact points where this recipe can go sideways and how to avoid them, plus a few smart variations if you’re using extract, working without an ice cream maker, or planning ahead for a summer dessert table.
The custard turned out smooth and the vanilla bean flavor came through in every bite. I chilled it overnight and it churned into the creamiest ice cream I’ve made at home.
Save this old-fashioned vanilla ice cream for the nights when you want a custard-style scoop with real vanilla bean specks and a dense, creamy finish.
The Custard Stage That Keeps Homemade Vanilla Ice Cream Creamy
The biggest difference between smooth ice cream and a batch that turns icy is the custard base. Egg yolks give this vanilla ice cream the body it needs, but they have to be warmed gently. If the heat climbs too fast, the yolks scramble and you end up with grainy flecks instead of a silky base. Cook it over medium-low and stir without rushing; the custard should thicken enough to coat the back of a spoon and leave a clear line when you drag a finger through it.
Steeping the vanilla in the dairy before the eggs go in matters more than it sounds. That short rest pulls the flavor deep into the cream, and the pod itself adds a fuller, more rounded vanilla aroma than extract alone. If you’re using extract instead of a bean, stir it in after the custard comes off the heat so the flavor stays bright.
What Each Ingredient Is Actually Doing in This Ice Cream
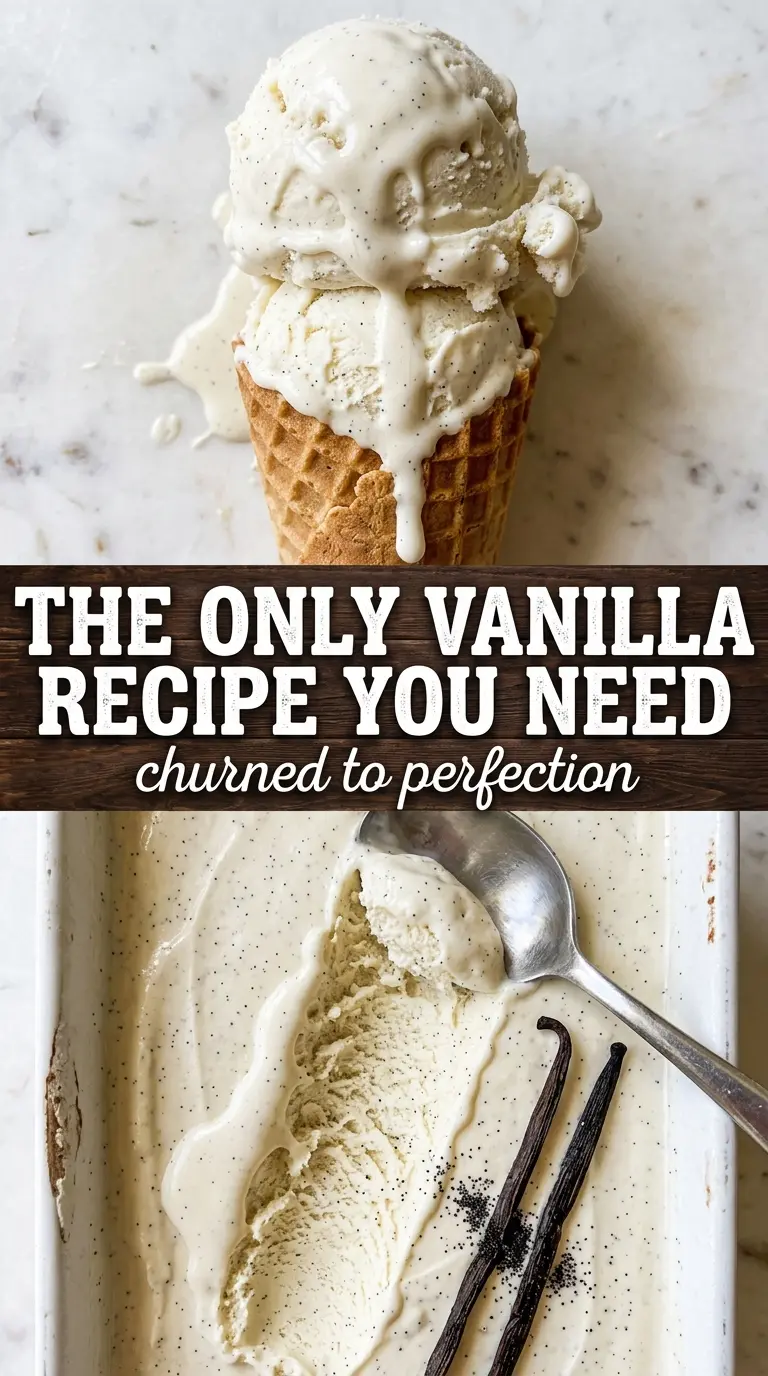
- Heavy cream — This is where the rich, lush texture comes from. Don’t swap in half-and-half and expect the same result; the lower fat content makes the finished ice cream thinner and icier.
- Whole milk — It balances the cream so the base doesn’t become overly heavy. You can replace part of it with more cream in a pinch, but the ice cream will freeze denser and taste flatter.
- Egg yolks — They thicken the custard and help emulsify the base, which is why this recipe churns into such a smooth scoop. Whole eggs won’t give the same silky texture; yolks are what keep it classic and rich.
- Vanilla bean — The pod and seeds bring the deepest vanilla flavor and those specks everyone loves seeing in the bowl. Pure vanilla extract works too, but add it after cooking so it doesn’t lose aroma on the stove.
- Sugar — It sweetens the custard and also helps soften the freeze, so the ice cream scoops cleanly instead of setting up like a block. Cutting it much lower changes the texture fast.
- Salt — Just a small amount sharpens the vanilla and keeps the custard from tasting one-note. Skip it and the ice cream tastes a little flatter, even if the sweetness is the same.
Cooking the Custard Without Scrambling the Yolks
Steeping the Vanilla
Split the vanilla bean, scrape out the seeds, and add both the seeds and the pod to the cream and milk. Heat the dairy until it’s steaming and just shy of a simmer, then pull it off the burner and let it steep for 15 minutes. That resting time is where the vanilla really blooms. If the mixture boils hard, the dairy can pick up a cooked flavor and the fat may leave a skin on top, so keep the heat gentle from the start.
Tempering the Yolks
Whisk the yolks and sugar until they look pale and a little thicker. Then pour in the warm cream slowly while whisking all the time. This step protects the yolks from sudden heat, which is the difference between a smooth custard and scrambled eggs in a bowl. If you dump it all in at once, the edges of the yolks can set before they blend.
Thickening to the Spoon-Coat Point
Return the mixture to the saucepan and cook over medium-low, stirring constantly and scraping the bottom and corners. You’re looking for a custard that thickens enough to coat the back of a spoon, and if you run a finger through it, the line should hold. A thermometer should read about 175°F. Once it gets there, take it off the heat right away; a few extra minutes is enough to push it into curdled territory.
Straining and Chilling Fully
Pour the custard through a fine mesh sieve into a clean bowl, then stir in the salt. Set the bowl over an ice bath to cool it down quickly before it goes into the fridge. Rapid cooling helps the texture stay smooth and keeps the dairy from hanging out in the danger zone. Don’t rush the chilling time before churning; if the base is still warm, it won’t freeze with the same fine, creamy body.
How to Adjust This Vanilla Ice Cream for Different Kitchens
Vanilla Bean or Extract
The bean gives you those specks and a deeper, rounder vanilla flavor, but pure extract still makes a good batch. If you use extract, stir it in after the custard is off the heat so the aroma stays intact. Two teaspoons is enough to replace one bean without making the ice cream taste sharp.
Dairy-Free Version
Use full-fat canned coconut milk in place of the cream and whole milk, but expect a coconut note and a slightly softer set. The custard still needs gentle heat and constant stirring, though it won’t taste exactly like classic dairy ice cream. If you’re after the closest texture, look for a rich oat- and coconut-based ice cream base designed for churning.
No Ice Cream Maker
You can freeze the chilled custard in a shallow metal pan and stir it every 30 minutes as it firms up. The texture won’t be quite as aerated as a churned batch, but it still beats a hard, icy block if you keep breaking up the crystals while it freezes.
Storage and Reheating
- Refrigerator: Store the uncured custard base up to 2 days before churning. Once frozen, keep the ice cream covered for about 2 weeks before the texture starts to pick up ice crystals.
- Freezer: It freezes well after churning, but press parchment or plastic wrap directly onto the surface to slow ice crystal growth. A tight lid helps keep the vanilla flavor from fading.
- Reheating: Ice cream doesn’t need reheating, but if it’s too hard from the freezer, let it sit at room temperature for 5 to 10 minutes before scooping. Trying to force it with a warm spoon can smear the surface and make the texture look broken.
Questions I Get Asked About This Recipe
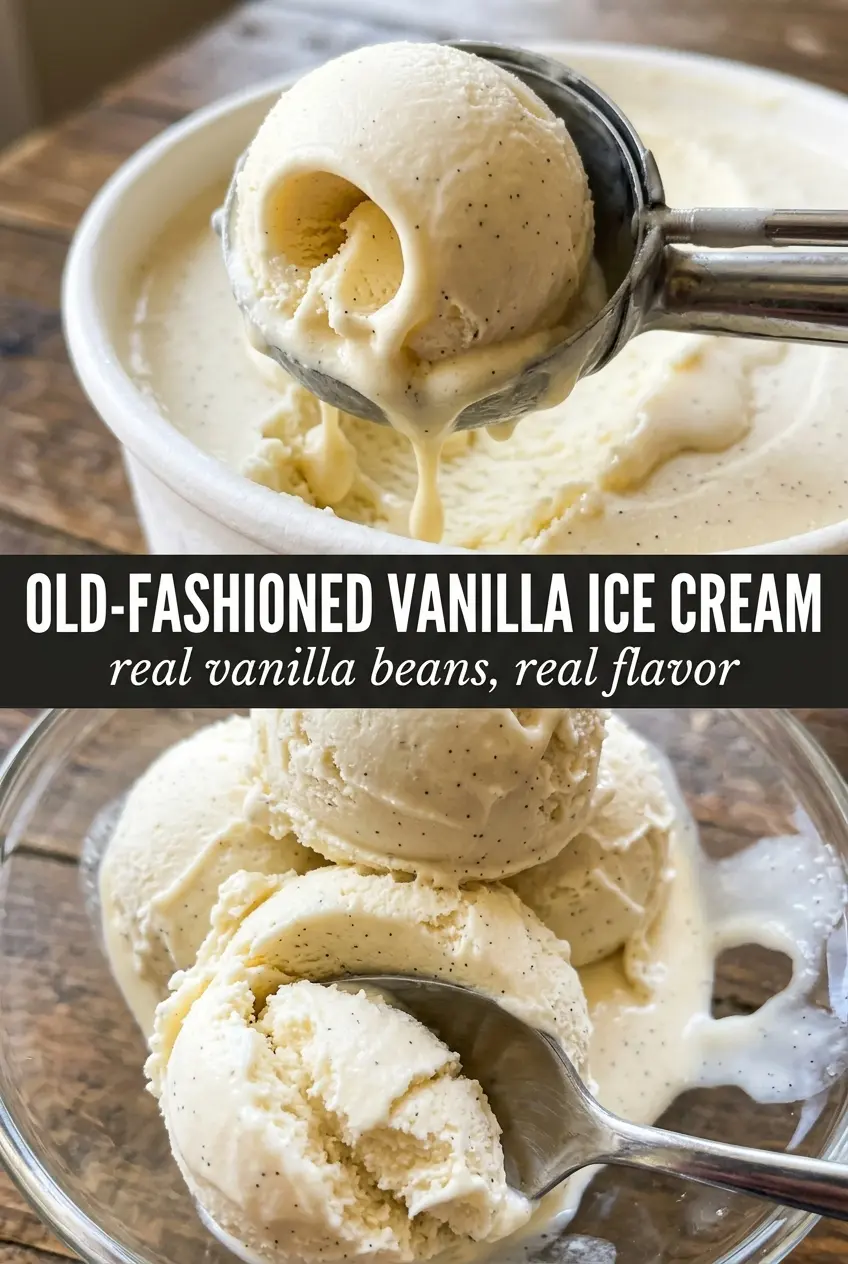
Old-Fashioned Homemade Vanilla Ice Cream
Ingredients
Equipment
Method
- Split the vanilla bean and scrape the seeds; add the pod and seeds to the heavy cream and milk in a saucepan.
- Heat the cream mixture over medium heat until steaming and just beginning to simmer; remove from heat and let steep 15 minutes, then remove the pod.
- Whisk the egg yolks and granulated sugar together until pale and thick.
- Slowly pour the warm cream into the yolks while whisking constantly.
- Return the mixture to the saucepan and cook over medium-low heat, stirring constantly, until the custard thickens to coat the back of a spoon (175F).
- Strain the custard through a fine mesh sieve, stir in the salt, and cool over an ice bath.
- Refrigerate the custard at least 4 hours or overnight.
- Churn the chilled custard in an ice cream maker, then freeze until firm.