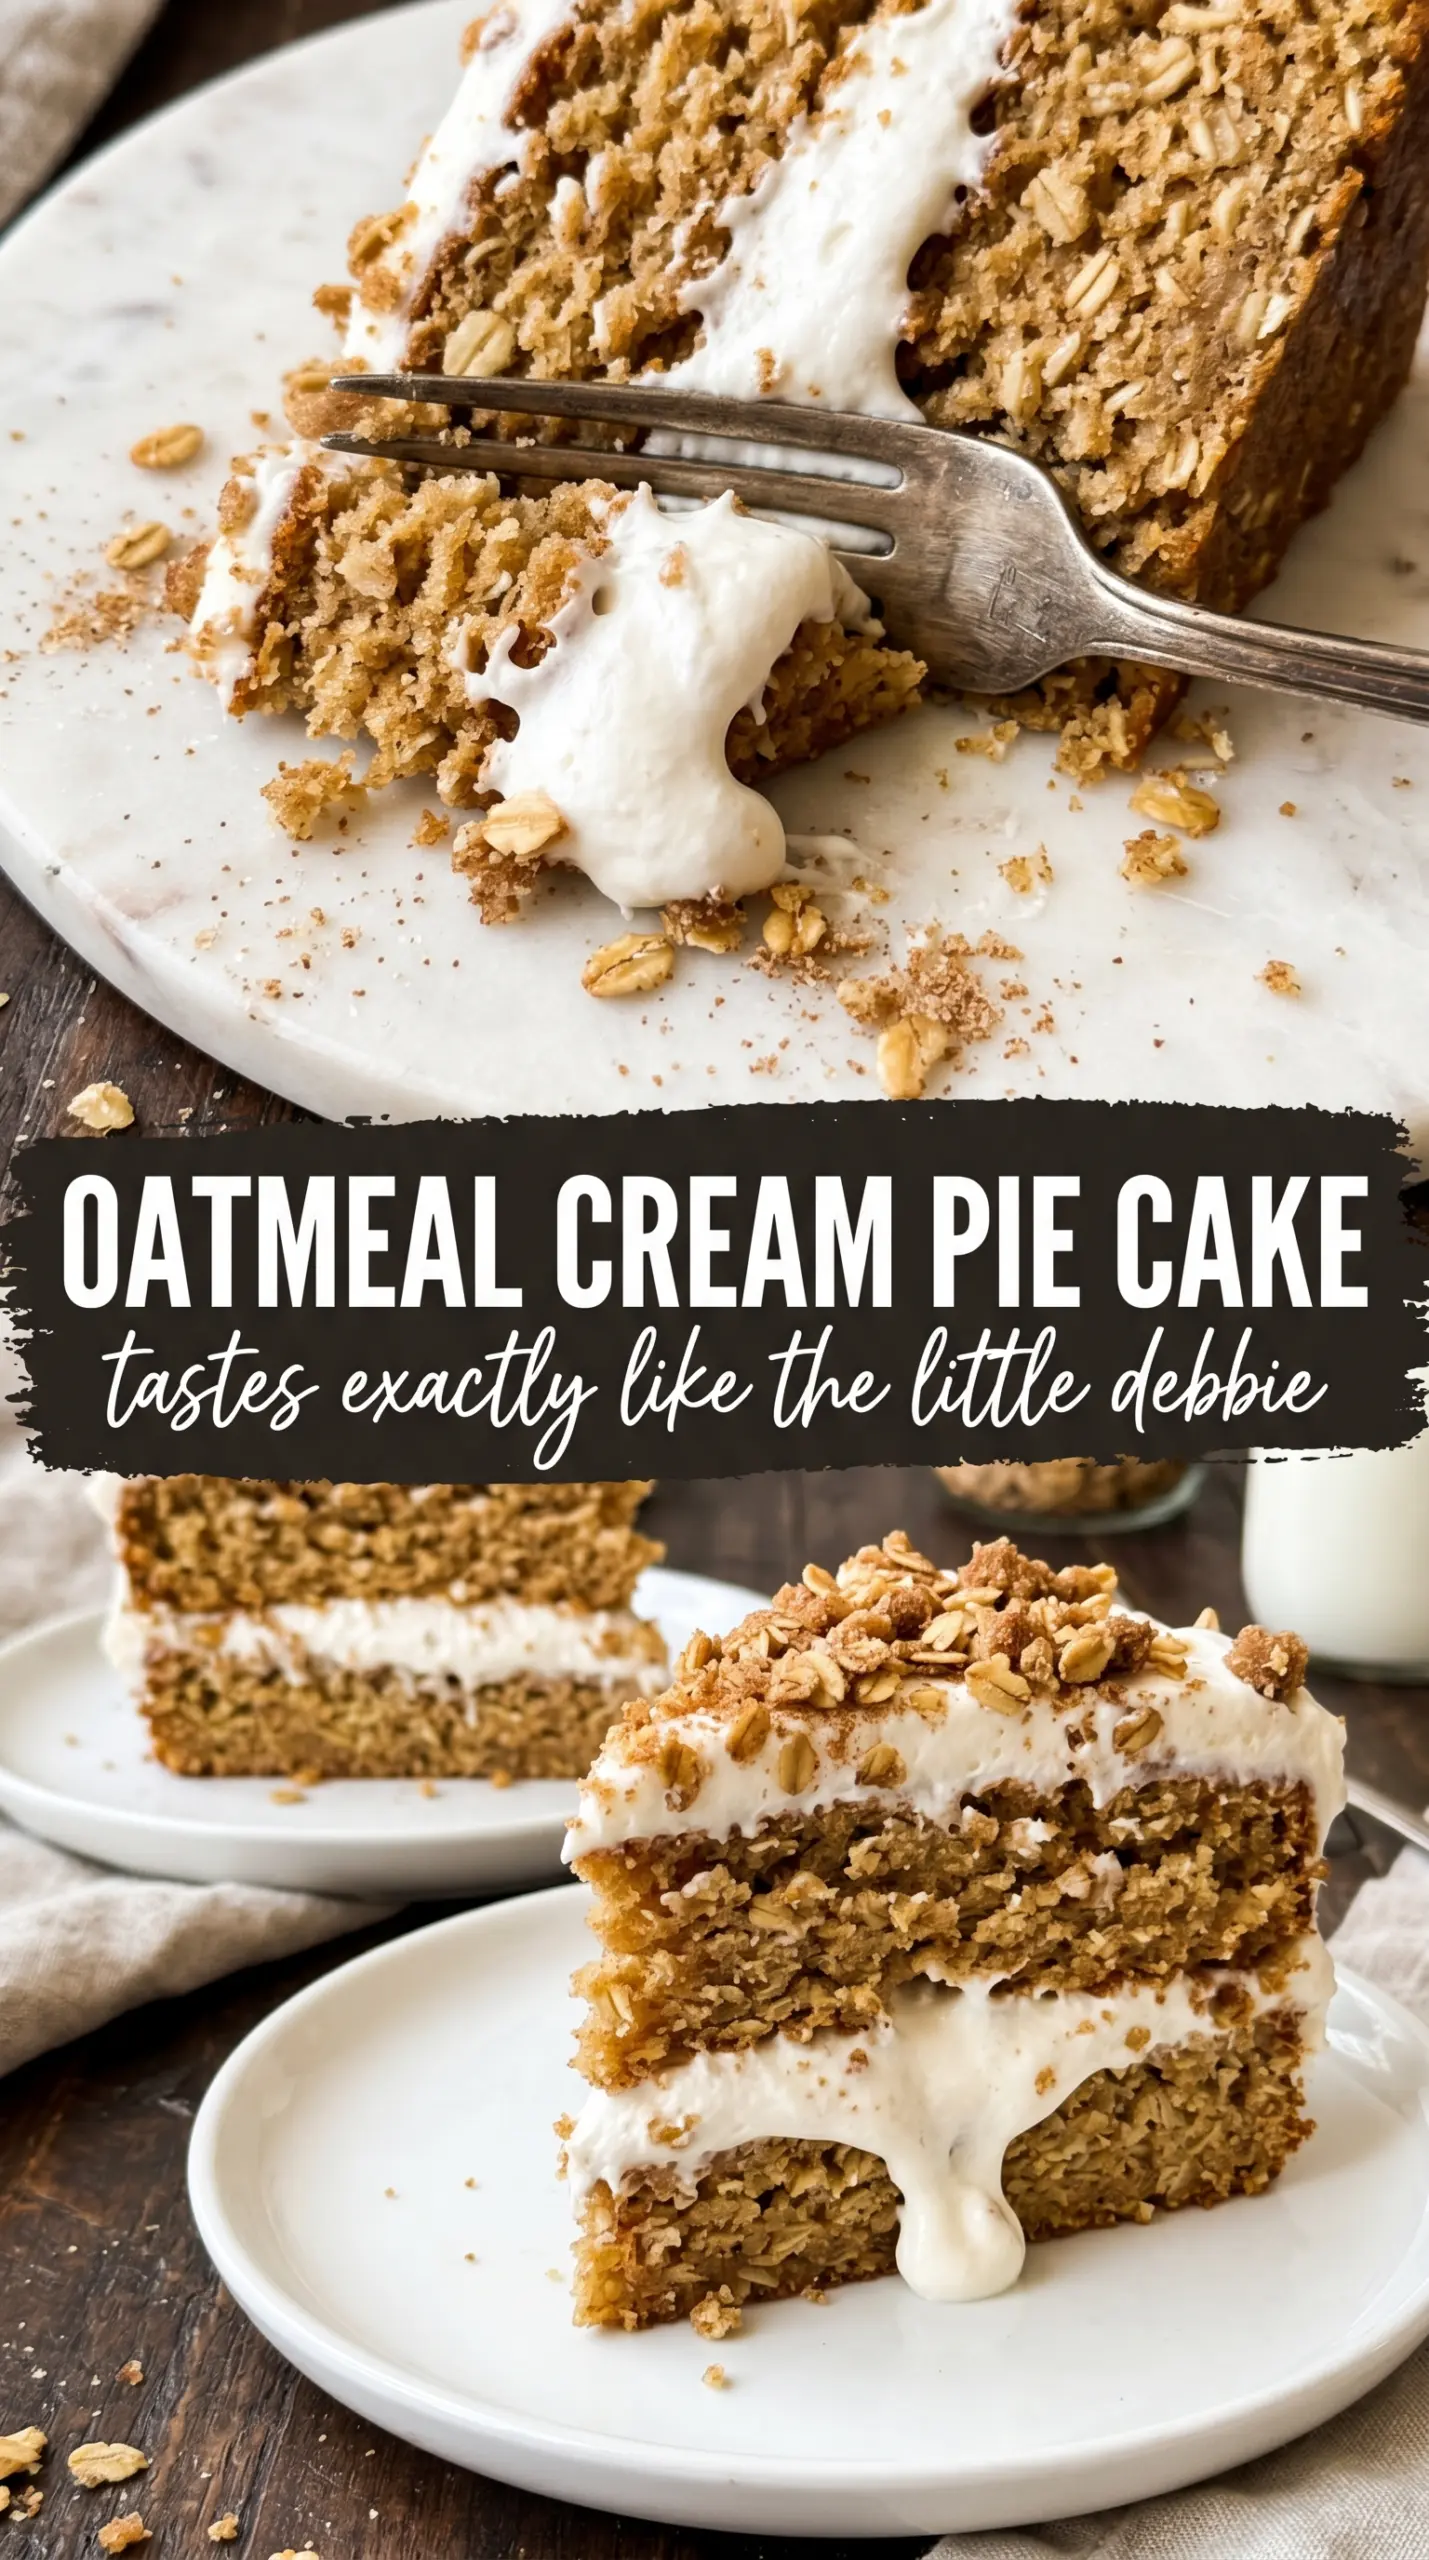
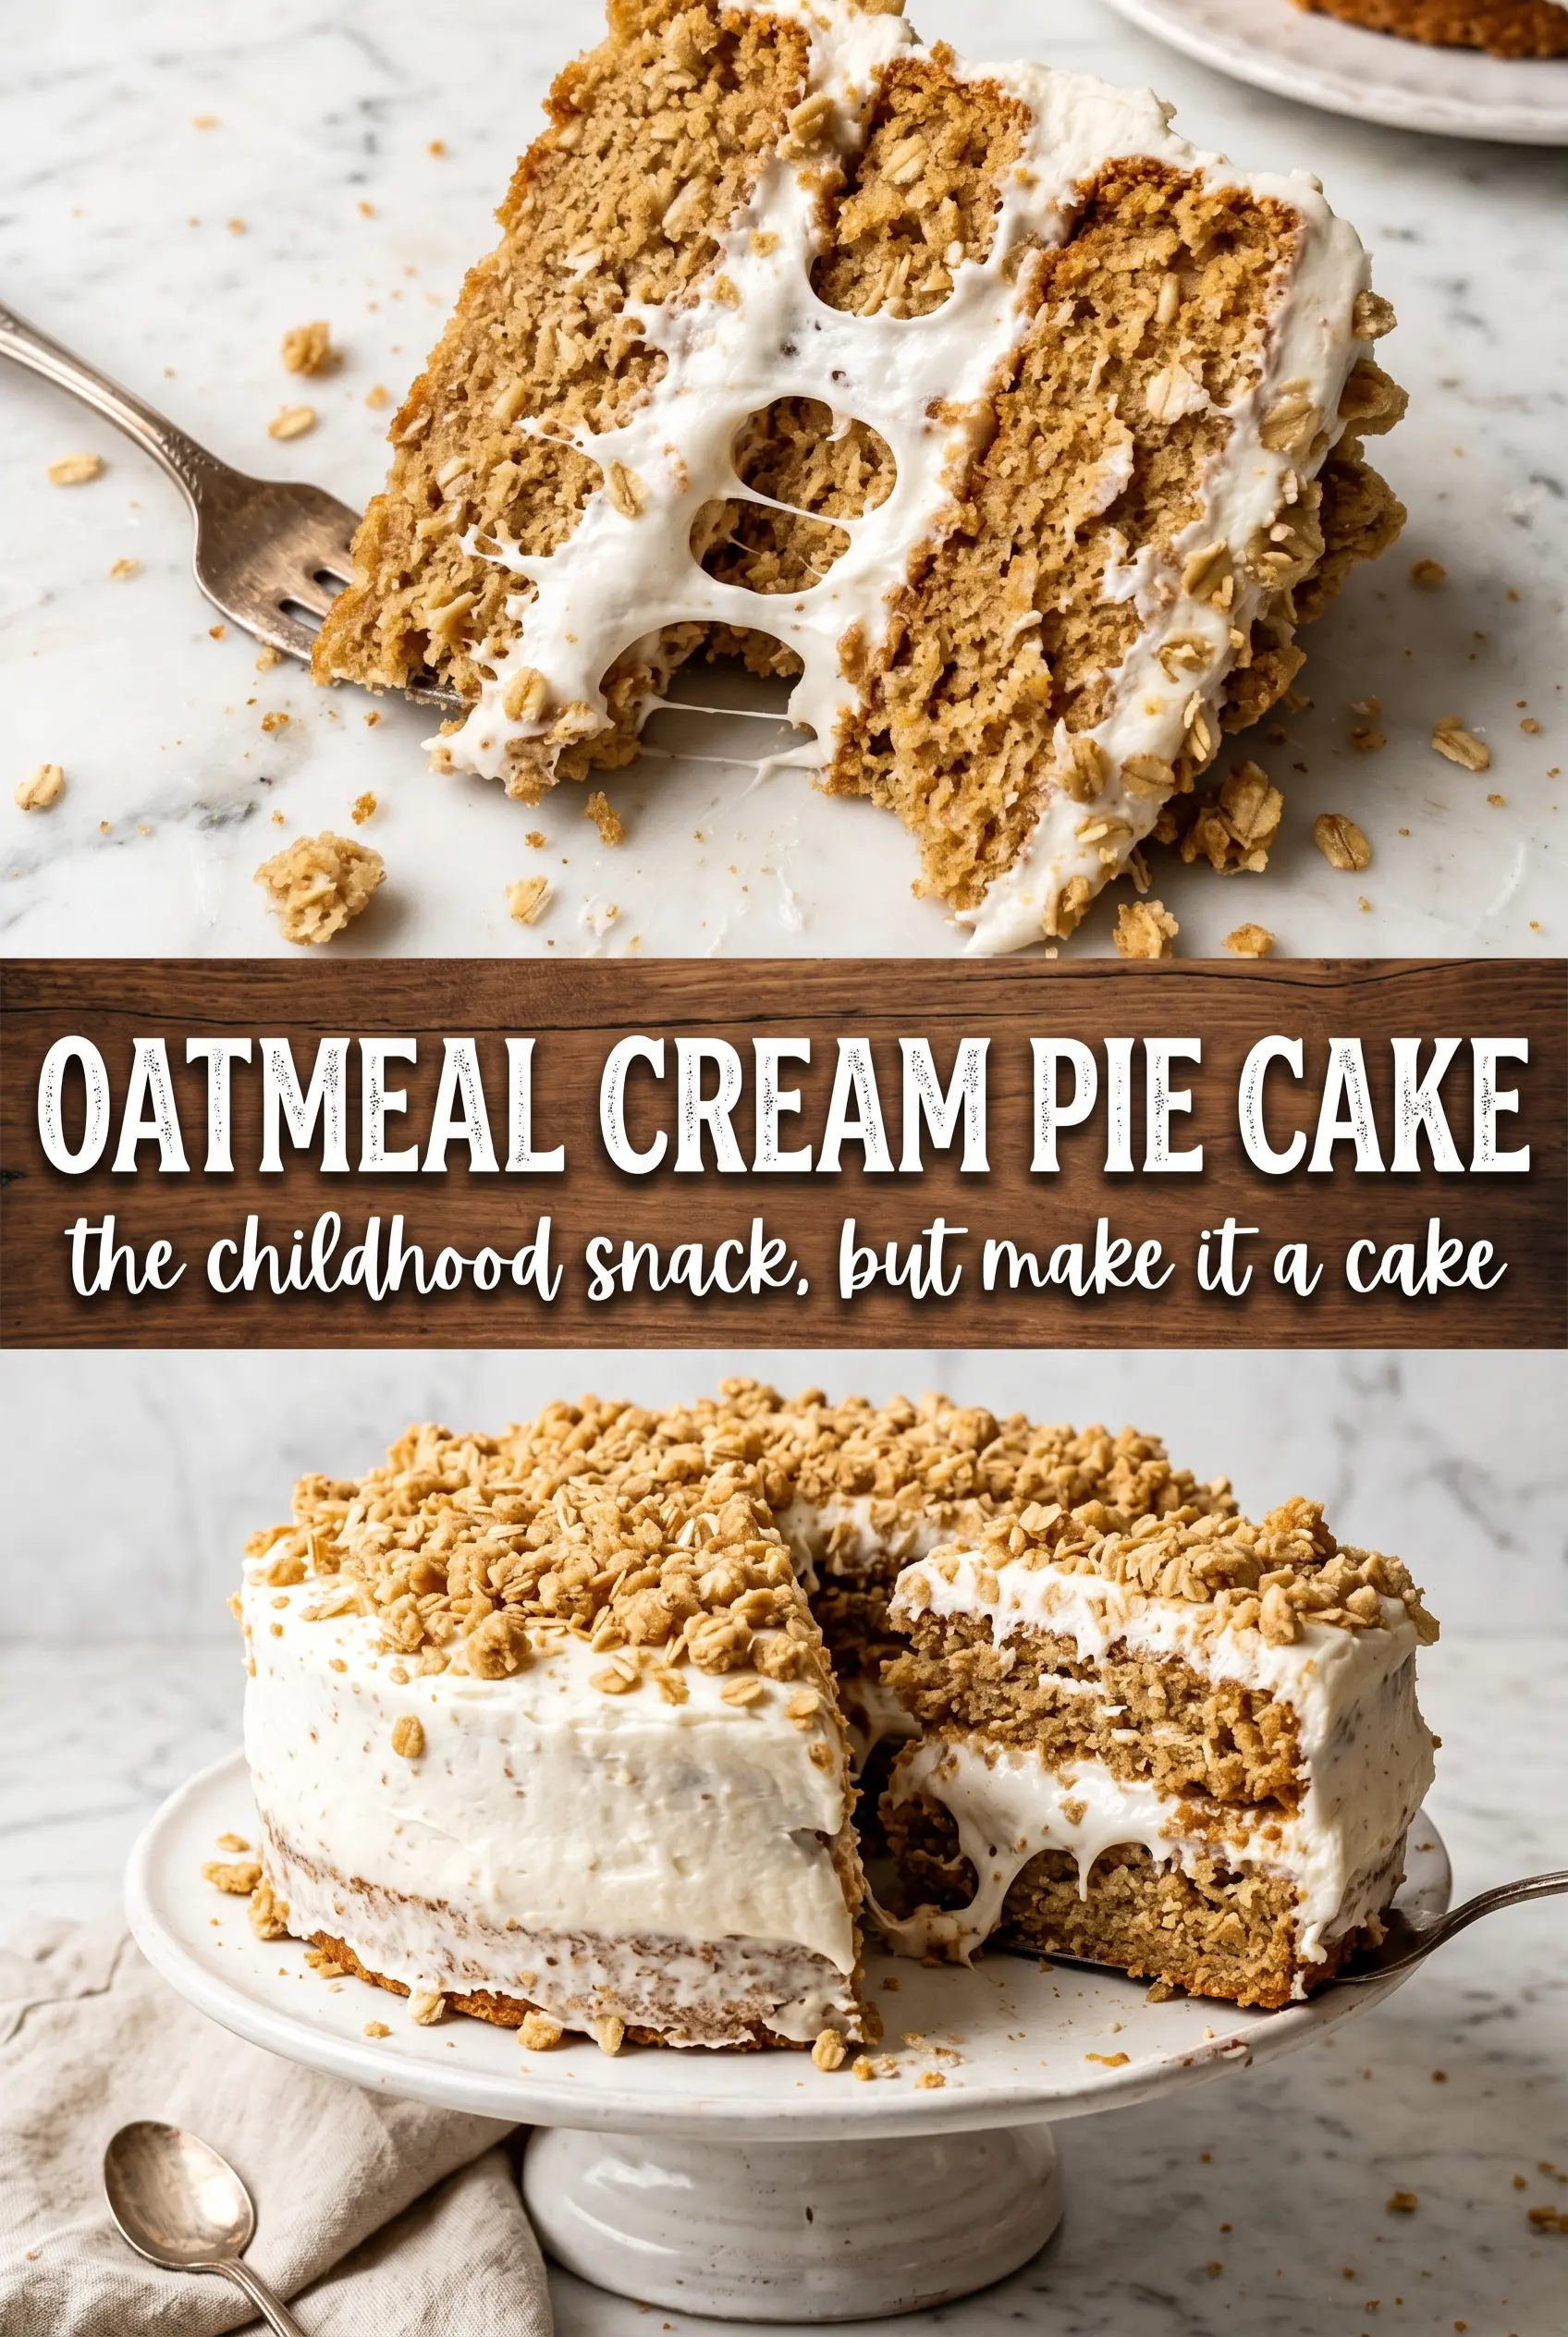
Oatmeal Cream Pie Cake turns a childhood snack into a tall, sliceable layer cake with soft spice cake, a thick marshmallow filling, and that familiar cookie sweetness on top. The layers stay tender from the buttermilk and oil, while the blended oats give the crumb the same cozy, oat-forward flavor you expect from an oatmeal cream pie without making the cake heavy or dry.
What makes this version work is balance. The cake batter leans on brown sugar and cinnamon for warmth, but the marshmallow buttercream keeps the whole thing from tasting flat or overly sweet. Blending the oats fine matters here, too, because it gives you texture and flavor without a gritty bite. If you’ve ever had an oatmeal cake that baked up dense or a filling that slid right out the sides, this one is built to avoid both of those problems.
Below, I’m walking through the small details that matter most, from getting the cake layers even to spreading the filling so the whole cake stacks cleanly. There’s also a few substitution notes and storage tips, because this is the kind of cake that should still taste good on day two.
The filling set up beautifully and didn’t squish out when I sliced the cake, which almost never happens with layer cakes at my house. The oats gave the cake a great texture, not dense at all.
Save this Oatmeal Cream Pie Cake for the days when you want a nostalgic layer cake with marshmallow filling and soft oatmeal spice crumb.
The Part That Keeps the Layers Tender Instead of Heavy
The biggest risk with oatmeal cake is ending up with something thick, dry, and leaden. That usually happens when the oats stay too coarse or the batter gets overmixed after the flour goes in. Blending the oats into a fine meal gives you the flavor of oats without the chew that can turn a layer cake rustic in the wrong way.
Buttermilk and oil pull a lot of weight here. Buttermilk brings tang and helps the crumb stay soft, while oil keeps the cake moist even after chilling. If you swap in melted butter, the cake will taste richer on day one but firm up faster in the fridge. That’s not what you want for a filling-heavy cake like this.
- Rolled oats — Blend them until they look like coarse flour with a few flecks left behind. That gives the cake its oatmeal cookie flavor without making the layers crumbly.
- Brown sugar — Use packed light brown sugar for the deepest molasses note. White sugar will bake a paler, flatter cake.
- Buttermilk — This is what keeps the crumb soft and gives the spice a little lift. If you don’t have it, stir 1 tablespoon of lemon juice or vinegar into 1 cup of milk and let it sit for 5 minutes.
- Marshmallow fluff — This is the filling’s shortcut to that classic cream pie taste. Regular buttercream won’t taste the same; it needs the fluff for the sticky, pillowy texture.
What Each Ingredient Is Actually Doing in This Recipe
- Primary ingredient (the star) — Quality matters most. Choose the best you can find.
- Cooking medium (oil, butter, or broth) — This carries flavors and prevents dryness.
- Seasonings (salt, pepper, spices, herbs) — Layer flavors so nothing overpowers. Build depth gradually.
- Aromatics (garlic, onion, herbs) — Cook with fat to bloom flavors. Become the foundation.
- Supporting ingredients — Complement the main ingredient without overpowering it.
- Sauce or liquid (if applicable) — Brings flavors together. Balance richness with acid.
- Acid (lemon, vinegar, wine, or other) — Brightens and prevents flat-tasting results.
- Final finish (garnish, glaze, or sauce) — Prevents one-dimensional taste and adds visual appeal.
Building the Batter and Filling Without Losing the Texture
Whisk the Dry Ingredients First
Mix the flour, blended oats, brown sugar, cinnamon, baking soda, baking powder, and salt until the color looks even and there are no clumps of brown sugar hiding in the bowl. This helps the spice and leavening spread evenly through both cake layers. If the oats are still chunky, pulse them a little longer before you start. Coarse oats can leave the crumb rough and make slicing messy later.
Bring the Wet Ingredients Together
Whisk the eggs, buttermilk, oil, and vanilla until the mixture looks smooth and fully blended. The oil should disappear into the liquid instead of sitting in little slicks on top. That’s the sign you’re ready to combine the bowls. If the batter breaks at this point, it usually means the eggs were too cold, so let them sit out a bit next time.
Mix Just Until the Batter Turns Smooth
Pour the wet ingredients into the dry ingredients and stir until the batter is uniform with no dry pockets. Stop there. Overmixing tightens the crumb, and that’s the fastest way to lose the soft, cake-y texture this dessert needs. The batter will be thick but pourable, almost like a loose muffin batter.
Beat the Filling Until It Spreads Cleanly
Start with the softened butter and beat it until it looks pale and fluffy. Then add the powdered sugar, marshmallow fluff, vanilla, and cream. Keep beating until the filling looks smooth, glossy, and thick enough to hold a swirl without sliding off the spatula. If it looks greasy or loose, the butter was too warm; chill it briefly before assembling.
Make it gluten-free with a 1:1 baking blend
A good cup-for-cup gluten-free flour blend works here if it already contains xanthan gum. The cake will be a little more delicate when sliced, but the marshmallow filling covers that nicely. Keep the oats certified gluten-free if that matters for your kitchen.
Use cream cheese in the filling for a tangier finish
Replace half the butter with softened cream cheese if you want the sweetness dialed back a little. The filling turns denser and tangier, which works well if you like the cake to taste more like a bakery frosting than a pure marshmallow cream.
Bake it as a sheet cake for easier serving
Bake the batter in a greased 9-by-13-inch pan and start checking a few minutes early. Spread the filling over the cooled cake instead of layering it. You lose the tall bakery look, but you gain cleaner prep and easier slicing for a crowd.
Storage and Reheating
- Refrigerator: Store covered for up to 4 days. The cake stays moist, and the filling firms up slightly without becoming stiff.
- Freezer: Freeze individual slices wrapped well, then tucked into an airtight container for up to 2 months. The texture is best after thawing in the fridge overnight.
- Reheating: This cake is best served chilled or at cool room temperature, not warmed. If it’s been in the fridge, let slices sit out for 20 to 30 minutes so the filling softens and the crumb tastes less dense.
Answers to the Questions Worth Asking
Oatmeal Cream Pie Cake
Ingredients
Equipment
Method
- Preheat oven to 350°F and grease two 9-inch round pans. This ensures the cake releases cleanly after baking.
- Whisk together all-purpose flour, blended fine rolled oats, packed brown sugar, cinnamon, baking soda, baking powder, and salt in a large bowl. Mix until the dry ingredients look evenly speckled.
- Whisk eggs, buttermilk, vegetable oil, and vanilla extract together in a second bowl. Stop when the mixture is smooth and uniform.
- Combine the wet ingredients with the dry ingredients and mix until smooth. Scrape the sides as needed so there are no dry pockets.
- Divide batter between the two pans and bake 28-32 minutes at 350°F, until a toothpick comes out clean. Look for domed tops that spring back lightly when touched.
- Cool the cakes completely in the pans, then cool fully before assembling. Letting them cool prevents the filling from melting out.
- Beat softened butter until fluffy. The mixture should lighten in color and look airy.
- Add powdered sugar, marshmallow fluff, vanilla extract, and heavy cream, then beat until smooth and spreadable. Pause to scrape the bowl so the frosting stays uniform.
- Place one cake layer on a stand and spread the marshmallow cream filling generously over the top. Spread to the edges so it can ooze between layers.
- Place the second cake layer on top and frost the outside with the remaining cream. Smooth the surface so the crumb peeks through only slightly.
- Crumble oatmeal cream pie cookies over the top for garnish. Press lightly so the crumbles adhere to the frosting.
- Dust with powdered sugar and serve. Use a light shake for an even, fine finish.