Warm baked apples and a thick oatmeal cookie crumble make this crisp feel more like dessert and less like a side dish pretending to be one. The topping bakes up with the nubby, buttery texture of an oatmeal cookie, while the apples underneath turn soft and syrupy without collapsing into mush. That contrast is what keeps people going back for a second spoonful.
What makes this version work is the way the topping is built. Melted butter and honey coat the oats and flour just enough to form chunky crumbles instead of a sandy layer, and the cornstarch in the filling catches the apple juices before they run all over the pan. I like using a mix of tart and sweet apples when I have them, but even a plain all-Gala batch still bakes into something worth serving.
Below you’ll find the little details that matter most, including how to keep the topping crisp, when to rest the crisp so the filling settles, and a few easy swaps if you want to change up the fruit or make it nut-free.
The crumble got that crisp, cookie-like top I was hoping for, and the apple filling thickened up instead of running everywhere. I baked it for 45 minutes and it was perfect with vanilla ice cream.
Love that buttery oatmeal cookie topping over tender apples? Save this crisp for the nights when you want an easy fruit dessert with a golden, crunchy finish.
The Crisp Top That Stays Cookie-Like Instead of Going Sandy
The difference between a good apple crisp and one that feels dry is how the topping binds. Here, the melted butter, honey, and vanilla are stirred into the dry mix until every oat is lightly coated, which helps the crumble bake into rough, golden clumps instead of a dusty blanket. That chunkier texture is what gives you the cookie-like bite.
The other thing that matters is the baking soda. In a topping like this, it nudges the crumble toward a softer, more cookie-ish texture instead of a hard granola shell. If your topping looks too loose before baking, press a few bigger handfuls together as you scatter it over the apples; those irregular clumps bake up with the best texture.
What Each Part Is Doing in the Filling and Topping
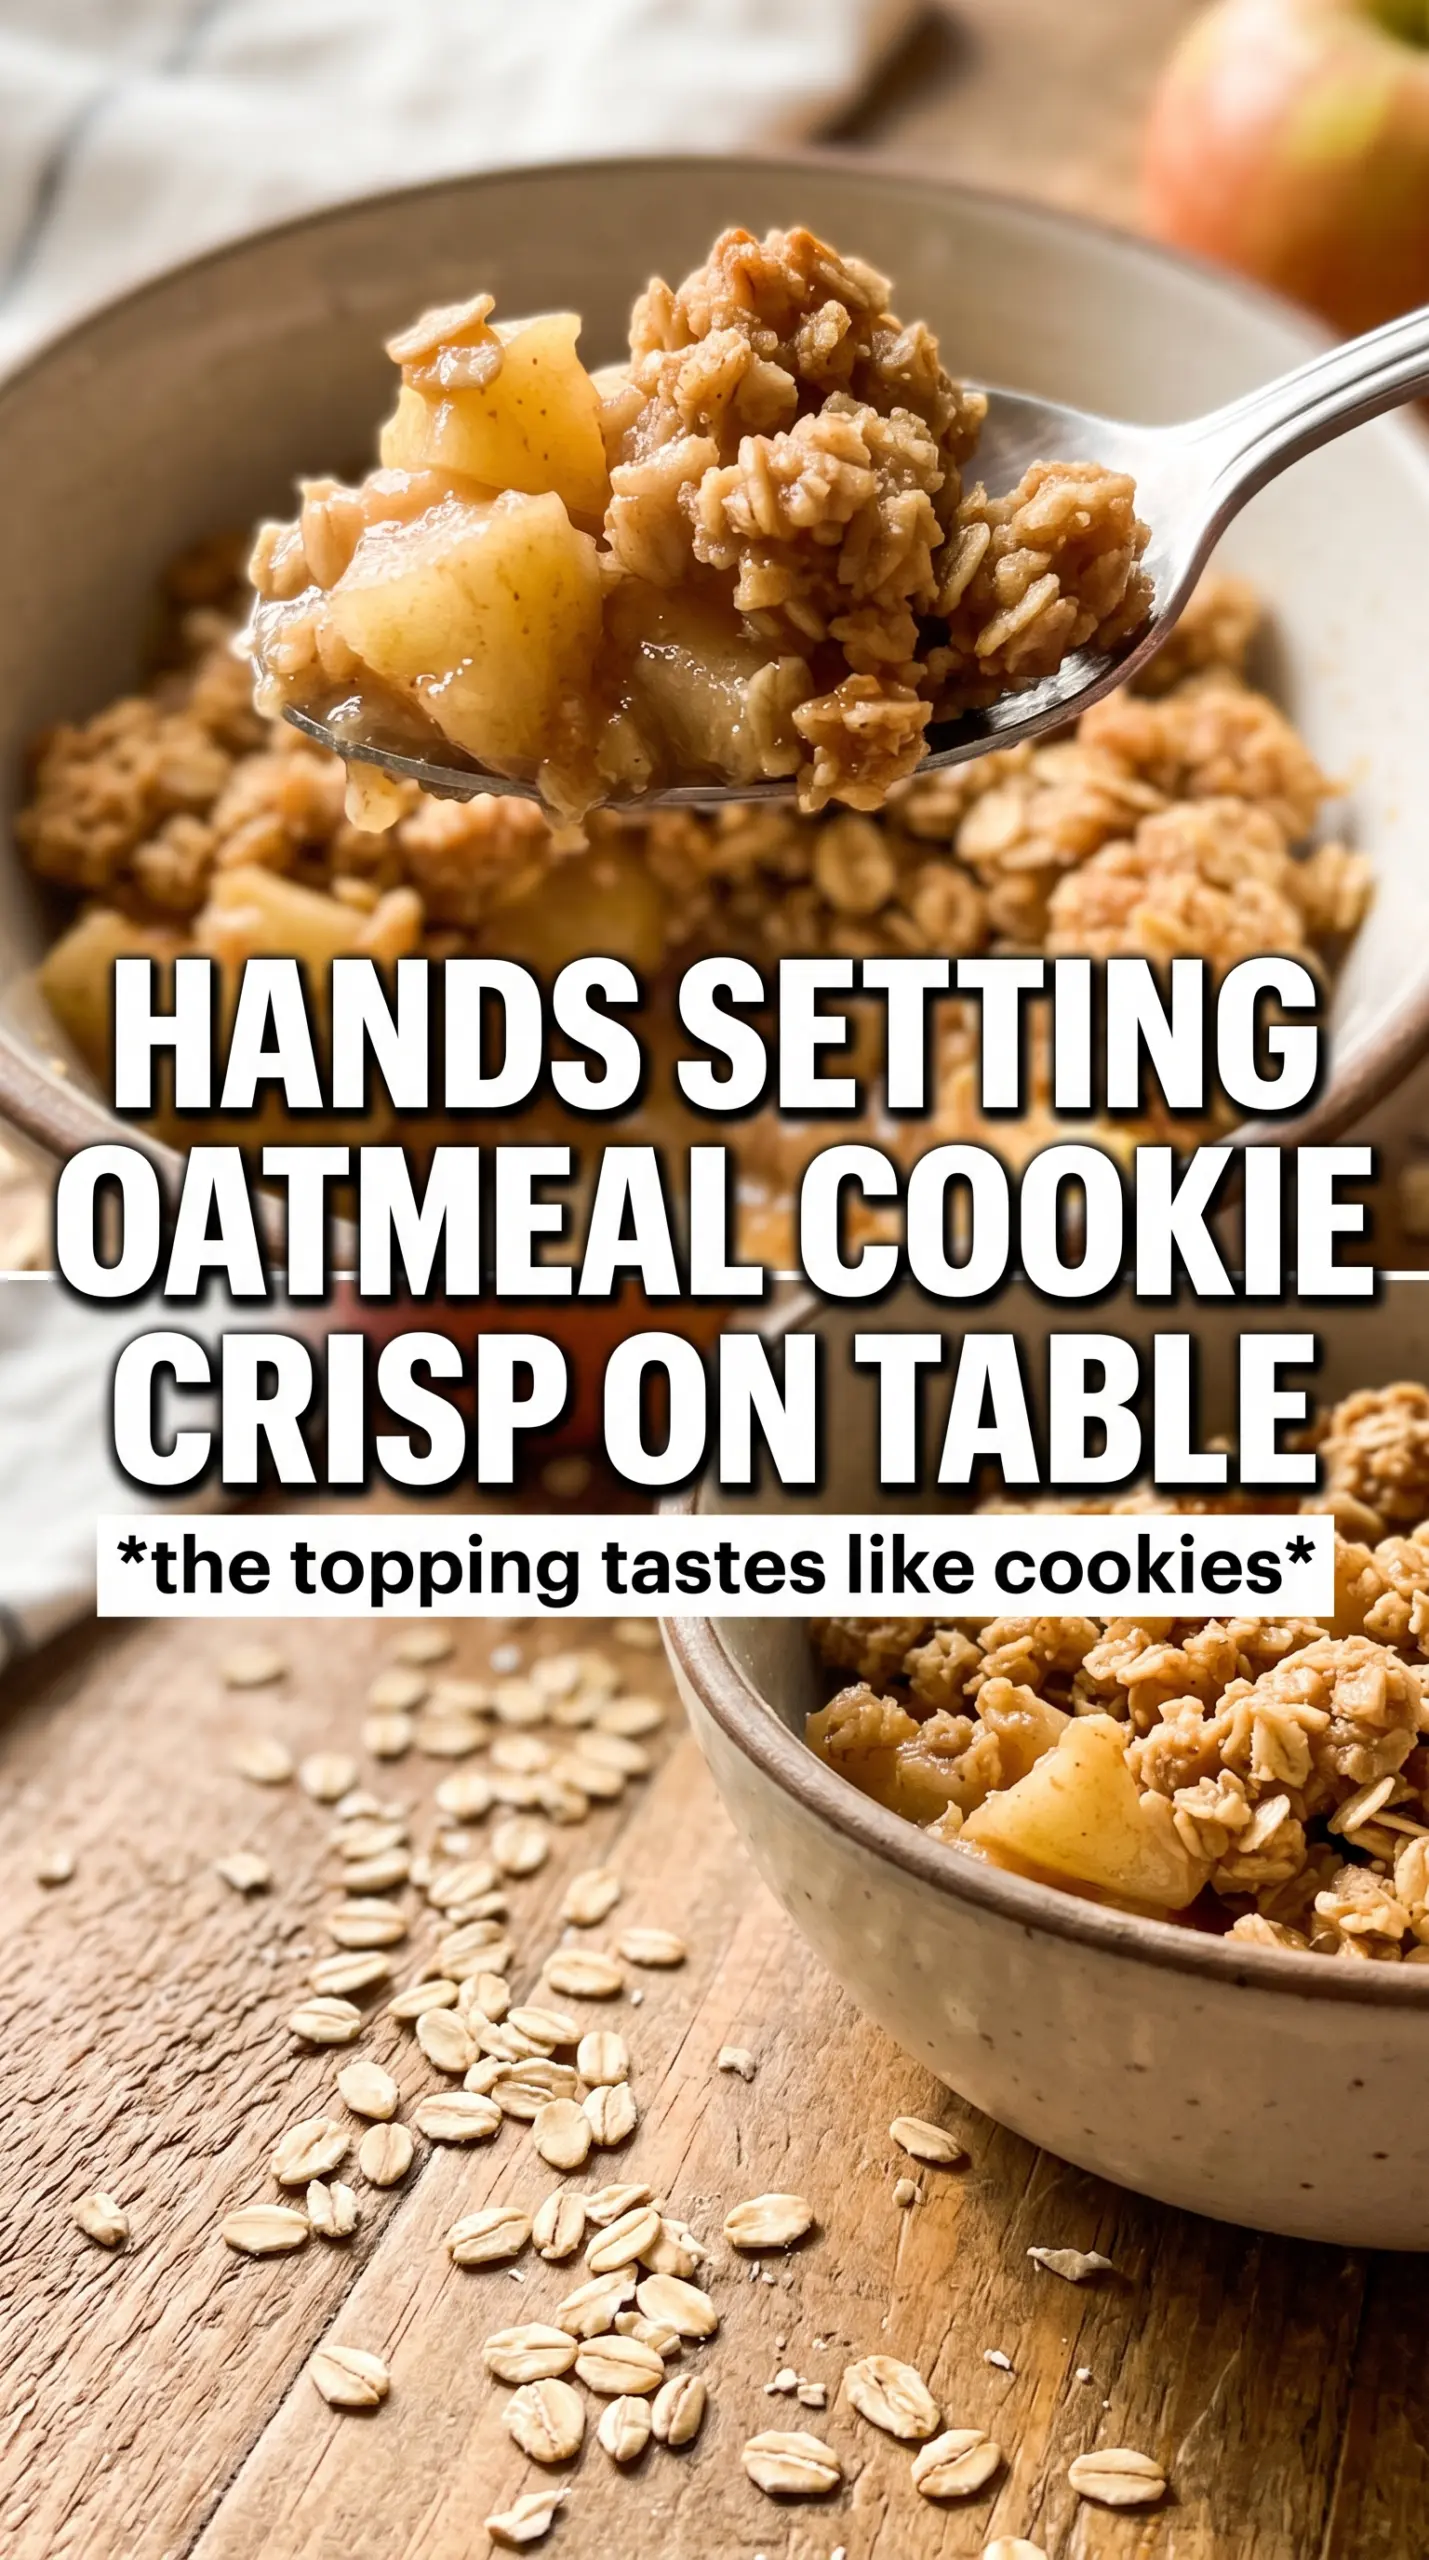
- Apples — You want apples that hold some shape after baking. Granny Smith gives you more tartness and structure; Honeycrisp, Fuji, or Gala give you a softer, sweeter filling. A mix is ideal, but any firm baking apple works better than a mealy one.
- Cornstarch — This thickens the apple juices as they release in the oven. Without it, the filling can turn watery and make the bottom layer soggy. If you need to swap, use tapioca starch in the same amount.
- Rolled oats — Old-fashioned oats give the topping its chewy, craggy texture. Quick oats can work in a pinch, but the crumble comes out tighter and less distinct. Avoid instant oats; they break down too much.
- Melted butter — Melted butter coats the dry ingredients fast and helps form those thick, rustic crumbs. Cold butter makes a more pastry-like topping, which isn’t what this recipe is after. Let the butter cool a minute before mixing so it doesn’t clump the sugar into paste.
- Honey — Honey helps the topping brown and adds a round sweetness that reads almost like an oatmeal cookie. Maple syrup can replace it, but the crumble will bake a little softer and taste less caramel-like.
Building the Filling Before the Topping Goes On
Coating the Apples Evenly
Toss the sliced apples with the sugar, cinnamon, nutmeg, cornstarch, and lemon juice until every piece looks lightly coated. The cornstarch needs to cling to the apple surfaces before baking, or it won’t thicken the juices evenly. Spread the fruit in an even layer in the baking dish so the filling cooks at the same rate. If the apples are piled too high in the center, the middle stays firmer than the edges.
Making the Crumble in Big, Loose Clumps
Combine the oats, flour, brown sugar, cinnamon, baking soda, and salt first, then pour the butter mixture over the top and toss until everything is moistened. The goal is not a wet batter. You want a crumbly mixture that holds together when squeezed, but still breaks into pieces as you drop it over the fruit. Fold in raisins or dried cranberries only if you want them; they’re better mixed in at the end so they don’t get buried in the dry ingredients.
Baking Until the Edges Bubble
Scatter the crumble over the apples in large chunks, leaving some gaps. As it bakes, the topping will turn deep golden and the filling should bubble at the edges and peek through the cracks. That bubbling matters. It means the cornstarch has activated and the apple juices have thickened. Pull it too early and the filling stays thin, even if the top looks done.
Letting It Rest Before Serving
Give the crisp 10 minutes after it comes out of the oven. The filling settles as it cools slightly, and that short rest keeps it from running all over the plate. It’s still best warm, especially with ice cream, but the texture is cleaner and the topping stays more defined if you don’t scoop it the second it leaves the oven.
Three Ways to Make This Apple Crisp Fit What You Have
Gluten-Free Apple Crisp
Swap the all-purpose flour for a 1:1 gluten-free baking blend. The topping stays close to the original texture, though it may be a touch more delicate. Keep the oats certified gluten-free if you’re serving someone who needs strict gluten avoidance.
Dairy-Free Version
Use melted vegan butter or refined coconut oil in place of the butter. Vegan butter keeps the flavor closest to the original, while coconut oil gives the topping a faint coconut note and can make it a little crisper around the edges.
No Raisins, Cleaner Apple Flavor
Leave out the raisins or dried cranberries if you want the apples and cinnamon to stay front and center. The crisp still bakes the same way, but the topping tastes more like an oatmeal cookie with a pure apple filling underneath.
Make It Ahead for a Crowd
You can assemble the filling and topping separately a few hours ahead, then combine and bake right before serving. If you fully assemble it too early, the topping starts to absorb the apple juices and loses some of its crunch.
Storage and Reheating
- Refrigerator: Store covered for up to 4 days. The topping softens a little as it sits, but the flavor stays good.
- Freezer: It freezes well after baking. Cool completely, wrap tightly, and freeze for up to 2 months. Thaw in the refrigerator before reheating.
- Reheating: Warm uncovered in a 350F oven until heated through and the top crisps back up. The microwave will soften the crumble, so use it only if you don’t mind losing that cookie-like texture.
Answers to the Questions Worth Asking
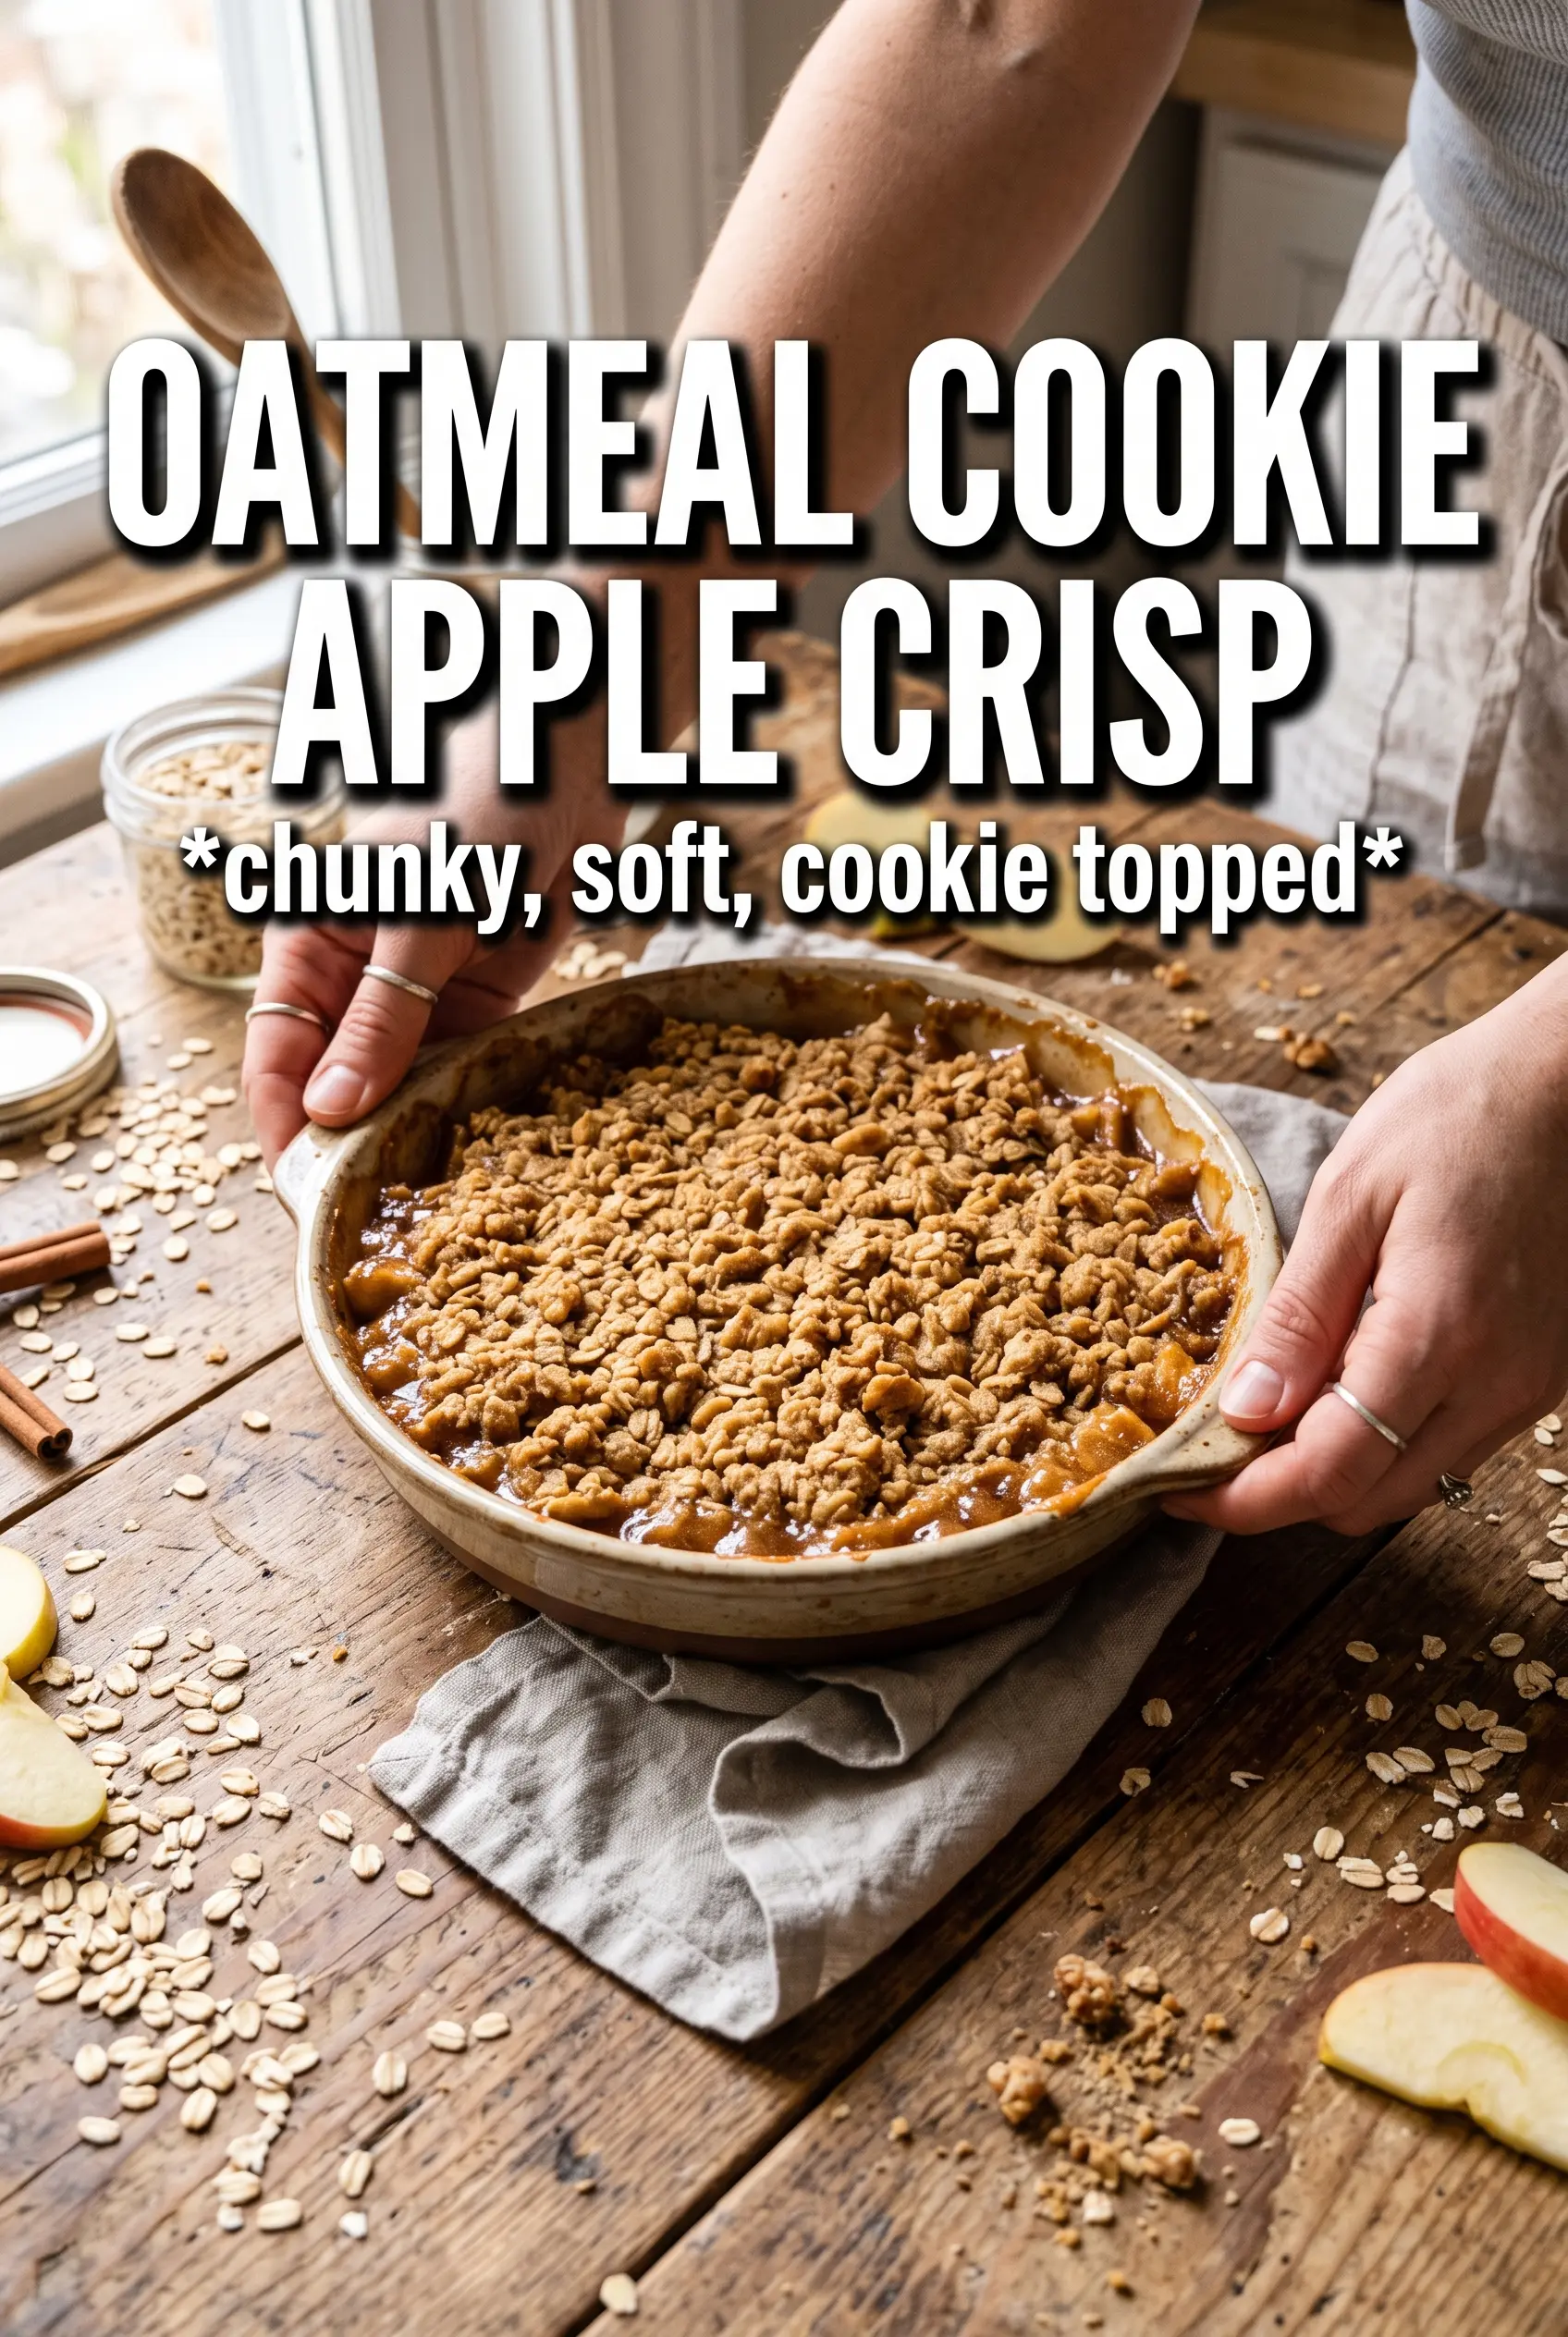
Oatmeal Cookie Apple Crisp
Ingredients
Equipment
Method
- Preheat the oven to 375F, then grease a 9x13 baking dish.
- Toss the apple slices with granulated sugar, cinnamon, nutmeg, cornstarch, and lemon juice until coated, then spread them in the dish.
- Combine the rolled oats, all-purpose flour, brown sugar, cinnamon, baking soda, and salt.
- Stir the melted unsalted butter, honey, and vanilla extract together, then pour over the oat mixture.
- Toss until evenly moistened, then fold in raisins or dried cranberries if using.
- Scatter the oatmeal crumble in large chunks over the apples so it covers the top.
- Bake at 375F for 40-45 minutes until the topping is golden and the filling is bubbling with visible cinnamon apple edges.
- Rest for 10 minutes before serving so the apple filling thickens slightly.