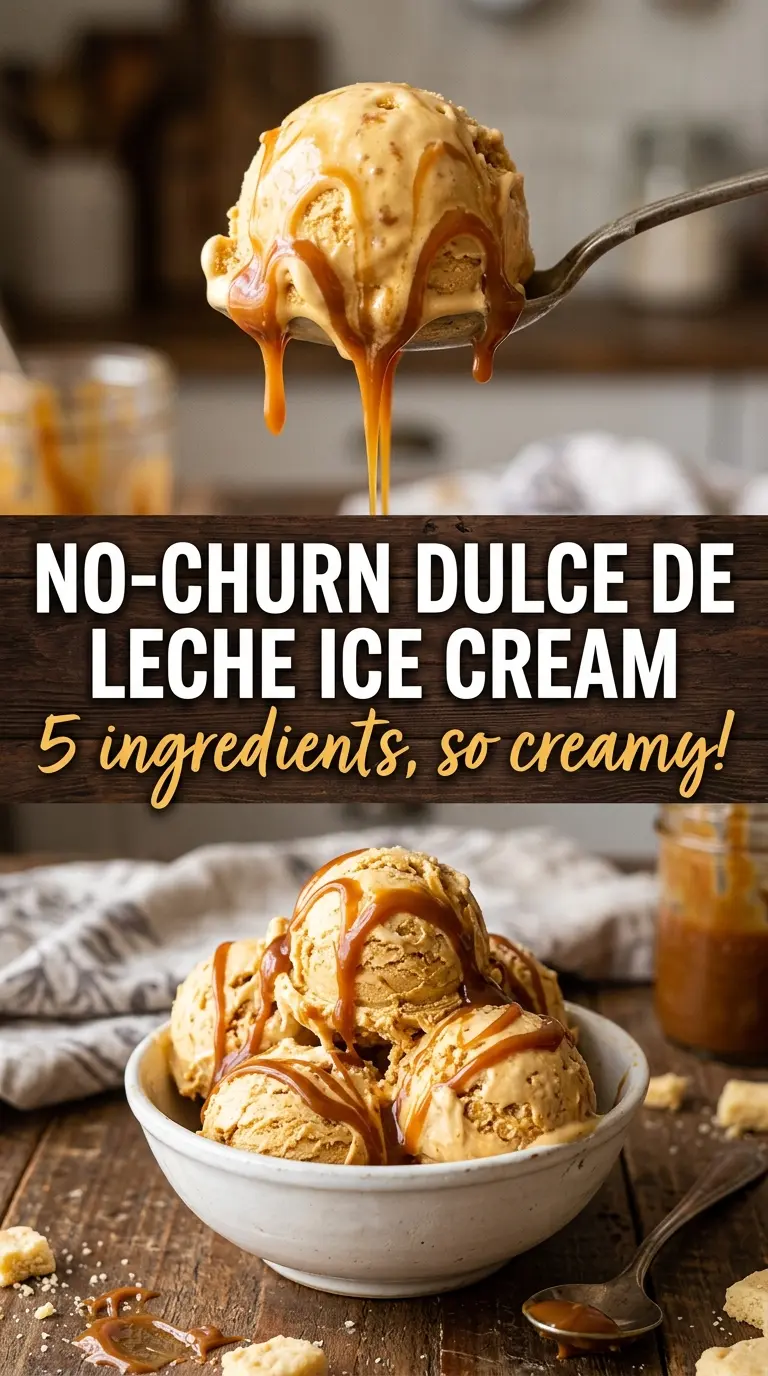
Silky, scoopable no-churn ice cream gets even better when the caramel isn’t just folded in, but swirled through in thick ribbons of dulce de leche. Each spoonful lands somewhere between soft caramel candy and classic vanilla ice cream, with little pockets of deeper sweetness where the dulce de leche stays lush and concentrated instead of disappearing into the base. A pinch of salt at the end keeps it from tasting flat, and the texture stays creamy enough to scoop straight from the freezer without any icy crunch.
The trick here is keeping the base light before it ever goes into the pan. Whipped cream gives the ice cream its body, while sweetened condensed milk adds sweetness and helps it stay soft after freezing. The dulce de leche goes in two places: some is mixed into the base for flavor, and the rest is left thick and streaky for those dramatic caramel ribbons that make this dessert feel special instead of just sweet.
Below, I’ve included the small details that matter most, from getting the folds gentle enough to protect the texture to the best way to swirl in the caramel so it doesn’t sink to the bottom. If you’ve ever had homemade ice cream turn dense or icy, this version fixes that problem fast.
The texture came out unbelievably creamy, and the dulce de leche swirled through instead of sinking to the bottom. We ate half the loaf pan the first night.
Like this no-churn dulce de leche ice cream? Save it to Pinterest for the nights when you want creamy caramel ribbons without an ice cream maker.
The Cream Whipping Stage Is What Keeps This Ice Cream Spoonable
The biggest mistake with no-churn ice cream is underwhipping the cream. Soft peaks aren’t enough here; you want stiff peaks that hold their shape when you lift the whisk, because that trapped air is what keeps the frozen texture light instead of dense and sticky. If the cream is loose, the final mixture sets up heavy and more like frozen pudding than ice cream.
The other place people run into trouble is overmixing after the whipped cream goes into the dulce de leche base. Fold just until there are no streaks of plain cream left. If you stir hard, you knock out the air you just built, and the finished ice cream freezes tighter and less creamy.
What Each Ingredient Is Doing In This Caramel Ice Cream
- Heavy cream — This is the structure of the ice cream. It has to be heavy cream, not light cream, because you need enough fat to whip into stable peaks and stay creamy after freezing.
- Sweetened condensed milk — This does two jobs at once: it sweetens the base and keeps it soft in the freezer. There isn’t a clean substitute that behaves the same way, which is why no-churn recipes rely on it.
- Dulce de leche — Some gets mixed into the base for a deep caramel flavor, but the rest needs to stay thick for swirling. If yours is very firm, warm it for just a few seconds so it ribbons instead of clumping.
- Vanilla extract — It rounds out the caramel and keeps the whole dessert from tasting one-note. Use real vanilla if you have it; this is a small ingredient that makes a noticeable difference.
- Salt — A little salt sharpens the dulce de leche and keeps the sweetness in check. Flaky sea salt on top gives you those little crisp bursts that make each bite taste fuller.
How To Swirl The Dulce De Leche Without Losing The Layers
Whipping The Cream To A True Stiff Peak
Whip the cream in a cold bowl until the whisk lifts out with firm peaks that stand straight up. If the cream curls over at the tip, it needs a little more time. Stop before it turns grainy or starts looking sandy, because that means you’re crossing into overwhipped territory and the texture will suffer once frozen.
Building The Caramel Base
Whisk the condensed milk, half the dulce de leche, vanilla, and salt until the mixture looks smooth and glossy. The dulce de leche should disappear into the base with no thick streaks left behind. If your caramel is stiff and won’t mix cleanly, warm it slightly first so you aren’t fighting lumps through the fold.
Folding Without Deflating
Add the dulce de leche mixture to the whipped cream in two or three additions and fold with a spatula from the bottom of the bowl upward. You want to keep the mixture airy, not perfectly smooth in the bowl. A few pale streaks are fine at this stage, but stop once the base is evenly combined and still looks billowy.
Laying In The Swirl
Spread half the mixture into a loaf pan, then drizzle on half the remaining dulce de leche before repeating with the rest. Drag a butter knife through the pan in a few wide figure-eight motions, not too many, or the caramel disappears into the cream. Finish with flaky salt and freeze until firm, at least 6 hours, so the swirls set instead of smearing when you scoop.
Three Ways To Make This Dulce De Leche Ice Cream Your Own
Chocolate Dulce De Leche Swirl
Add a few tablespoons of unsweetened cocoa powder to the condensed milk mixture, then keep the dulce de leche ribbons as written. The chocolate deepens the caramel instead of replacing it, so the flavor lands somewhere between fudge sauce and toffee.
Dairy-Free Version
Use chilled coconut cream in place of the heavy cream and a dairy-free sweetened condensed milk made for no-churn desserts. The texture will be a little softer and the coconut note will come through, but the caramel ribbons still stay luxurious.
Coffee-Caramel Variation
Stir 1 teaspoon of instant espresso powder into the condensed milk mixture. It doesn’t make the ice cream taste like coffee dessert; it sharpens the caramel and gives it a darker, more grown-up edge.
Storage and Reheating
- Refrigerator: This isn’t a fridge dessert, so it should stay frozen until serving. Once softened at room temperature for a few minutes, it scoops cleanly.
- Freezer: Store tightly covered for up to 2 weeks. Press a piece of parchment or plastic wrap directly on the surface if you want to protect the swirls from ice crystals.
- Reheating: No reheating needed. If it gets too firm, let it sit on the counter for 5 to 10 minutes before scooping; microwaving melts the edges before the center loosens.
Questions I Get Asked About This Recipe

No-Churn Dulce de Leche Ice Cream
Ingredients
Equipment
Method
- Whip the heavy cream with a stand mixer until you reach stiff peaks, 3 to 5 minutes, with the cream holding sharp ridges when you lift the whisk.
- In a separate bowl, whisk together the sweetened condensed milk, 1/2 cup dulce de leche, vanilla extract, and salt until smooth and glossy, with no visible streaks.
- Fold the dulce de leche mixture into the whipped cream gently using a spatula until the color turns evenly caramel throughout, keeping the texture airy.
- Pour half of the ice cream mixture into a 9x5 loaf pan and smooth the top with a spatula for an even base layer.
- Drizzle half of the remaining dulce de leche over the surface and swirl lightly with a knife tip, creating visible golden ribbons on top.
- Pour the remaining ice cream mixture over the first layer and repeat with the remaining dulce de leche, swirling again so caramel streaks run through the loaf.
- Finish with flaky sea salt sprinkled across the top for a crisp contrast, then freeze for at least 6 hours until firm.