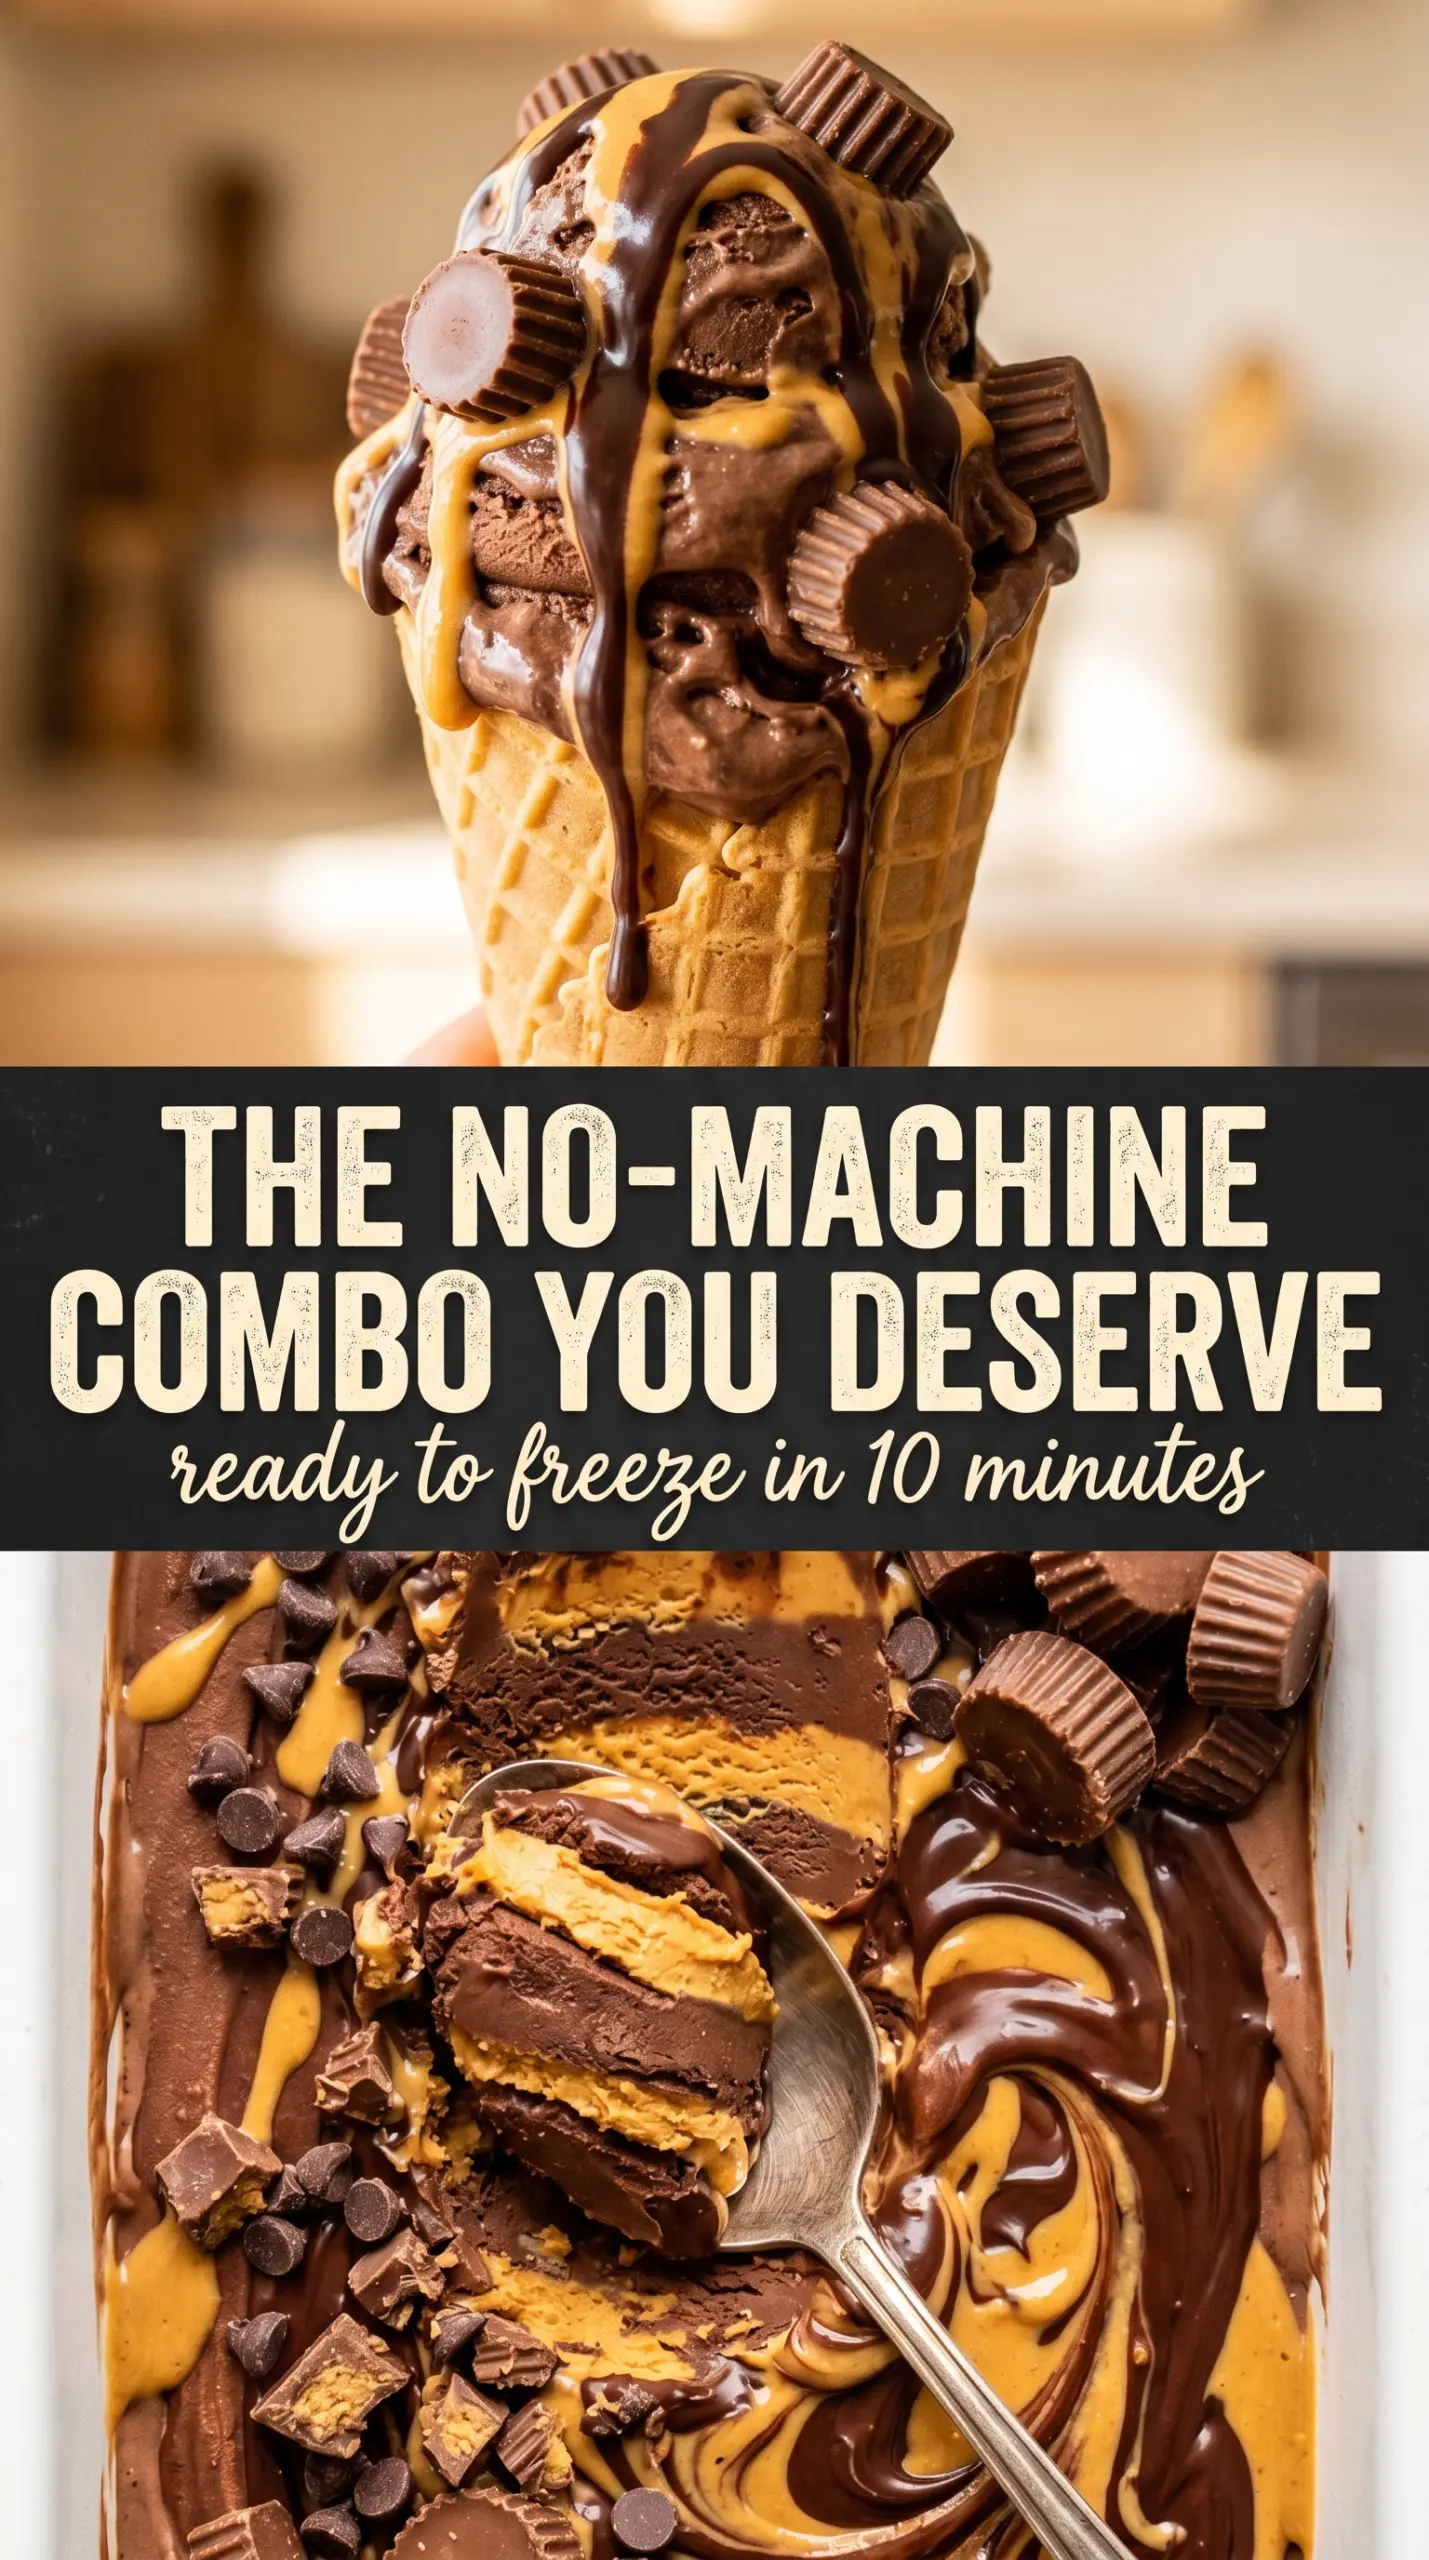
Rich chocolate ice cream with thick ribbons of peanut butter running through it is one of those desserts that disappears fast, even when the freezer is full of other options. This version lands in that perfect middle ground between fudgy and creamy: deep cocoa flavor, a soft scoop straight from the freezer, and those glossy peanut butter swirls that stay distinct instead of vanishing into the base.
The trick is keeping the whipped cream light while the cocoa mixture stays smooth. Sweetened condensed milk gives the ice cream body without an ice cream maker, and warming the peanut butter just enough helps it ribbon through the pan instead of clumping on contact. I tested this with both natural-style and standard creamy peanut butter, and the smoother, more stable jars give the cleanest swirl.
Below, you’ll find the small timing details that matter, the best way to swirl without overmixing, and a few swaps that still keep the texture creamy. If you’ve ever had no-churn ice cream turn icy or dense, this method fixes the usual trouble spots.
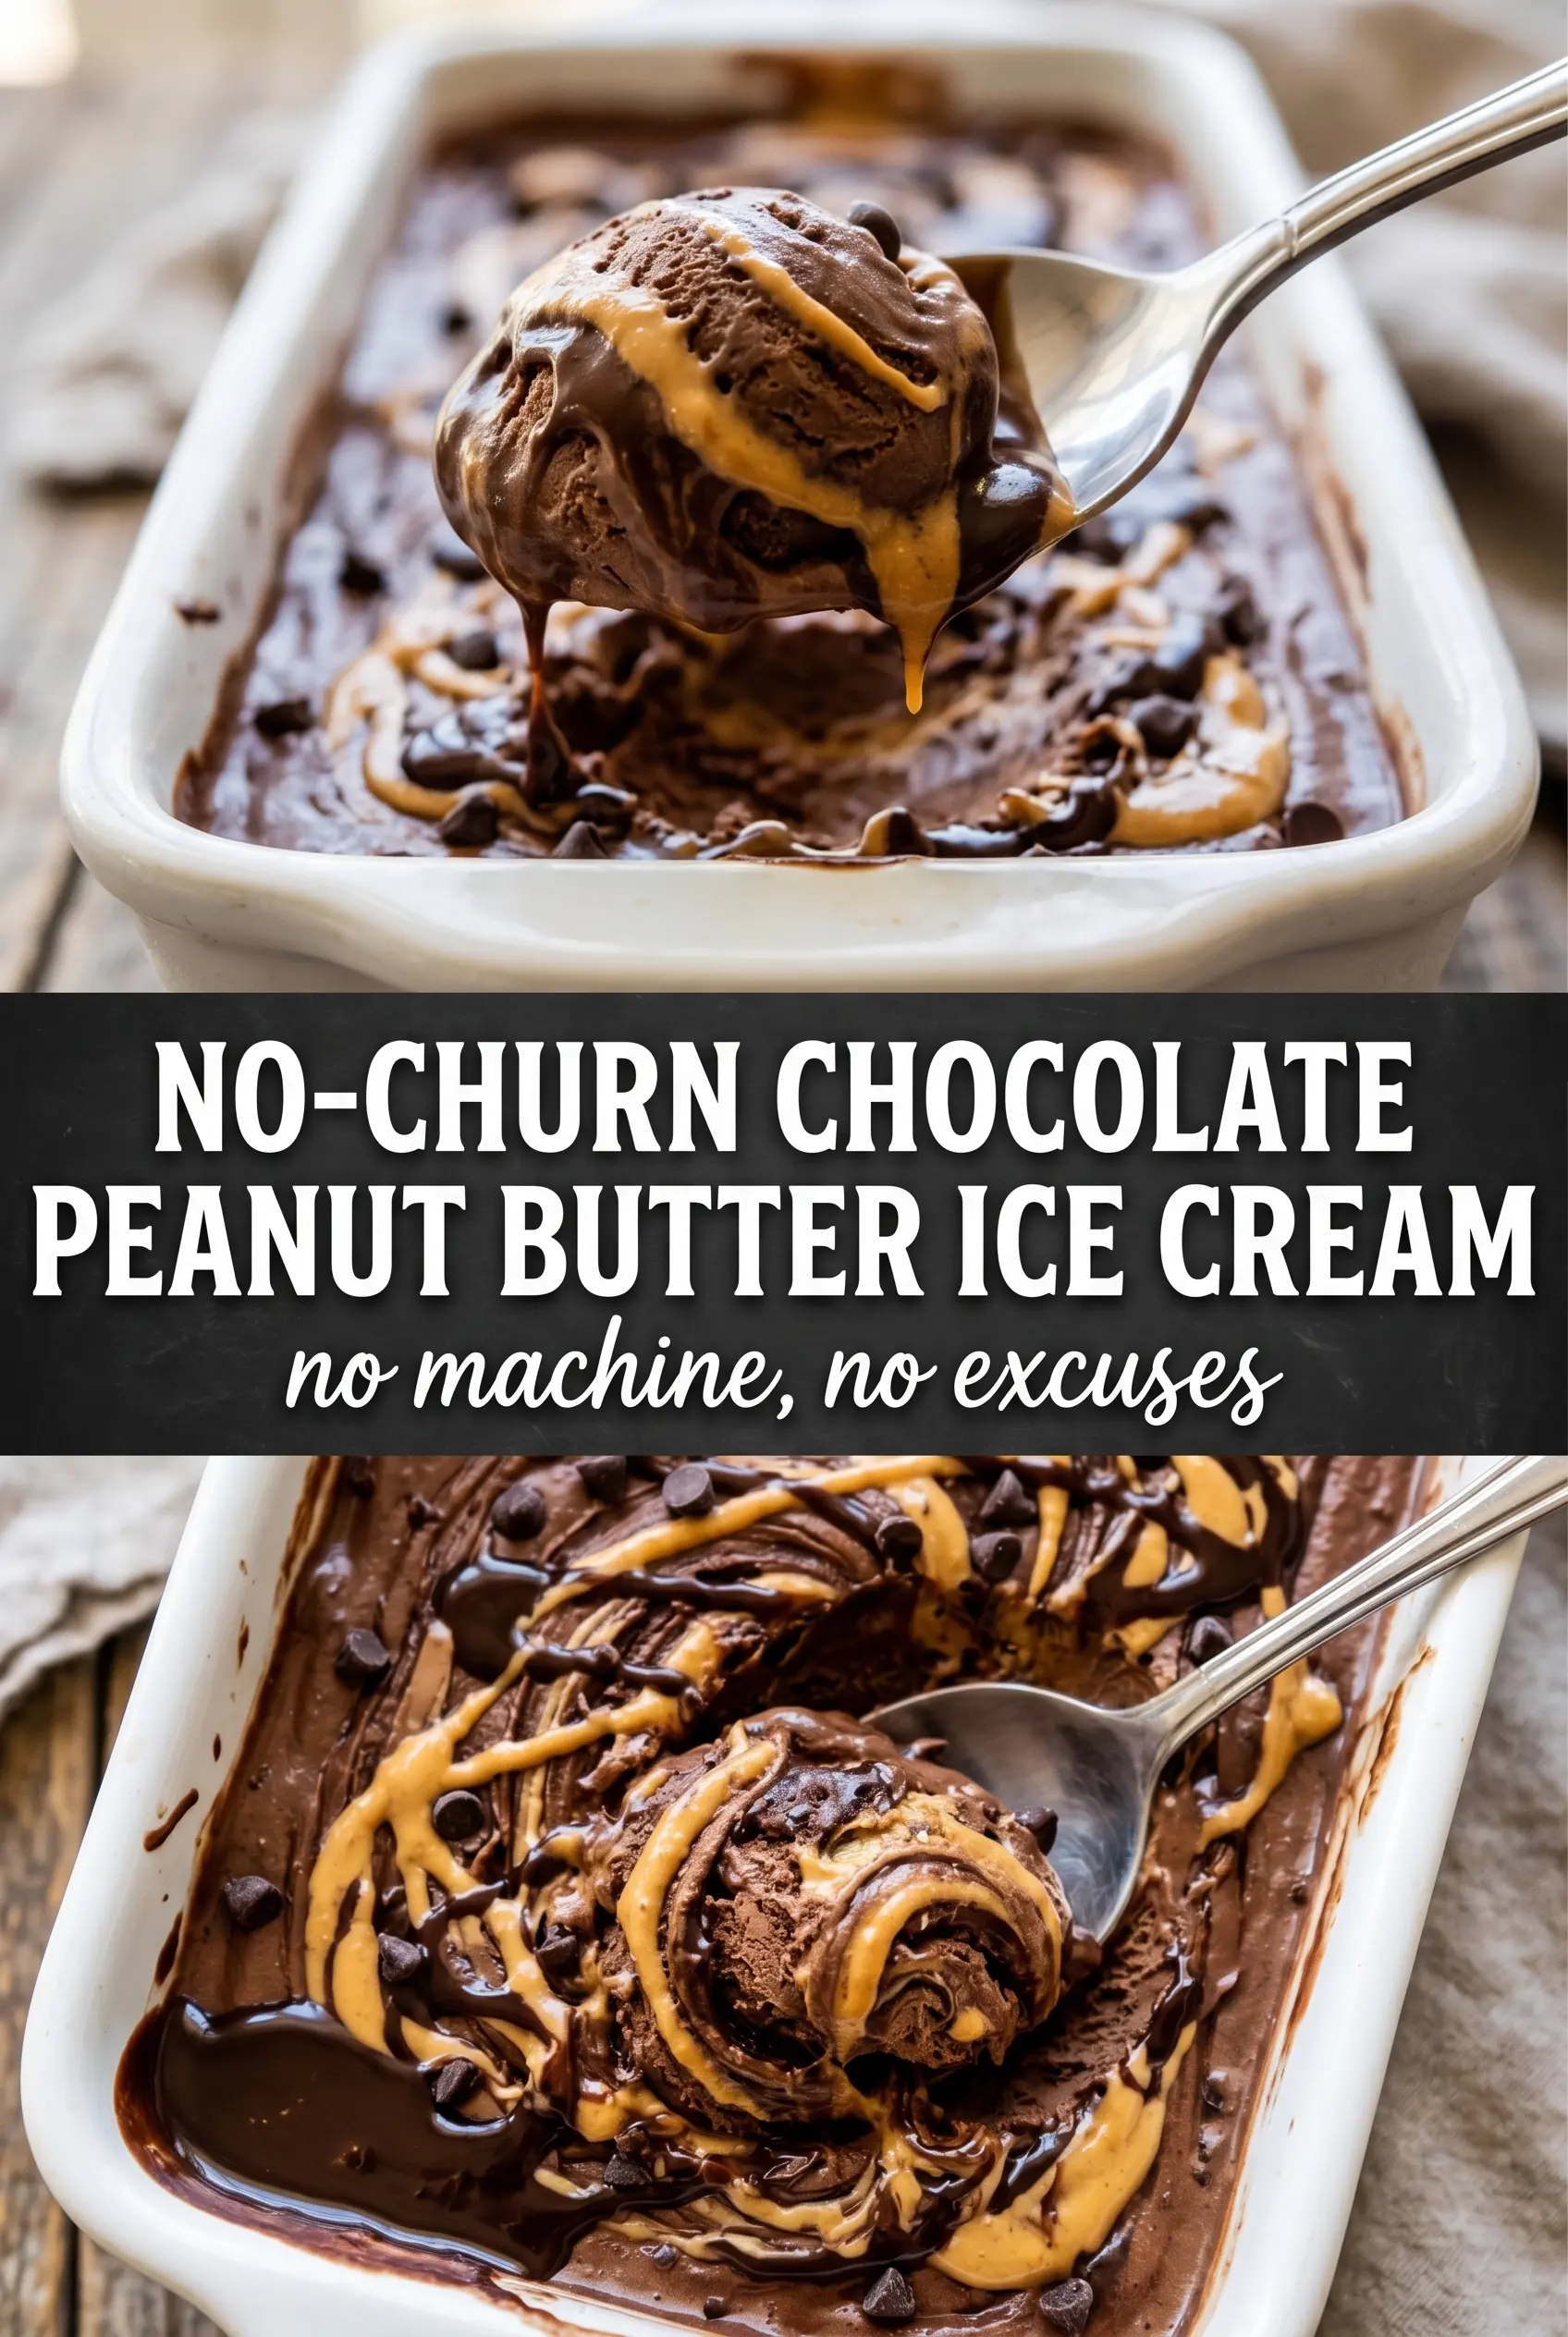
The peanut butter swirled beautifully through the chocolate base and it scooped like real ice cream after a night in the freezer. Mine wasn’t icy at all, and the chocolate flavor tasted rich instead of overly sweet.
Creamy no-churn chocolate peanut butter ice cream with those thick peanut butter ribbons is the kind of freezer dessert worth making ahead.
The Secret to Keeping This No-Churn Ice Cream Creamy Instead of Icy
No-churn ice cream lives or dies by the whipped cream. Stiff peaks give the base enough structure to freeze into something scoopable, while the condensed milk keeps it from turning into a hard block. If you underwhip the cream, the finished ice cream can freeze dense and slushy. If you overmix after folding, you lose the air that makes the texture feel like real ice cream instead of frozen pudding.
The other thing that matters here is the peanut butter. Warm it just until loose and pourable, not hot. If it’s too thick, it’ll sink in heavy streaks and harden into blunt patches. If it’s steaming hot, it can melt the base around it and make the swirl greasy at the edges.
What Each Ingredient Is Actually Doing in This Ice Cream
- Heavy cream — This is the structure. Whip it to stiff peaks so it holds air and freezes creamy. There isn’t a perfect substitute here if you want the same texture.
- Sweetened condensed milk — This gives sweetness, body, and that soft-scoop texture without churning. Evaporated milk won’t do the same job; it won’t give the richness or the freeze-resistant sweetness this dessert needs.
- Unsweetened cocoa powder — Cocoa is the chocolate flavor base, and using unsweetened keeps the dessert from becoming cloying. Dutch-process cocoa gives a darker, deeper flavor, while natural cocoa tastes a little sharper and more classic.
- Creamy peanut butter — Use a smooth jarred peanut butter for the best swirl. Natural peanut butter can separate and turn oily in the freezer, which makes the ribbons less clean.
- Vanilla and salt — Vanilla rounds out the chocolate, and salt keeps the peanut butter from tasting flat. Don’t skip the salt here; it sharpens both flavors.
How to Fold and Swirl Without Deflating the Base
Whipping the Cream to the Right Point
Start with a cold bowl and cold cream, then whip until the cream stands in stiff peaks that hold their shape when you lift the whisk. Stop there. Soft peaks won’t hold up in the freezer, and if you keep beating past stiff peaks, the cream starts to look grainy and can go buttery around the edges.
Mixing the Chocolate Base Smoothly
Whisk the condensed milk, cocoa, vanilla, and salt until the mixture is glossy and no cocoa streaks remain. Cocoa powder wants to clump, especially when it hits thick condensed milk, so scrape the bowl well and keep whisking until it looks like a smooth chocolate sauce. If you see tiny dry specks, they’ll stay there in the frozen ice cream.
Folding for Volume
Add the chocolate mixture to the whipped cream in two or three additions and fold with a spatula, cutting through the center and turning the bowl as you go. The goal is to combine it without knocking out the air. A few faint streaks are better than stirring until perfectly uniform, because overmixing is what makes no-churn ice cream freeze heavy.
Layering the Peanut Butter Swirl
Pour half the base into the loaf pan, drizzle on half the warmed peanut butter, then drag a knife through it a few times. Add the remaining base and repeat with the rest of the peanut butter. Don’t over-swirl. You want visible ribbons, not a muddy brown mixture.
Make it with crunchy peanut butter
Crunchy peanut butter works if you want little peanut pieces scattered through the ice cream, but the swirl won’t look as smooth. The texture gets a little more rustic and the ribbons are less glossy, though the flavor still lands in the same rich chocolate-and-peanut butter lane.
Use almond butter for a peanut-free version
Almond butter gives you a similar ribboning effect with a milder, nuttier flavor. Choose a smooth, well-stirred jar and warm it before swirling. The result is a little less nostalgic than peanut butter, but it still keeps the same creamy dessert structure.
Make it dairy-free
Use a thick dairy-free whipping cream and a canned coconut condensed milk made for desserts. The ice cream won’t be identical, and coconut flavor may show up a little, but this is the closest route that still freezes with a soft-scoop texture. A thin milk substitute won’t work here.
Storage and Reheating
- Refrigerator: Not applicable. This ice cream needs the freezer and softens fast if left out.
- Freezer: Store tightly covered for up to 2 weeks. After that, the texture can start to pick up ice crystals around the edges.
- Reheating: Let the pan sit at room temperature for 8 to 12 minutes before scooping. If it’s rock hard, the scoop tears through it and the swirls break apart instead of lifting cleanly.
Questions I Get Asked About This Recipe
No-Churn Chocolate Peanut Butter Ice Cream
Ingredients
Method
- Whip the heavy cream in a large bowl until stiff peaks form, keeping the texture airy with minimal overmixing. Stop once the peaks hold their shape.
- Whisk the sweetened condensed milk, unsweetened cocoa powder, vanilla extract, and salt together until smooth and glossy. Scrape the bowl to remove any cocoa lumps.
- Gently fold the cocoa mixture into the whipped cream just until no streaks remain, taking care not to deflate the whipped cream. Fold slowly until the mixture looks uniformly dark.
- Pour half of the ice cream mixture into a 9x5 loaf pan, then drizzle with half of the warmed peanut butter. Swirl with a knife in gentle figure-eight motions for thick ribbon effects.
- Pour in the remaining ice cream mixture and top with the remaining peanut butter. Swirl again with the knife, keeping the ribbons visible on the surface.
- Freeze the ice cream for at least 6 hours or overnight until firm. Cover tightly so the top doesn’t dry out and form ice crystals.