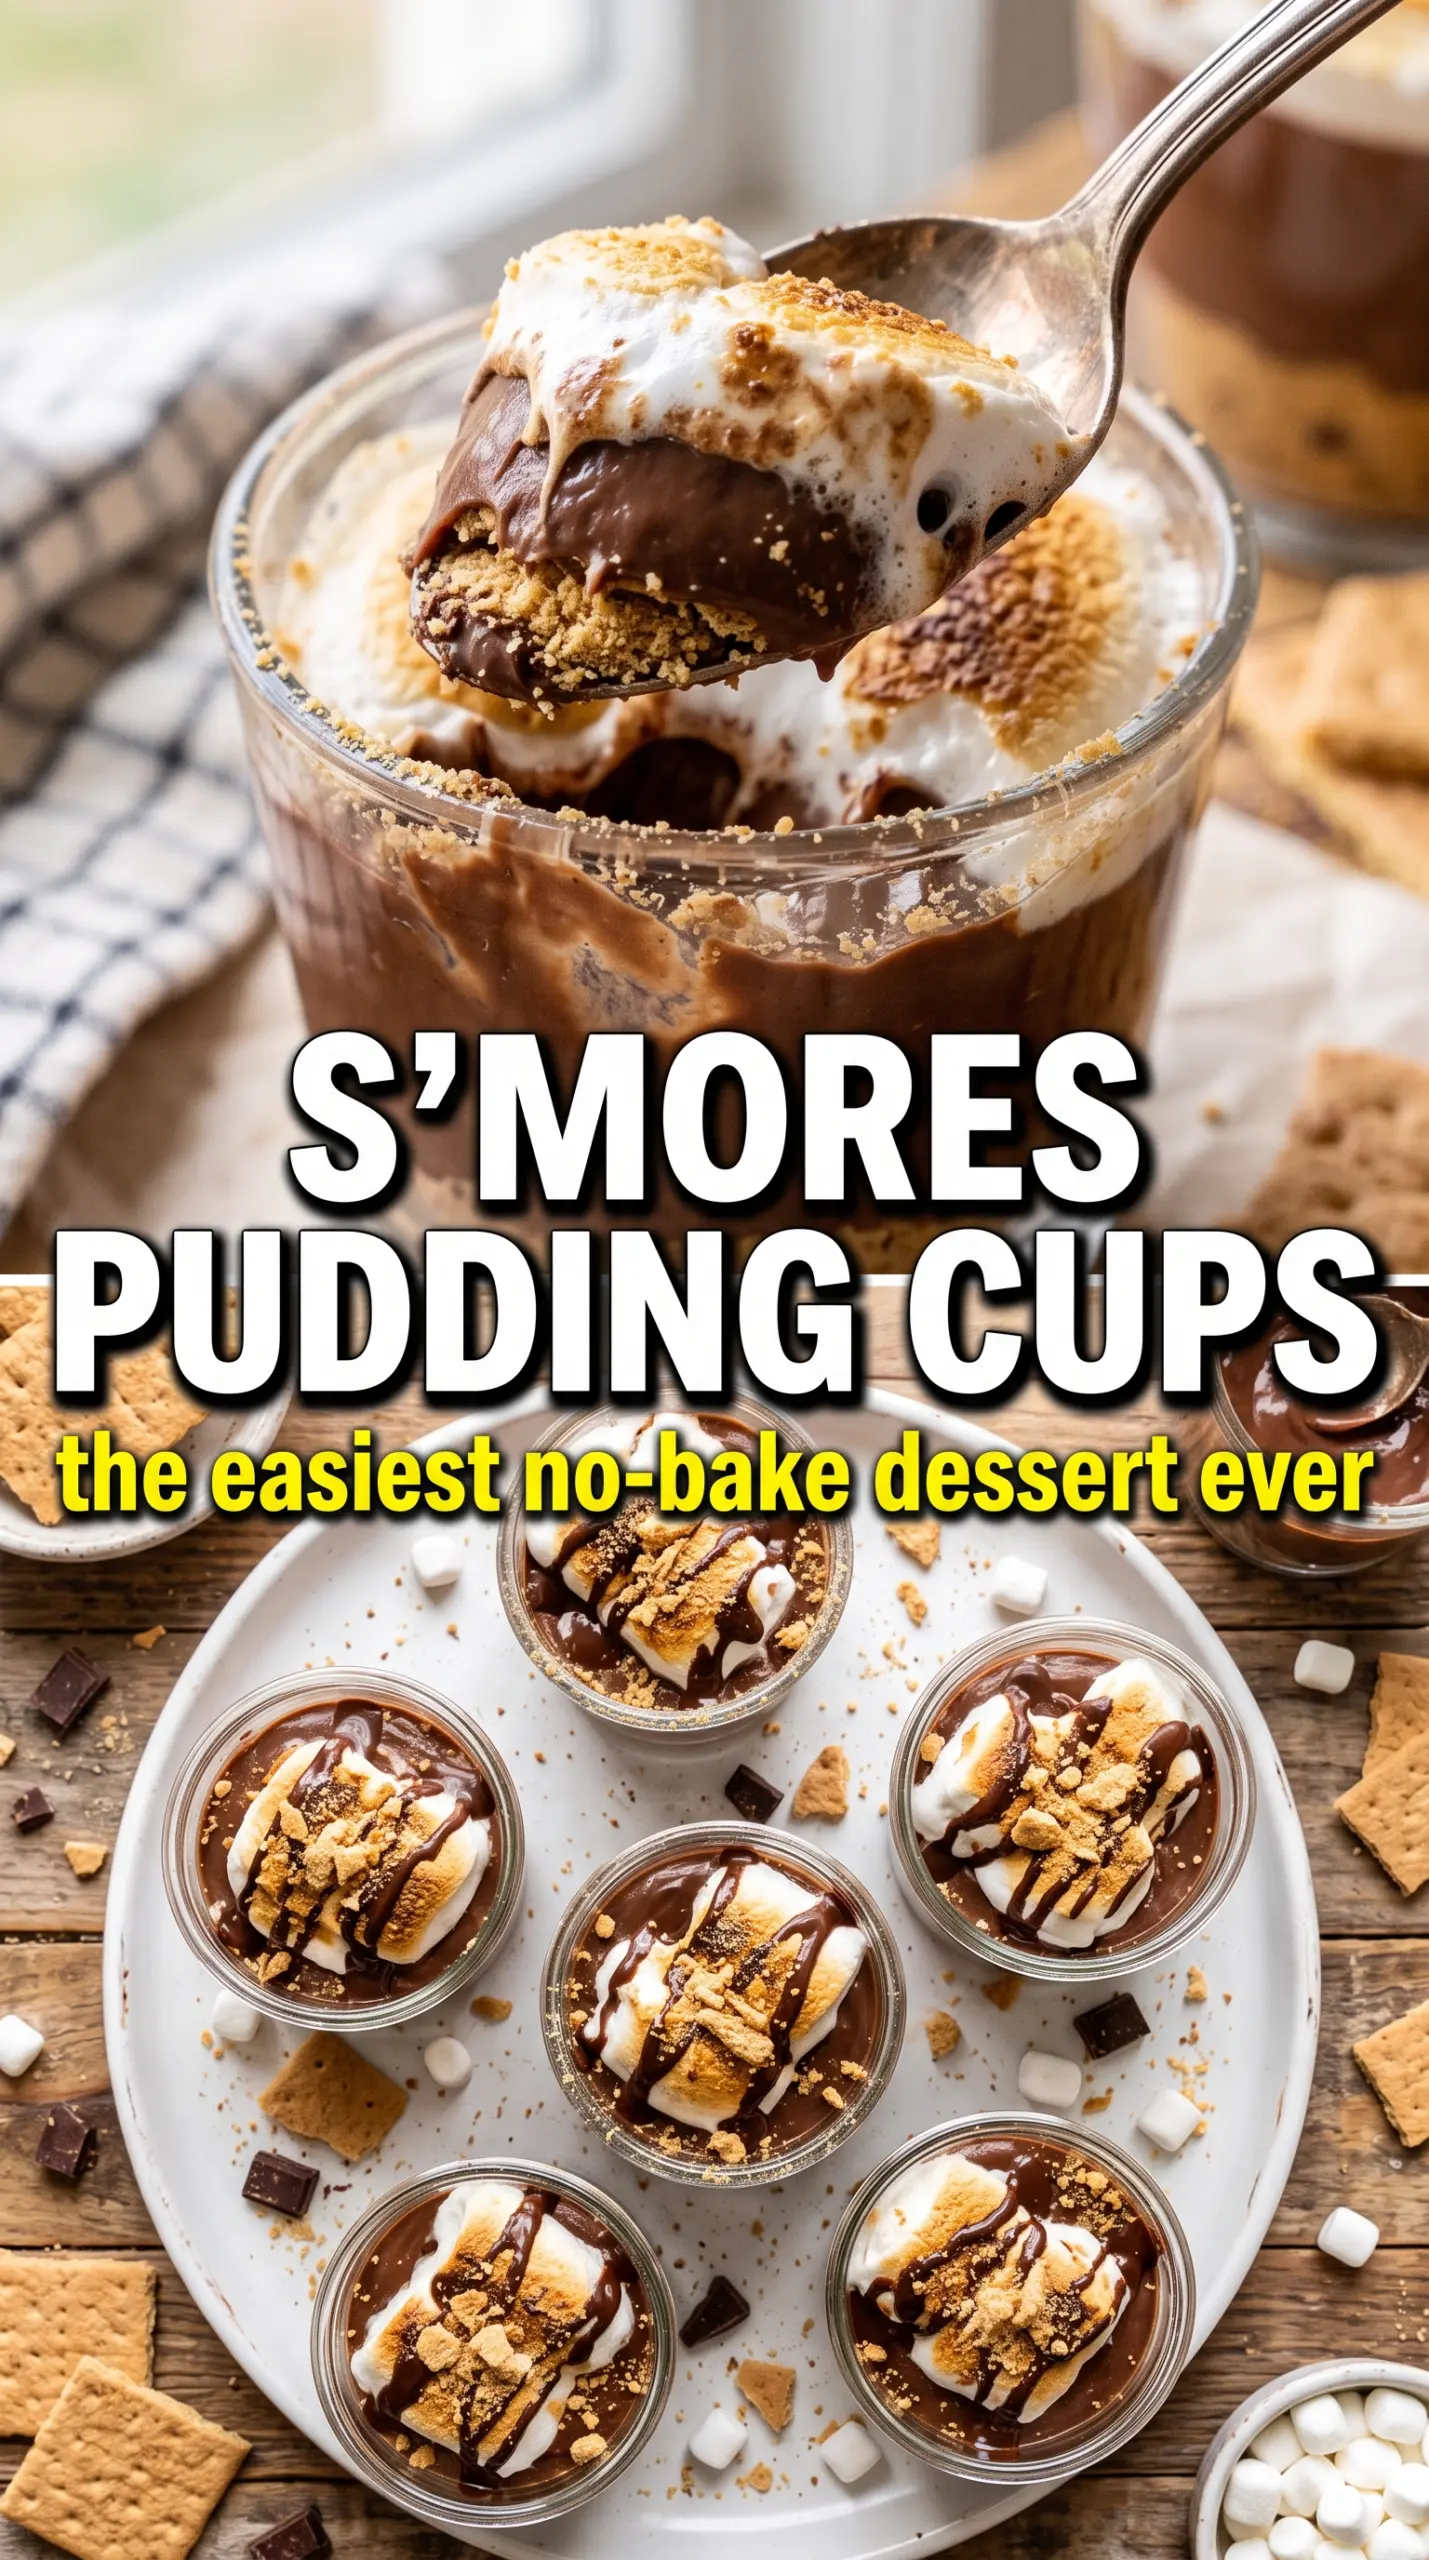
Golden graham crumbs, thick chocolate pudding, and a marshmallow layer that tastes like the best part of a campfire dessert come together in these no-bake s’mores pudding cups. The contrast is what makes them work: crunchy at the bottom, cool and creamy in the middle, and light, fluffy sweetness on top. Served in clear cups, the layers stay distinct enough to look impressive without any tricky assembly.
The texture depends on a few small choices. The graham crumb base needs enough butter to hold together but not so much that it turns greasy, and the pudding should be whisked until it starts to set before it goes into the cups. For the marshmallow layer, softened cream cheese gives the fluff enough structure to sit neatly on the pudding instead of sliding around, while folded-in whipped topping keeps it airy.
Below, I’ve included the layering order that keeps the cups clean and sharp, plus the one substitution that still gives you a stable marshmallow topping if you don’t keep whipped topping around.
The layers stayed put and the pudding thickened up fast, but the best part was the marshmallow layer — it tasted like s’mores filling instead of just sweet fluff.
Save these no-bake s’mores pudding cups for the nights when you want campfire flavor in chilled, layered dessert glasses.
The Reason These Layers Stay Clean Instead of Blending Together
The biggest mistake with layered pudding desserts is rushing the filling into the cups before each layer has enough body. If the pudding is still loose, the graham crumbs float and the marshmallow cream slides, and the whole thing turns muddy instead of defined. The fix is simple: let the chocolate pudding sit long enough to thicken after whisking, and build the cups with calm, even layers instead of trying to compress everything into place.
The other detail that matters is temperature. Cold pudding and chilled marshmallow cream hold their shape better, which is why the rest time isn’t just a waiting game — it’s part of the structure. Once the cups chill, the crumbs soften just enough to taste like a crust while still keeping a little bite.
What Each Layer Is Actually Doing In These S’mores Cups
- Graham cracker crumbs — These give you the s’mores backbone. Fine crumbs pack better than chunky ones, so pulse or crush them until they look like sandy bread crumbs. If you only have whole graham crackers, crush them in a zip-top bag and stop before they turn into dust; a little texture keeps the base from feeling pasty.
- Butter — Melted butter binds the crumb layer so it sets like a soft crust. If the mix looks dry and won’t clump when pinched, add another teaspoon or two of butter. If it looks shiny or wet, you’ve gone too far and the bottom layer will feel greasy after chilling.
- Instant chocolate pudding — Instant pudding gives you the fastest, firmest chocolate layer without cooking. Whole milk makes it richer and helps it set with a smoother spoonful, while lower-fat milk can leave it thinner. Whisk for the full two minutes so the starch can hydrate evenly; stopping early is the main reason pudding stays loose.
- Marshmallow fluff and cream cheese — The fluff brings the s’mores flavor, and the cream cheese gives it enough weight to sit in a neat layer. The cream cheese has to be softened all the way through, or you’ll get little lumps that never fully disappear. Beat those two together until completely smooth before folding in the whipped topping.
- Whipped topping — This keeps the marshmallow layer light instead of dense and sticky. Homemade whipped cream works too, but it softens faster, so the cups are best served the same day if you swap it in. Fold gently so you don’t deflate the air you just added.
Building The Cups So Each Spoonful Hits Every Layer
Mixing the Crumb Base
Stir the graham crumbs, melted butter, and sugar until every crumb looks evenly coated and the mixture holds together when you press it between your fingers. That pinched-clump test matters more than the exact look in the bowl. If it falls apart completely, add a little more butter; if it looks slick, add a spoonful of crumbs to pull it back into balance.
Thickening the Chocolate Layer
Whisk the pudding and cold milk for the full two minutes, scraping the sides and bottom so no dry mix hides in the bowl. It should go from loose and milky to thick enough to coat the whisk. After that, let it sit in the fridge for a few minutes so it firms up a bit more before layering; that short chill keeps it from sinking into the crumbs.
Making the Marshmallow Cream
Beat the marshmallow fluff and softened cream cheese until the mixture turns smooth and glossy, with no streaks of white cream cheese left behind. Add the whipped topping in by hand with a spatula, lifting from the bottom so the mixture stays airy. If you stir hard here, it loses volume and the top layer turns heavy instead of cloudlike.
Layering and Chilling
Spoon the crumb base into the cups first and press it lightly, then add chocolate pudding, then marshmallow cream, repeating if your glasses are tall enough. Clean the inside walls of the cup with the back of the spoon as you go so the layers stay sharp and visible. Finish with a little extra crumble, mini marshmallows, and chocolate shavings, then chill for at least two hours so the layers settle into each other without collapsing.
Three Ways To Change These S’mores Cups Without Losing The Point
Use chocolate graham crackers for a deeper cocoa base
Chocolate graham crumbs make the dessert taste darker and a little more like a brownie crust. Keep the butter amount the same, but know that the result will be sweeter and less classic in flavor. This swap works best if you want the chocolate layer to feel extra bold.
Make it gluten-free with certified gluten-free cookies
Use gluten-free graham-style crackers or another crisp gluten-free cookie with a neutral flavor. The texture will be slightly more delicate, so don’t pack the base too hard or it can turn crumbly after chilling. The rest of the recipe stays the same.
Swap the whipped topping for homemade whipped cream
Whip heavy cream with a little powdered sugar until soft peaks form, then fold it into the marshmallow mixture. The flavor is fresher and a little less sweet, but the cups won’t hold as long in the fridge, so plan to serve them within a day. This version tastes especially good if you like a lighter finish.
Toast the marshmallows right before serving
A quick torch on the mini marshmallows adds the campfire note that makes these cups taste like actual s’mores. Do it at the end, after the cups are chilled, because the heat can soften the top layer if you torch too early. The toasted tops also look best the same day they’re made.
Storage and Reheating
- Refrigerator: Store covered for up to 3 days. The crumb layer softens over time, but the cups still taste great.
- Freezer: I don’t recommend freezing these. The pudding and marshmallow layers change texture once thawed and can turn watery.
- Reheating: No reheating needed. Serve straight from the fridge, and if you’re torching the marshmallows, do that right before serving so the top stays fluffy.
Answers To The Questions Worth Asking
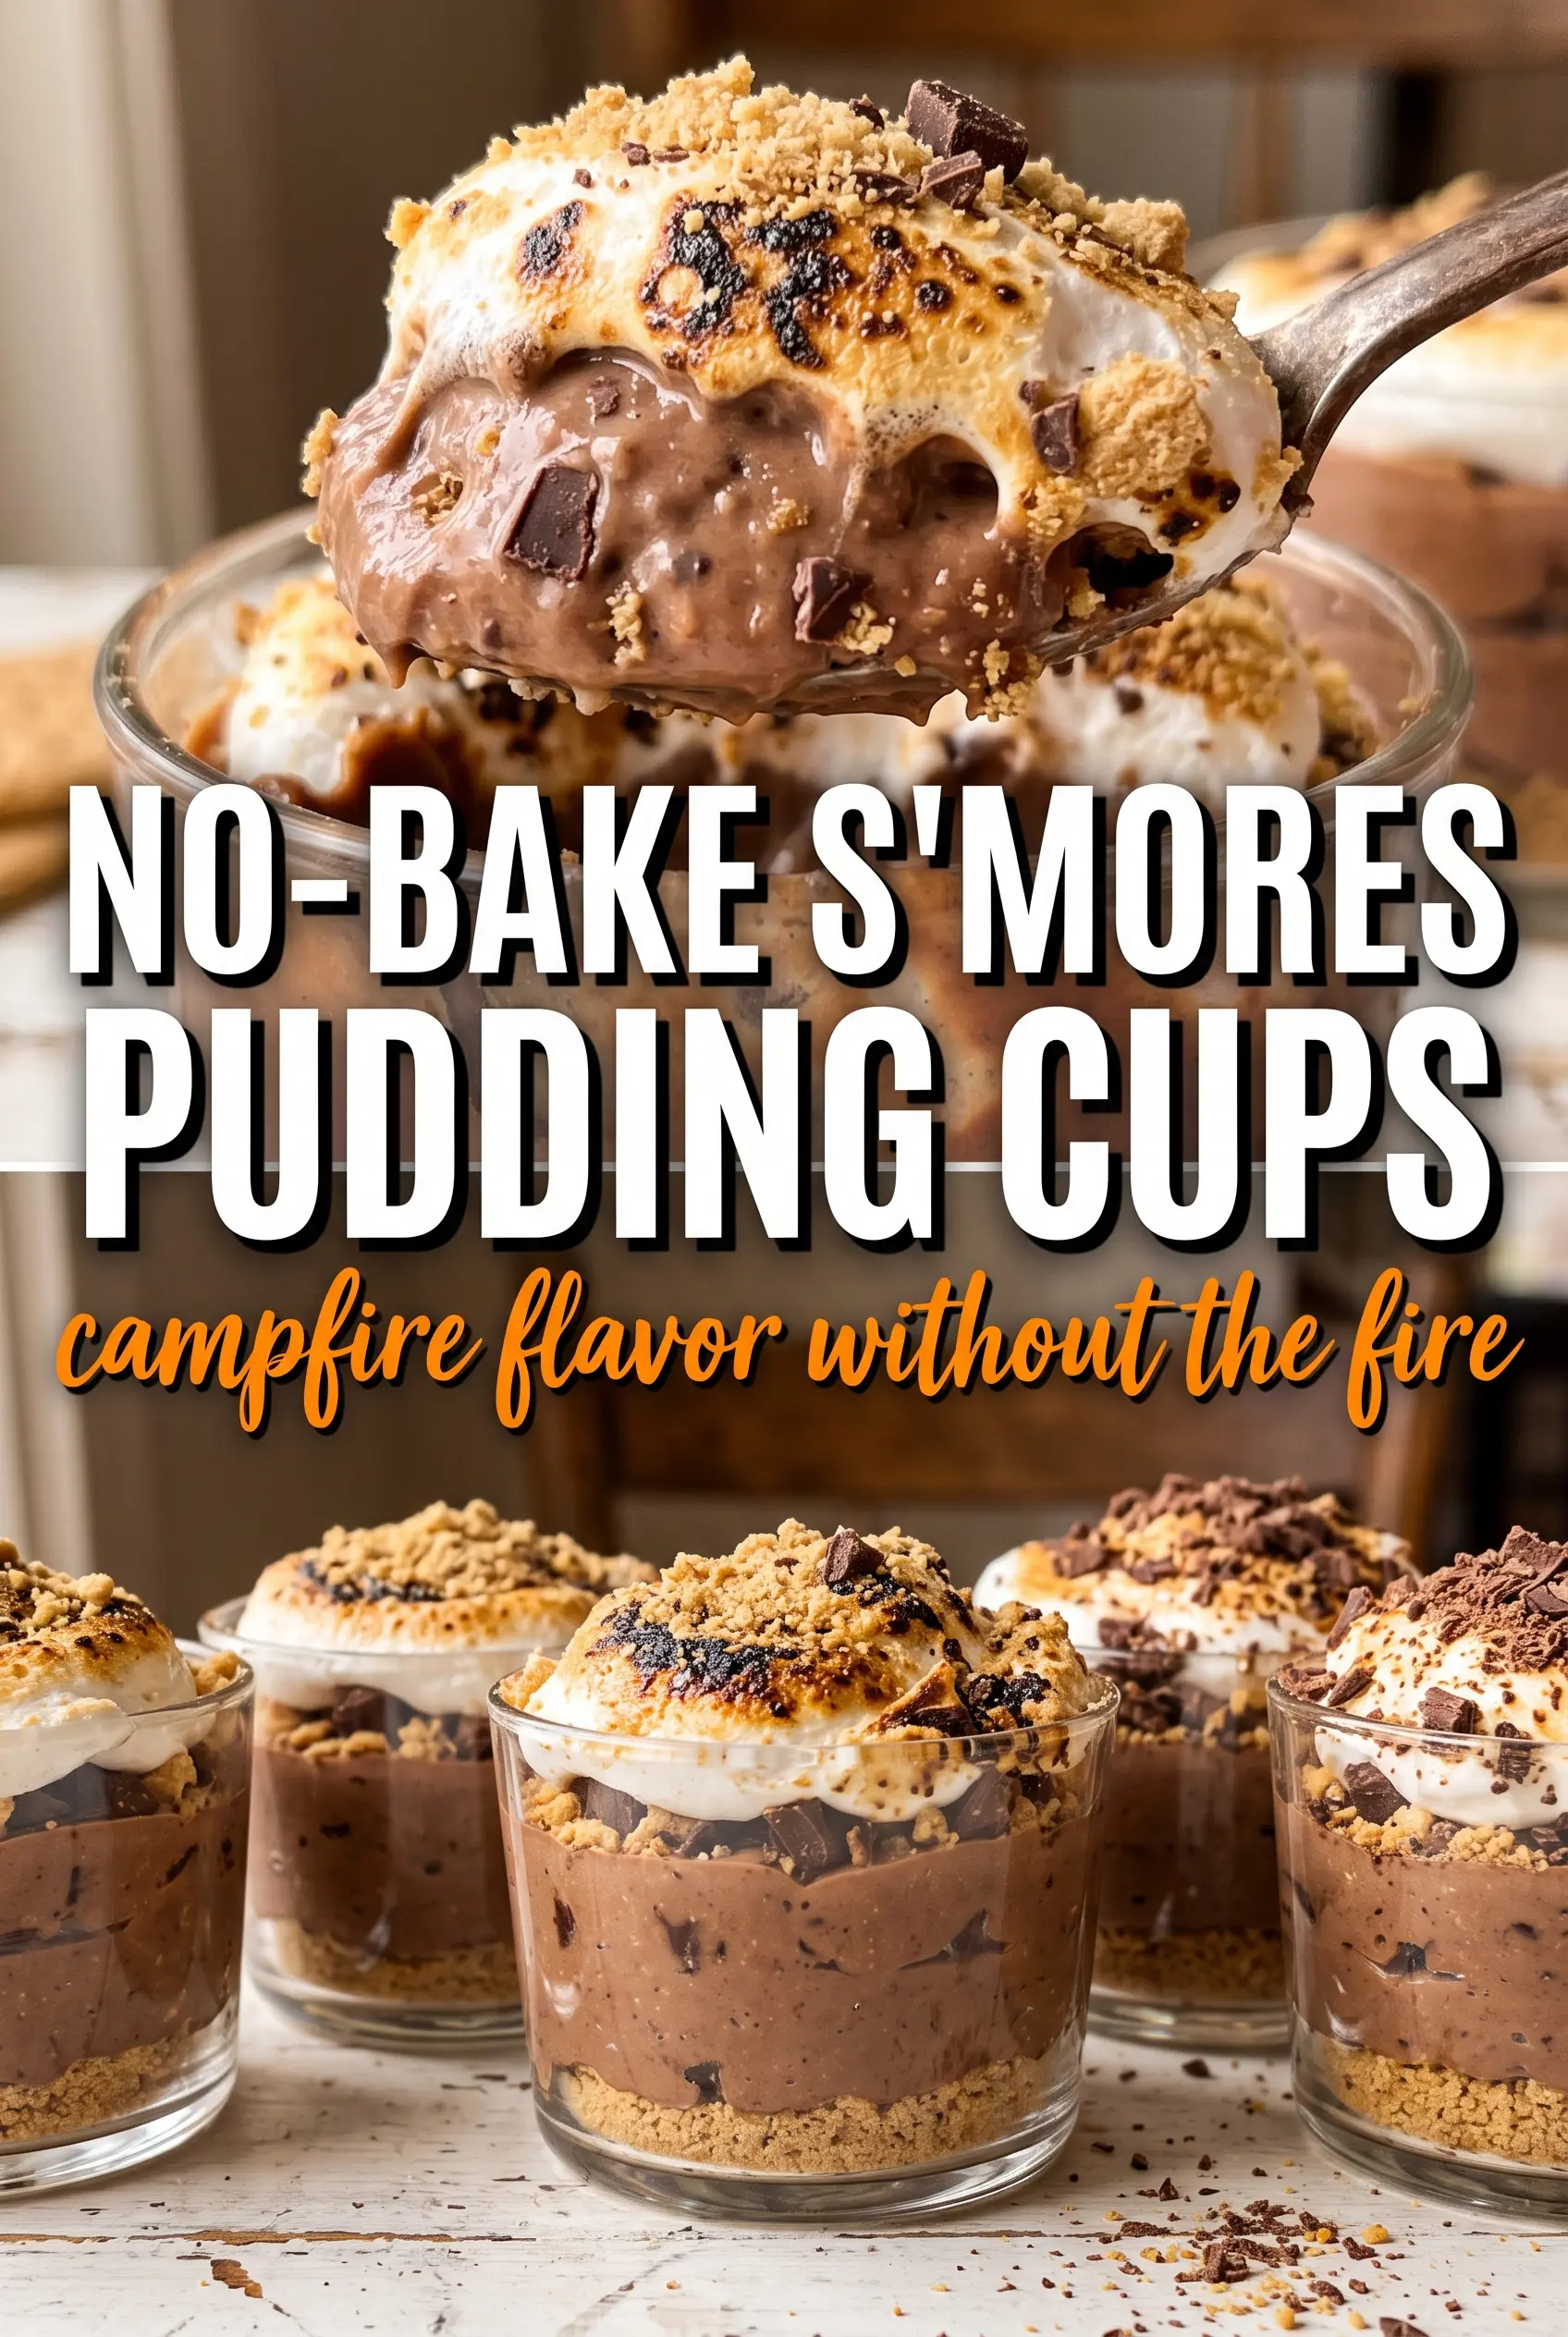
No-Bake S'mores Pudding Cups
Ingredients
Method
- Mix graham cracker crumbs, melted butter, and sugar until combined, with a sandy texture that holds together when pressed.
- Whisk together instant chocolate pudding and cold whole milk for 2 minutes until thickened and glossy.
- Refrigerate the pudding for 5 minutes to firm up slightly before layering.
- Beat marshmallow fluff and softened cream cheese together until smooth and uniform.
- Fold in whipped topping until the mixture looks light and creamy, with no dry streaks.
- Layer in 6 individual cups by adding graham cracker crumble as the first layer, then packing it gently.
- Add a layer of chocolate pudding over the graham crumble, spreading to the edges for a clean line.
- Spoon marshmallow cream on top to create a thick, even layer.
- Repeat the layering one more time so each cup shows graham cracker, chocolate pudding, and marshmallow cream in stacked sections.
- Top each cup with extra graham cracker crumble, then add mini marshmallows and chocolate shavings for garnish.
- Refrigerate for at least 2 hours so the layers set and slice neatly.
- Torch the mini marshmallows just before serving if desired, until lightly browned for a toasted look.