Layered desserts like this one land hard because each bite gives you something different: a crisp chocolate-cookie base, a thick peanut butter middle, cool chocolate pudding, and a soft whipped topping that keeps the whole pan from feeling heavy. When it’s chilled long enough, the slices hold clean edges and the layers stay distinct, which is half the appeal here.
The part that makes this version work is balance. The cream cheese keeps the peanut butter layer from turning greasy, and the instant pudding sets up fast enough that you don’t need to fuss with stovetop custard. I also like folding whipped topping into the peanut butter mixture instead of spreading it on plain; it lightens the texture and helps the layer cut neatly instead of smearing under the knife.
Below, I’m breaking down the little details that matter most: how to press the crust so it stays intact, why the pudding has to thicken before it goes in the pan, and what to do if you want to make this ahead for a crowd.
The peanut butter layer stayed fluffy instead of dense, and the pudding set up enough that my slices held together after chilling overnight. My husband went back for a second piece before dinner was even over.
Save this No-Bake Peanut Butter Chocolate Lasagna for the days when you want clean layers, cold chocolate pudding, and a peanut butter crust that slices like a dream.
The Layer Order That Keeps This Dessert from Sliding Apart
The biggest mistake with dessert lasagna is rushing the layers before the base has a chance to set. The Oreo crust needs to be packed down firmly and chilled for a few minutes so it doesn’t crumble when you spread on the peanut butter filling. If the crust is loose, every spoonful turns messy fast.
The other place people get into trouble is the pudding. Instant pudding starts thickening immediately, but it still needs those full two minutes of whisking and a short rest before you layer it. If it goes in the pan too loose, it can seep into the peanut butter layer and blur the whole dessert instead of giving you those clean, distinct stripes.
What Each Layer Is Doing in the Pan
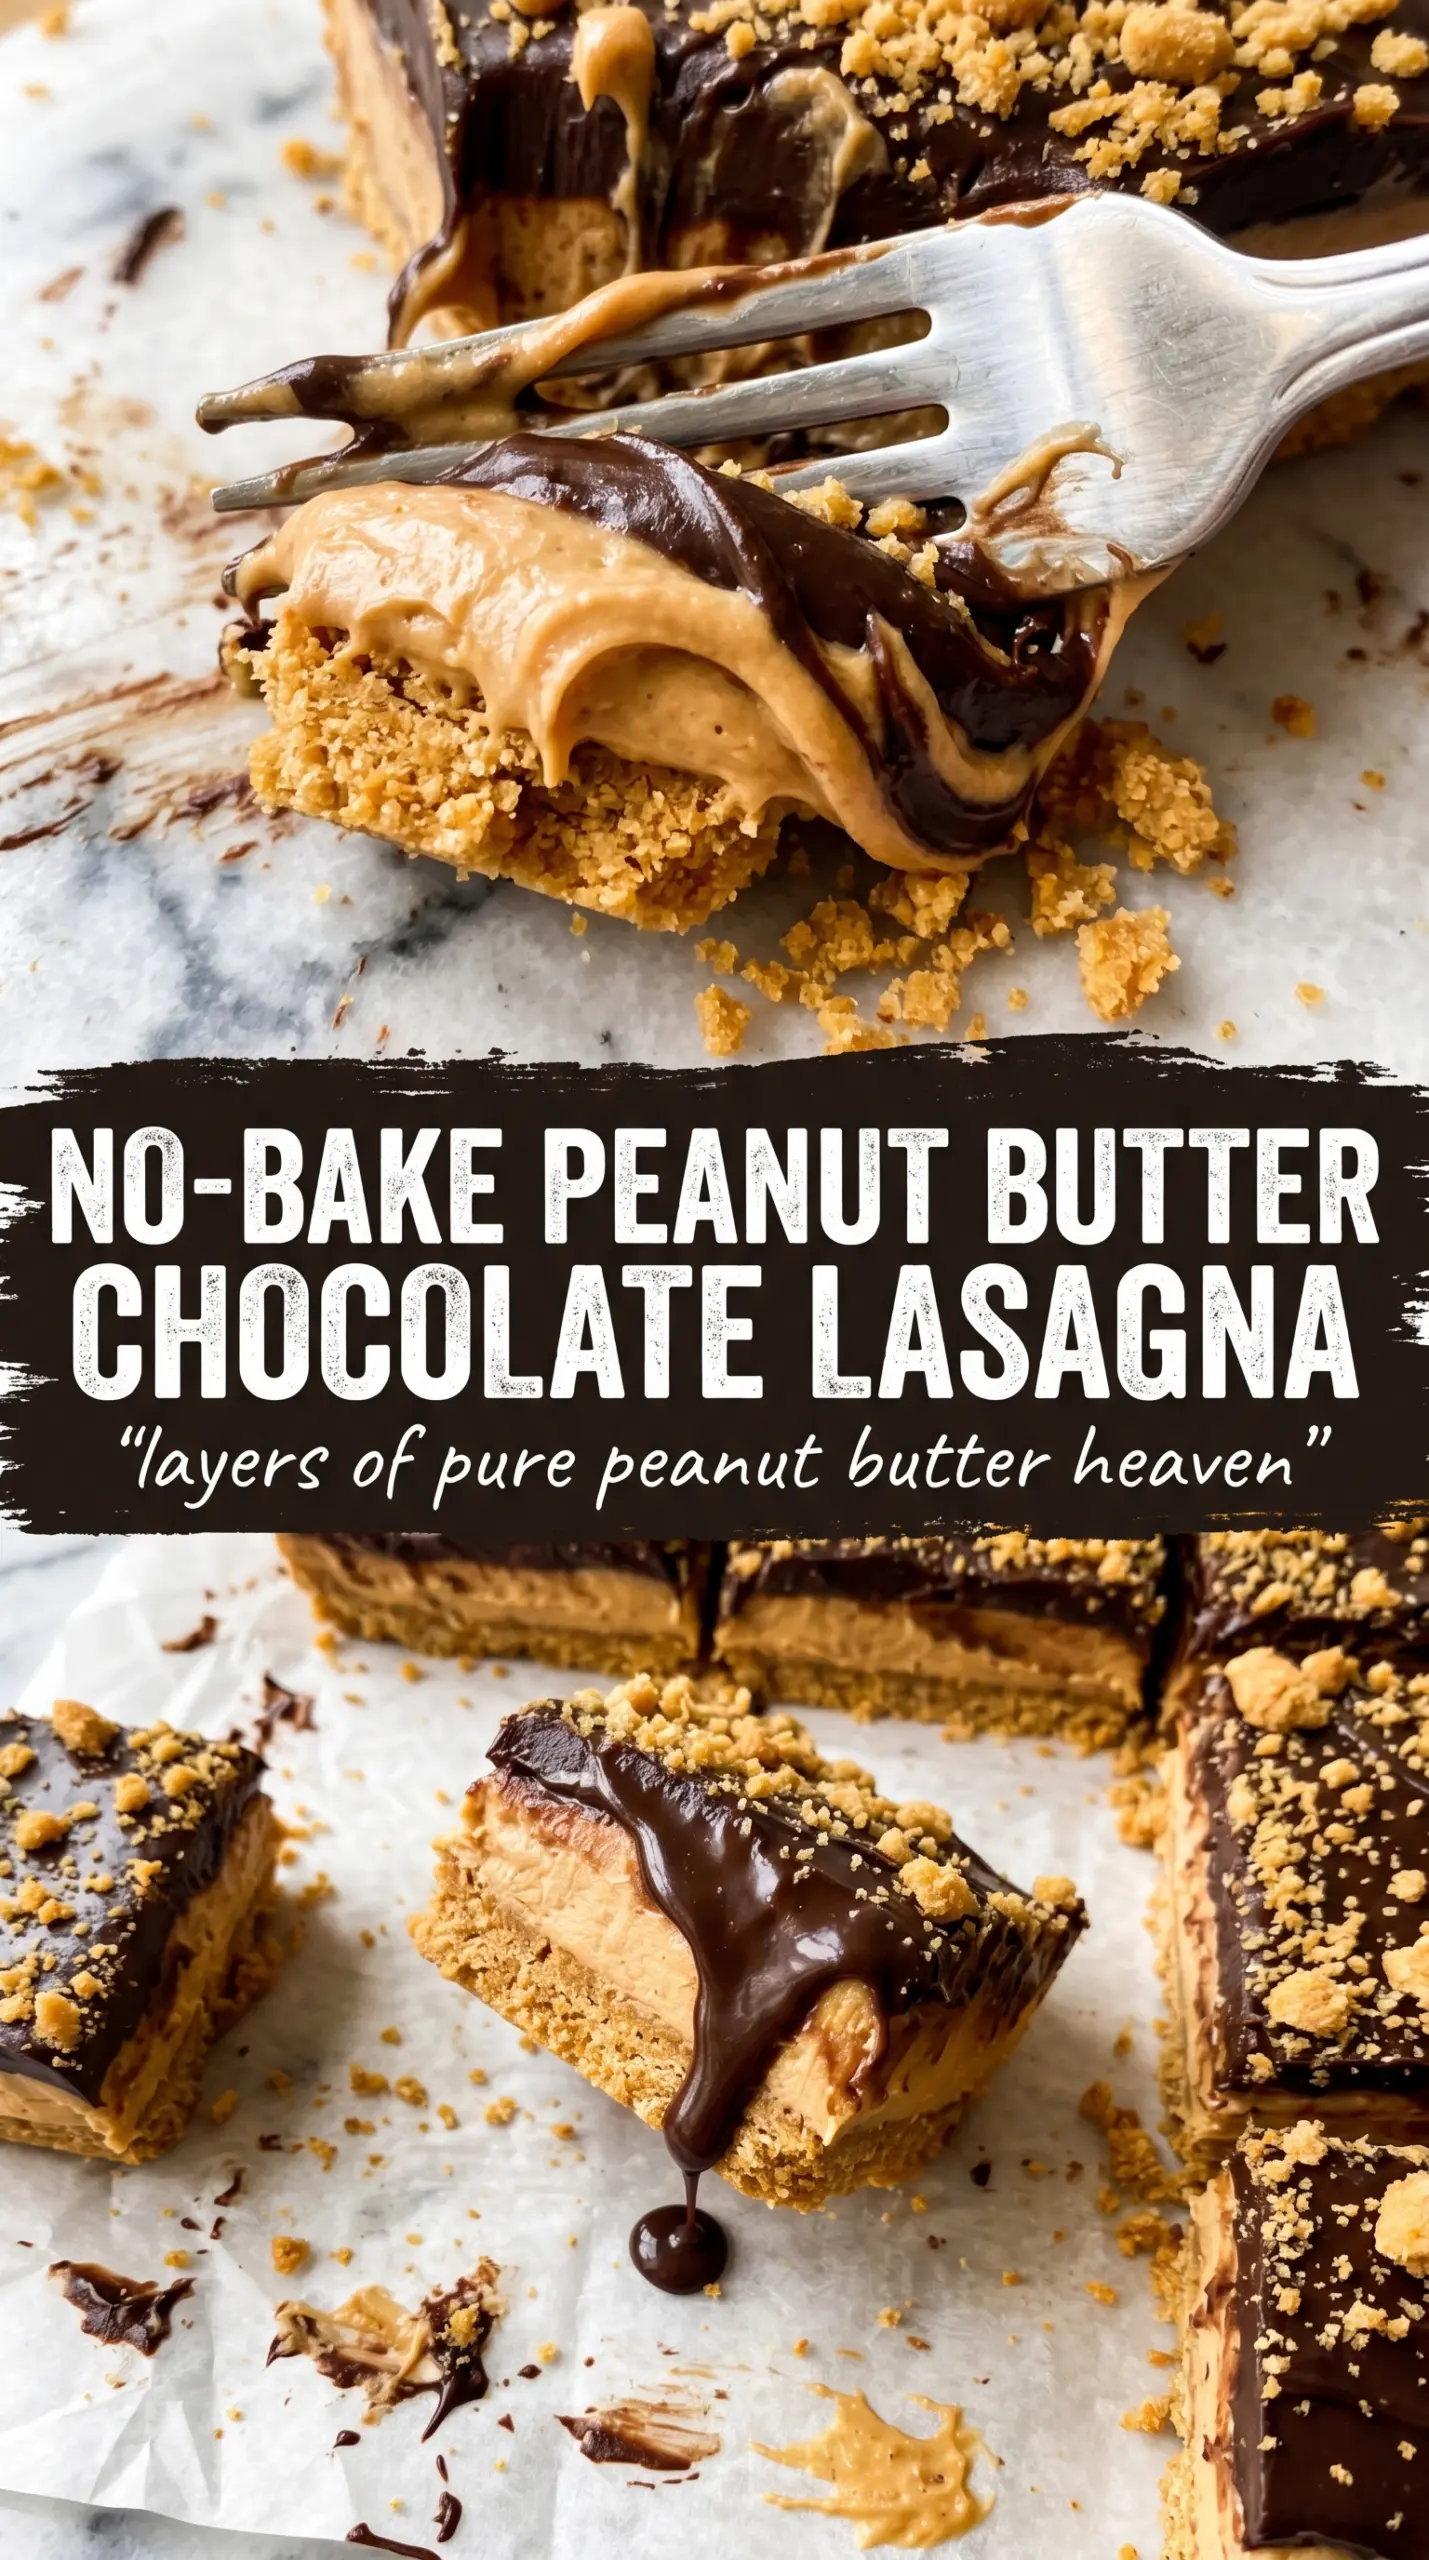
- Oreo cookies — These give you the crust’s chocolate flavor and structure in one move. Crush them finely so the base packs together without big chunks breaking the slice apart.
- Butter — This is what turns crumbs into a sliceable crust. Melted butter works best here; anything colder leaves dry patches that fall apart when you serve it.
- Cream cheese — This anchors the peanut butter layer and keeps it from tasting flat. Let it soften fully first, or you’ll end up with little lumps that never smooth out.
- Creamy peanut butter — Use regular creamy peanut butter, not the natural kind that separates in the jar. Natural peanut butter can make the filling oily and less stable.
- Whipped topping — It lightens both the peanut butter layer and the top layer, which is what keeps the dessert from feeling dense. Fold it in gently so you keep some air in the filling.
- Instant chocolate pudding — Instant pudding gives you a fast-setting middle with no stove time. The key is cold whole milk; lower-fat milk makes a thinner pudding that won’t hold its shape as well.
- Reese’s Peanut Butter Cups — These add crunch and a little salt on top, which keeps the dessert from tasting one-note. Chop them just before garnishing so they don’t warm up and smear.
Building the Layers Without Smearing the Edges
Pressing the Crust
Mix the crushed Oreos with the melted butter until every crumb looks damp, then press the mixture into the bottom of a 9×13 dish with the back of a measuring cup or flat-bottomed glass. Push firmly into the corners and along the edges first, then fill in the center. If you press loosely, the crust will lift and scatter when you serve it.
Whipping the Peanut Butter Filling
Beat the cream cheese, peanut butter, powdered sugar, and vanilla until the mixture is smooth and fluffy, then fold in the whipped topping. Stop mixing as soon as it looks even. Overmixing after the whipped topping goes in knocks out the air and turns the layer heavy instead of mousse-like.
Letting the Pudding Set Before It Hits the Pan
Whisk the pudding mix and cold milk for a full two minutes, then give it a minute or two to thicken before spreading it over the peanut butter layer. You want it spoonable, not runny. If it still pours like milk, it hasn’t set enough and it’ll slide around when you add the whipped topping.
Finishing with a Clean Top
Spread the remaining whipped topping all the way to the edges, then scatter the chopped Reese’s and chocolate shavings over the top. Drizzle with peanut butter at the very end so it stays visible instead of disappearing into the whipped topping. Chill the pan for at least four hours, and overnight is even better if you want the neatest slices.
How to Adapt It for a Bigger Crowd, a Different Craving, or Less Dairy
Dairy-Free Version
Use dairy-free cream cheese, plant-based whipped topping, and a nondairy milk that works with instant pudding. The texture will still be creamy, but the peanut butter layer may taste a little softer and less tangy without regular cream cheese.
Extra-Chocolate Finish
Add a thin layer of chocolate ganache over the pudding before the whipped topping if you want a richer top. It makes the dessert firmer and more dramatic, but it also pushes the peanut butter flavor a little further into the background.
Gluten-Free Crust
Swap in gluten-free chocolate sandwich cookies for the Oreos and keep the rest of the recipe the same. The crust still sets well, though some gluten-free cookies crumble a little more easily, so press the base down especially well.
Make-Ahead Storage
This dessert is built for making ahead. Chill it covered in the refrigerator for up to 4 days; the crust softens a little over time, but the layers stay neat. I don’t recommend freezing it, since the whipped topping and pudding can turn grainy after thawing.
Questions I Get Asked About This Recipe
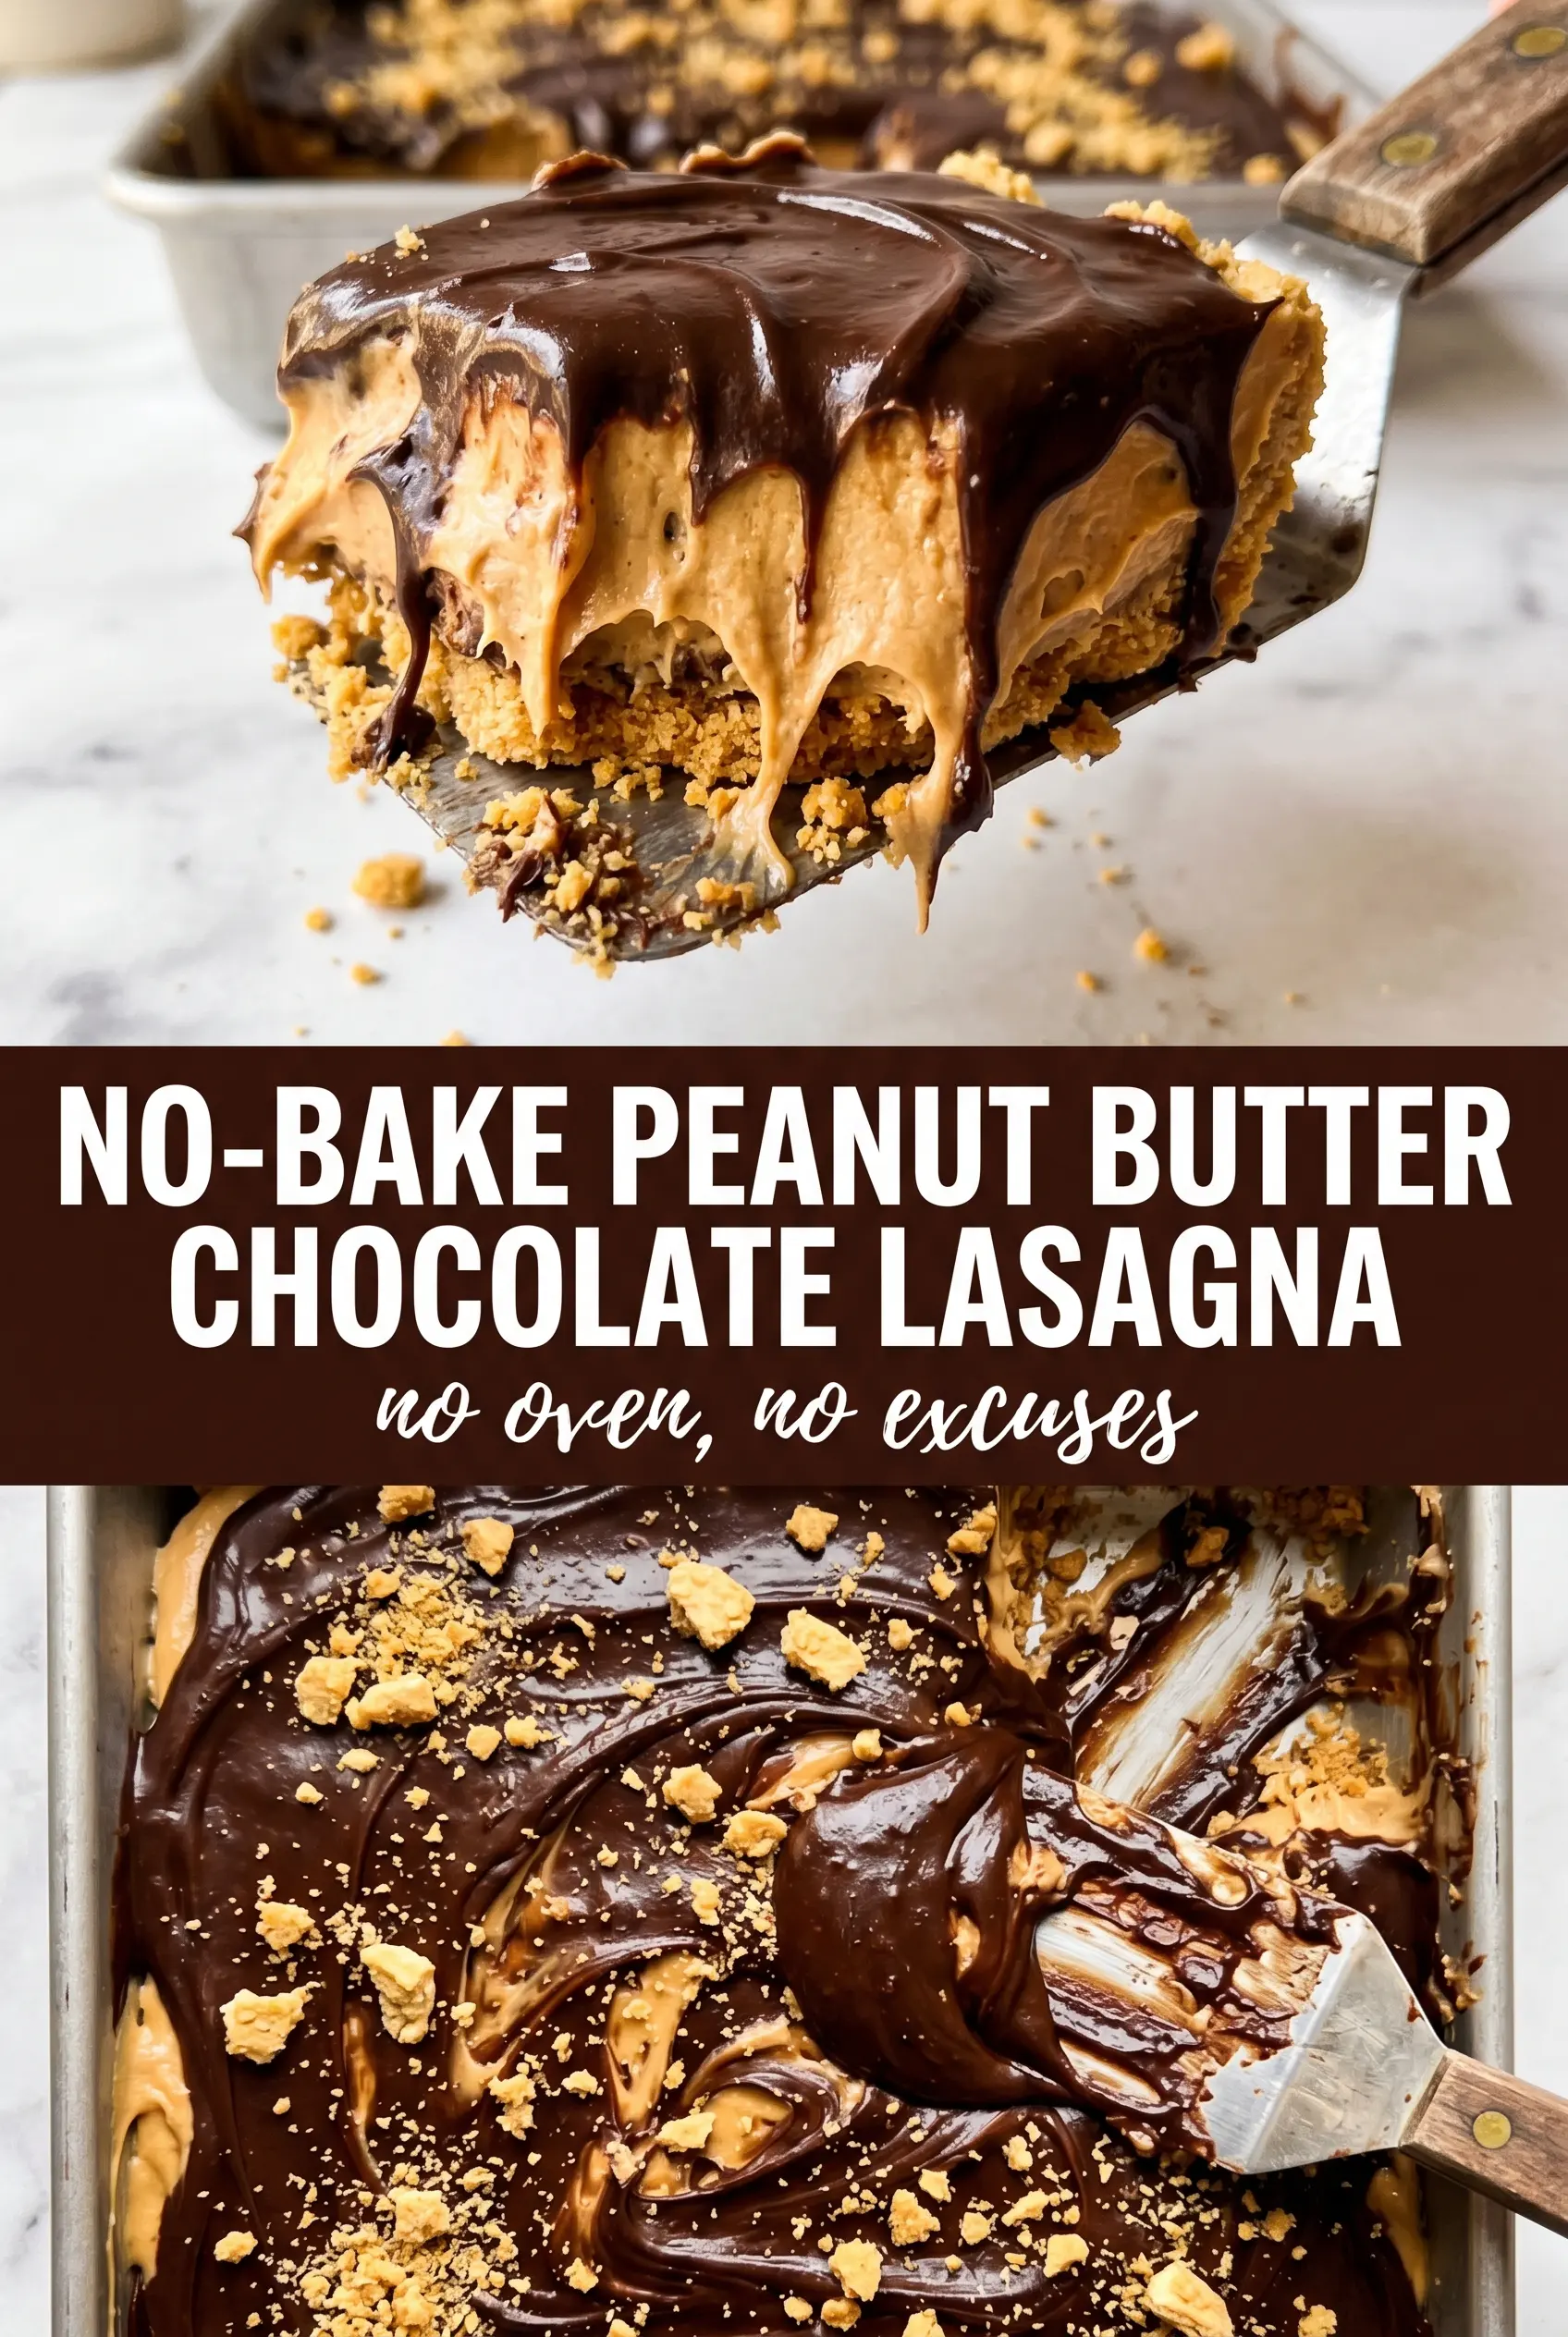
No-Bake Peanut Butter Chocolate Lasagna
Ingredients
Equipment
Method
- Mix the crushed Oreo cookies and melted butter until combined, until the mixture looks evenly coated. Press firmly into the bottom of a 9x13 dish, then refrigerate for 15 minutes to set.
- Beat the softened cream cheese, creamy peanut butter, powdered sugar, and vanilla extract until smooth and fluffy, then fold in 1 cup of whipped topping. Spread the peanut butter cream evenly over the chilled Oreo crust.
- Whisk the instant chocolate pudding mix with the cold whole milk for 2 minutes until thickened. Spread the pudding evenly over the peanut butter layer.
- Spread the remaining 2 cups of whipped topping over the chocolate pudding layer. Scatter the chopped Reese’s Peanut Butter Cups and chocolate shavings over the top, then drizzle with peanut butter.
- Refrigerate for at least 4 hours (or overnight) until fully set, then slice into squares and serve cold.