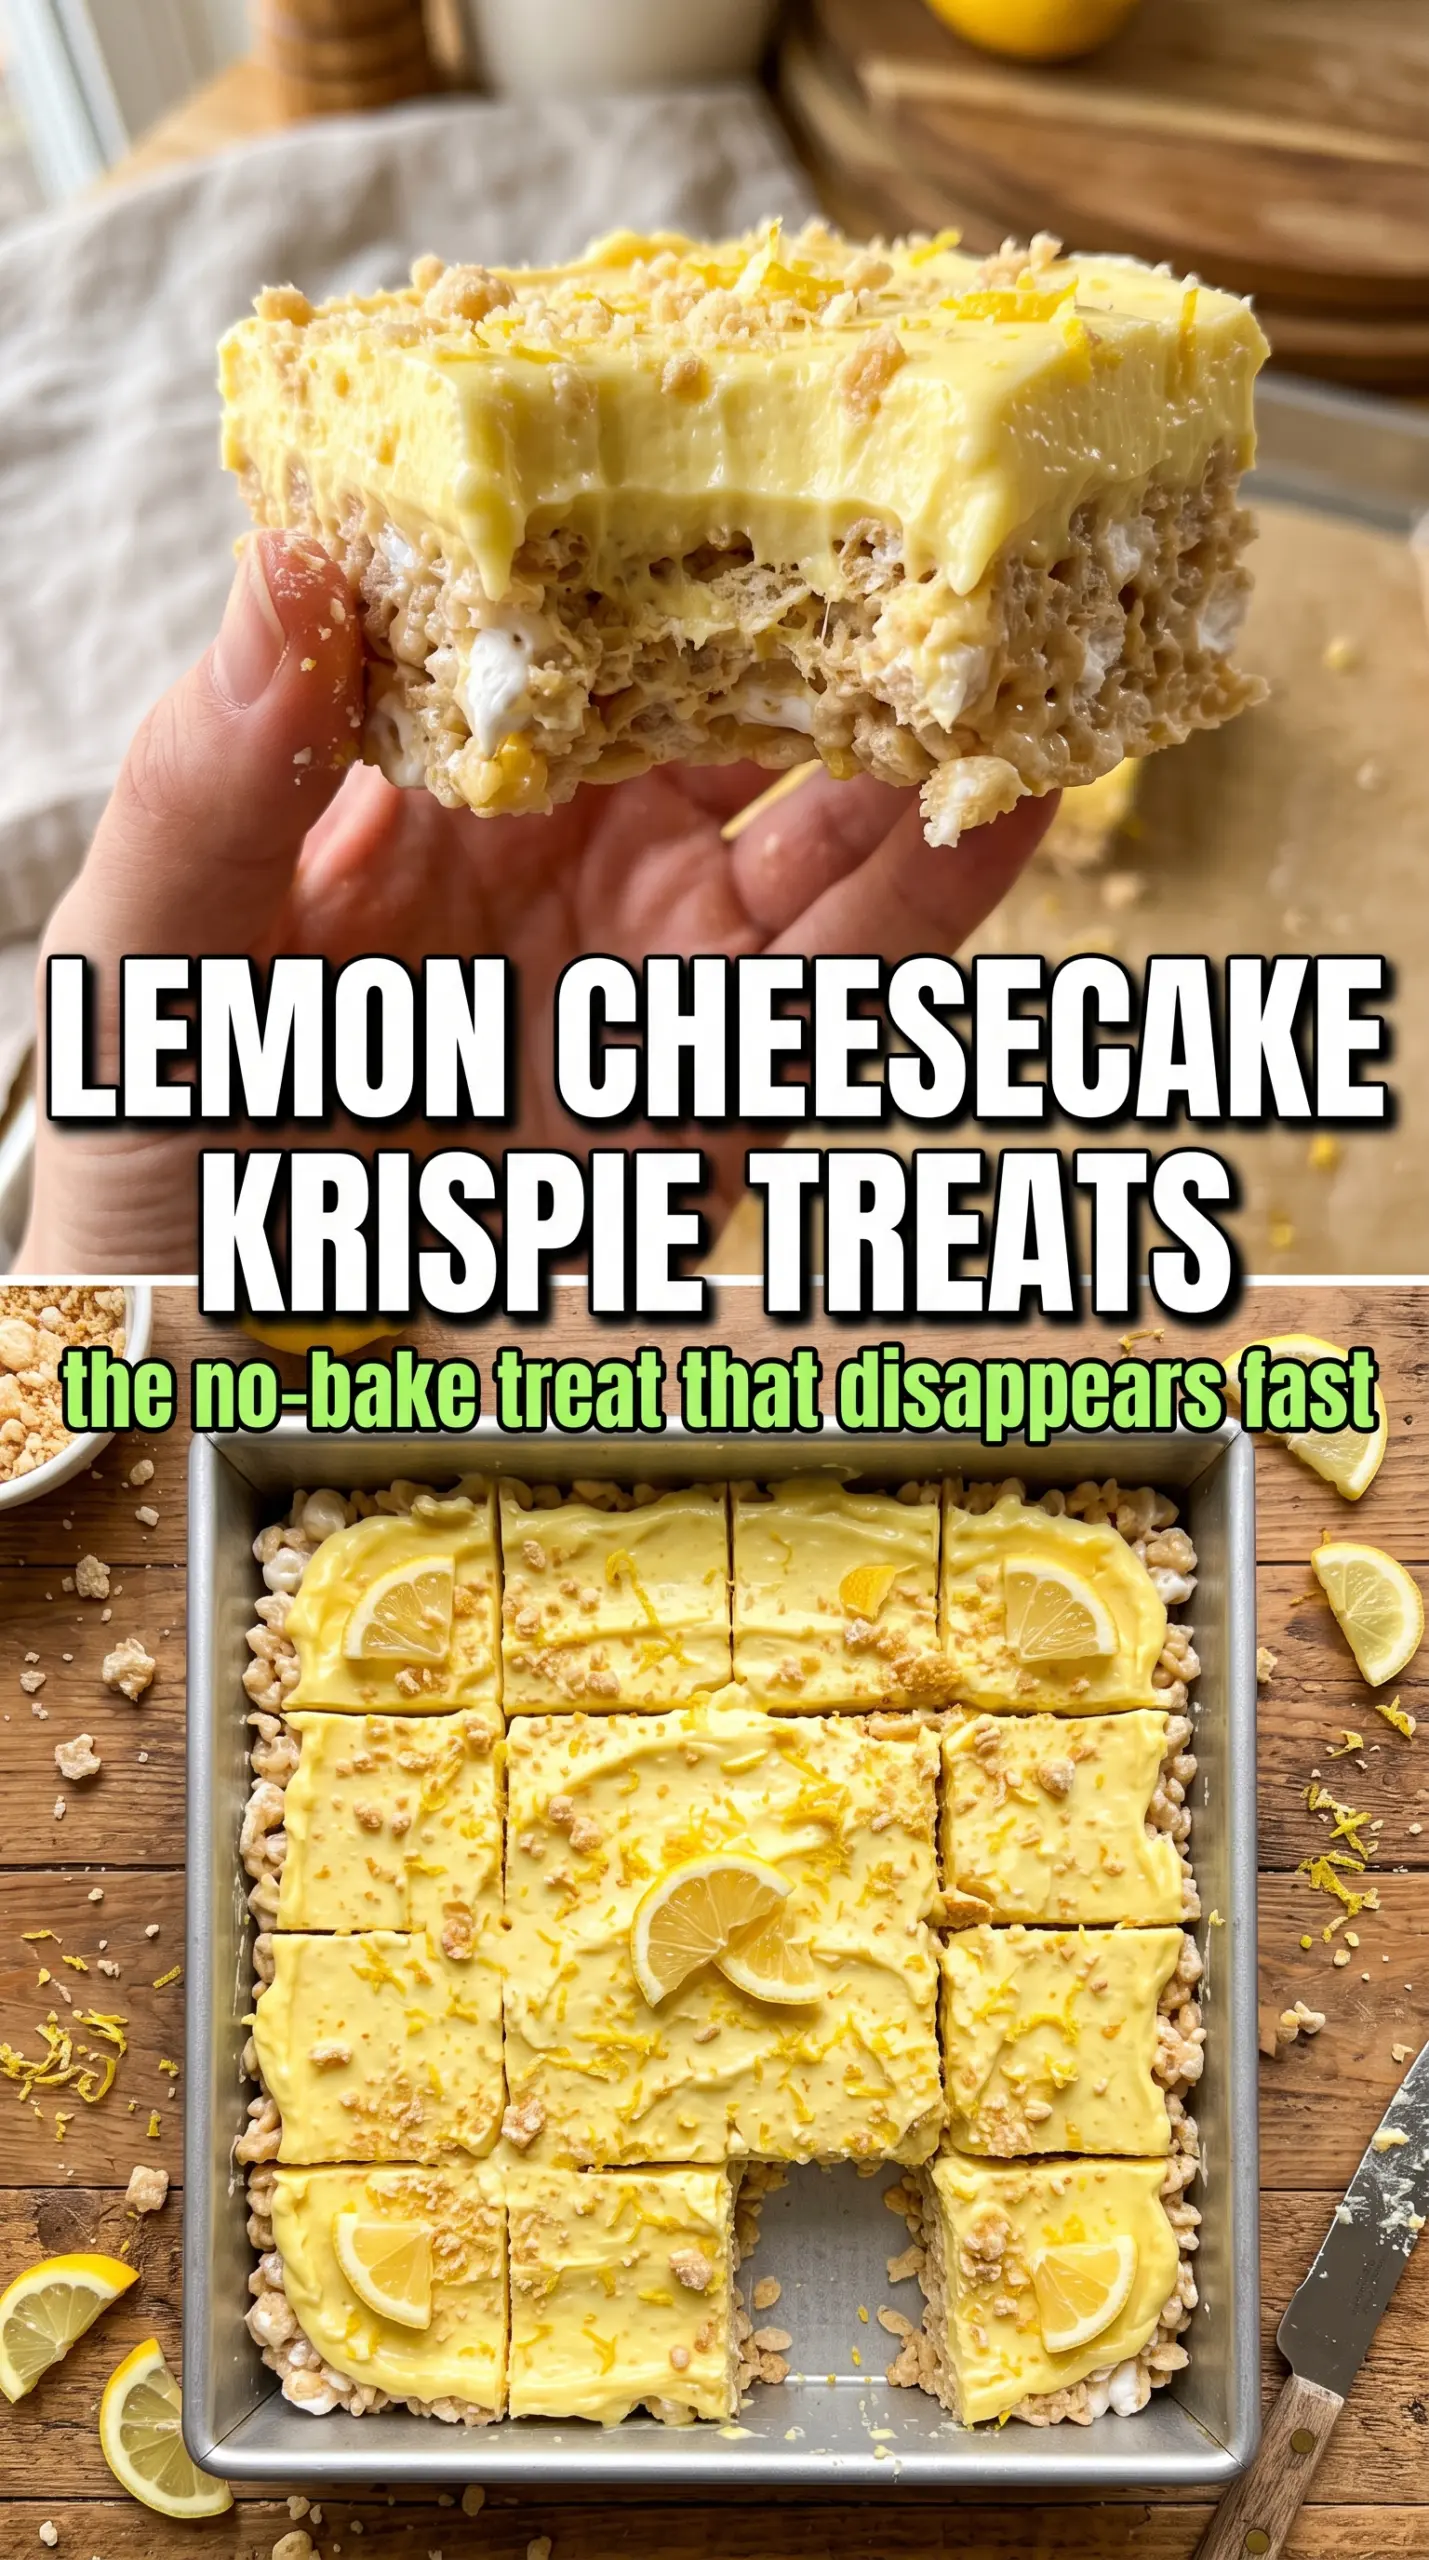
These lemon cheesecake Rice Krispie treats hit that sweet spot between chewy marshmallow bars and a cool, tangy dessert topping. The base stays soft and crisp instead of hard and dense, then the lemon cheesecake layer settles in with enough body to slice cleanly once it chills. The white chocolate drizzle on top gives each square a little extra sweetness without burying the lemon.
What makes this version work is balance. The lemon zest goes into the warm marshmallow mixture first, so the cereal base picks up bright citrus flavor without needing extra liquid. The cheesecake layer uses a mix of cream cheese and whipped topping, which keeps it lighter than a baked cheesecake filling but still thick enough to sit on top of the bars without sliding around.
Below, I’ll walk through the small details that keep the base chewy, the cheesecake layer smooth, and the final bars easy to cut. If you’ve ever had cereal treats turn brick-hard or a topping that smeared when sliced, there’s a fix for that here.
The lemon flavor came through in both layers, and the cheesecake topping set up beautifully after chilling. I used parchment like you suggested, and the bars lifted out cleanly with sharp edges.
Save these lemon cheesecake Rice Krispie bars for when you want a chilled dessert with a chewy base, creamy lemon topping, and a white chocolate finish.
The Trick to Keeping the Krispie Base Chewy Instead of Hard
The biggest mistake with cereal bars is cooking the marshmallows too long. Once they’re melted, they’re done. Any extra heat dries them out, and that turns the finished bars dense and stiff instead of soft and chewy. Medium-low heat matters here because it gives you a smooth melt without caramelizing the sugar too aggressively.
Press the mixture into the pan firmly, but don’t pack it down like concrete. A light even press gives you bars that hold together without losing that tender bite. Parchment also matters more than it seems, because the cheesecake layer makes these harder to lift if the base sticks to the pan.
What Each Layer Is Doing in These Lemon Cheesecake Bars
- Mini marshmallows — These melt faster and more evenly than large marshmallows, which helps the cereal stay light. Fresh marshmallows make a difference here; stale ones melt sluggishly and can leave the base grainy.
- Lemon zest — Zest carries the bright lemon oil that gives both layers their real citrus flavor. The juice adds tang, but the zest is what makes these taste like lemon instead of just sweet cream.
- Cream cheese — This is the backbone of the topping. Use full-fat cream cheese for the smoothest, richest layer; low-fat versions can turn loose and watery once mixed with the whipped topping.
- Whipped topping — It lightens the cheesecake layer so it spreads easily and chills into a soft, fluffy top instead of a heavy cream cheese slab. If you swap in whipped cream, use it freshly whipped and serve the bars sooner, because it won’t hold as long.
- White chocolate chips — The drizzle gives sweetness and a clean finish that plays well with lemon. Melt them slowly and stop as soon as they’re smooth; overheated white chocolate can seize and turn chalky.
Building the Layers So They Slice Cleanly
Melting the Marshmallow Base
Melt the butter first, then add the marshmallows and stir until they’re just smooth and glossy. Take the pot off the heat before the marshmallows start to bubble hard or brown at the edges. That extra minute on the stove is where a lot of cereal treats go from soft to tough. Stir in the lemon zest while the mixture is warm so the citrus oil gets into the base.
Pressing and Cooling the Cereal Layer
Fold in the cereal quickly so the marshmallow coats every piece before it starts setting. Spread it into the parchment-lined pan and press it down in an even layer. Use a piece of parchment or lightly greased fingers instead of the back of a spoon, which can compact the bars too much. Let the base cool before the topping goes on, or the cheesecake layer will soften and slide.
Mixing the Lemon Cheesecake Topping
Beat the cream cheese until completely smooth before adding the sugar, lemon juice, zest, and vanilla. If the cream cheese still has lumps at this stage, they stay in the final layer. Fold in the whipped topping at the end and stop as soon as the mixture looks even. Overmixing knocks out the air and makes the topping heavier than it should be.
Finishing and Chilling
Spread the cheesecake layer all the way to the edges, then drizzle the melted white chocolate in thin zigzags over the top. The drizzle sets best if the bars are cold, so chill them for a full hour before cutting. For the cleanest squares, wipe your knife between cuts and slice straight down instead of sawing back and forth.
How to Adapt These Bars When You Need a Different Finish
Dairy-Free Version
Use a plant-based cream cheese and dairy-free butter, then swap in a non-dairy whipped topping that holds its shape. The texture stays close, but the topping may chill a little softer, so give it the full hour-plus in the fridge before slicing.
Extra-Lemon Bars
Add another teaspoon of zest to the cheesecake layer and a little more on top after the white chocolate drizzle sets. Don’t add extra juice unless you want a softer filling, because too much liquid makes the topping looser and less sliceable.
Gluten-Free Swap
Use certified gluten-free crispy rice cereal. Everything else in the recipe already works naturally for gluten-free baking, so this swap is straightforward and doesn’t change the texture much.
Make Them Ahead for a Crowd
These bars cut best after a full chill, which makes them a good make-ahead dessert for parties. Slice them just before serving if you want the white chocolate drizzle to look sharp, or cut them the night before and store them in a single layer with parchment between stacks.
Storage and Reheating
- Refrigerator: Store in an airtight container for up to 5 days. The cereal base softens a little under the cheesecake layer, but the bars still hold their shape well.
- Freezer: Freeze tightly wrapped bars for up to 1 month. Thaw in the refrigerator, not on the counter, so the topping doesn’t get wet and sticky.
- Reheating: These are best served chilled, so don’t reheat them. Let frozen bars thaw in the fridge until the center is no longer icy, then cut and serve cold.
Questions I Get Asked About This Recipe
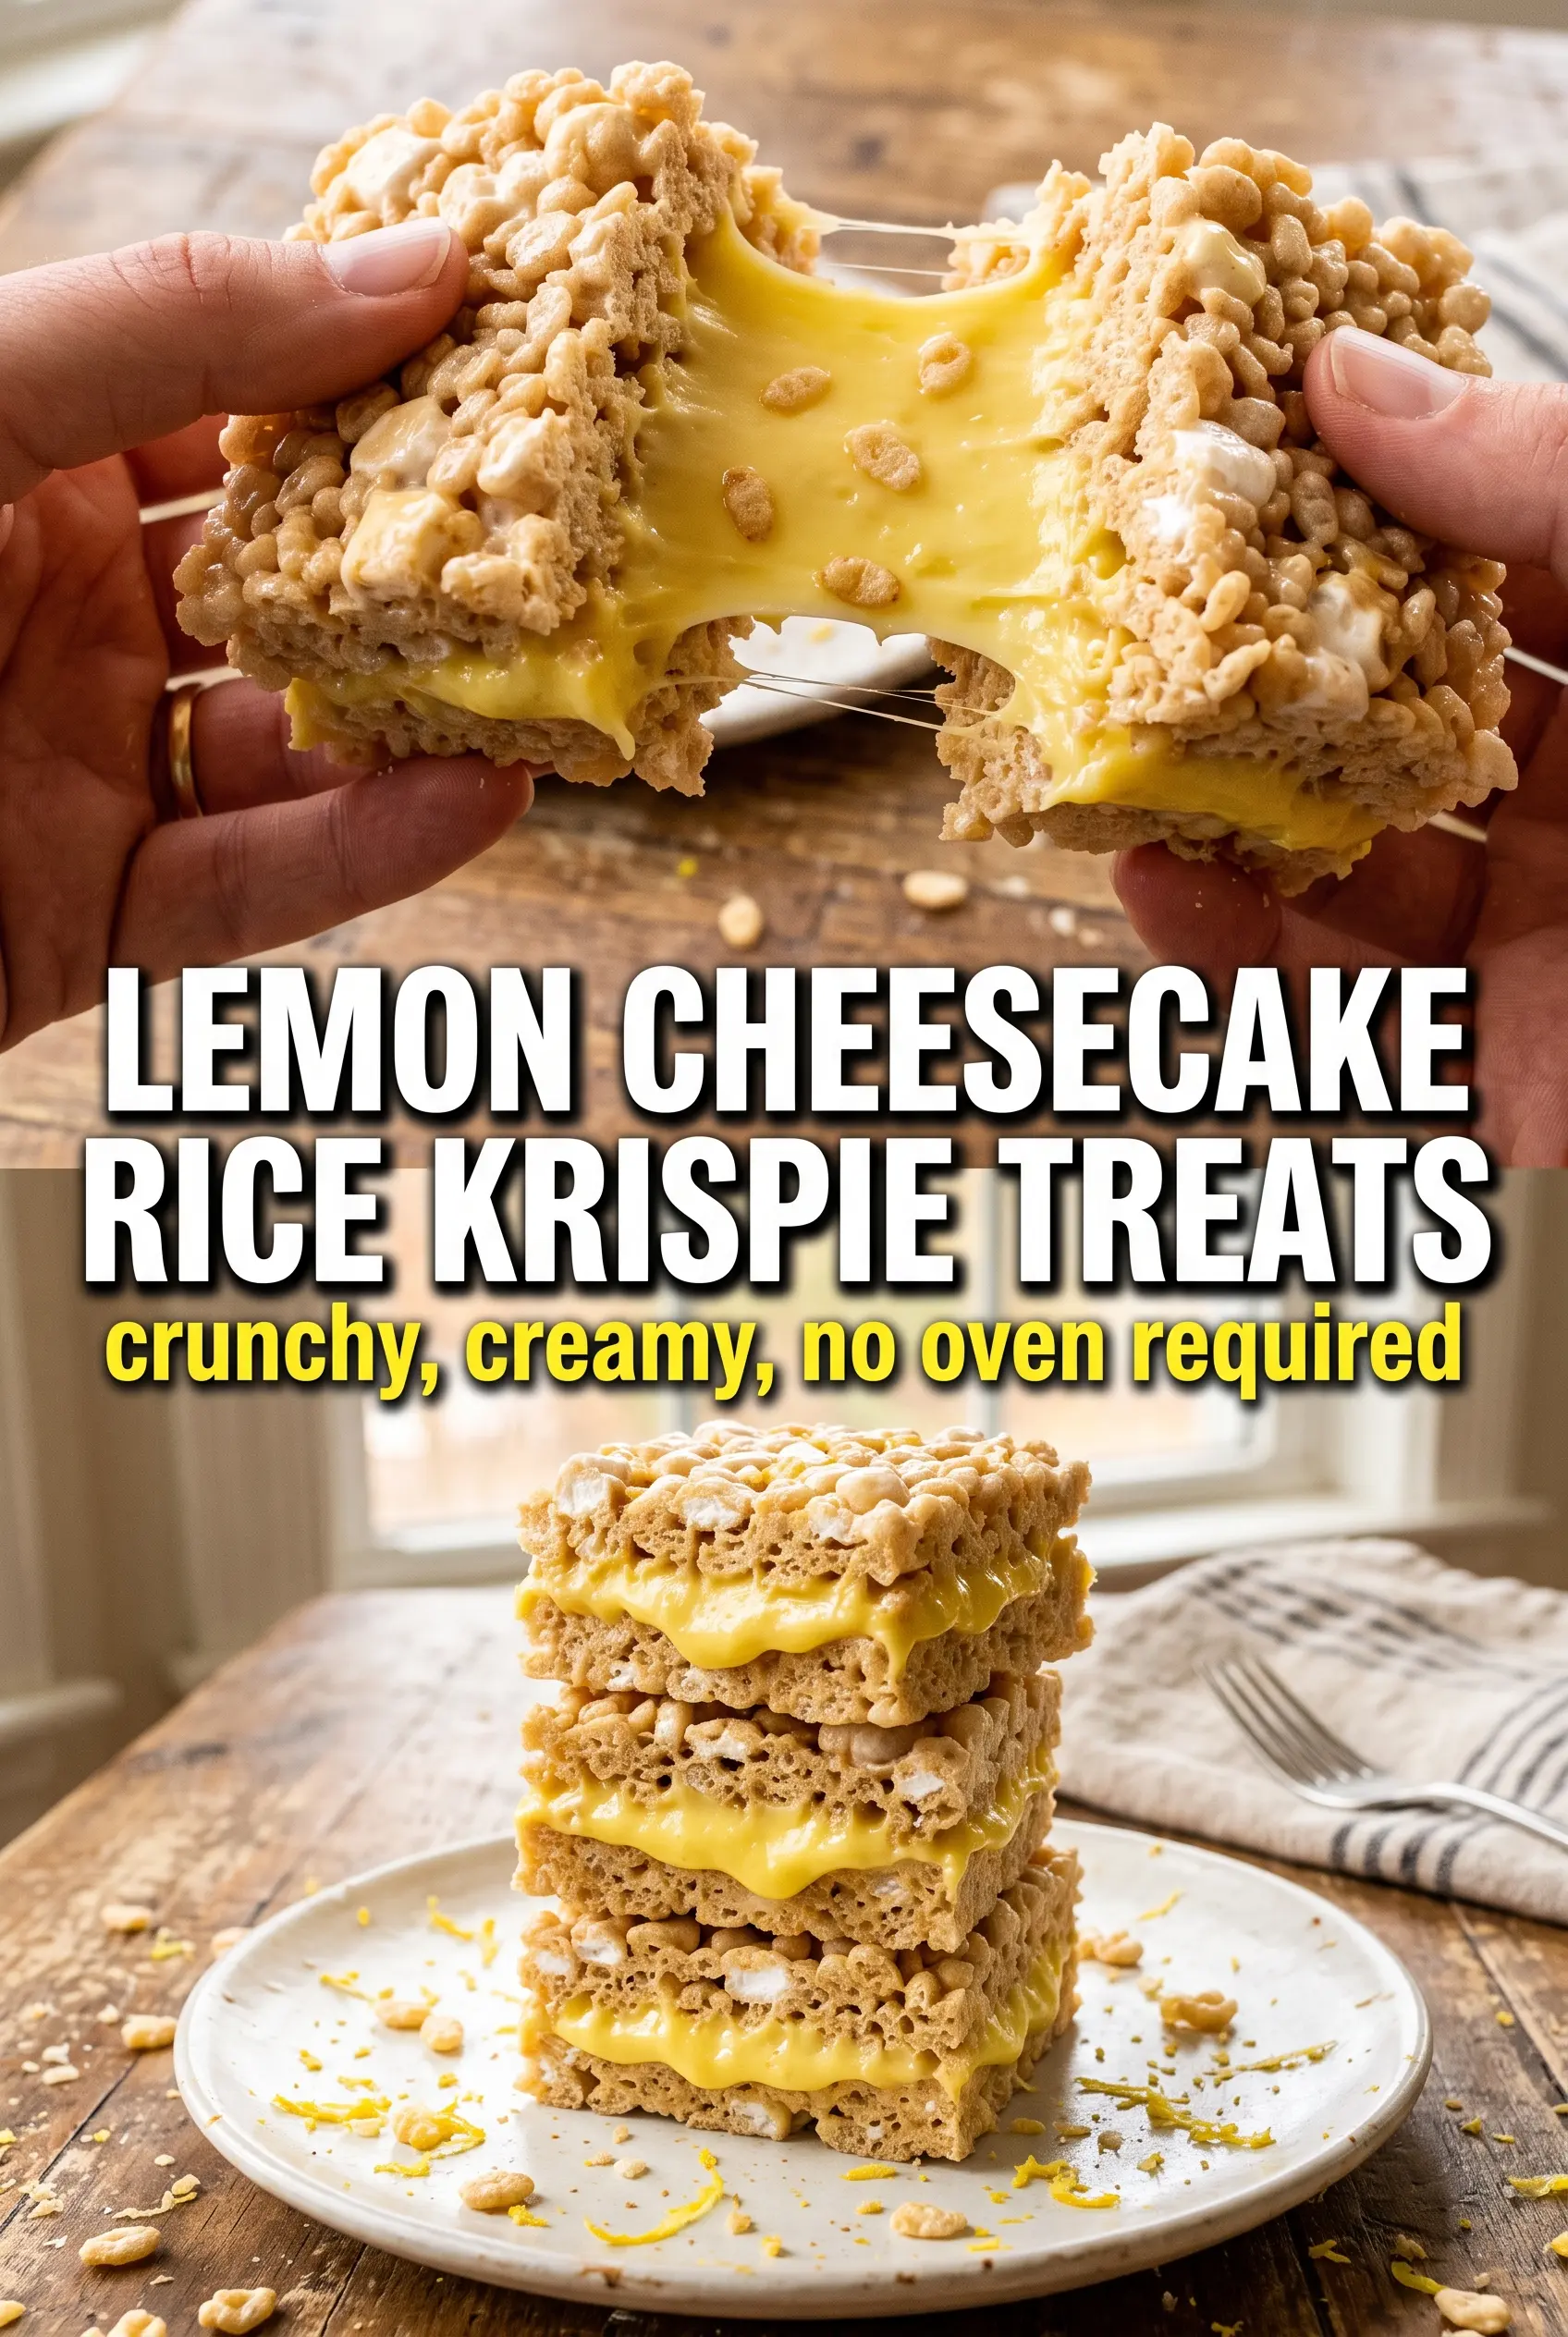
No-Bake Lemon Cheesecake Rice Krispie Treats
Ingredients
Equipment
Method
- Line a 9x13 pan with parchment paper and spray lightly to help the bars release cleanly.
- Melt butter in a large pot over medium-low heat, stirring until smooth and fully melted with a glossy look.
- Add mini marshmallows and stir continuously until fully melted, about 5 minutes, until the mixture turns thick and cohesive.
- Remove from heat and stir in lemon zest so it disperses evenly throughout the marshmallow mixture.
- Fold in Rice Krispies cereal until fully coated, then press firmly into the prepared pan to form an even, dense layer.
- Let the base cool completely before adding the cheesecake layer so the top doesn’t slide.
- Beat cream cheese, powdered sugar, lemon juice, lemon zest, and vanilla until smooth, scraping the sides until no lumps remain.
- Fold in whipped topping until the mixture looks thick, creamy, and uniform in color.
- Spread the lemon cheesecake layer evenly over the cooled Krispie base with an offset spatula-like smooth top.
- Drizzle melted white chocolate in a zigzag pattern over the top so the drizzle catches the light in thin ribbons.
- Scatter extra lemon zest over the surface for a bright finish.
- Refrigerate for 1 hour before cutting into 16 bars so the cheesecake layer sets firmly.