Cold, creamy cheesecake layered over a buttery oat crumble crust is the kind of dessert that disappears fast because every bite gives you something different: a little crunch, a soft vanilla-cinnamon filling, and that spiced apple topping tucked right on top. The crumble stays sturdy enough to slice cleanly, but it still tastes like a real oat topping, not a cookie base pretending to be one.
What makes this version work is the balance. The cream cheese filling is beaten smooth first, which keeps it from tasting grainy, and the whipped cream is folded in at the end so the texture stays light instead of dense. The crust uses oats, flour, brown sugar, and melted butter, so it presses together without baking and still gives you that warm crumble flavor once it chills.
Below, I’ve included the small details that keep the layers neat, plus a few swaps if you need to work around what’s in your pantry.
The crust held together perfectly and the filling set up overnight with clean slices. I added a little extra cinnamon to the apples and it tasted like apple crisp and cheesecake in one bite.
Save this No-Bake Apple Crumble Cheesecake for the layered oat crust, creamy filling, and cinnamon-apple topping that slice so cleanly after chilling.
The Part That Keeps the Layers from Sliding Apart
The crust needs to be pressed firmer than most people think. If it feels loose in the pan before chilling, it will crumble when you lift the first slice. The melted butter should coat every oat and flour bit evenly, and the pan needs a good amount of pressure from the bottom of a measuring cup or glass to pack it down.
The other place people get in trouble is the filling. Cream cheese that isn’t fully softened leaves tiny lumps that never disappear, and once the whipped cream goes in, those lumps are harder to fix. Beat the base until it looks silky before folding anything airy into it. That’s what gives you a cheesecake layer that slices clean instead of looking whipped and unstable.
What Each Layer Is Doing in This Cheesecake
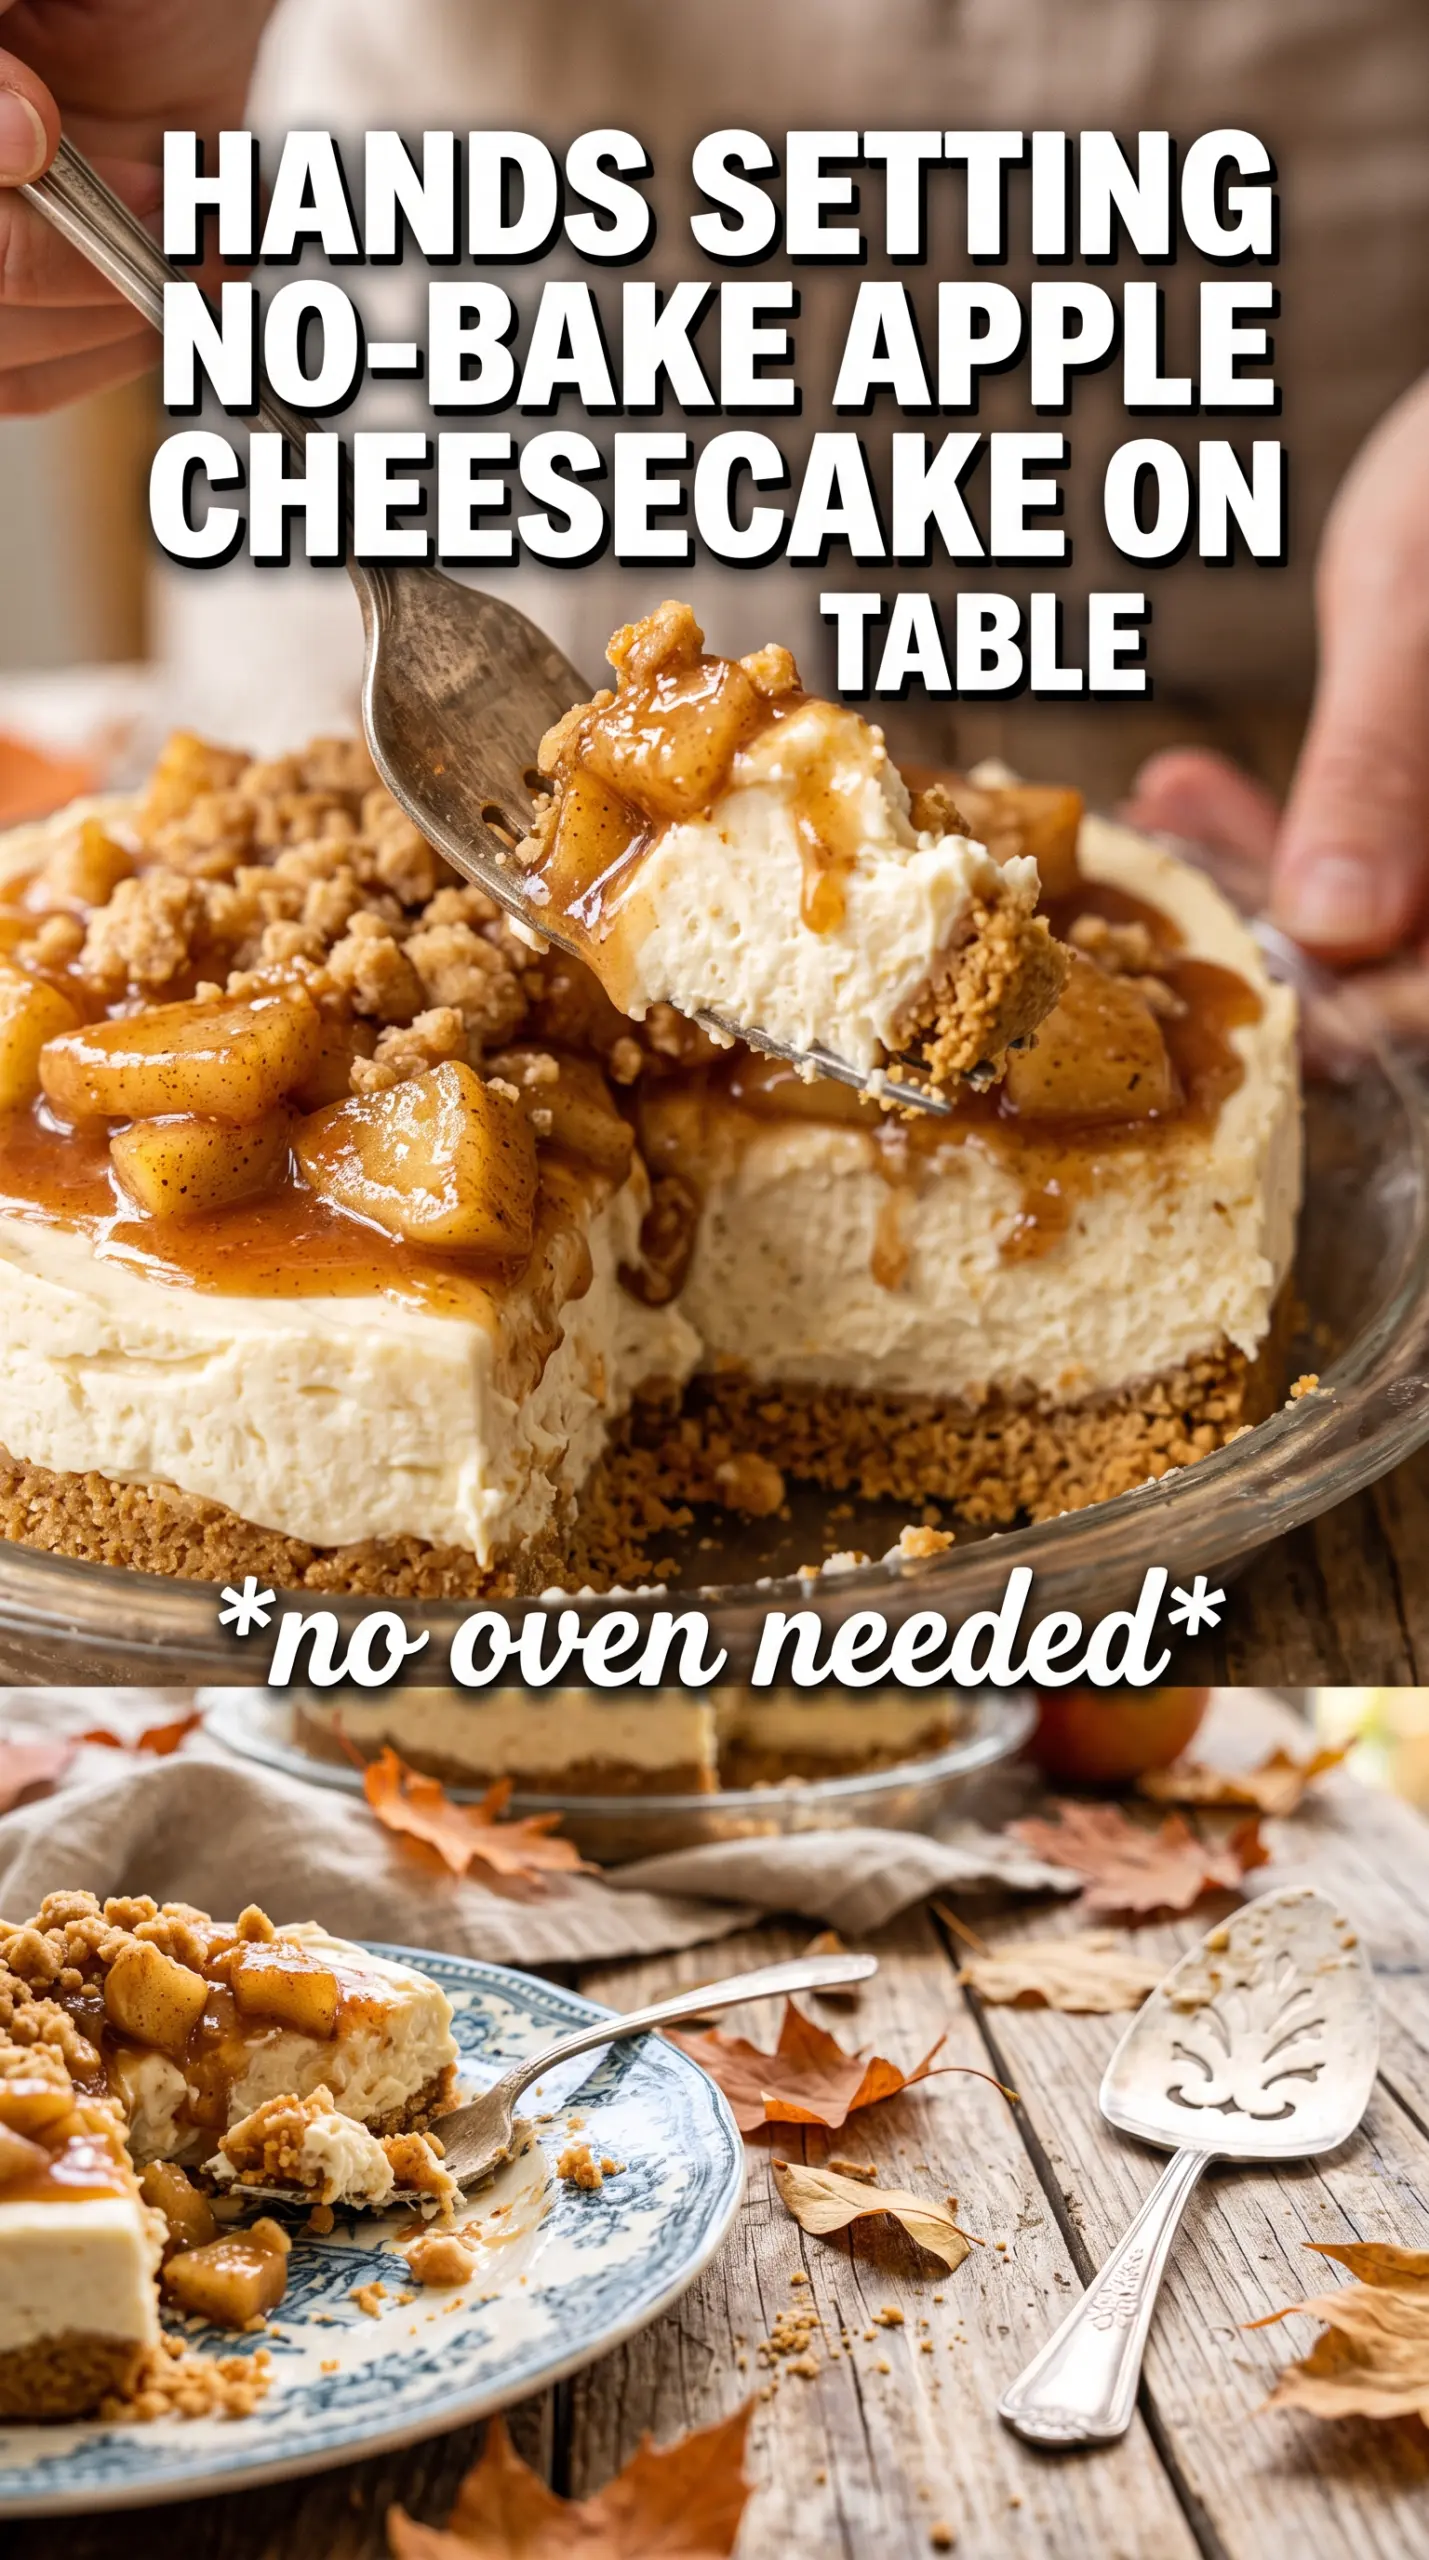
- Rolled oats — These give the crust its crumble and a little chew. Quick oats turn softer and more paste-like, so stick with rolled oats if you want the base to feel like an actual crumble topping.
- Flour — This helps the crust hold together without baking. A 1:1 gluten-free baking blend works well here if you need a gluten-free version, but the crust will be a touch more delicate when sliced.
- Cream cheese — This is the backbone of the filling, and quality matters because the flavor is front and center. Soften it fully at room temperature so it beats smooth before the whipped cream goes in.
- Heavy cream — Whipped cream turns the filling light enough to feel mousse-like while still setting into a cheesecake slice. Don’t swap in half-and-half or milk; they won’t hold the structure.
- Apple pie filling — This keeps the topping fast and reliable. If you want to use homemade cooked apples, cook them until the juices turn syrupy first, or the topping will run into the filling and soften the crust.
Building the Crust, Filling, and Topping in the Right Order
Mixing the Crumble Base
Stir the oats, flour, brown sugar, and cinnamon together first so the spice is distributed before the butter goes in. Once the melted butter is added, every dry bit should look lightly damp, not wet or greasy. Press the mixture firmly into the springform pan and up the edges if you want a neater slice. Chill it for 20 minutes so the butter firms up and the base holds its shape when the filling is spread on top.
Making the Filling Smooth and Stable
Beat the cream cheese with both sugars, vanilla, and cinnamon until the mixture looks glossy and completely smooth. Stop and scrape the bowl a few times; the corners hide stubborn lumps. Fold in the whipped cream gently in two additions so you keep the air you worked into it. If you stir hard, the filling will deflate and set up heavier than it should.
Adding the Apples Without Sinking the Top
Mix the cinnamon and nutmeg into the apple pie filling before spooning it over the cheesecake. That keeps the spice from clumping in one bite and gives the topping a more even apple-cider kind of warmth. Spread it carefully so you don’t drag the filling around underneath. A spoon works better than pouring, since the filling underneath is soft until it chills fully.
The Chill That Gives You Clean Slices
Scatter the reserved crumble over the apples, then refrigerate the cheesecake for at least 6 hours. Overnight is even better, because the crust firms up and the filling settles into a tighter slice. If you cut it too early, the filling will look soft in the center and the topping can slide. Use a hot, dry knife and wipe it between cuts for the cleanest edges.
Three Ways to Make This Work for Different Kitchens
Gluten-Free Crust Swap
Use a 1:1 gluten-free flour blend in place of the flour. The oats still give you the right crumble texture, but the crust will be a little more tender, so press it firmly and chill it well before adding the filling.
Dairy-Free Version
Use dairy-free cream cheese and a plant-based whipping cream that advertises stable peaks. The texture will be a little softer and the tang may be milder, but the dessert still holds as long as both substitutes are thick enough to whip and fold.
Less Sweet, More Apple
Cut the brown sugar in the filling back slightly and use a plain canned apple topping with extra cinnamon and a pinch of salt. That shift makes the cheesecake taste less candy-sweet and lets the spiced apples come forward more clearly.
Storage and Reheating
- Refrigerator: Keep covered for up to 4 days. The crumble softens a little, but the cheesecake still slices well.
- Freezer: Freeze individual slices tightly wrapped for up to 1 month. Thaw in the refrigerator overnight; don’t thaw at room temperature or the filling can weep.
- Reheating: This dessert is served cold, not reheated. If you want a softer texture, let a slice sit at room temperature for 10 to 15 minutes before serving.
Answers to the Questions Worth Asking
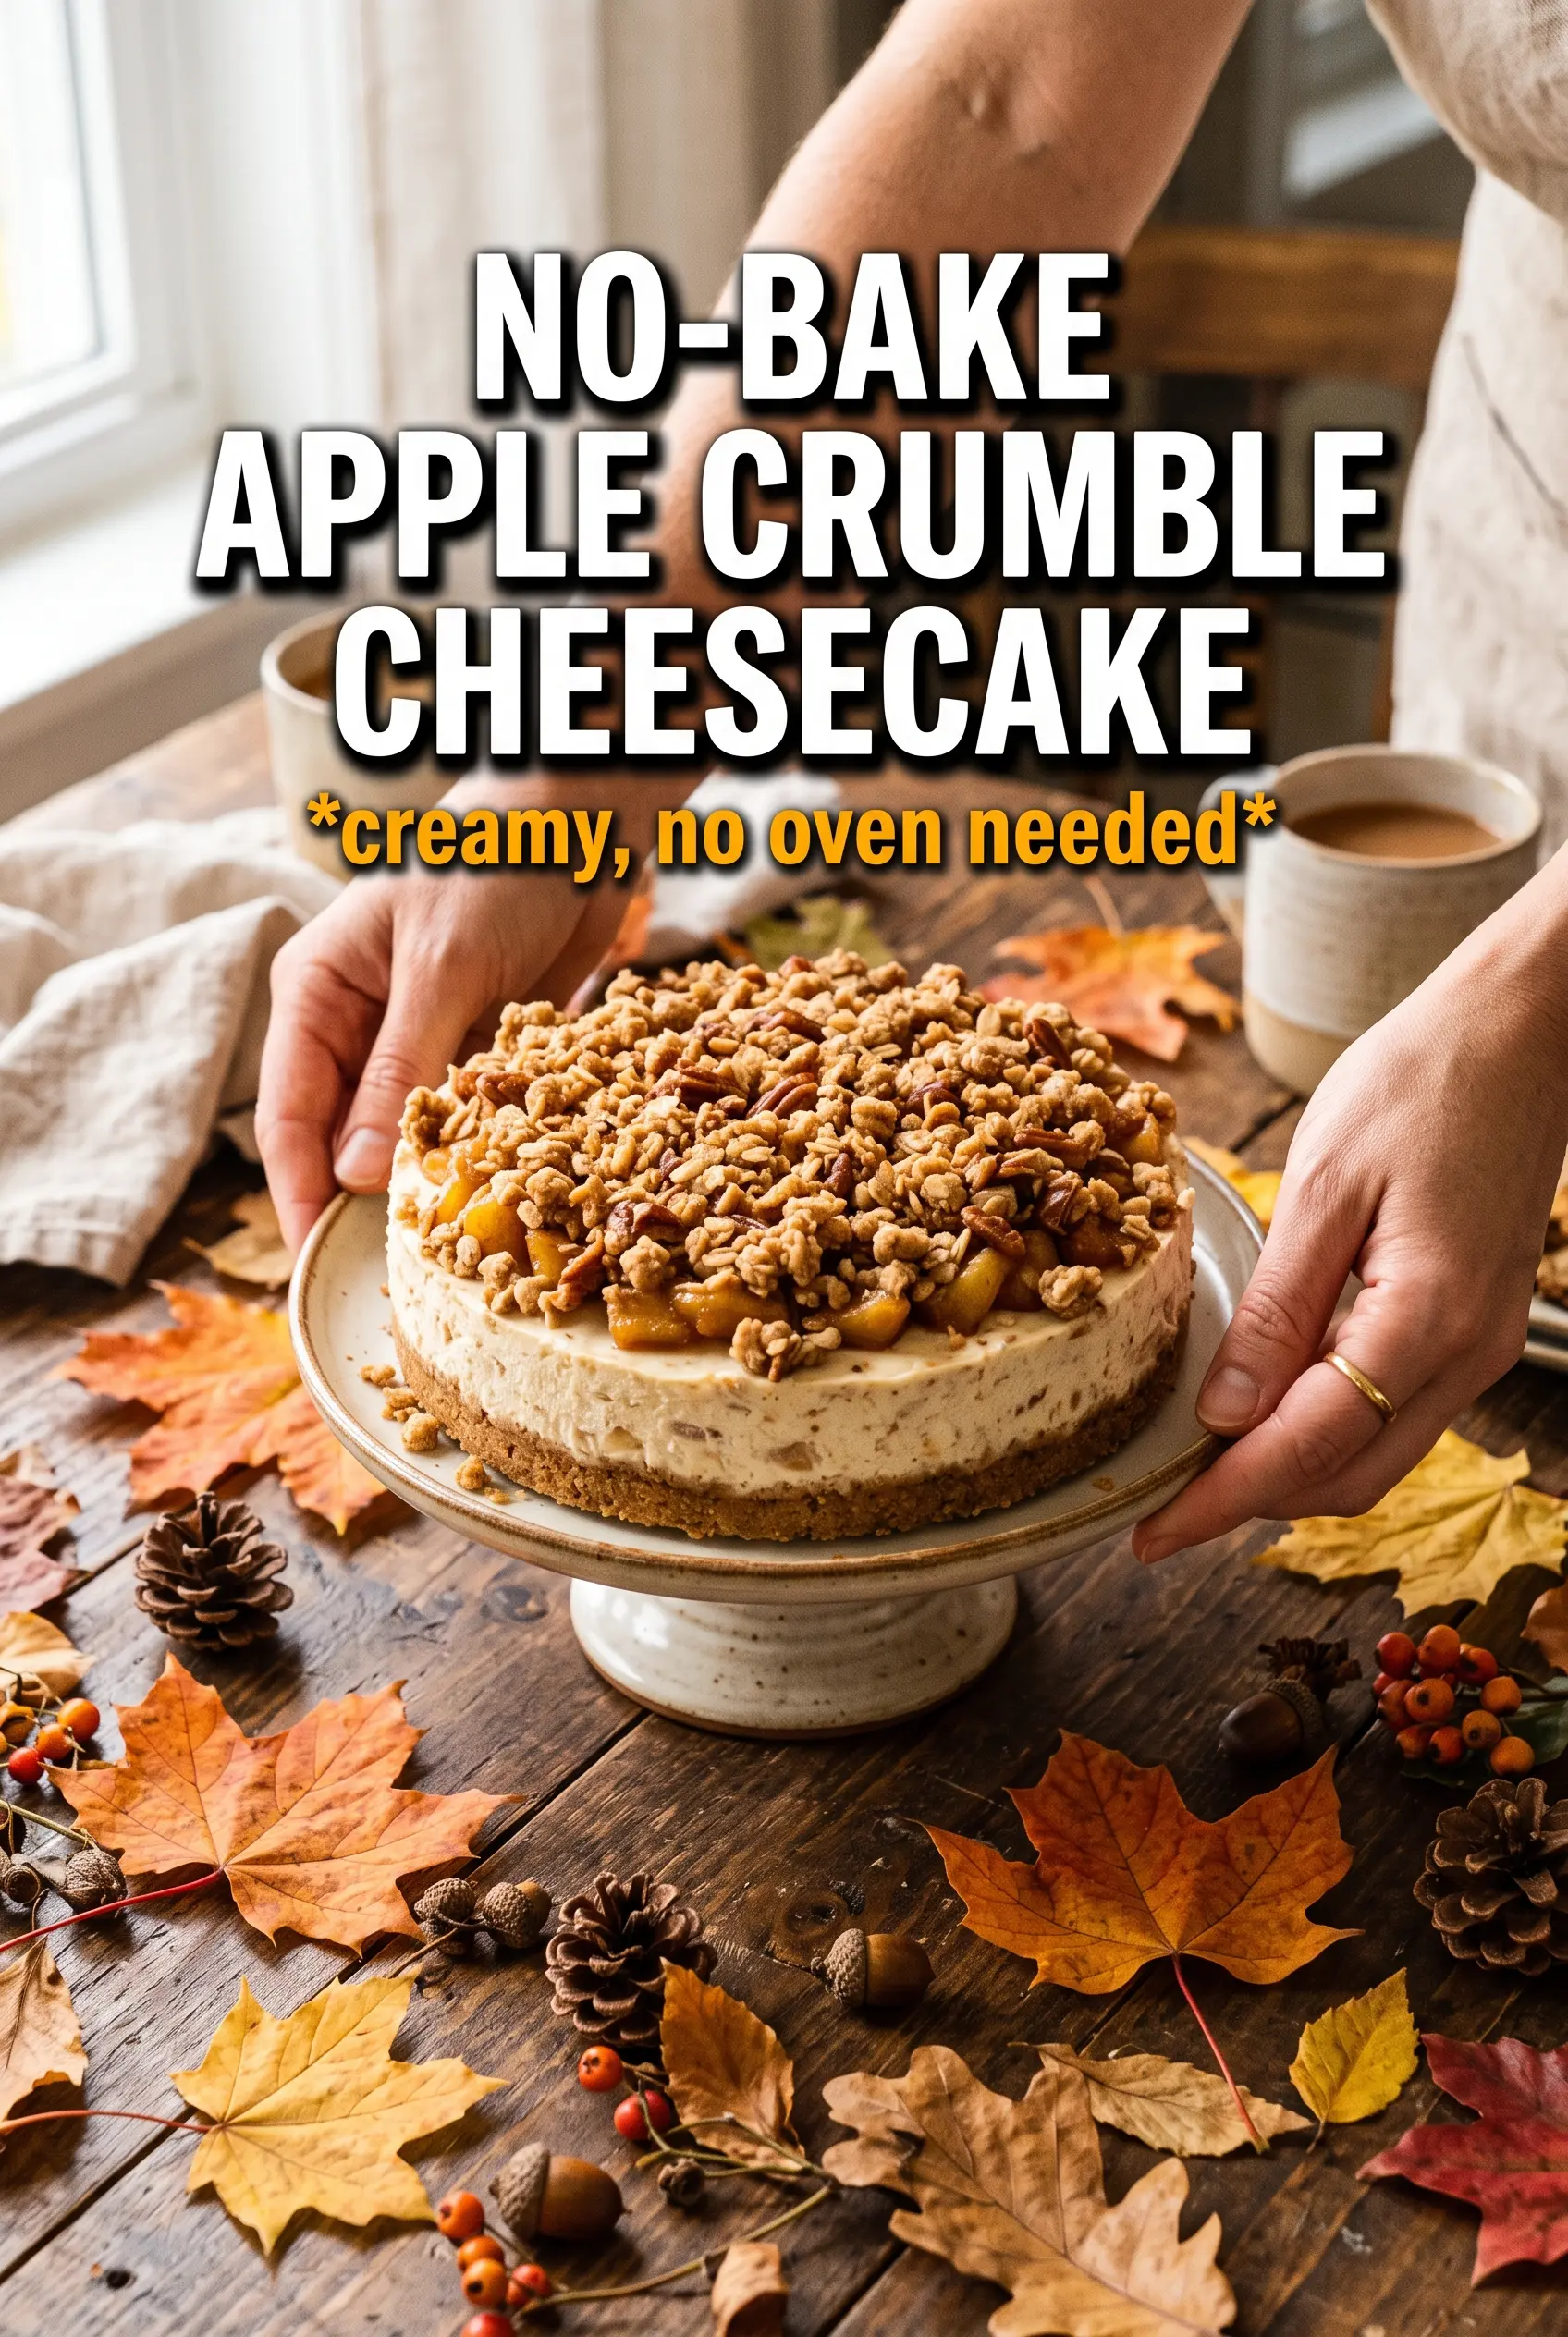
No-Bake Apple Crumble Cheesecake
Ingredients
Equipment
Method
- Combine rolled oats, flour, brown sugar, and cinnamon, then drizzle in melted unsalted butter and toss until evenly moistened. The mixture should look sandy and clump slightly when pressed.
- Press the crust mixture firmly into a 9-inch springform pan. Use steady pressure to compact the base for clean slices.
- Refrigerate the crust for 20 minutes. Look for the crust to feel set and chilled to the touch.
- Reserve 1/2 cup of the crust mixture for the crumble topping. Set it aside at room temperature so it stays workable.
- Beat cream cheese, powdered sugar, brown sugar, vanilla, and cinnamon until completely smooth. Stop when no lumps remain and the mixture looks glossy.
- Fold in whipped heavy cream until no streaks remain, then spread the filling over the chilled crust. Fold gently so the filling stays thick, airy, and level.
- Stir cinnamon and nutmeg into apple pie filling. The topping should look evenly speckled with spices.
- Spoon the spiced apple pie filling evenly over the cheesecake. Arrange it to cover the surface without pushing into the filling.
- Scatter the reserved oat crumble over the apple topping. The crumble should cover the top generously for a crunchy layer.
- Refrigerate for 6 hours or overnight before releasing from the springform. The center should feel firm when gently nudged and slice cleanly.