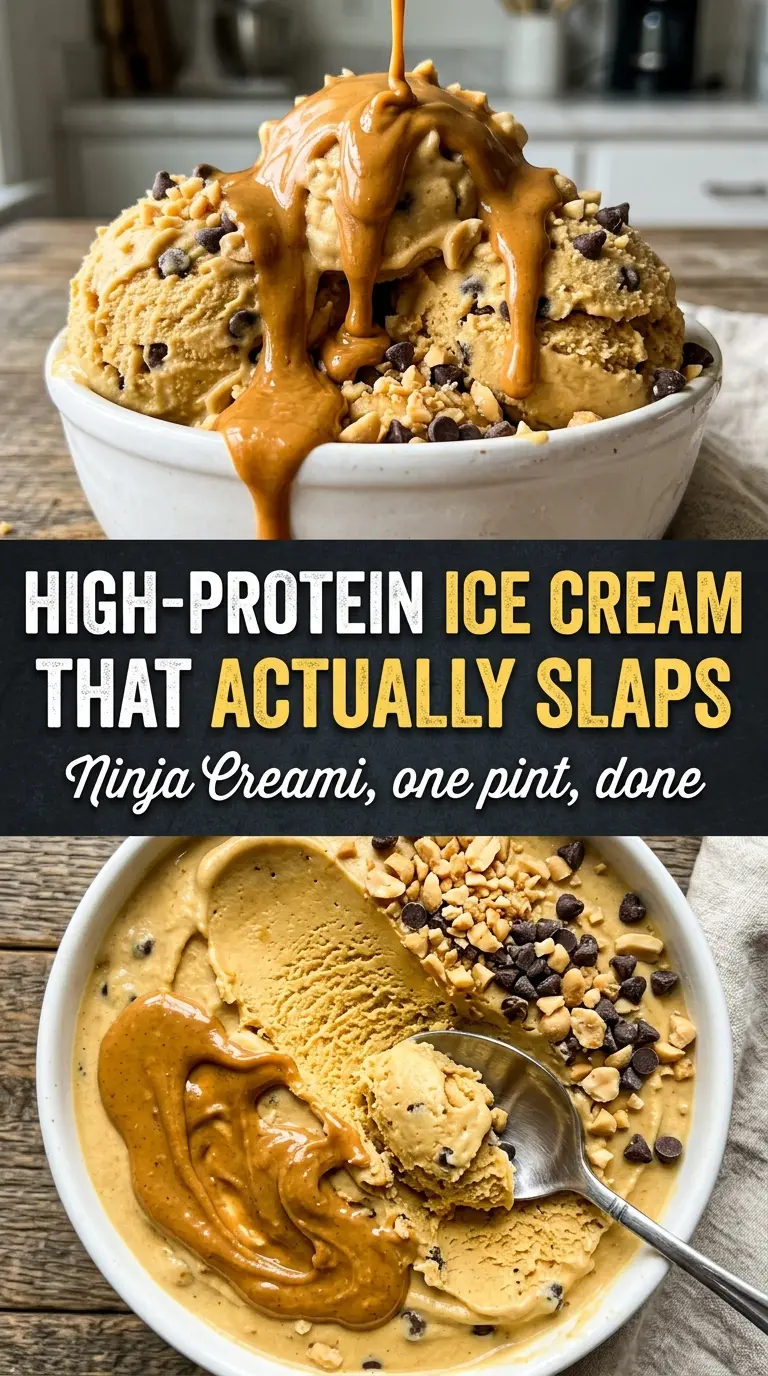
Peanut butter protein ice cream hits that sweet spot between dessert and fuel: dense, cold, and nutty with a spoonable texture that feels indulgent instead of icy or chalky. The peanut butter gives it a round, salty richness, while the protein powder builds body so the pint spins up creamy enough to pass for the real thing.
The part that matters most here is the base. Protein powders can go grainy fast if they’re not fully dissolved, and a too-thick mixture freezes into a rough pint that needs extra help later. Whisking until the base is completely smooth and giving it a full 24-hour freeze sets you up for a cleaner spin with less respinning.
Below, I’m walking through the texture fix that saves a grainy pint, the ingredient swaps that still keep the ice cream creamy, and the questions that come up when people make protein ice cream in the Ninja Creami for the first time.
The first spin came out creamy, not icy, and the peanut butter flavor was strong without tasting heavy. I added the peanut butter chips at the end and it tasted like a real dessert, not a protein shake in disguise.
Save this Ninja Creami Peanut Butter Protein Ice Cream for the nights when you want a thick, nutty pint with a full protein punch.
The Base Needs to Be Smooth Before It Ever Hits the Freezer
Protein ice cream lives or dies on the mix. If the powder isn’t fully dissolved, those tiny dry bits turn into a sandy texture after freezing, and the Creami can’t fully hide that once it’s there. The peanut butter helps with richness, but it also thickens the mixture, so the goal is a base that looks almost too smooth before it goes into the pint.
That 24-hour freeze matters just as much. A soft freeze gives you uneven shavings, which is when people end up with a crumbly middle and a wet edge after respinning. Freeze it flat, level, and untouched so the blade meets the pint at a consistent texture all the way through.
- Protein powder — This is doing the structural work, but not all powders behave the same. A whey-based vanilla or peanut butter powder usually spins smoother than a very chalky plant-based blend. If yours is on the thicker side, add the milk first and whisk hard before the powder goes in.
- Peanut butter — Creamy peanut butter gives the best texture and the most consistent spin. Natural peanut butter works, but if it’s very oily or separated, stir it well before measuring so the base doesn’t freeze with greasy streaks.
- Sweetener — Sugar helps keep the base a little softer and less icy, while monk fruit works if you want a lower-sugar version. The tradeoff with most sugar-free sweeteners is a slightly firmer pint, which is why the respin step matters here.
- Milk — Whole milk gives the richest result, but unsweetened almond milk still works if you want a lighter dessert. The almond milk version tends to freeze a touch firmer, so don’t skip the tablespoon of milk on the respin if the texture looks dry.
What Each Ingredient Is Actually Doing in This Ninja Creami Recipe
- Base liquid (juice, coffee, tea, or smoothie) — This determines the flavor profile. Quality liquid makes better ice.
- Sweetener (sugar, honey, or simple syrup) — This sweetens and prevents rock-hard freezing. The ratio is critical.
- Acid (lemon, lime, vinegar, or citrus juice) — This brightens flavors and prevents one-dimensional taste.
- Flavoring (vanilla, coffee, fruit, or other extract) — This defines the Creami personality. Use quality flavorings.
- Freezing time (at least 24 hours) — Proper freezing creates the right texture. Underfreezed won’t process correctly.
- Container choice (Creami-compatible cups) — Must fit the machine properly. Wrong cups won’t freeze or process correctly.
- Processing speed (sorbet vs slushi vs gelato) — Different speeds create different textures. Choose based on your preference.
- Serving immediately — Creami works best when served right after processing. Freezing again changes texture.
Spinning It Once, Then Fixing the Texture Only If It Needs It
Whisk Until the Base Looks Like a Smooth Shake
Whisk the milk, protein powder, peanut butter, sweetener, vanilla, and salt until the mixture looks uniform and glossy. There should be no specks of dry powder stuck to the bottom or floating on top. If you see clumps now, they’ll freeze into little hard bits later, so take the extra minute and break them up before you pour.
Freeze the Pint Completely Level
Pour the mixture into the Ninja Creami pint and set it on a flat surface in the freezer. A tilted pint can freeze unevenly, which makes the blade cut one side cleanly and leave the other side rough. Give it the full 24 hours; anything less and the center may still be soft while the edges are already solid.
Run the Lite Ice Cream Cycle First
Use the Lite Ice Cream setting for the first spin. That setting is the best match for a protein-heavy base because it shaves the frozen mixture without overworking it. If the pint looks powdery or crumbly after the cycle, don’t panic — that usually means it just needs a little more moisture, not a full reset.
Respin Only When the Pint Looks Dry
If the texture is grainy, add 1 tablespoon of milk and run Re-spin. That tiny bit of liquid relaxes the frozen particles and helps the blade pull everything together into a creamier scoop. Too much milk will turn it loose and slushy, which is the fastest way to lose that dense ice cream texture.
Fold in the Peanut Butter Pieces at the End
Use the Mix-In setting for the peanut butter chips or mini peanut butter cups. Add them after the base is already creamy so they stay in chunks instead of disappearing into the pint. Serve it right away, because protein ice cream firms back up fast once it sits.
How to Adjust This Pint Without Losing the Creamy Spin
Dairy-Free Version With Almond Milk
Use unsweetened almond milk and a dairy-free protein powder for a lighter pint. It still spins well, but the texture will be a little less rich and may need the respin more often because almond milk freezes harder than whole milk.
Higher-Calorie, Extra-Creamy Version
Swap the almond milk for whole milk and use the full amount of peanut butter chips. The result is richer and softer straight from the machine, with a more classic ice cream mouthfeel and less of the icy edge that leaner versions can have.
Lower-Sugar Peanut Butter Ice Cream
Use monk fruit sweetener instead of sugar. You’ll keep the peanut butter flavor front and center, but the pint will freeze firmer, so expect to use the respin step more often to get back to a scoopable texture.
No Peanut Butter Chips on Hand
Use chopped mini peanut butter cups, crushed peanut butter sandwich cookies, or even chopped roasted peanuts. Peanut butter cups melt a little into the ice cream, which makes the pint taste more dessert-like, while peanuts stay crunchy and give you more texture contrast.
Storage and Re-Freezing
- Refrigerator: Don’t store this in the fridge; it melts fast and loses the texture you worked for.
- Freezer: You can freeze leftovers in the pint, but the surface will harden. Press parchment or plastic wrap directly on the top before freezing to slow ice crystals.
- Reheating: There isn’t a reheating step here. Let the pint sit at room temperature for 5 to 10 minutes, then re-spin if it has frozen hard again. The common mistake is trying to scoop it straight from the freezer, which just shatters the texture.
Questions I Get Asked About This Recipe
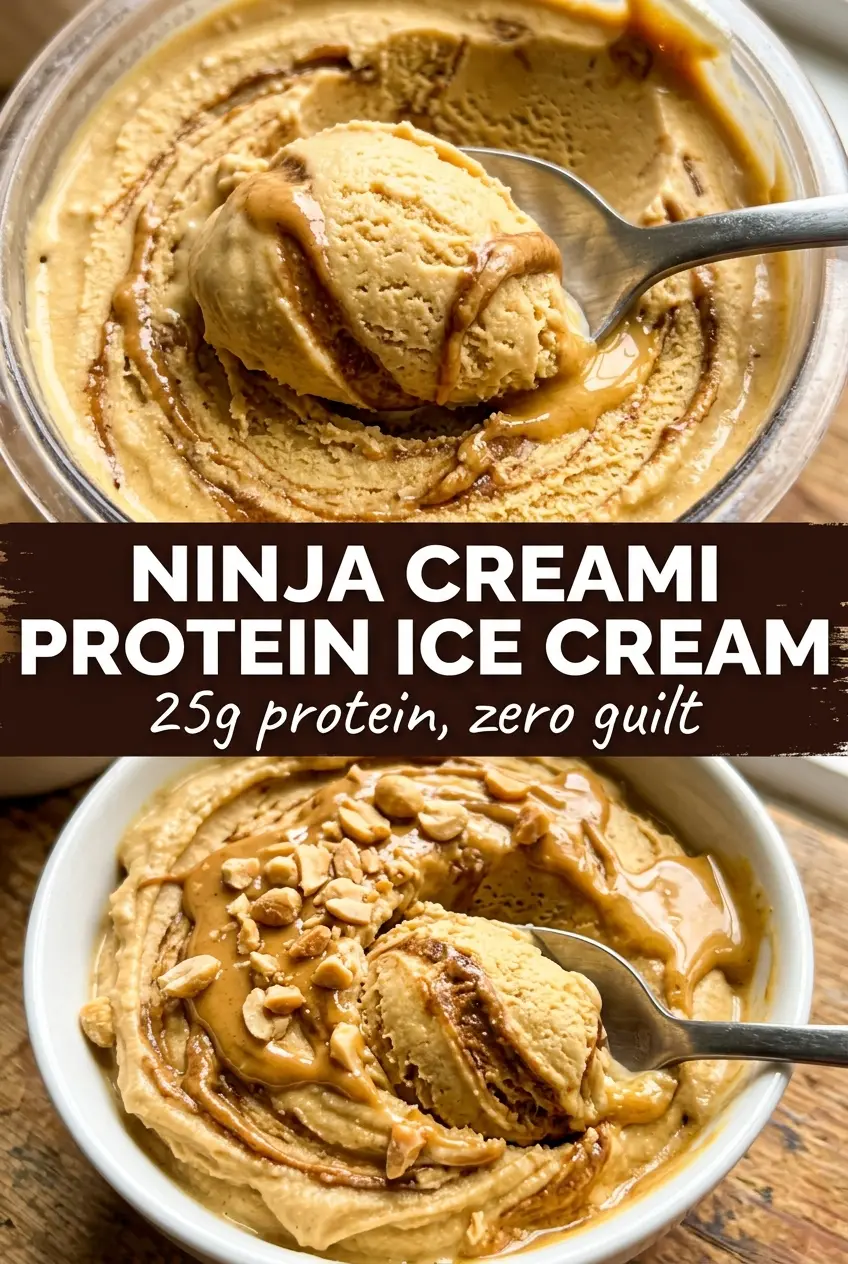
Ninja Creami Peanut Butter Protein Ice Cream
Ingredients
Equipment
Method
- Whisk milk, protein powder, peanut butter, sweetener, vanilla extract, and salt together until very smooth, with no protein powder clumps remaining.
- Pour the mixture into the Ninja Creami pint container and freeze for 24 hours until solid.
- Process on the Lite Ice Cream setting first; if the texture is grainy, add 1 tbsp milk and Re-spin to improve it.
- Use the Mix-In setting to fold in peanut butter chips or mini peanut butter cup pieces.
- Serve immediately while the ice cream is thick and creamy.