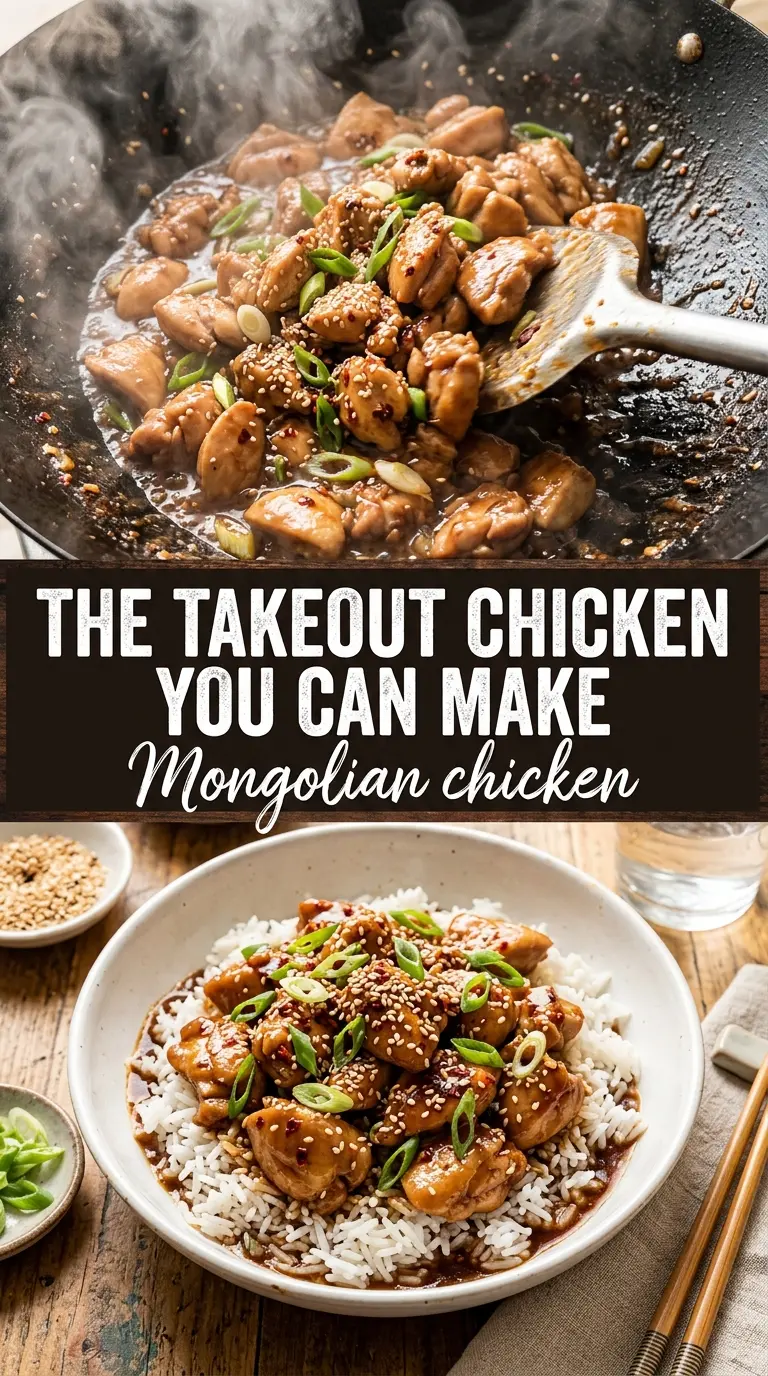
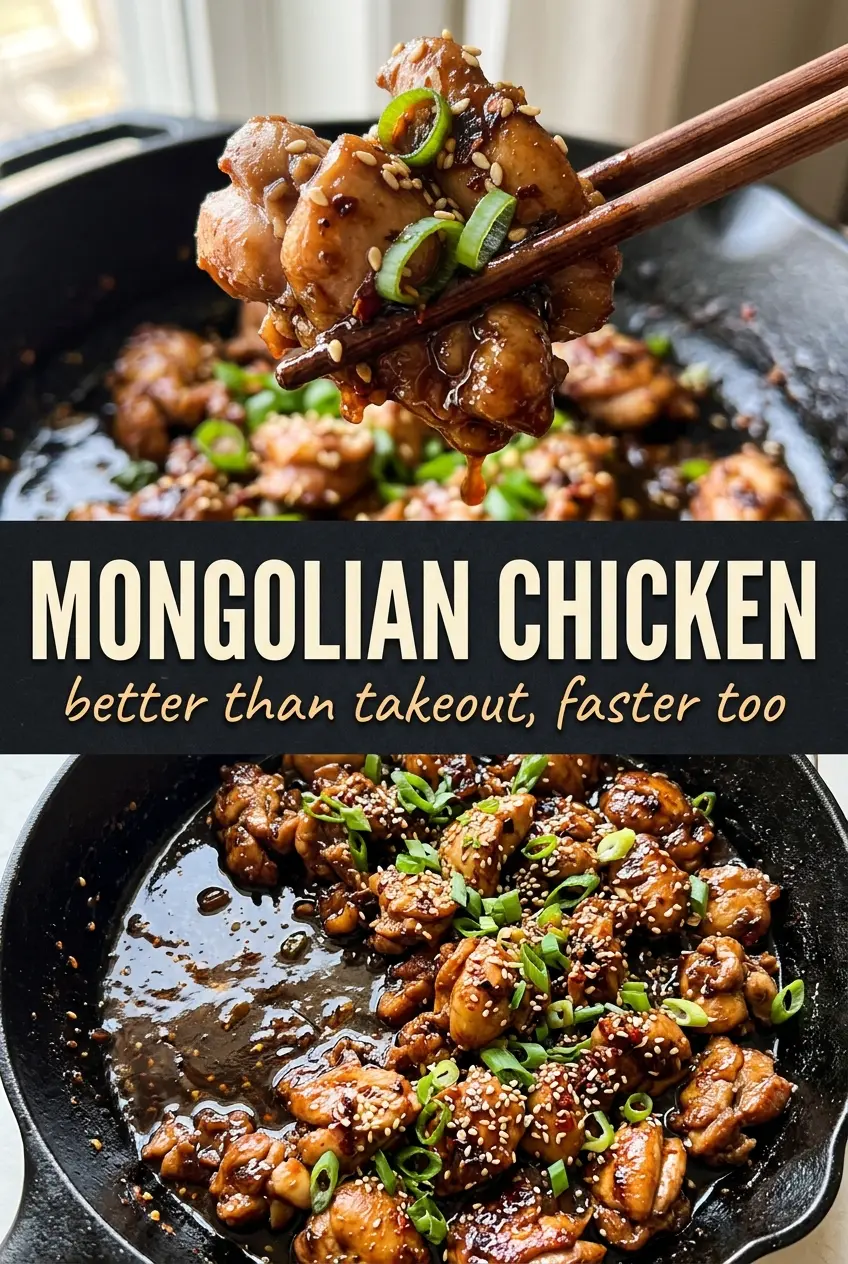
Crispy-edged Mongolian chicken earns its keep because the sauce clings instead of pooling, and the chicken stays tender under a glossy, dark glaze. The best bites have a little char on the edges, a little heat at the back of the throat, and that sweet-salty finish that makes a bowl of rice disappear fast. This version hits that takeout-style balance without turning limp or bland halfway through dinner.
The trick is using cornstarch on the chicken before it hits the pan. That coating does two jobs: it protects the meat from drying out and gives the sauce something to grab onto later. The sauce itself is built in the same skillet, which means the garlic, ginger, and browned bits from the chicken all stay in the final pan sauce where they belong. A short boil and a quick slurry finish give you that sticky texture without reducing the sauce until it tastes flat.
Below, I’m walking through the exact heat level that gives you browned chicken instead of steamed chicken, plus a few swaps that still keep the sauce glossy and bold. If you’ve had Mongolian chicken turn watery before, the fix is in here.
The sauce got thick and shiny in just a couple minutes, and the chicken stayed crisp on the edges even after tossing it back in. I served it with rice and the green onions on top, and my husband asked if I could put this in the regular rotation.
Save this Mongolian chicken for the nights when you want sticky soy-ginger chicken with crisp edges and a fast rice bowl finish.
The Secret to Mongolian Chicken That Stays Crispy in the Sauce
The biggest failure with Mongolian chicken is dumping fried or sautéed chicken straight into a sauce that’s still thin and underheated. The coating softens before the sauce has a chance to cling, and you end up with sweet soy chicken soup instead of a glossy stir-fry. Here, the sauce gets boiled briefly, then tightened with a slurry so it turns lacquered fast enough to coat the chicken instead of soaking into it.
High heat matters in the first skillet stage, but only long enough to brown the chicken. If the pan is crowded, the chicken steams and the cornstarch turns pasty instead of crisp. Cook in one layer, leave it alone long enough to pick up color, then remove it before the sauce goes in. That short pause protects the texture you worked for.
- Cornstarch — This is what gives the chicken its light crust and helps the sauce cling later. Flour won’t behave the same way here; it tends to make the coating heavier and less crisp. Toss the chicken until every piece looks dusty, not caked.
- Hoisin sauce — It adds depth and a little fermented sweetness that brown sugar alone can’t replace. If you skip it, the sauce tastes flatter and more one-note. A tablespoon of oyster sauce can stand in if you eat seafood, but the flavor shifts a bit darker and saltier.
- Fresh ginger and garlic — These need to hit the hot pan for just a few seconds so they bloom without burning. Pre-minced ginger or jarred garlic works in a pinch, but fresh gives the sauce its sharp, clean edge. Burnt garlic will make the whole dish taste bitter, so keep the garlic moving once it goes in.
- Green onions — Cutting them into 2-inch pieces keeps them from disappearing into the sauce. They should stay bright and a little crisp, with just enough heat to soften the bite. Add them at the end so they keep their shape and don’t turn dull.
What Each Ingredient Is Actually Doing in This Recipe
- Primary ingredient (the star) — Quality matters most. Choose the best you can find.
- Cooking medium (oil, butter, or broth) — This carries flavors and prevents dryness.
- Seasonings (salt, pepper, spices, herbs) — Layer flavors so nothing overpowers. Build depth gradually.
- Aromatics (garlic, onion, herbs) — Cook with fat to bloom flavors. Become the foundation.
- Supporting ingredients — Complement the main ingredient without overpowering it.
- Sauce or liquid (if applicable) — Brings flavors together. Balance richness with acid.
- Acid (lemon, vinegar, wine, or other) — Brightens and prevents flat-tasting results.
- Final finish (garnish, glaze, or sauce) — Prevents one-dimensional taste and adds visual appeal.
How to Build the Sauce So It Glosses, Not Breaks
Coating the Chicken First
Toss the sliced chicken with cornstarch, salt, and pepper until every piece is evenly coated. The chicken should look lightly powdered, not gummy, and any extra cornstarch left in the bowl can be left behind. If the pieces are wet before they hit the pan, the coating will clump and the sear won’t set properly.
Brown Before You Sauce
Heat the oil until it shimmers, then add the chicken in a single layer. Let it cook long enough to develop deep golden edges before turning it, and don’t move it constantly or you’ll lose the crust. If your skillet is small, brown the chicken in two batches; crowding is the fastest way to lose the crisp texture.
Building the Glaze in the Same Pan
After the chicken comes out, add the garlic and ginger and stir just until fragrant, about 30 seconds. Pour in the soy sauce mixture and let it come to a real boil before adding the slurry. The sauce should thicken enough to coat the back of a spoon; if it’s still thin after a minute or two, give it another brief simmer rather than adding more cornstarch all at once.
Finishing the Toss
Return the chicken and green onions to the pan and toss fast, just until everything is glossy and evenly coated. The goal is to warm the chicken through without simmering it long enough to soften the crust. Serve it right away over rice, then finish with sesame seeds while the sauce is still tacky enough to hold them.
What to Change When You Want a Different Bowl at Dinner
Chicken thighs for a richer bite
Use boneless skinless thighs instead of breasts if you want a juicier, more forgiving result. They brown well and stay tender even if they sit in the sauce a minute longer, though the final dish will taste a little richer and less lean.
Gluten-free Mongolian chicken
Swap in a gluten-free soy sauce or tamari and check your hoisin label, since some brands contain wheat. The sauce will still get sticky and balanced, and the texture doesn’t change as long as you keep the cornstarch slurry the same.
Lower-sugar version
Cut the brown sugar back a couple tablespoons and add a splash more water if you want a less sweet finish. The sauce will still glaze, but it won’t taste as close to classic takeout Mongolian chicken. Don’t reduce the sugar too far or you’ll lose the dark sticky finish that makes the dish work.
Milder family version
Skip the red pepper flakes if you want a gentler sauce with more soy-garlic sweetness. You’ll still get plenty of flavor from the ginger, garlic, and hoisin, just without the little kick at the end.
Storage and Reheating
- Refrigerator: Store leftovers in an airtight container for up to 4 days. The coating softens in the fridge, but the flavor holds up well.
- Freezer: It freezes, though the chicken won’t stay crisp. Freeze in a sealed container for up to 2 months and thaw in the fridge overnight before reheating.
- Reheating: Warm it in a skillet over medium heat with a small splash of water to loosen the sauce. The common mistake is blasting it in the microwave too long, which tightens the chicken and makes the glaze sticky in the wrong way.
Answers to the Questions Worth Asking
Mongolian Chicken
Ingredients
Equipment
Method
- Toss sliced chicken with cornstarch, salt, and pepper until coated, then let it sit briefly as you heat the pan.
- Seasoning should be evenly visible as a light dry coating on the chicken pieces.
- Whisk together soy sauce, brown sugar, water, hoisin sauce, sesame oil, and red pepper flakes until the sugar dissolves.
- Set the sauce aside so it’s ready to pour once the aromatics hit the pan.
- Heat vegetable oil in a large skillet or wok over high heat; cook chicken for 3-4 minutes per side until deeply golden and cooked through, then remove to a plate.
- Add garlic and grated ginger to the same pan; stir-fry for 30 seconds until fragrant.
- Pour in the sauce and bring it to a boil, scraping up any browned bits from the pan.
- Stir in the cornstarch slurry and cook for 1-2 minutes until thickened and glossy.
- Return chicken and green onions and toss to coat, letting the green onions char slightly in the sauce.
- Serve the Mongolian chicken over steamed rice with sesame seeds on top.