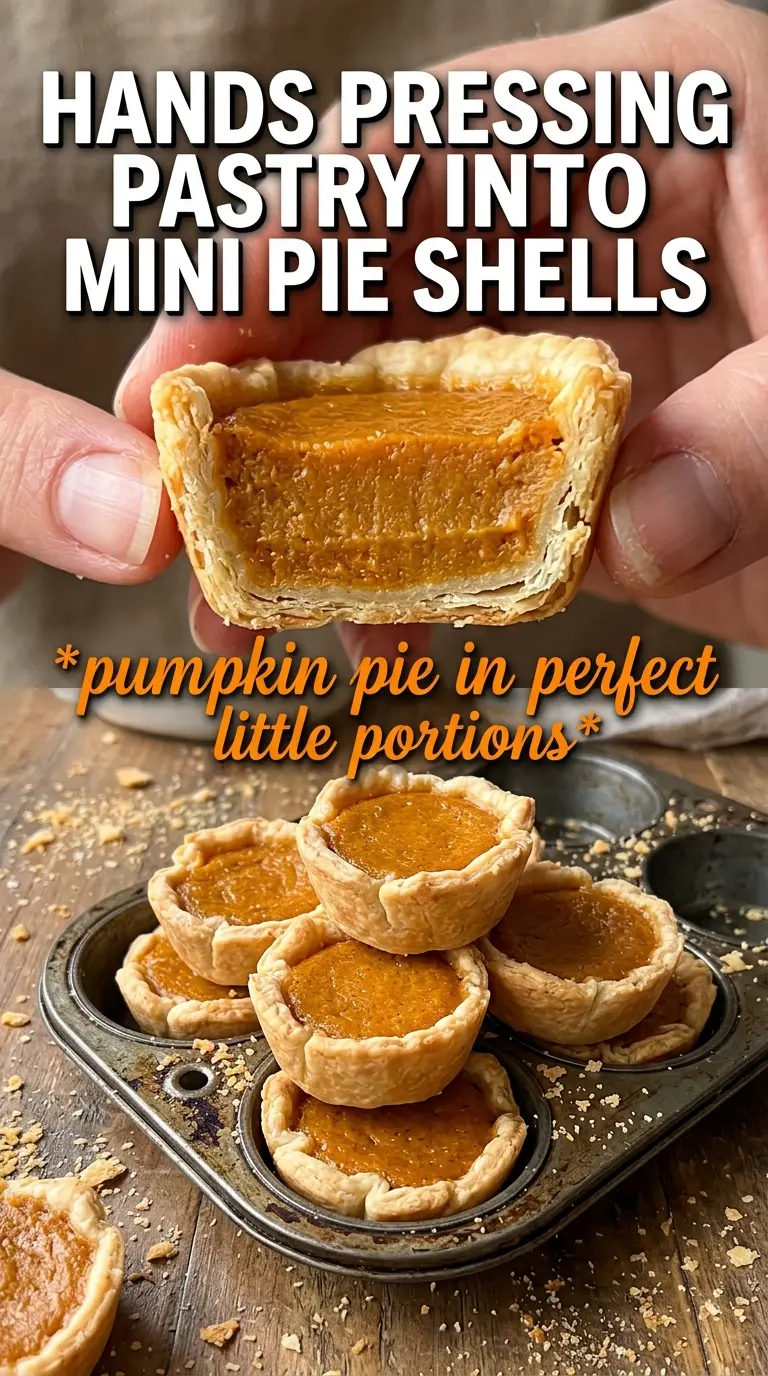
Mini pumpkin pies bake up with a tender, buttery crust and a smooth custard filling that holds its shape the second you lift one from the pan. They’re the kind of dessert that disappears fast because each little pie gives you the best part of pumpkin pie in a few perfect bites: crisp edges, silky center, and a finish of whipped cream and cinnamon.
What makes this version work is the balance in the filling and the way the crust is handled. The pumpkin mixture is whisked until completely smooth before it ever goes near the oven, which keeps the texture even instead of grainy. Baking them just until the centers are set, not firm, protects that creamy pumpkin custard texture that people want in the first place. Pressing the circles into a greased mini muffin tin also helps the pastry hold its shape and bake into neat, flaky cups.
Below you’ll find the small details that matter most: how full to fill each cup, what the filling should look like when it’s ready, and the easiest way to keep the bottoms from turning soggy.
The filling set up beautifully and the crust stayed crisp underneath, even after chilling. I made them the night before Thanksgiving and topped them with whipped cream right before serving.
Love these mini pumpkin pies? Save them to Pinterest for an easy make-ahead dessert with flaky crust and silky pumpkin filling.
The One Thing That Keeps Mini Pumpkin Pies from Going Soupy
The filling has to be just loose enough to pour, but not so loose that it bakes up wet in the center. If the mixture is overfilled or baked until the tops puff hard, the custard can split and the crust can soften before the pies finish cooling. The sweet spot is a filling that looks smooth and pourable, then sets with a slight wobble in the center when the pan comes out of the oven.
The other place people run into trouble is the crust. Mini muffin tins can make pastry edges slide down if the dough is warm or the cups are dry. Greasing the tin lightly and pressing the circles in firmly gives the crust something to cling to, and chilling isn’t necessary here as long as the crust goes straight into a hot oven.
- The pies look done when the edges are set and the centers still have a gentle jiggle. That residual movement finishes the custard as it cools.
- If the tops crack, the pies stayed in a little too long. Pull them as soon as they no longer look wet in the middle.
- Using refrigerated crust keeps this recipe fast, but the real win is a crust that bakes quickly enough to stay crisp under the custard.
What the Pumpkin, Eggs, and Dairy Are Doing Here
- Pumpkin puree — This is the base of the filling, and canned puree gives you a consistent texture and moisture level. Pumpkin pie filling is not the same thing; it already contains sugar and spice, which would throw off the custard.
- Eggs — They set the filling into a sliceable custard. Two eggs are enough for structure without making the centers bouncy.
- Evaporated milk or heavy cream — Evaporated milk gives a classic pie texture with a little more stability, while heavy cream makes the filling richer. Whole milk works in a pinch, but the pie will set a little softer.
- Brown sugar — Brown sugar adds deeper sweetness and a little molasses note that works well with pumpkin. White sugar will work, but the filling tastes flatter.
- Pie crust rounds — The crust has to be cut cleanly and pressed evenly so the edges bake at the same rate as the center. If the circles are too thick, the bottoms stay pale.
How to Bake the Custard Without Overdoing It
Pressing the Pastry Cups
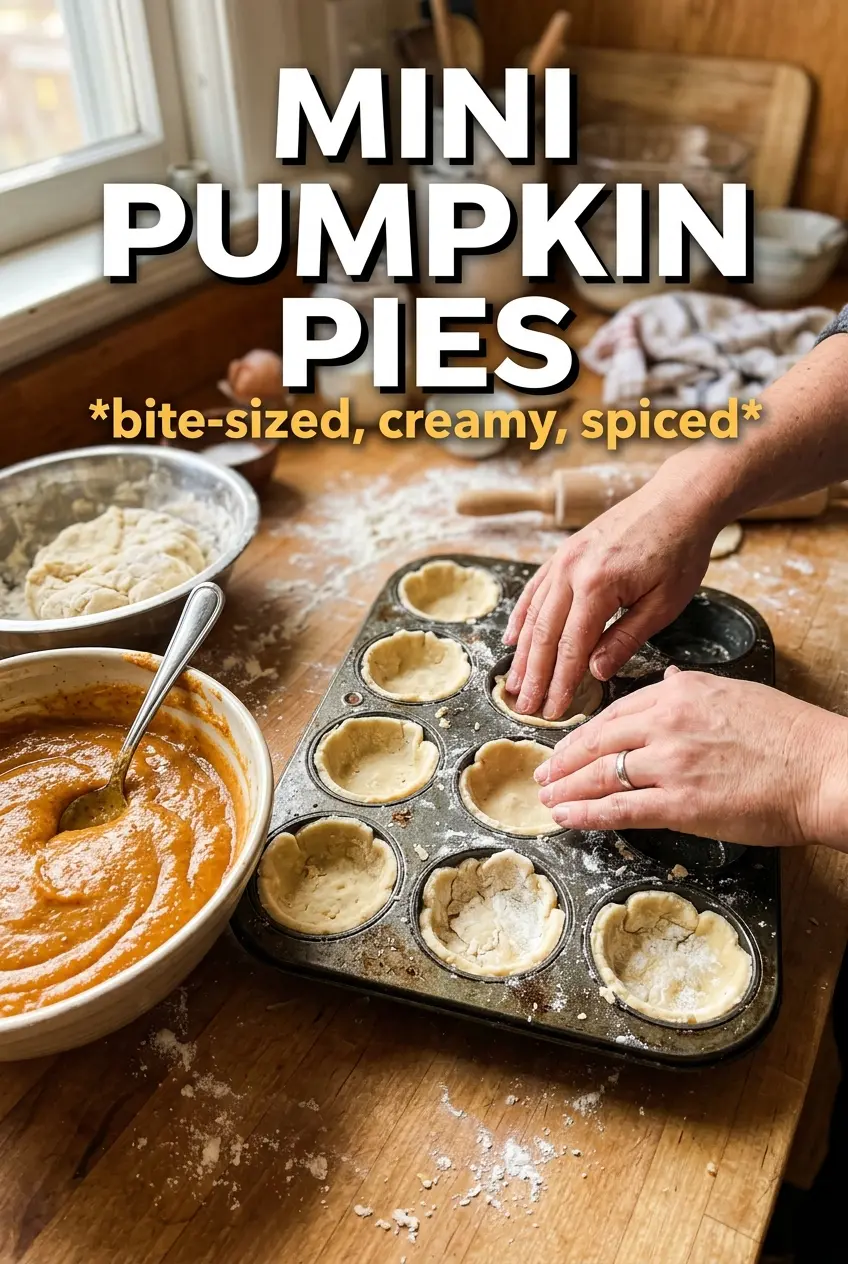
Start with the oven fully preheated and the mini muffin tin greased so the pastry releases cleanly after baking. Press each dough round into the cup without stretching it, because stretched dough shrinks back and pulls away from the sides. The crust should sit snugly against the corners of the tin with no big folds of excess dough, which helps the edges brown evenly.
Whisking the Filling Smooth
Whisk the pumpkin, eggs, dairy, sugar, spices, salt, and vanilla until the mixture looks silky and no streaks of egg remain. If you see lumps at this stage, they will still be there after baking. A smooth filling bakes into a neat custard; a poorly mixed filling bakes unevenly and can leave little eggy pockets.
Baking to the Gentle Set
Fill each cup about three-quarters full so the filling has room to rise without spilling over. Bake until the crust is golden and the centers look set around the edges but still move slightly in the middle when you nudge the pan. If you wait for the centers to look fully firm in the oven, they will end up dry after cooling.
Cooling Before Topping
Let the pies cool completely in the pan before moving them to the fridge. Warm custard is fragile and can slump or stick if you rush it. The hour in the refrigerator firms the filling enough for clean bites and keeps the whipped cream from melting on contact.
How to Adapt These Mini Pumpkin Pies for Different Needs
Dairy-Free Version
Use canned coconut milk in place of evaporated milk or cream. The filling will be slightly softer and carry a subtle coconut note, but it still sets well and stays creamy. Chill it thoroughly before serving so the texture firms up.
Gluten-Free Crust Swap
Use a gluten-free pie dough that rolls and holds together well enough to cut clean circles. The filling doesn’t need changing, but bake time may run a minute or two shorter if the crust browns faster. Watch the edges, not the clock.
Making Them Ahead for a Party
Bake the pies a day ahead, chill them uncovered until cold, then cover lightly so the crust doesn’t steam. Add whipped cream right before serving. If you top them early, the cream softens and the cinnamon sinks in.
Storage and Reheating
- Refrigerator: Store in an airtight container for up to 4 days. The crust will soften a little after the first day, but the flavor holds well.
- Freezer: Freeze the baked pies without whipped cream for up to 2 months. Wrap them individually so the pastry doesn’t pick up freezer odors, then thaw in the refrigerator.
- Reheating: Serve these chilled or at cool room temperature; reheating isn’t necessary and can make the custard grainy. If you want to refresh the crust slightly, warm the pies briefly in a low oven before adding whipped cream.
Questions I Get Asked About This Recipe
Mini Pumpkin Pies
Ingredients
Equipment
Method
- Preheat the oven to 375°F and grease a mini muffin tin with nonstick spray or butter for easy removal.
- Cut the refrigerated pie crusts into 3.5-inch circles and press each circle into a greased mini muffin cup to form pastry cups.
- Whisk pumpkin puree, eggs, evaporated milk or heavy cream, brown sugar, pumpkin pie spice, cinnamon, ginger, salt, and vanilla until smooth and no streaks remain.
- Fill each pastry cup about 3/4 full with the pumpkin mixture so there’s room for the custard to set.
- Bake for 18-22 minutes at 375°F until the filling is just set in the center and the crust is golden.
- Cool the mini pumpkin pies completely in the pan so the custard firms up before chilling.
- Refrigerate for 1 hour to fully chill the pies for cleaner, firmer bites.
- Top each mini pie with whipped cream and dust lightly with cinnamon right before serving.