Mini pumpkin cheesecakes bake up with a smooth, tangy filling, a sturdy gingersnap crust, and a crisp oat streusel that stays nubby instead of melting into the top. The contrast is the whole point here: creamy center, spiced crunch, and just enough caramel at the end to pull everything together. They slice cleanly from the liners after a good chill, which makes them the kind of dessert you can put on a platter without worrying about a messy first serving.
What keeps this version from getting heavy is the balance of ingredients. The cream cheese brings structure, the sour cream softens the filling, and the pumpkin stays in a supporting role instead of turning the whole thing dense or wet. Baking the crust briefly before adding the filling gives it a head start, so it holds up under the cheesecake layer instead of going soft.
Below, I’ll walk through the two places people usually go wrong: overmixing the filling and underbaking the centers. I’ve also included a few useful swaps, plus the storage note that matters if you want these ready ahead of time.
The streusel stayed crisp even after chilling, and the centers baked up silky instead of puffing and cracking. I made them the night before and the caramel drizzle set them off perfectly.
Like these mini pumpkin cheesecakes? Save them to Pinterest for the smooth filling, crisp streusel, and caramel finish.
The Step That Keeps the Centers From Sinking
Mini cheesecakes fail in one of two ways: the filling gets beaten full of air, or they stay in the oven until the middle is fully firm. Both lead to cracks, puffing, and a dry texture once they chill. This recipe works because the batter is mixed just until smooth, then baked until the edges are set and the centers still have a slight wobble. They finish setting in the refrigerator, not in the oven.
The other safeguard is the muffin tin itself. Paper liners make unmolding easy, but the crust still needs to be packed down firmly so it acts like a base instead of loose crumbs. A quick five-minute bake gives the gingersnap layer enough structure to handle the filling without turning soft underneath.
- Keep the mixer on low once the eggs go in. Too much speed adds air, and air is what makes cheesecakes rise fast, crack, then collapse.
- Pull the tray when the centers still jiggle slightly. If they look completely firm in the oven, they’ll overbake by the time they chill.
- Use a spoon or small scoop to divide the filling evenly. That keeps the tops level so the streusel bakes at the same rate on every cheesecake.
What Each Ingredient Is Actually Doing in These Cheesecakes
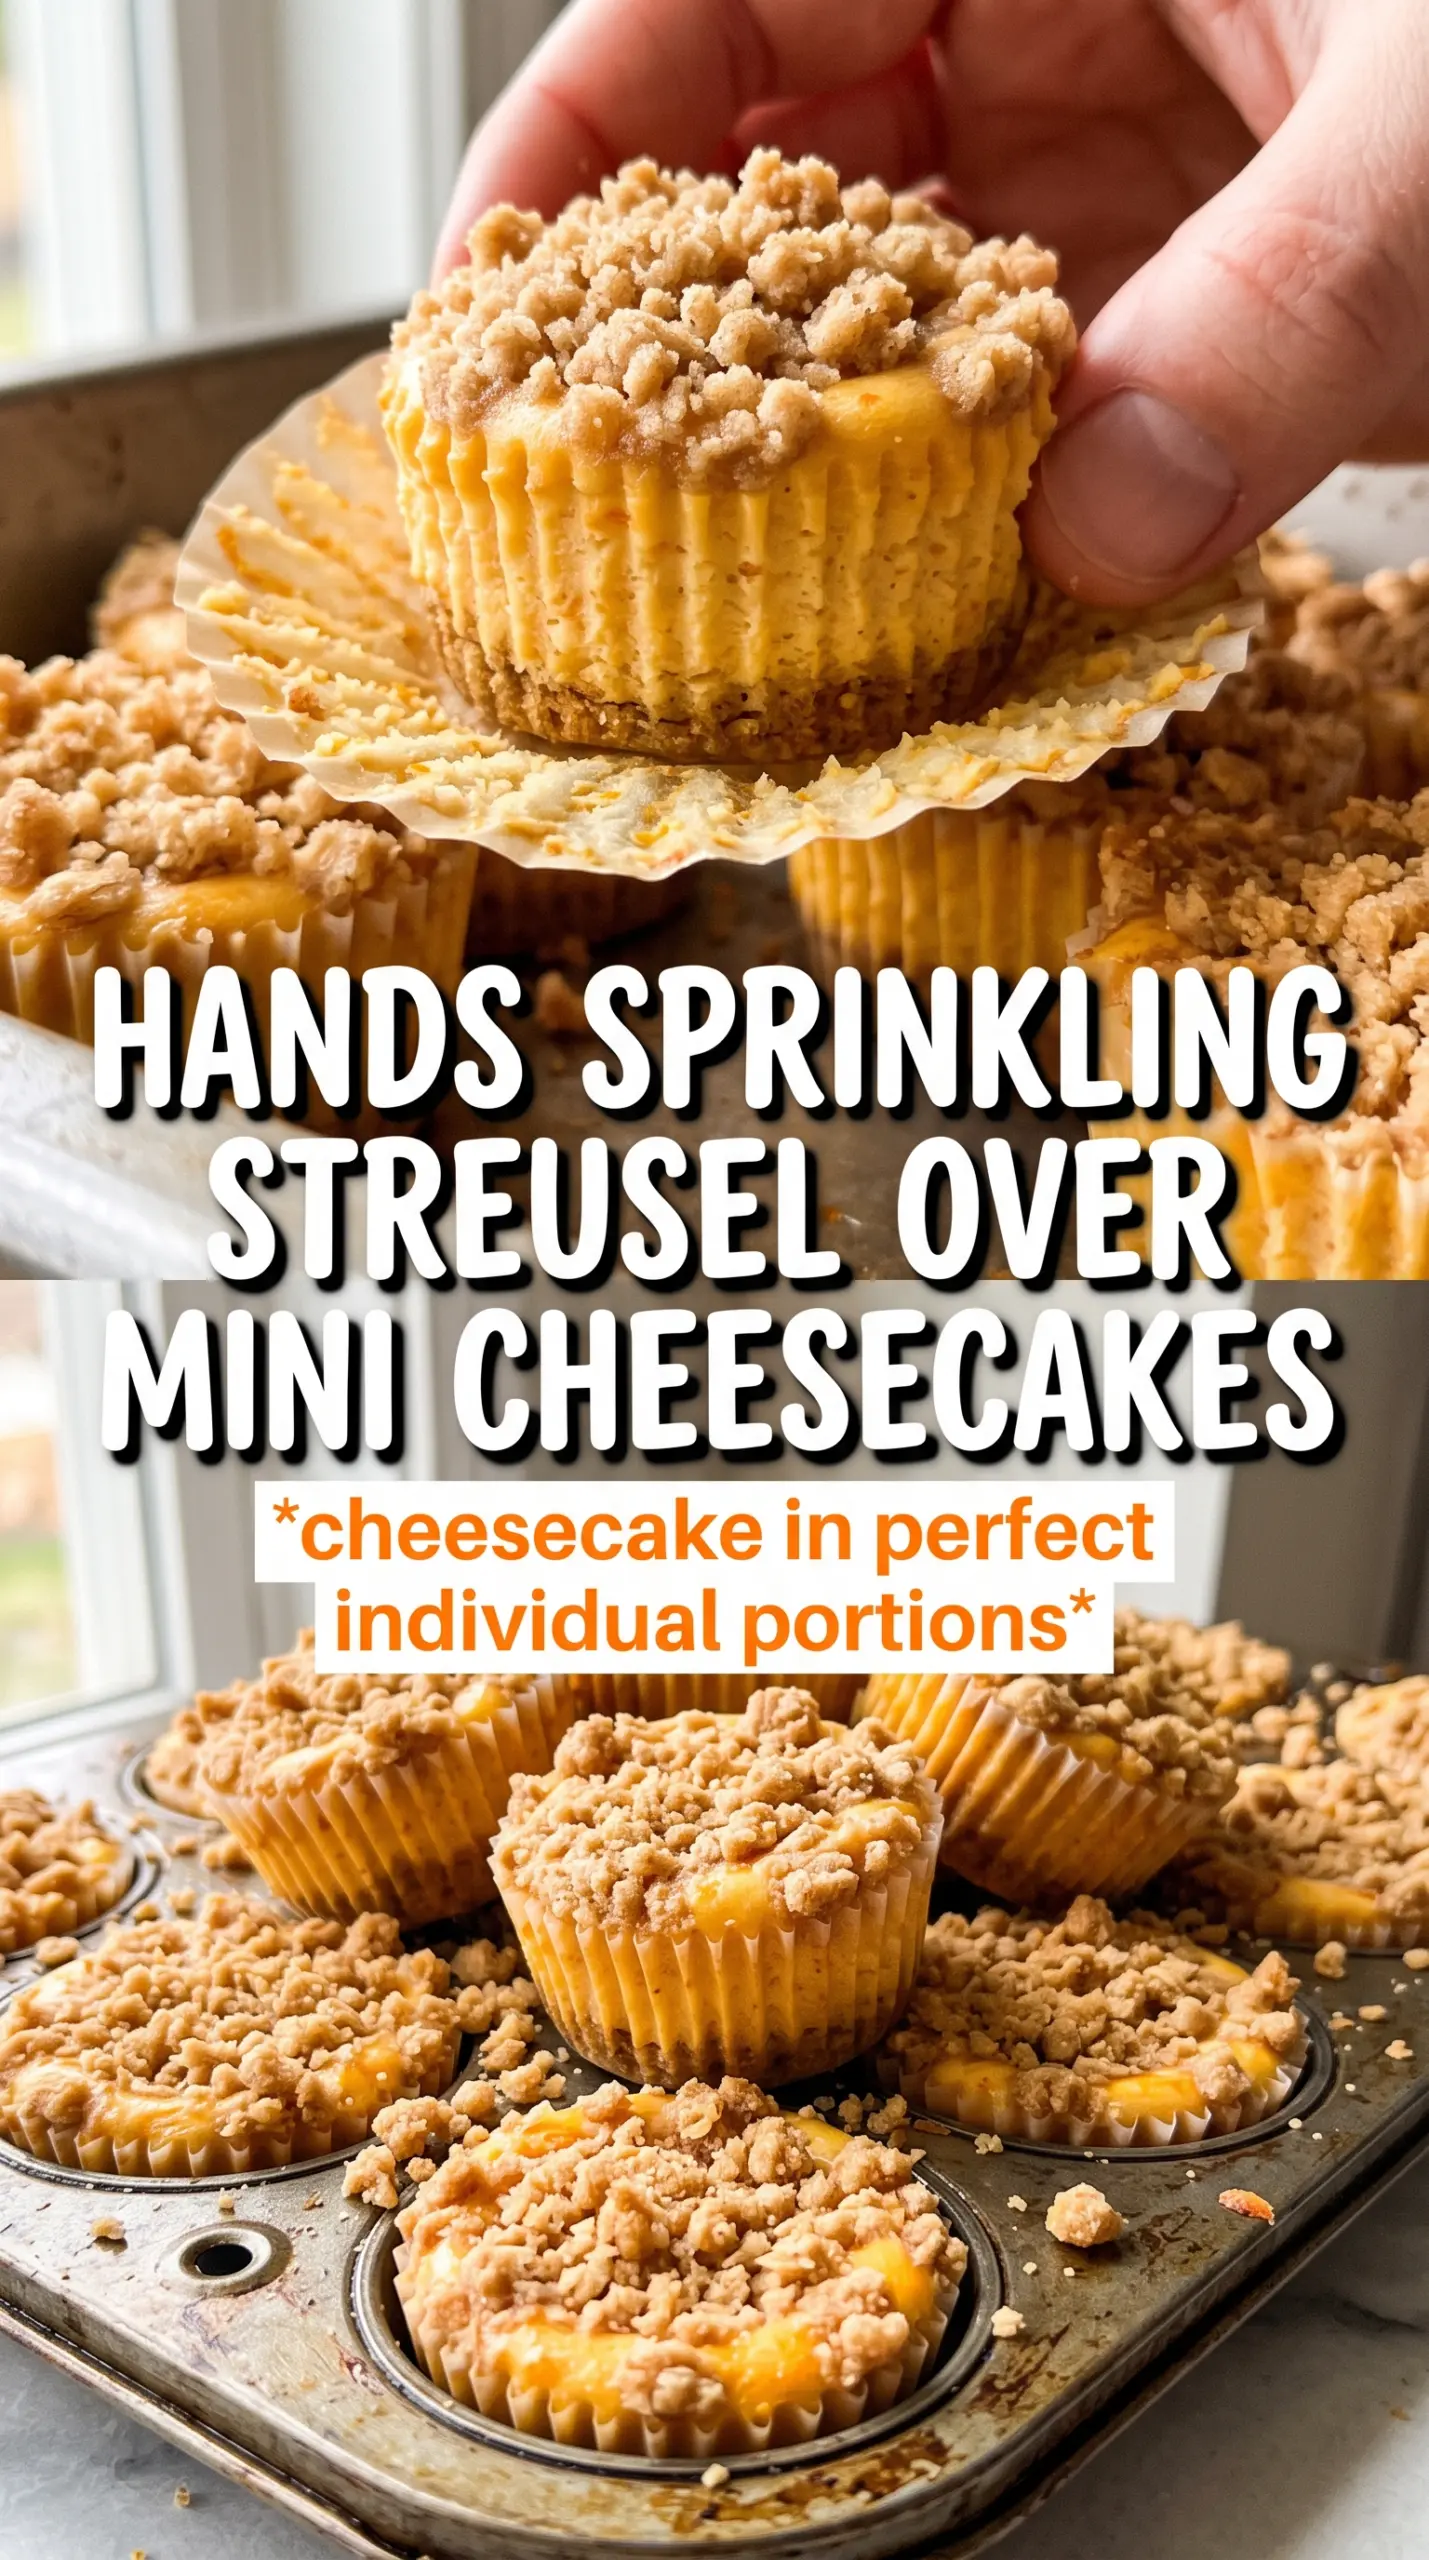
The crust, filling, and streusel each carry a different part of the dessert, and none of them should taste like an afterthought. Gingersnap crumbs are more than a flavor choice here. They bring spice and a sturdier texture than plain graham crumbs, which helps the base stand up to the creamy filling. If you only have graham crackers, the crust still works, but it will taste milder and need a little more cinnamon to keep the same warmth.
- Cream cheese — Full-fat cream cheese is the ingredient that gives these their clean slice and dense-smooth texture. Use block-style cream cheese, not the whipped tub kind.
- Pumpkin — Use plain pumpkin puree, not pumpkin pie filling. Pie filling is already sweetened and spiced, which throws off the balance and makes the filling too loose.
- Sour cream — This adds tang and softens the richness. Plain Greek yogurt can work in a pinch, but it gives a sharper finish and a slightly firmer set.
- Oats and brown sugar — The streusel stays crisp because the oats give it shape and the brown sugar melts into little crunchy clusters. Quick oats work, but old-fashioned oats give a better topping.
- Cold butter — Cold butter is what keeps the streusel crumbly. If it warms up too much before baking, the topping turns sandy instead of crisp.
Building the Layers Without Losing the Texture
Pressing and Prebaking the Gingersnap Crust
Stir the crust ingredients until every crumb looks damp, then press the mixture firmly into the lined muffin cups. Use the bottom of a small glass or measuring spoon to pack it down so the crust feels compact, not loose. The five-minute bake matters because it sets the butter and keeps the base from going pasty once the cheesecake batter goes in. If the crust looks dry and crumbly after baking, it wasn’t pressed hard enough before it went into the oven.
Mixing the Filling Without Whipping in Air
Beat the cream cheese and sugar first until there are no lumps, then add the eggs one at a time. Stop as soon as the mixture looks smooth and even. The pumpkin, sour cream, vanilla, and spices should blend in quickly; long mixing at this point only builds bubbles, and bubbles are what make little cheesecakes puff and crack. Scrape the bowl well so there aren’t streaks of cream cheese hiding at the bottom.
Scattering the Streusel So It Stays Crumbly
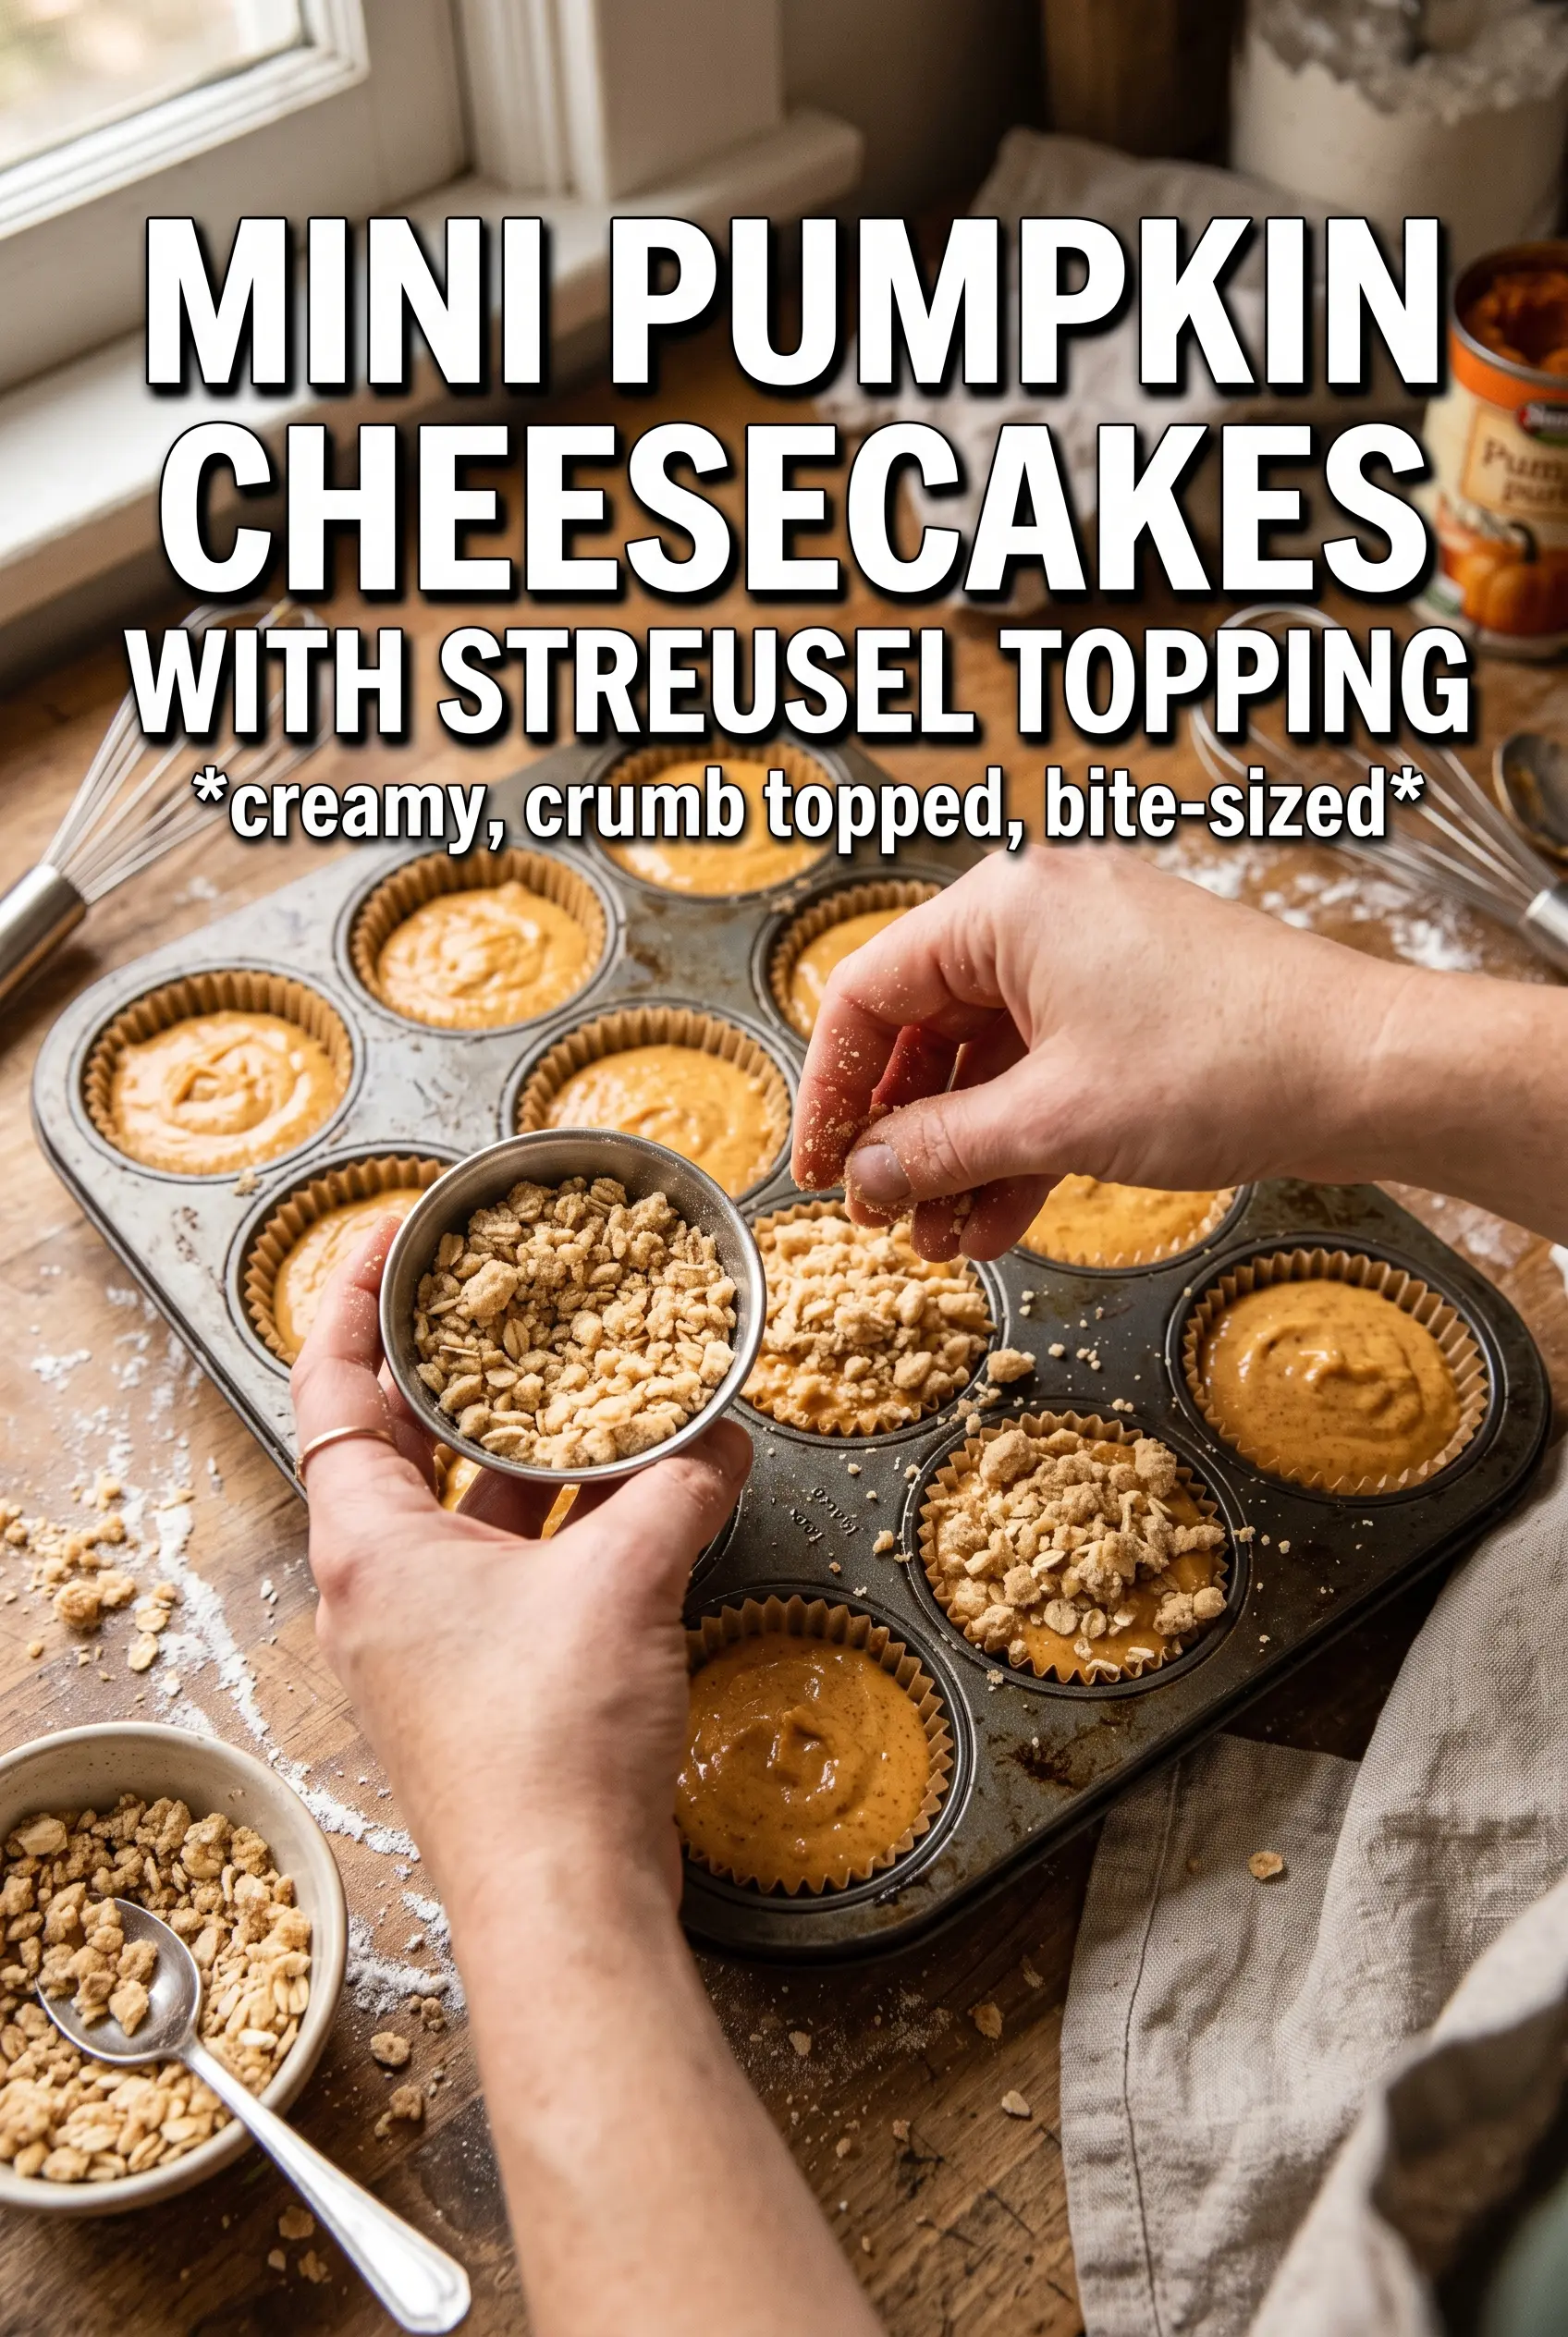
Work the cold butter into the flour, oats, brown sugar, and cinnamon until the mixture clumps when you pinch it. You want pebble-sized crumbs, not a paste. Sprinkle it evenly over each cup before baking so it lands on top and browns instead of sinking into the batter. If the streusel disappears into the filling, the topping was too fine or the cheesecake cups were overfilled.
Chilling Before the First Bite
When the centers are just set, take the pan out and let the cheesecakes cool before moving them to the refrigerator. This keeps condensation from forming under the streusel and softening the topping. Three hours is the minimum chill if you want clean edges and a true cheesecake texture. The caramel drizzle goes on right before serving so it stays glossy instead of soaking in.
How to Adapt These Mini Cheesecakes for Different Needs
Make Them Gluten-Free
Use gluten-free gingersnap crumbs for the crust and swap the flour in the streusel for a 1:1 gluten-free baking blend. The texture stays close to the original, though the topping may be a touch more delicate after chilling.
Dairy-Free Version
Use dairy-free cream cheese and a thick dairy-free sour cream substitute, then replace the butter in both the crust and streusel with plant-based butter. The filling won’t be quite as tangy, but it will still set well if you don’t overbake it.
Swap the Gingersnap Crust for Graham Cracker Crust
If you want a softer spice note, graham crumbs work fine. Add an extra 1/2 teaspoon cinnamon to the crust so it still tastes like pumpkin cheesecake instead of plain vanilla cheesecake with pumpkin on top.
Storage and Reheating
- Refrigerator: Store covered for up to 4 days. The streusel softens a little after day one, but the flavor stays great.
- Freezer: These freeze well without the caramel drizzle. Wrap each cheesecake tightly and freeze for up to 2 months, then thaw overnight in the refrigerator.
- Reheating: Don’t reheat them. Cheesecake is meant to be served chilled, and warming it will make the filling loose and the streusel soggy.
Answers to the Questions Worth Asking
Mini Pumpkin Cheesecakes With Streusel Topping
Ingredients
Equipment
Method
- Preheat the oven to 325°F and line a 12-cup muffin tin with liners. This ensures the muffin tin is ready for the crust bake right away.
- Press gingersnap crumbs firmly into each liner. Bake for 5 minutes at 325°F, then leave the tin on the counter while you make the filling.
- Beat cream cheese and sugar until smooth. Beat in eggs one at a time, then mix in pumpkin, sour cream, pumpkin pie spice, cinnamon, and vanilla until fully combined.
- Divide the cheesecake filling among the muffin cups. Fill each crust base evenly for consistent bake time and height.
- Make streusel by combining oats, flour, brown sugar, cinnamon, and cold butter until crumbly. Scatter the streusel over each cheesecake.
- Bake at 325°F for 20-22 minutes until the centers are just set. Cool, then refrigerate for 3 hours to firm up the texture.
- Drizzle caramel sauce for drizzling over each mini pumpkin cheesecake before serving. Serve chilled for the cleanest, most sliceable bite.