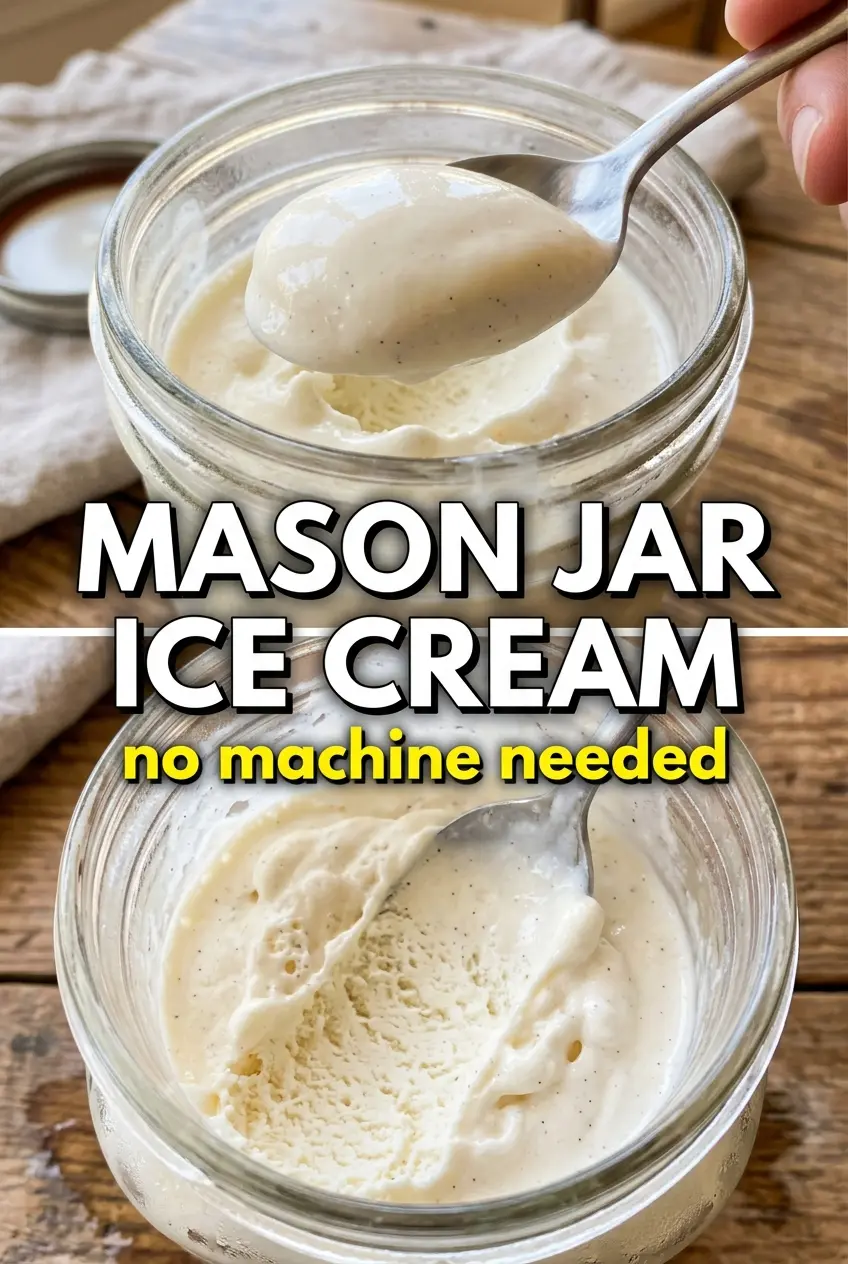
Cold, creamy vanilla ice cream with almost no cleanup is the kind of dessert that earns a permanent place in the back of the freezer. This mason jar version turns a short ingredient list into a scoopable treat with nothing more than a lid and a hard shake, and that hands-on method makes it feel a little magical every time. The texture lands somewhere between soft-serve and classic homemade ice cream: rich, smooth, and spoonable straight from the jar after a brief rest on the counter.
What makes it work is the balance of fat, sugar, and air. Heavy cream whips up just enough as you shake it to thicken the mixture before it freezes, while the sugar keeps the texture from turning icy and hard. The jar has to be sealed well and shaken with purpose, because weak shaking won’t build enough body before the freezer does its work. A pinch of salt sharpens the vanilla and keeps the flavor from tasting flat.
Below, I’ve included the little details that matter most here: how to know when the cream is thick enough, which mix-ins hold up best, and how to keep the ice cream creamy instead of dense.
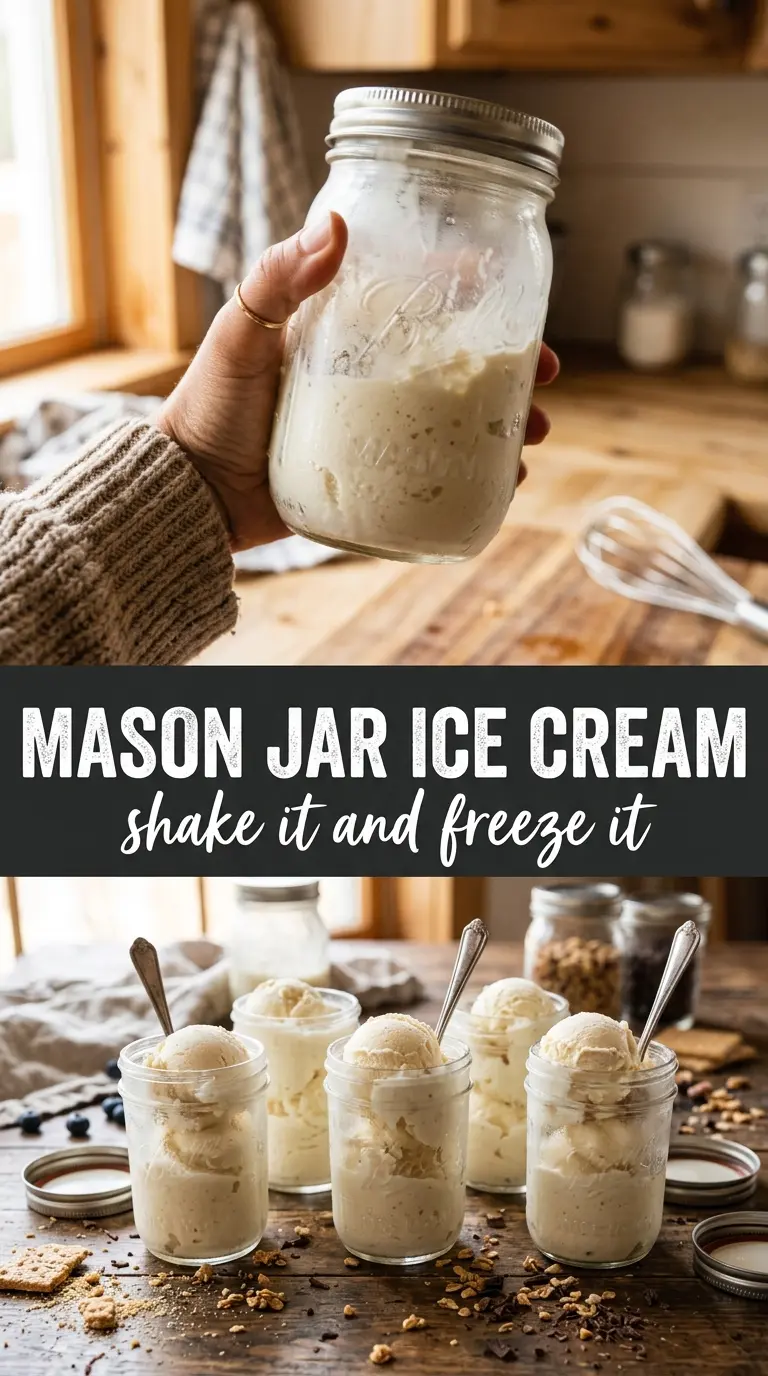
I didn’t think shaking cream in a jar would work this well, but it turned thick and creamy after about 4 minutes and froze into the smoothest single-serving ice cream. My daughter loved adding sprinkles right before freezing.
Like this shake-and-freeze dessert? Save Mason Jar Ice Cream for the nights when you want a creamy single serving with no ice cream maker.
The Shake That Makes It Creamy Instead of Icy
The difference between smooth mason jar ice cream and a frozen milk puck comes down to how much air you work in before the freezer takes over. Heavy cream is doing the real job here, because its fat content thickens and traps tiny bubbles as you shake. If the jar feels loose and sloshy after a minute or two, keep going; it should start to sound heavier and move more slowly inside the glass.
The other trap is overfilling the jar. Leave enough room for the cream to expand as it thickens, or the shaking becomes impossible and the lid can work loose. A 16-ounce jar is the sweet spot for one serving. Once the mixture looks thicker and lightly foamy, stop shaking and freeze it right away so the texture you built doesn’t collapse.
What Each Ingredient Is Actually Doing Here
- Heavy cream — This is the base, and there isn’t a true substitute if you want the same rich, scoopable result. Half-and-half won’t whip the same way and tends to freeze harder and icier. If you need a dairy-free version, use full-fat coconut cream and expect a faint coconut note.
- Granulated sugar — Sugar does more than sweeten. It lowers the freezing point, which keeps the ice cream from setting up like a block of ice. Don’t cut it too aggressively unless you’re okay with a firmer, less creamy texture.
- Vanilla extract — Use the good stuff here if you can, because this recipe is built around a simple vanilla flavor. If you want a stronger vanilla finish, add just a few extra drops; too much can taste sharp once frozen.
- Salt — A tiny pinch keeps the cream from tasting flat. It won’t make the ice cream salty, but it will make the vanilla read cleaner and brighter.
- Mix-ins — Sprinkles, mini chocolate chips, and crushed cookies all work well, but add them before freezing so they suspend in the base instead of sinking. Larger chunks can make the jar harder to scoop from straight out of the freezer, so keep pieces small.
Freezing, Stirring, and the Few Minutes Before You Scoop
Building the Base in the Jar
Pour everything into a clean 16-ounce mason jar and seal it tightly before you start shaking. The lid needs to be snug enough that the jar won’t leak, but not so overfilled that there’s no air space left to work with. If you’re adding sprinkles or crushed cookies, stir them in before the freeze so they get distributed through the cream instead of settling on top.
Shaking Until It Thickens
Shake hard for 3 to 5 minutes, using both hands if you need to. You’re looking for noticeable thickness, a little resistance when you tilt the jar, and a mixture that no longer sloshes around like plain cream. If it never changes texture, the jar may be too cold, the cream too low in fat, or the shaking too gentle.
Freezing to the Right Set
Put the jar in the freezer for about 4 hours until firm. The center should be set enough to hold a spoon but not rock hard all the way through. If it freezes longer than that and gets too solid, let it sit at room temperature for 3 to 5 minutes before eating so the spoon goes in cleanly instead of chipping the surface.
Three Ways to Change the Jar Without Losing the Point
Dairy-Free Coconut Cream Version
Swap the heavy cream for full-fat coconut cream and shake the jar the same way. The texture stays rich and spoonable, but the flavor picks up a mild coconut note and the finished ice cream can freeze a touch firmer, so the short rest on the counter matters even more.
Cookie-and-cream Jar Ice Cream
Fold in crushed Oreos before freezing for a thicker, more textured dessert. Keep the pieces small so they don’t freeze into hard chunks, and expect the mixture to be a little less smooth but a lot more interesting to eat straight from the jar.
Lower-Sugar Version
You can reduce the sugar slightly, but don’t remove it completely unless you want a firmer, icier result. Sugar keeps the ice cream soft enough to scoop, so trimming it too far changes the texture more than the sweetness.
Storage and Reheating
- Refrigerator: Not recommended. This is an ice cream recipe, and the fridge will only soften it into a cold cream mixture.
- Freezer: Best eaten within 1 week. The texture stays best in a tightly sealed jar, though it will get firmer and slightly more icy over time.
- Reheating: Let it stand at room temperature for 3 to 5 minutes before scooping or eating from the jar. The common mistake is trying to force a spoon through it straight from the freezer, which just breaks the surface and makes the texture seem harder than it is.
Answers to the Questions Worth Asking
Mason Jar Ice Cream
Ingredients
Method
- Add heavy cream, granulated sugar, vanilla extract, and salt to a 16-oz mason jar.
- Seal the lid tightly on the jar.
- Shake vigorously for 3-5 minutes until the cream thickens noticeably.
- Place the jar in the freezer for 4 hours until firm.
- Stir in optional mix-ins before freezing if desired.
- Let sit at room temperature 3-5 minutes before eating directly from the jar.