Mango sago lands on the table with that perfect mix of cold, creamy, and chewy that keeps you going back for another spoonful. The mango puree stays bright and fragrant, the coconut milk rounds it out without making it heavy, and the little sago pearls give it that gentle bounce that makes this dessert feel special instead of just sweet.
The part that matters most is the texture balance. The sago needs to be cooked until translucent, then rinsed so it doesn’t keep thickening the whole bowl into glue. The mango base works best when one fruit is blended smooth and the second is held back for cubes, because that contrast gives each bite a cleaner mango hit and keeps the dessert from tasting flat.
Below, you’ll find the trick for getting the tapioca tender without turning it gummy, plus the small ingredient choices that make the coconut base taste lush instead of thin. It chills into something spoonable and polished, and it holds up beautifully if you want to serve it in glasses for a dinner party.
I was worried the sago would turn mushy, but it stayed pleasantly chewy after chilling, and the mango-coconut mixture tasted like the kind you get at a good dessert cafe.
Love the silky coconut base and chewy sago pearls? Save this mango sago recipe for when you want a chilled Chinese mango dessert that feels light but still looks impressive.
Why the Sago Has to Be Cooked Separately
The biggest mistake with mango sago is trying to cook everything together. Sago needs a full boil and enough water to move around freely, or the pearls clump and turn uneven, with a hard center and a gummy outside. Once they’re translucent, drain and rinse them right away so they stop cooking and don’t thicken the dessert into a paste as they sit.
That rinse matters more than people think. Freshly cooked tapioca releases starch, and if you leave that starch on the pearls, it turns the coconut-mango base cloudy and heavy. Clean, cooled pearls stay bouncy and let the mango mixture stay smooth and bright.
What the Mango and Coconut Milk Are Each Doing Here

- Ripe mangoes — One mango gets blended into the base, so ripeness matters here. Look for fruit that smells sweet at the stem and gives slightly when pressed. The second mango can be a little firmer because it gets diced for texture.
- Full-fat coconut milk — This is what gives the dessert its lush body. Light coconut milk makes the final bowl taste thin, and it won’t carry the mango as well. If the can has separated, shake it first or whisk it smooth before blending.
- Condensed milk — This adds both sweetness and a round, milky finish that granulated sugar alone can’t match. If you want less sweetness, cut it back a little, but don’t skip it entirely unless you plan to add more sugar and a touch more milk for balance.
- Whole milk — This softens the coconut milk just enough so the dessert feels drinkable and spoonable instead of dense. You can swap in more coconut milk for a dairy-free version, but the final texture will be a little richer and heavier.
- Small tapioca pearls — Small pearls cook faster and blend into the dessert better than larger boba. If you only have larger tapioca, you’ll need a longer cook and more resting time, and the texture will be more chewy than silky.
Building the Mango Sago So It Stays Creamy, Not Gummy
Cooking the Tapioca Cleanly
Bring a large pot of water to a full boil before the sago goes in. Stir while it cooks so the pearls don’t settle and stick together, and watch for the color to shift from opaque white to mostly translucent with just a tiny dot in the center if your package calls for it. If the pearls still taste chalky, give them another minute or two; if they go too far, they’ll collapse and lose that pleasant chew.
Blending the Mango Base
Blend one mango with the coconut milk, sugar, condensed milk, and whole milk until completely smooth. The mixture should look glossy and pourable, with no mango fibers left behind. If your mango isn’t sweet enough, add a little more sugar before you chill it, because cold dulls sweetness and a flat base tastes even flatter once it sets.
Combining and Chilling
Stir the drained sago into the mango mixture, then fold in the diced mango right before chilling or just before serving. The dessert needs at least an hour in the fridge so the flavors settle and the base thickens slightly. If it sits too long and looks too loose after chilling, it’s usually because the sago was undercooked or not drained well enough.
Serving with the Right Contrast
Spoon the mango sago into bowls or glasses and finish with fresh mango cubes and mint. The garnish isn’t just for looks; it gives a fresh, bright bite against the creamy base. Serve it cold, and stir it once before spooning if it has been sitting, since the sago can settle at the bottom.
How to Adjust Mango Sago for Different Needs
Dairy-Free Version
Use all coconut milk instead of the whole milk and condensed milk, then sweeten with sugar to taste. The result is a little richer and more coconut-forward, with a heavier finish, but it still chills into a creamy dessert with the same chewy sago texture.
Less Sweet, More Mango
Cut the condensed milk in half and keep the sugar low, then rely on very ripe mangoes for the main sweetness. This gives you a brighter, more fruit-forward bowl that tastes cleaner and less like dessert cream.
Using Frozen Mango
Frozen mango works well if fresh fruit isn’t ripe enough. Thaw it first so the blender doesn’t seize up, and taste the puree before adding extra sugar, since frozen mango can be sweeter than it looks once it softens.
Storage and Reheating
- Refrigerator: Store covered for up to 2 days. The sago will keep absorbing liquid, so the dessert gets thicker and less silky over time.
- Freezer: Don’t freeze it. The coconut base separates and the sago turns unpleasantly tough after thawing.
- Reheating: This dessert is meant to be served cold, not reheated. If it tightens in the fridge, stir in a splash of milk or coconut milk to loosen it before serving.
Answers to the Questions Worth Asking
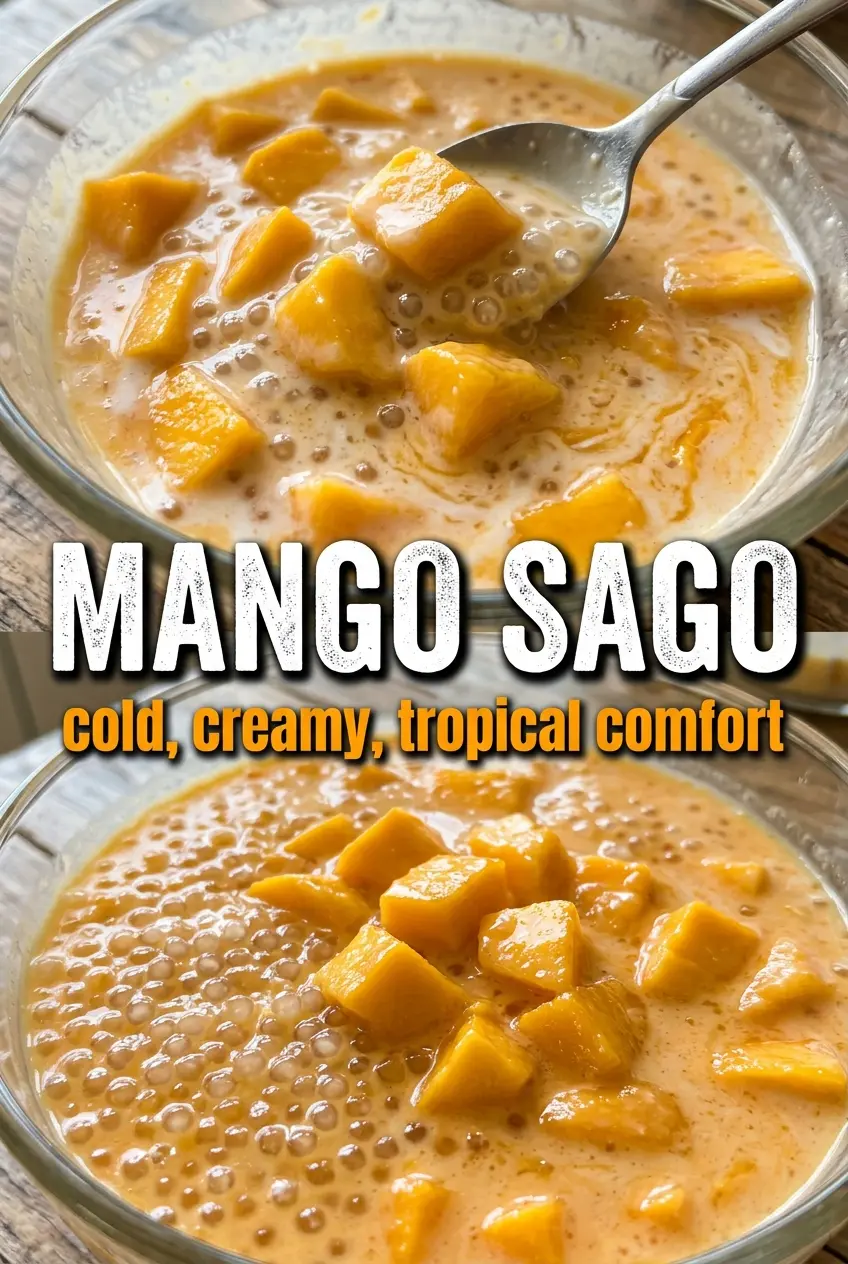
Mango Sago
Ingredients
Equipment
Method
- Bring a large pot of water to a boil, then add the small tapioca pearls (sago) and stir continuously for 12-15 minutes until translucent. Visual cue: pearls should look clear with a slight white center disappearing as you stir.
- Drain the pearls and rinse with cold water, then set them aside. Visual cue: pearls should stop cooking and look slippery, separated, and cool.
- Puree one mango with coconut milk, granulated sugar, condensed milk, and whole milk in a blender until completely smooth. Visual cue: mixture becomes a uniform, velvety orange with no mango chunks.
- Dice the second mango into small cubes. Visual cue: keep pieces small so they float evenly in the chilled dessert.
- Stir the cooked sago pearls into the mango coconut mixture until evenly combined. Visual cue: pearls disperse throughout the orange base rather than clumping.
- Refrigerate the mixture for at least 1 hour until chilled. Visual cue: the dessert thickens slightly and looks colder and more set around the edges.
- Serve in bowls or glasses and top with fresh mango cubes and a mint sprig. Visual cue: bright mango cubes and fresh green mint sit on top of the creamy orange base.